Aug
The Dream Machine: Chapter 2 Walkthrough
What’s Mr Morton up to? Stuck in the second chapter of The Dream Machine? Figure out what you need to do with our walkthrough!
- The Dream Machine: Chapter 1
- The Dream Machine: Chapter 2
- The Dream Machine: Chapter 3
- The Dream Machine: Chapter 4
- The Dream Machine: Chapter 5
- The Dream Machine: Chapter 6
This walkthrough covers Chapter 2 of The Dream Machine. This walkthrough series covers the game on a puzzle-by-puzzle basis, which involves a lot of backtracking. It also omits side-content that isn’t relevant to the story progression. At all times, it is recommended that you explore the world of The Dream Machine yourself and only consult this walkthrough when you’re really stuck.

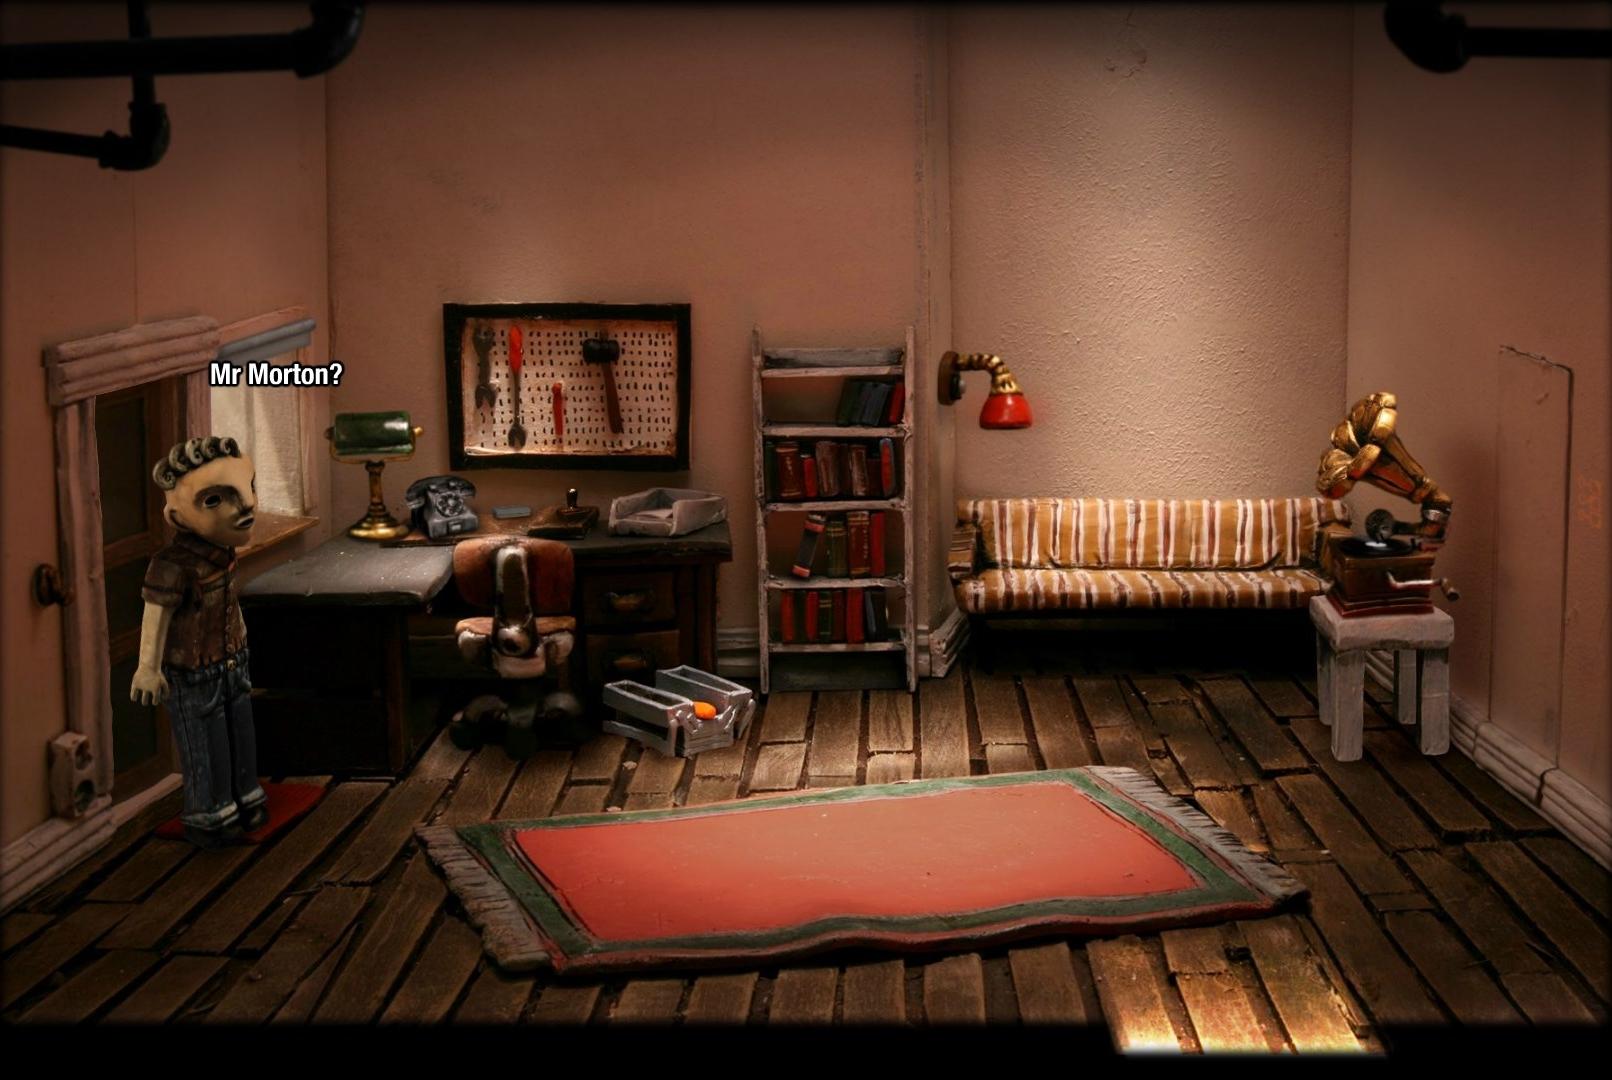
Where’s Mr Morton?
As usual, take the time to explore Mr Morton’s office and back room.
You will find that in the back room, Mr Morton’s voice is coming loudest from behind the right bookcase.
At the bottom of the right bookcase, there is a black book with red accents that you can pick up. Pick it up. Go to the office, and you’ll find a similar-looking book in the bookcase there. Then return to the back room, and examine the top shelf of the left bookcase, which has three similar-looking books. Pick them all up.
As you can guess from the buttons on the shelf, you need to arrange the five journals in order to proceed. Each of the journals is labelled as either Sun, Moon, Wave, Heart or Star. The entries in the books describe Mr Morton’s dreams, which as Victor points out, are ‘oddly repetitive’. You might notice, however, that all the dreams contain the same motifs of sun, moon, waves, heart or star, in varying orders.
Go back to the office and from the desk to the right, pick up the piece of paper, stamp and ink pad. Use the stamp on the ink pad, and then press it on the piece of paper. Examine the paper, and you’ll get a date. The date changes with every playthrough, so I can’t mention it here.
Check the dream journals for the specific date mentioned and read the dream entry for that date. Make a note of the order in which the motifs appear: this is the order in which you will have to place the books on the shelf. If you get the order right, the bookcase to the right will open up to a pathway.
As the elevator here implies, this is the basement of the apartment building, the one that you couldn’t enter without a key. Go to the machine room to the right.
Once Mr Morton is knocked out, pick up the left and right devices, located on the wall, next to the blue diagram. Place the Sender Device on Mr Morton, and the Receiver Device on Victor.
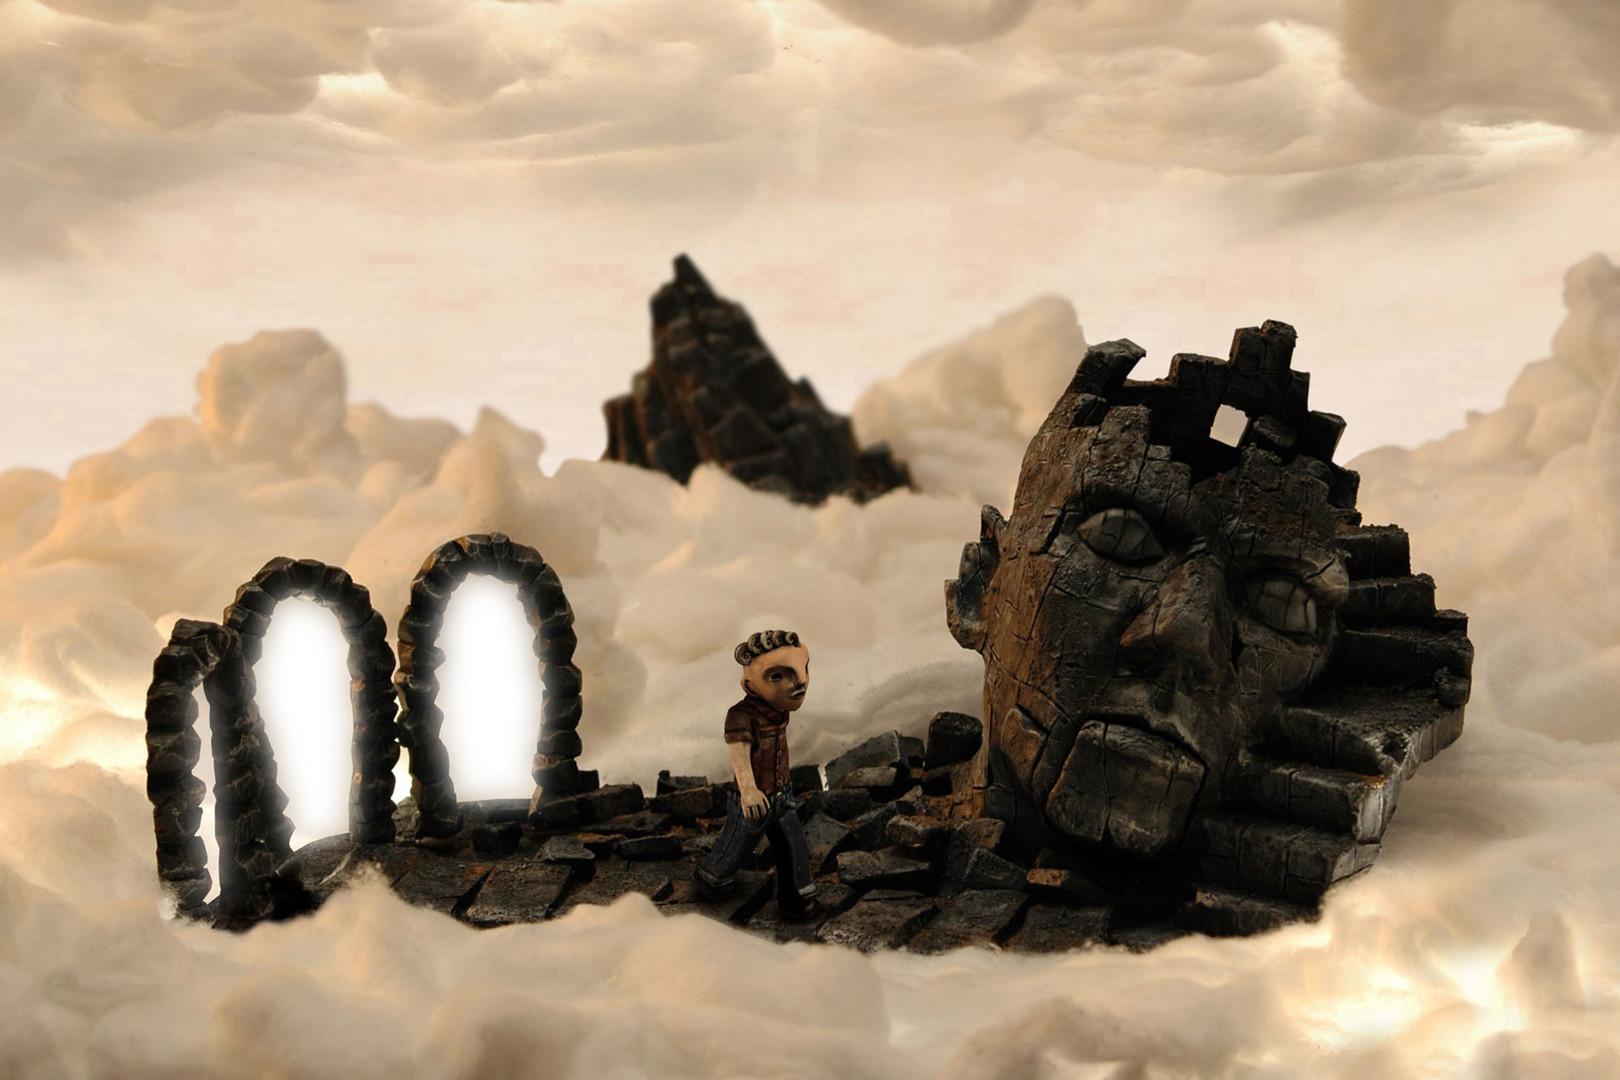
Mr Morton’s Dream
Enter the portal to the right to find the first statue. Ignore it for now and go through the rightmost portal. Ignore this statue too, and go through the leftmost portal. Examine the skull cavity on top of the statue in this room.
Pick up the hammer, glasses and anvil. You’re now set to fix all the statues.
In the same room as the statue with the skull cavity, open the hatch on the statue’s right cheek. Inside, there is one strum rod that is bent. Examine it, then pick it up. Place the anvil on the ground, then the strum rod on the anvil. Use the hammer on the strum rod to beat it into shape. Pick up the straight rod and the anvil.
Examine the hatch again, and place the straight rod in its place. Leave the hatch and talk to the statue.
Once you’re done, go through the leftmost portal to find a statue with rounder cheeks. Pick up the stirrup lying on the ground, and then examine the statue’s ear. Pick up the rocks inside the ear. Put the stirrup, anvil and hammer inside the ear.
Talk to the statue. When you’re done, go through the middle portal, back to the first statue you encountered.
You will find a small hatch on the statue’s right cheek. Open it and examine what’s inside. Place the rocks from your inventory on the plates so as to resemble the diagram above. In short, just place the rocks on all the ‘outer’ plates, leaving the single inner plate alone.
The statue wakes up, but can barely see you. Examine the glasses in your inventory. Remove each of the lenses from the glasses and then place the lenses on the statue’s eyes.
You may have guessed by now who the statues represent. To find Mr Morton, you will have to work your way through the three generations of the Morton family in descending order. You are already at the eldest Morton, so go through the middle portal to find Morton’s grandfather. Then go through the leftmost portal to find Morton’s mother. Finally, go through the rightmost portal to find the man of the hour.
Pick up the axe and use it on the tentacle. Talk to Mr Morton.
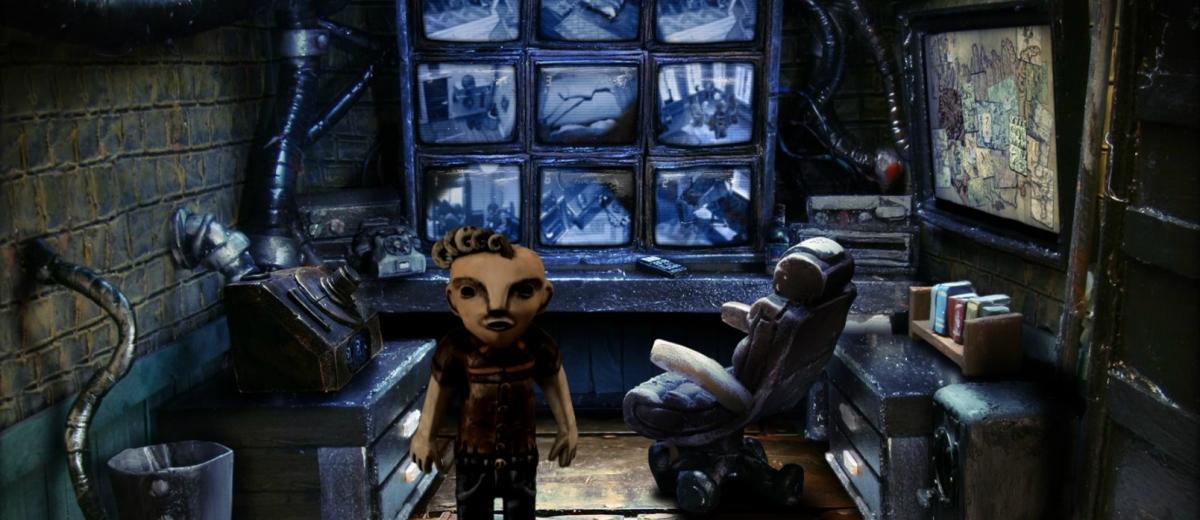
The Surveillance Room
Now that you’re out of the dream, take off the Sender and Receiver devices.
Use the ink pad on Mr Morton, then use the paper on him to get his palm print. Leave the machine room and use the palm print on the palm print reader. Enter the surveillance room and examine the TV screens. Pick up the remote and keep switching channels on one of the TVs until you see Alicia.
You now need to get to Alicia, but to do that, you’ll need to find a way out of the basement.
Examine the trash can to the left to find to find a piece of paper. This is the code to open the safe, but it’s in cryptic rectangles.
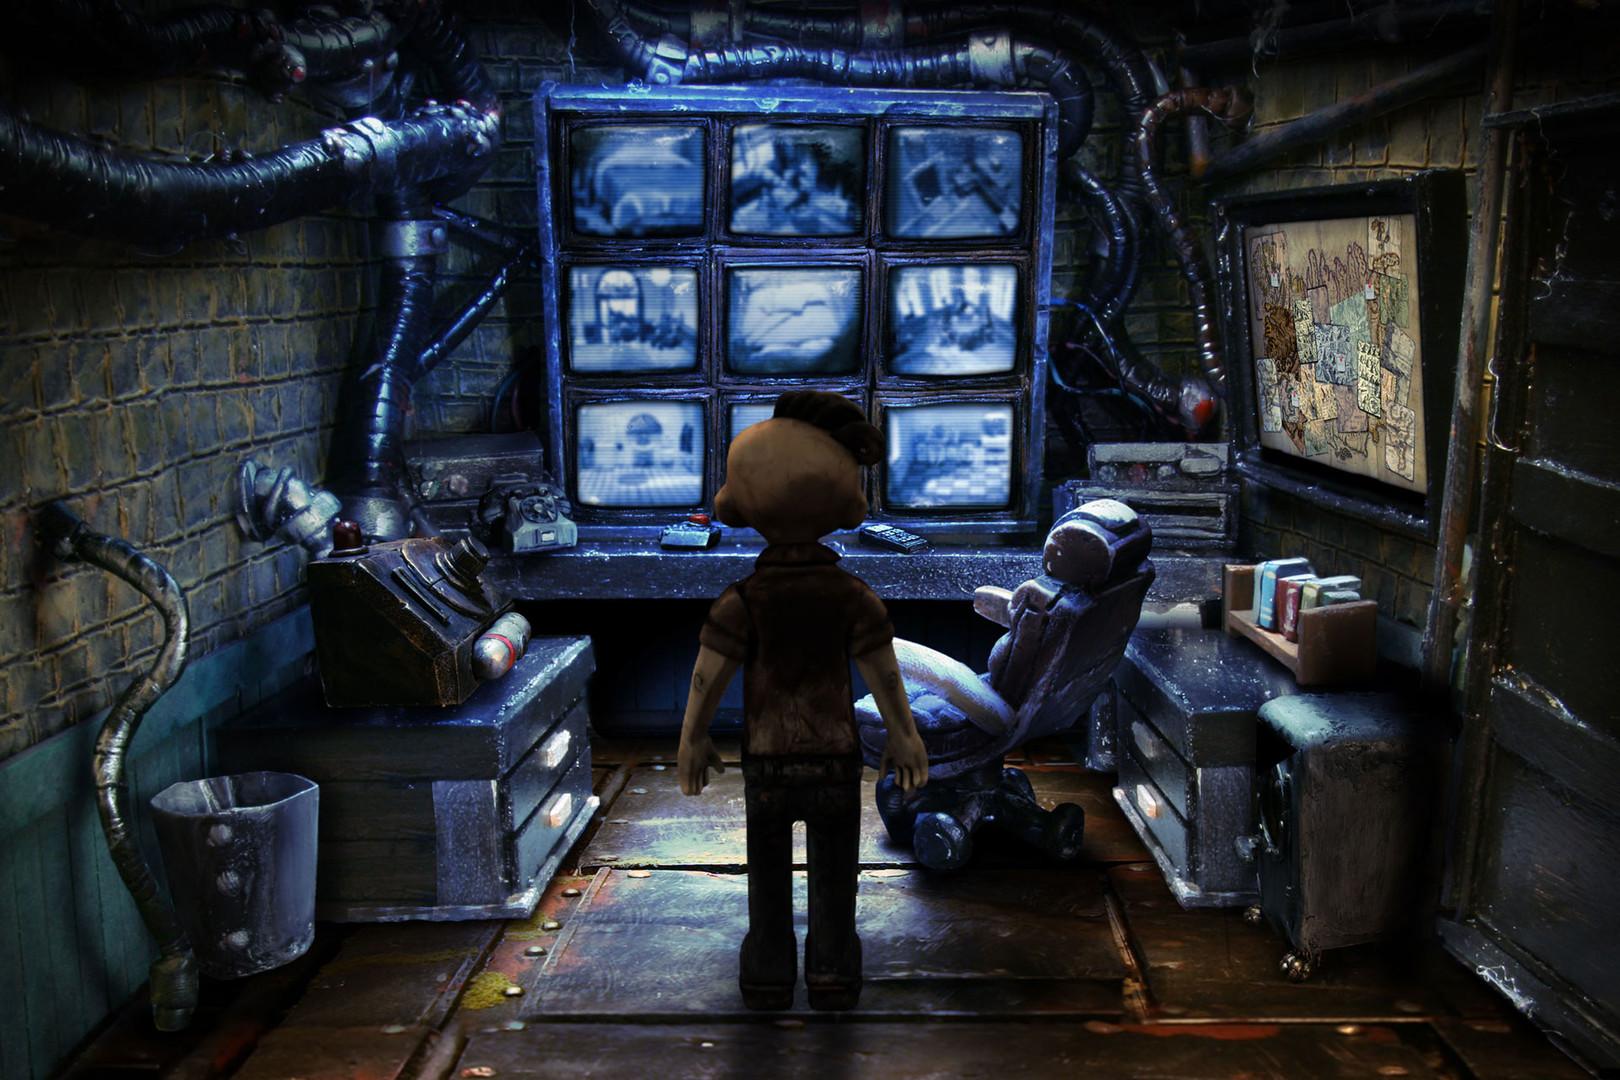
The rectangles correspond to the black areas on the camera footage you can see on the TV screens. The safe code changes per playthrough, so I can’t mention it here. Use the remote on the TV screens to switch the channels to match the code on your paper. This will reveal 6-digit code you need to use on the safe.
Once the safe is unlocked, open it and pick up the master key.
Leave the surveillance room, and use the master key to call the elevator. It’s time to go back to your apartment.
Once you’re in your apartment, repeat the same procedure as with Mr Morton: place the Sender Device on Alicia, and the Receiver Device on Victor. This will send you into Alicia’s dream.
Don’t own The Dream Machine? Get it on Steam for PC and Mac!