Aug
The Dream Machine: Chapter 4 Walkthrough
It’s time to enter another dream! Stuck in the fourth chapter of The Dream Machine? Figure out what you need to do with our walkthrough!
- The Dream Machine: Chapter 1
- The Dream Machine: Chapter 2
- The Dream Machine: Chapter 3
- The Dream Machine: Chapter 4
- The Dream Machine: Chapter 5
- The Dream Machine: Chapter 6
This walkthrough covers Chapter 4 of The Dream Machine. This walkthrough series covers the game on a puzzle-by-puzzle basis, which involves a lot of backtracking. It also omits side-content that isn’t relevant to the story progression. At all times, it is recommended that you explore the world of The Dream Machine yourself and only consult this walkthrough when you’re really stuck.

Putting Edie to Sleep
As before, take the receiver and sender devices off. Get out of the apartment, and ring the bell to Edie’s apartment, which is right next door. Edie will invite you in, so feel free to enter and explore her apartment.
When you’re done exploring, leave the apartment, and take the elevator down to the first floor. Enter Mr Morton’s office. Victor wonders what’s behind the secret door, so go up to it and examine the markings next to it. Unlike the safe code, this code remains the same through playthroughs. Go back to the TV room to figure out what the rectangles represent.
The rectangles represent the numbers 6, 1 and 3, from top to bottom. Examine the scrawl in Mr Morton’s office again. There is a clockwise or counter-clockwise sign, along with a multiplication sign, and then the ‘number’. What this means is that you have to turn something clockwise or counter-clockwise the number of the times given on the right.
The thing you have turn is the gramophone handle. Turn it clockwise 6 times, then counterclockwise once, and then clockwise 3 times. The door opens up, and in you go.
Pick up the notebook lying on the left side of the desk. Examine it, and you’ll find out about Mr Morton’s experiments. Flip through the pages until you find the “Sleeping Beauty Pizza Sauce” recipe. You’ll notice a dotted line running vertically on the right-hand-side page. To tear the page off, start by trying to turn the page, and then drag your mouse upwards.
This reveals the sleeping powder recipe that you need to put Edie to sleep.
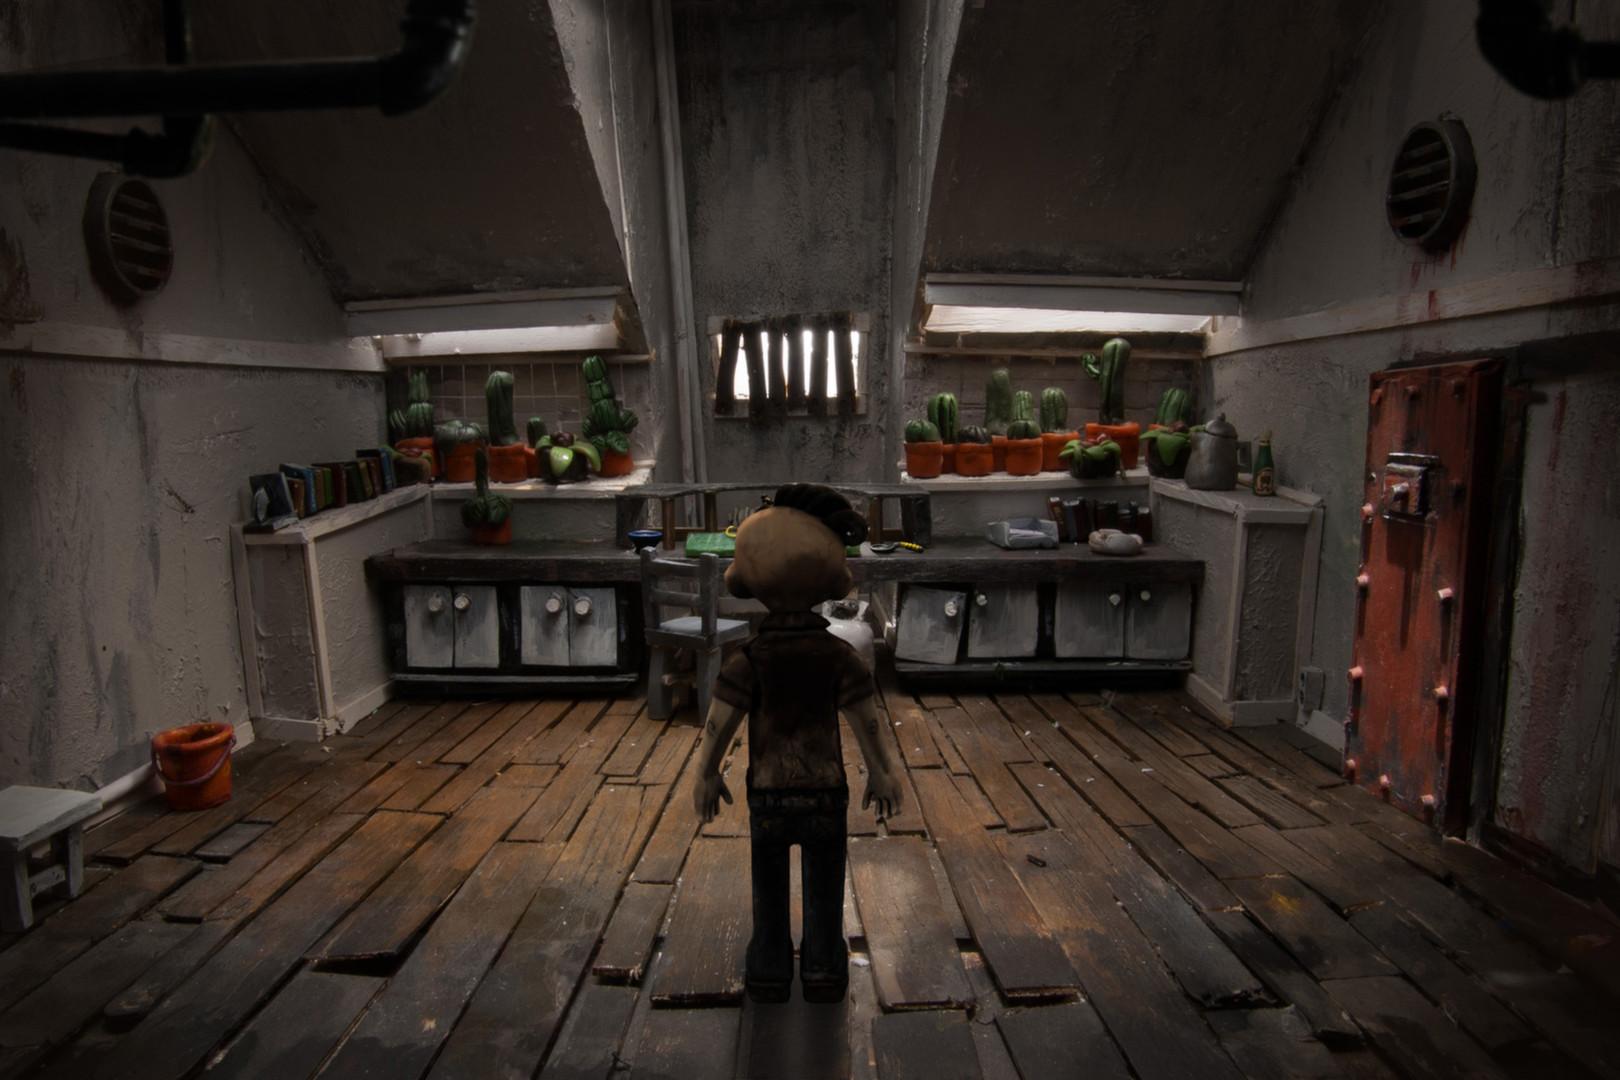
Leave the notebook screen, and pick up the flowers that you need from the greenhouse (the room that you’re in). The colours of the petals required for the recipe change per playthrough, but this should be simple enough. Next, examine the desk in the middle, and you’ll find a bottle of pills to the right. Pick it up.
Now, you need to find the other bottle of pills, and the sap from Lophophora Vulgaris. Examine the book again.
You’ll see a note saying that the key to the door code is “A to B”. This is referring to the brain scans found in the book. Open the book to the page with the brain scan marked ‘B’, and then turn the previous page halfway to the open page. Match the right edge of the ‘A’ brain scan to the left edge of the ‘B’ brain scan, and you’ll find a number in the edges. This is the door code.
In case you can’t seem to find it, it is 284691. Punch it into the keypad, and enter.
You’ll find the second box of pills on the table to the far right, next to the bathtub. Pick it up.
All that’s left now is to collect the sap. For this, first return to the greenhouse, and use the water faucet to the far left of the screen. Then, pick it up. Examine the desk in the middle of the screen, and pick up the beaker to the right. Now return to the bathroom.
Stick the water faucet into the Lophophora Vulgaris, and open the faucet. Use the beaker on the faucet to collect the sap. Return to the greenhouse. It’s time to get cooking.
Examine the ashtray to the right of the greenhouse, and you’ll find a lighter in it. Now examine the desk in the middle.
If you read Mr Morton’s notebook, you’ll know from the first page that toasting the petals before powdering them makes them more patient. So put one of the groups of petals on the spoon to the right, and open the gas valve at the bottom. Use the lighter on the burner. Click on the spoon and hold it over the flame. White smoke should emerge from the petals. Keep the spoon on the flame until the white smoke stops. Take the spoon off the flame immediately or the petals will be too dry. Pick up the dried petals, and repeat the same procedure for the second set of petals.
Once you’re done toasting the petals, pick up the blue pestle, and place one set of petals in the mortar. Use the pestle on the petals to grind them. Pick up the powdered petals, and repeat the procedure on the second set of petals.
While you’re at the mortar, put pills from one of the bottle of pills you have, into the mortar. Crush them with the pestle, and pick up the powder. Repeat the procedure on the second bottle of pills.
Now you have all the ingredients, so put the powdered petals and the powdered pills into the beaker containing the sap. Once you mix all the ingredients, Victor will remark that the powder is complete. Return to Edie’s kitchen now.

Use the sleeping powder on the teapot in the kitchen.
Pick up the pot on the stove and check if it is full of hot water. If it is empty, then turn on the faucet above the sink and fill up the pot. Once it has water in it, place it on the stove and make sure the stove is turned on. Wait for the water to boil (you should hear bubbling sounds, and steam will emerge from the pot). Pour the hot water in the pot, into the teapot.
Alternately, just keep the pot on the stove, and enter the living room to take your seat by the table. Ask Edie for some tea, and she’ll either ask to wait for the water to boil or go prepare the tea (if it is boiling). If it’s not boiling yet, wait until it is, and then ask Edie for the tea again.
Either way, once the tea is served, remind everyone that the tea is getting cold. Once everyone’s knocked out, follow the usual procedure: place the sender device on Edie, and the receiver device on yourself.
Edie’s Dream
Start by examining the wall behind Victor. You’ll notice pictures of the living room and the kitchen. Place the picture of the living room to the right of the picture of the kitchen. It doesn’t matter where exactly the two pictures are placed on the wall, so long as they are placed in that specific order.
Leave the wall, and voila: you can now enter the kitchen. This is the logic you’ll have to deal with in Edie’s room: you have to find and arrange pictures to recreate Edie’s home.
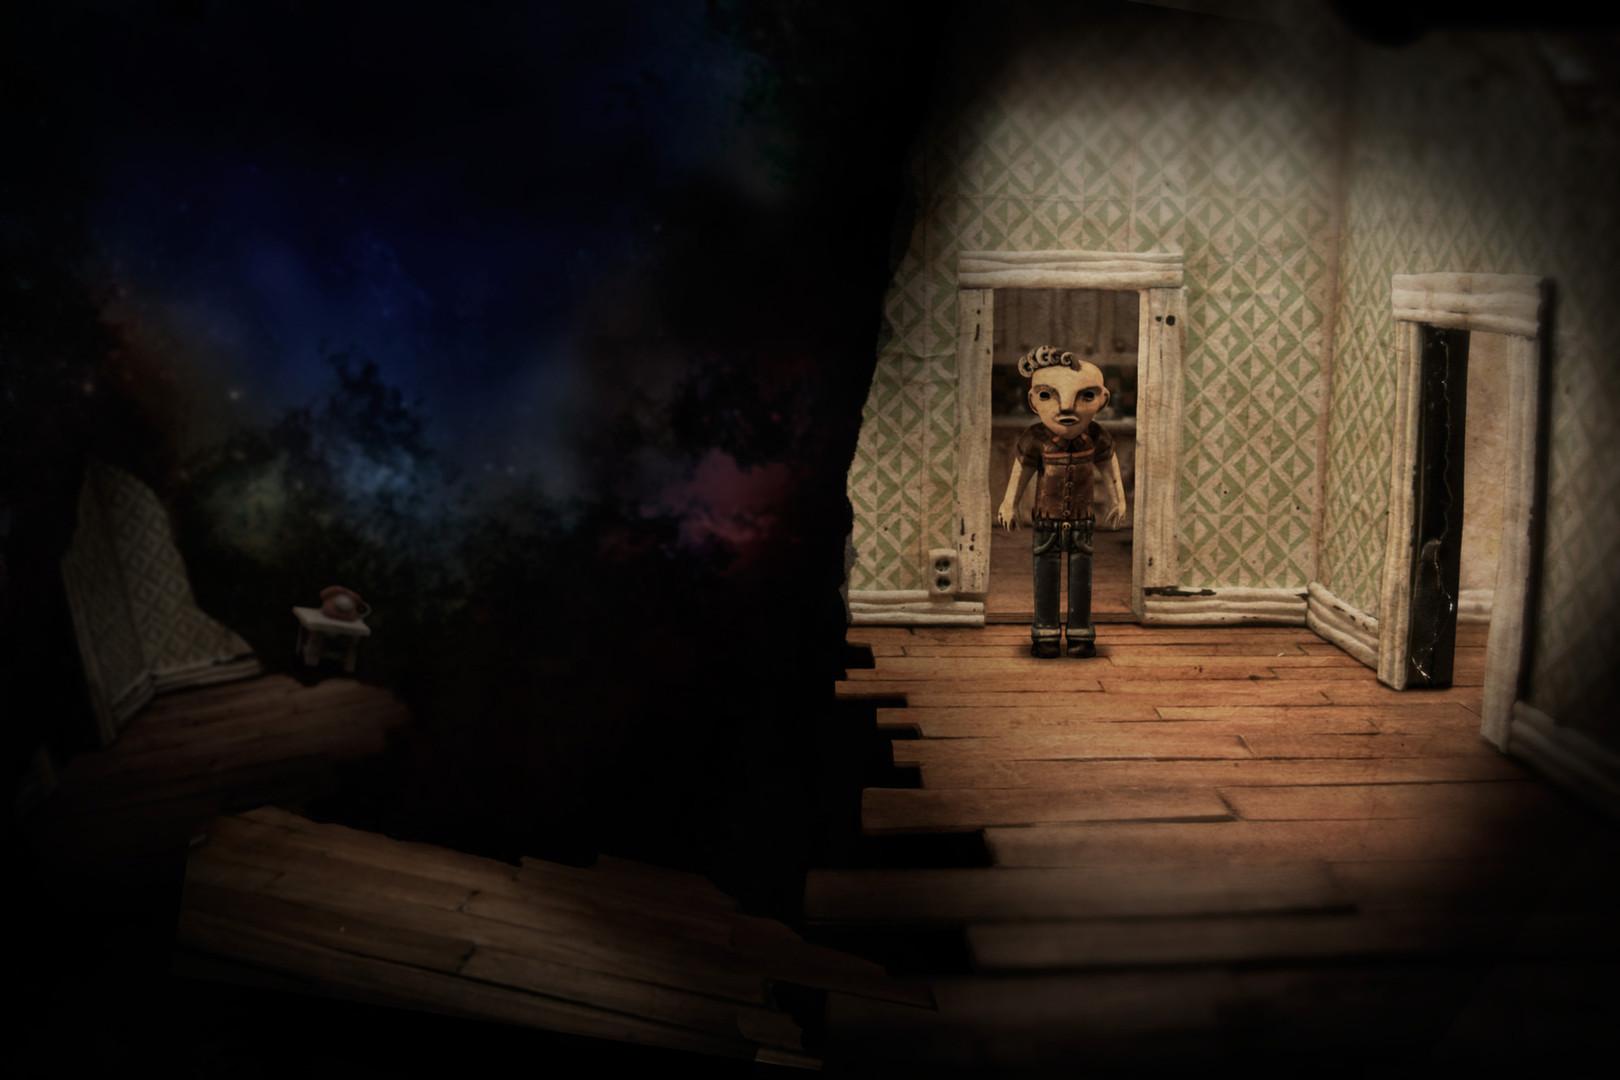
In the kitchen, pick up the framed photograph lying on the ground, and then return to the wall in the living room. Place the hallway photograph below the kitchen photograph, and place the living room photograph to the right of the hallway photograph. Essentially, this means you’ll walk left from the living room into the hallway, and then up into the kitchen.
Once you’ve set it up like that, enter the hallway, and then the kitchen. Examine the fridge and pick up the torn photograph. Return to the wall, and use the torn photograph on the kitchen photograph. Now the kitchen is fully traversable, and there’s a new picture hanging on the wall. Pick up the framed photograph and return to the wall.
Examine the framed photograph of the young man, and click on the photograph to get the option to remove it. Now that you have the actual photograph, you can place it in any of the ‘room’ photographs to see a ghostly image of that person. Feel free to place the young man’s photograph in each of the rooms to see what he thinks about.
Place the young man’s photograph in the hallway, and then then enter the hallway. You’ll find another room photograph, so pick it up from the wall. This is the bedroom photograph.
From this point on, you can really align the rooms as you see fit, so long as one door leads into another. In this walkthrough, we’ll assume you’re following the instructions above.
Place the bedroom photograph to the right of the kitchen photograph. Go to the bedroom via the kitchen, and pick up the nightstand photograph. It’s a picture of our very own Edie, it turns out. Take the photograph out of the frame, like you did before. As before, you can place Edie’s photograph in any of the rooms, or in combination with the young man’s photograph, to find out what she thought.
Place both Edie’s and the young man’s photograph in the kitchen, and then enter the kitchen. There’s yet another room photograph, so pick it up and return to the wall. It’s the bathroom, but you probably have no more free doors to access it. Just place the kitchen elsewhere (or pick it up) for the time being and place the bathroom above the hallway, so you can explore it.
In the bathroom, feel free to talk to the teddy. To proceed, pick up the framed photograph on the cross to the right, then return to the wall.
Take the old woman’s photograph out of the frame, and as before, feel free to put it in various combinations to explore Edie’s family life.
When you’re done, place the old woman’s photograph in the bedroom. Place Edie and the young man in the bedroom as well. Rearrange the rooms so that you can access the bedroom (the living room leads to the hallway, hallway leads to the kitchen, kitchen leads to the bedroom). Then, go to the bedroom.
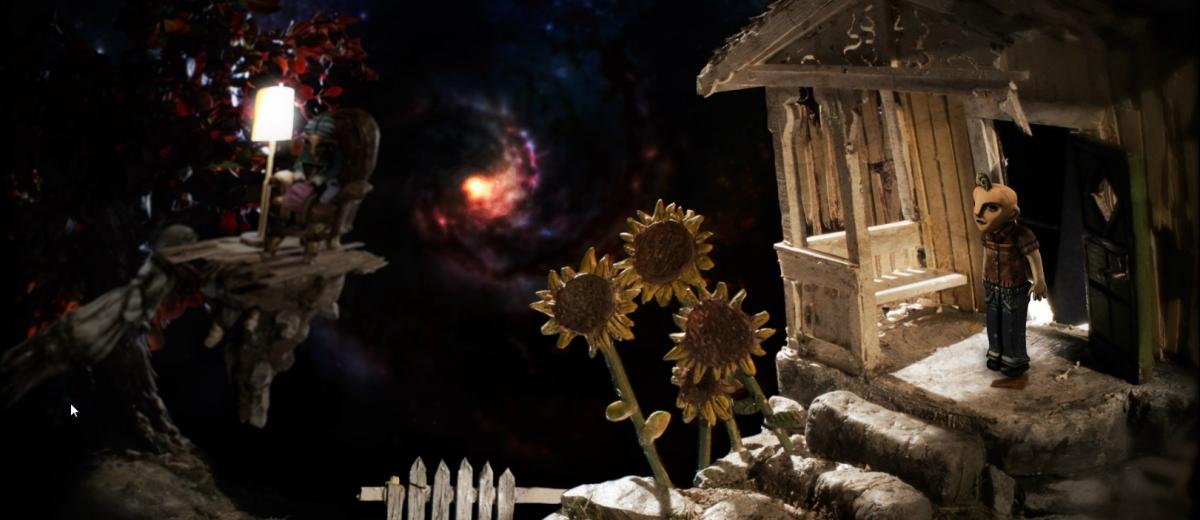
Marvel at the awkward scene you have just created, and then go pick up the final room photograph in the back. This one isn’t actually a room: it’s the outside of Edie’s place. Return to the wall.
Place the house photograph to the left of the hallway photograph, and place Edie, the young man and the old woman all into the hallway. Enter the hallway, and you’ll find that the door to the left is open now. Head right over to the door and exit left.
Once outside, pick up the door stop lying near the door, and use it on the door to keep the door open. Now, go left to the backyard. Talk to old Edie, and when you’re done, return to the hallway.
After talking to young Edie, go to the wall again. Place the house photograph right to the left of the living room photograph. If you placed the door stop on the door, you will be able to exit the apartment without trouble.
Pick up the old woman photograph, and go back to old Edie in the backyard. Use the old woman photograph on old Edie, and she’ll offer to lower her sewing bag. Once it’s down, place the old woman photograph in the sewing bag and talk to Edie to get her to reel it in. Then, talk to Edie and ask her to cut the photograph in half with her scissors.
That takes care of Edie’s tentacle. After you’re done talking to Edie, return to the living room and use the blurry portal on the floor to exit Edie’s dream, and end Chapter 4.
Don’t own The Dream Machine? Get it on Steam for PC and Mac!