Jun
Evan’s Remains Walkthrough – Part 3
Stuck in Evan’s Remains? Here’s how to solve the platforming puzzles from ‘Switches’, all the way through ‘From Below’.
- Evan’s Remains Walkthrough – Part 1
- Evan’s Remains Walkthrough – Part 2
- Evan’s Remains Walkthrough – Part 3
- Evan’s Remains Walkthrough – Part 4
- Evan’s Remains Walkthrough – Part 5
Welcome to the Into Indie Games guide to Evan’s Remains!
To follow this guide, you’ll need to have a look at the puzzle diagrams that accompany each puzzle section. You can find out what puzzle you’re solving by accessing the pause screen. Finally, remember that each puzzle solution assumes you are solving that puzzle upon encountering it. If you mess with the puzzle beforehand, the solutions may not apply! If this is the case, then quit to the main menu and continue your game to load the puzzle afresh.
For more information on Evan’s Remains, check out the official website here.
‘Switches’

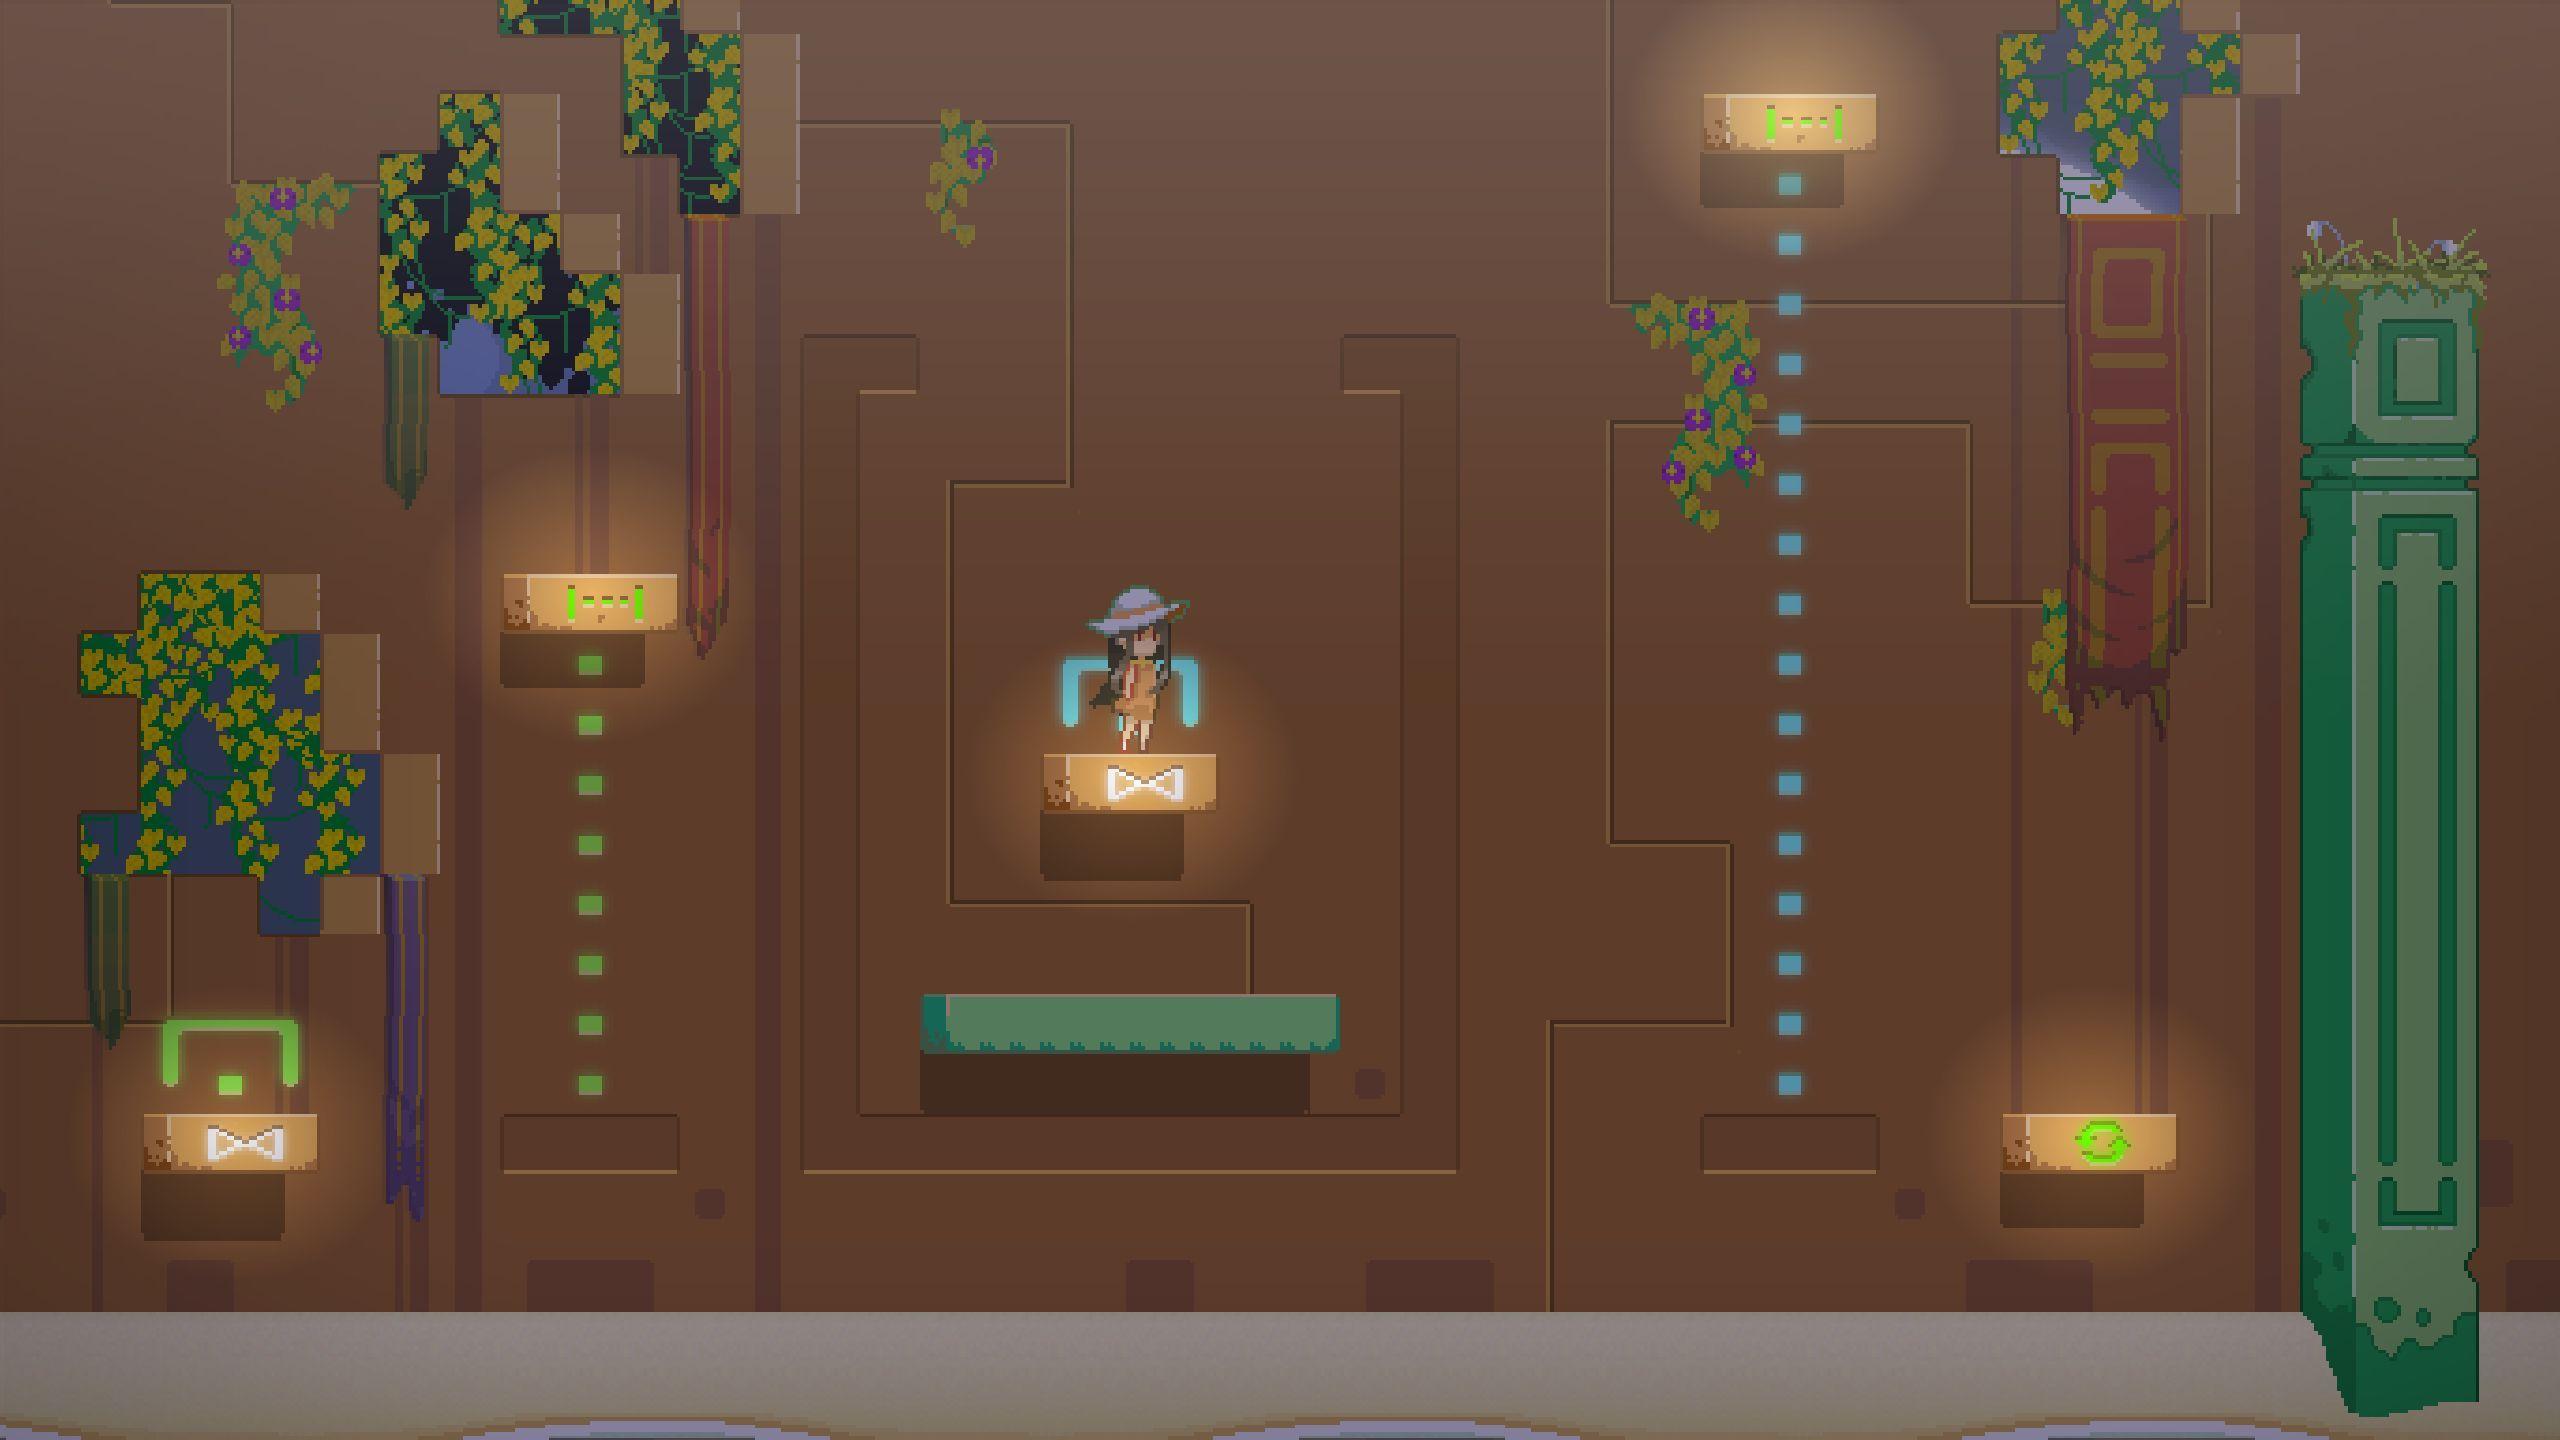
This puzzle has blue and green toggle switches. If you jump on the blue switch, you will move the blue teleporter only, as well as the activating and deactivating the regular blocks. If you jump on the green switch, the same happens, but for the green teleporter.
Jump on 2. Drop back to the ground and then jump on the Jumper at 3 and launch onto the teleporter at 4. This will take you to 5.
Jump onto the switch at 6 to raise the blue teleporter. Now jump onto 5, which will take you back to 4. Drop from here carefully, so that you land on the jumper, and use the jumper to land on the small horizontal area of 7.
Jump in place to deactivate 7 and fall onto the jumper. Use the launch from here to go all the way right onto the green platform.
‘Counterintuitive’

Jump on 2 and then onto 1. This will enable all the blocks on the screen.
Jump on 2 again and then right onto 3. Go as far right as you can, until the wall, and then jump right onto 4.
This will enable all the blocks again, while also moving the toggle button at 1.
Drop from here to the ground, without touching any of the other blocks. Jump on 2, and then onto 3. Once again, go all the way right until you hit the wall and then jump onto 4.
Now you’ve enabled the blocks once again, but the toggle button at 1 is back to its original position.
Now drop to the left of 4, onto the small horizontal part of 3 that is sticking out. Jump back onto 4, which will cause 3 to be enabled, 1 to be in the upper position, and 2 to be disabled.
Jump onto 3, then run all the way left and jump onto 1. This will enable all the blocks.
Jump onto 3, run all the way right and jump onto the horizontal area of 2. Jump from here onto the green pillar.
‘From Above’

Jump on 1. Drop off and jump on the teleporter at 5 to go to 2. From here, very carefully jump to the right so that you land on the blue toggle switch at 4.
This will shift 5 up and disable the ‘cage’ that is 3. Jump back onto the teleporter at 2 to go to 5. Jump onto the green pillar.
‘From Below’

Jump on 1 twice. Jump on 2 twice. Jump on 3, go right, and jump on 4 to be taken to 5.

Jump on 6. Jump onto 3 (to the right of 6), then back onto 6. Jump on 6 once again.
Jump on the teleporter at 5 to be taken to 4. Now drop to the ground and jump on 1. Return to 4, so that you’ll be taken back to 5.
Drop to the newly-positioned 2 and jump on it one more time to enable all the blocks.
Carefully jump onto 8 so that you don’t hit 3. Once you’re on the horizontal platform of 8, run right until you hit the wall and jump right onto 3. Keep running right until you hit the wall and jump onto the green pillar.
Check out the next part of our Evan’s Remains walkthrough here!
