Nov
Monument Valley Walkthrough – Chapter 9, Part 3
Stuck in Monument Valley? Here’s how to complete part 3 of the ninth chapter of the game, which has you descending deep into the depths.
Monument Valley Walkthrough Table of Contents
- Chapter 10
- Ida’s Dream
Welcome to the Into Indie Games guide for Monument Valley! This guide was made with the Panoramic Edition in mind, but it should be valid for all versions of the game.
For more information on Monument Valley, check out the official website here.
Chapter 9
Part 3
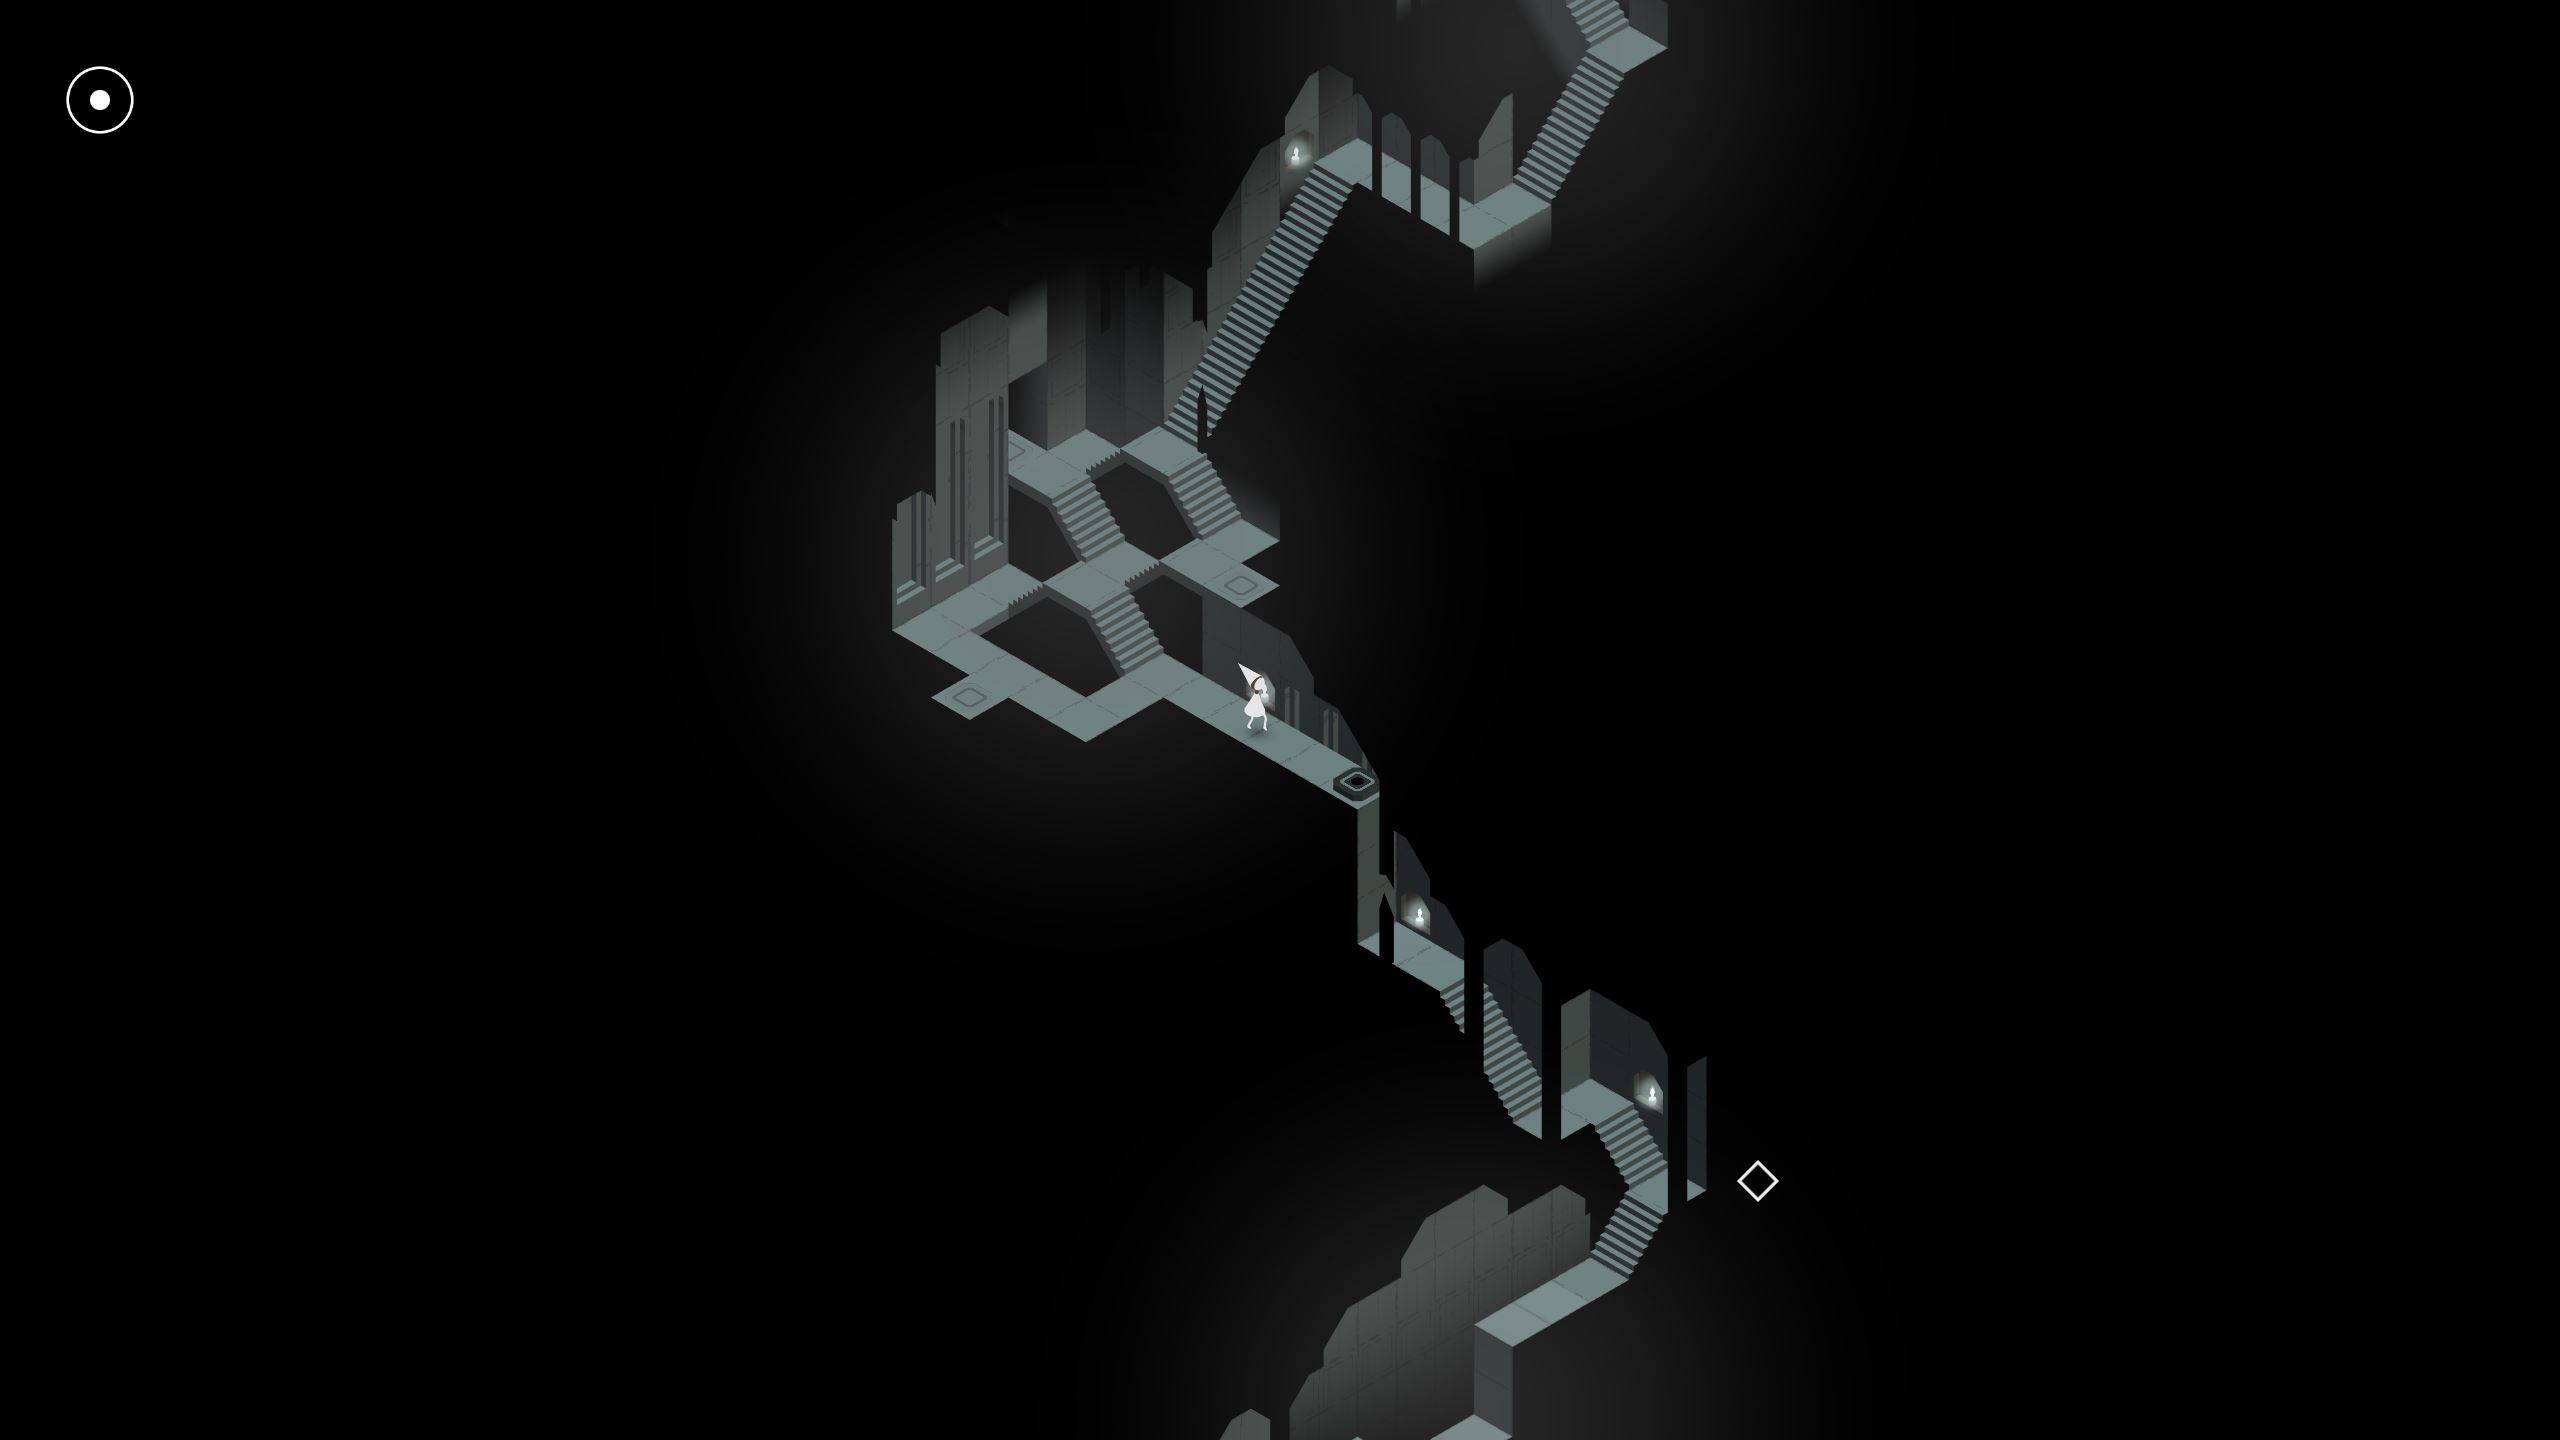
Go down the several flights of stairs to find an area with many stairs and three buttons to press. Press all three buttons. This raises the path ahead and along with it, the grey button at the end of the path. Step on this new button.

Go down the next three flights of stairs, but stay on the tile immediately after the last flight of stairs. If you go any further, the rotation handles below Ida will be deactivated until you step back.
Rotate the rotation handles clockwise until the path ahead is aligned (you will have to keep rotating it until the path becomes aligned – don’t stop until it is). Go down the stairs ahead and then to the very end of the path, so that you find yourself on another path.

Use the circular handles here to adjust the pillar so that Ida can step across it and cross the gap in the path. Keep your eye on the mirror to get an idea of where the pillar is. Go to the end of this path and descend the ladder.
From here, go down the stairs to talk to the blue figure and then continue down the long flight of stairs up ahead.

Continue along this path, descending as you go, until you’re at the very bottom. Then approach the sarcophagus to complete the level.
Head on to the next part of our Monument Valley walkthrough here!