12
Mar
Mar
Stela Walkthrough – Part 1 (Farm, Forest)
Stuck in Stela? Don’t despair! Check out our Stela walkthrough to find out how to get past the farm and forest sections of the game.
- Stela Walkthrough – Part 1 (Farm, Forest)
- Stela Walkthrough – Part 2 (Battlefield, Underground)
- Stela Walkthrough – Part 3 (Depths, Snowfield)
- Stela Walkthrough – Part 4 (Village, Freight Lift)
- Stela Walkthrough – Part 5 (Monastery, World’s End)
The Farm
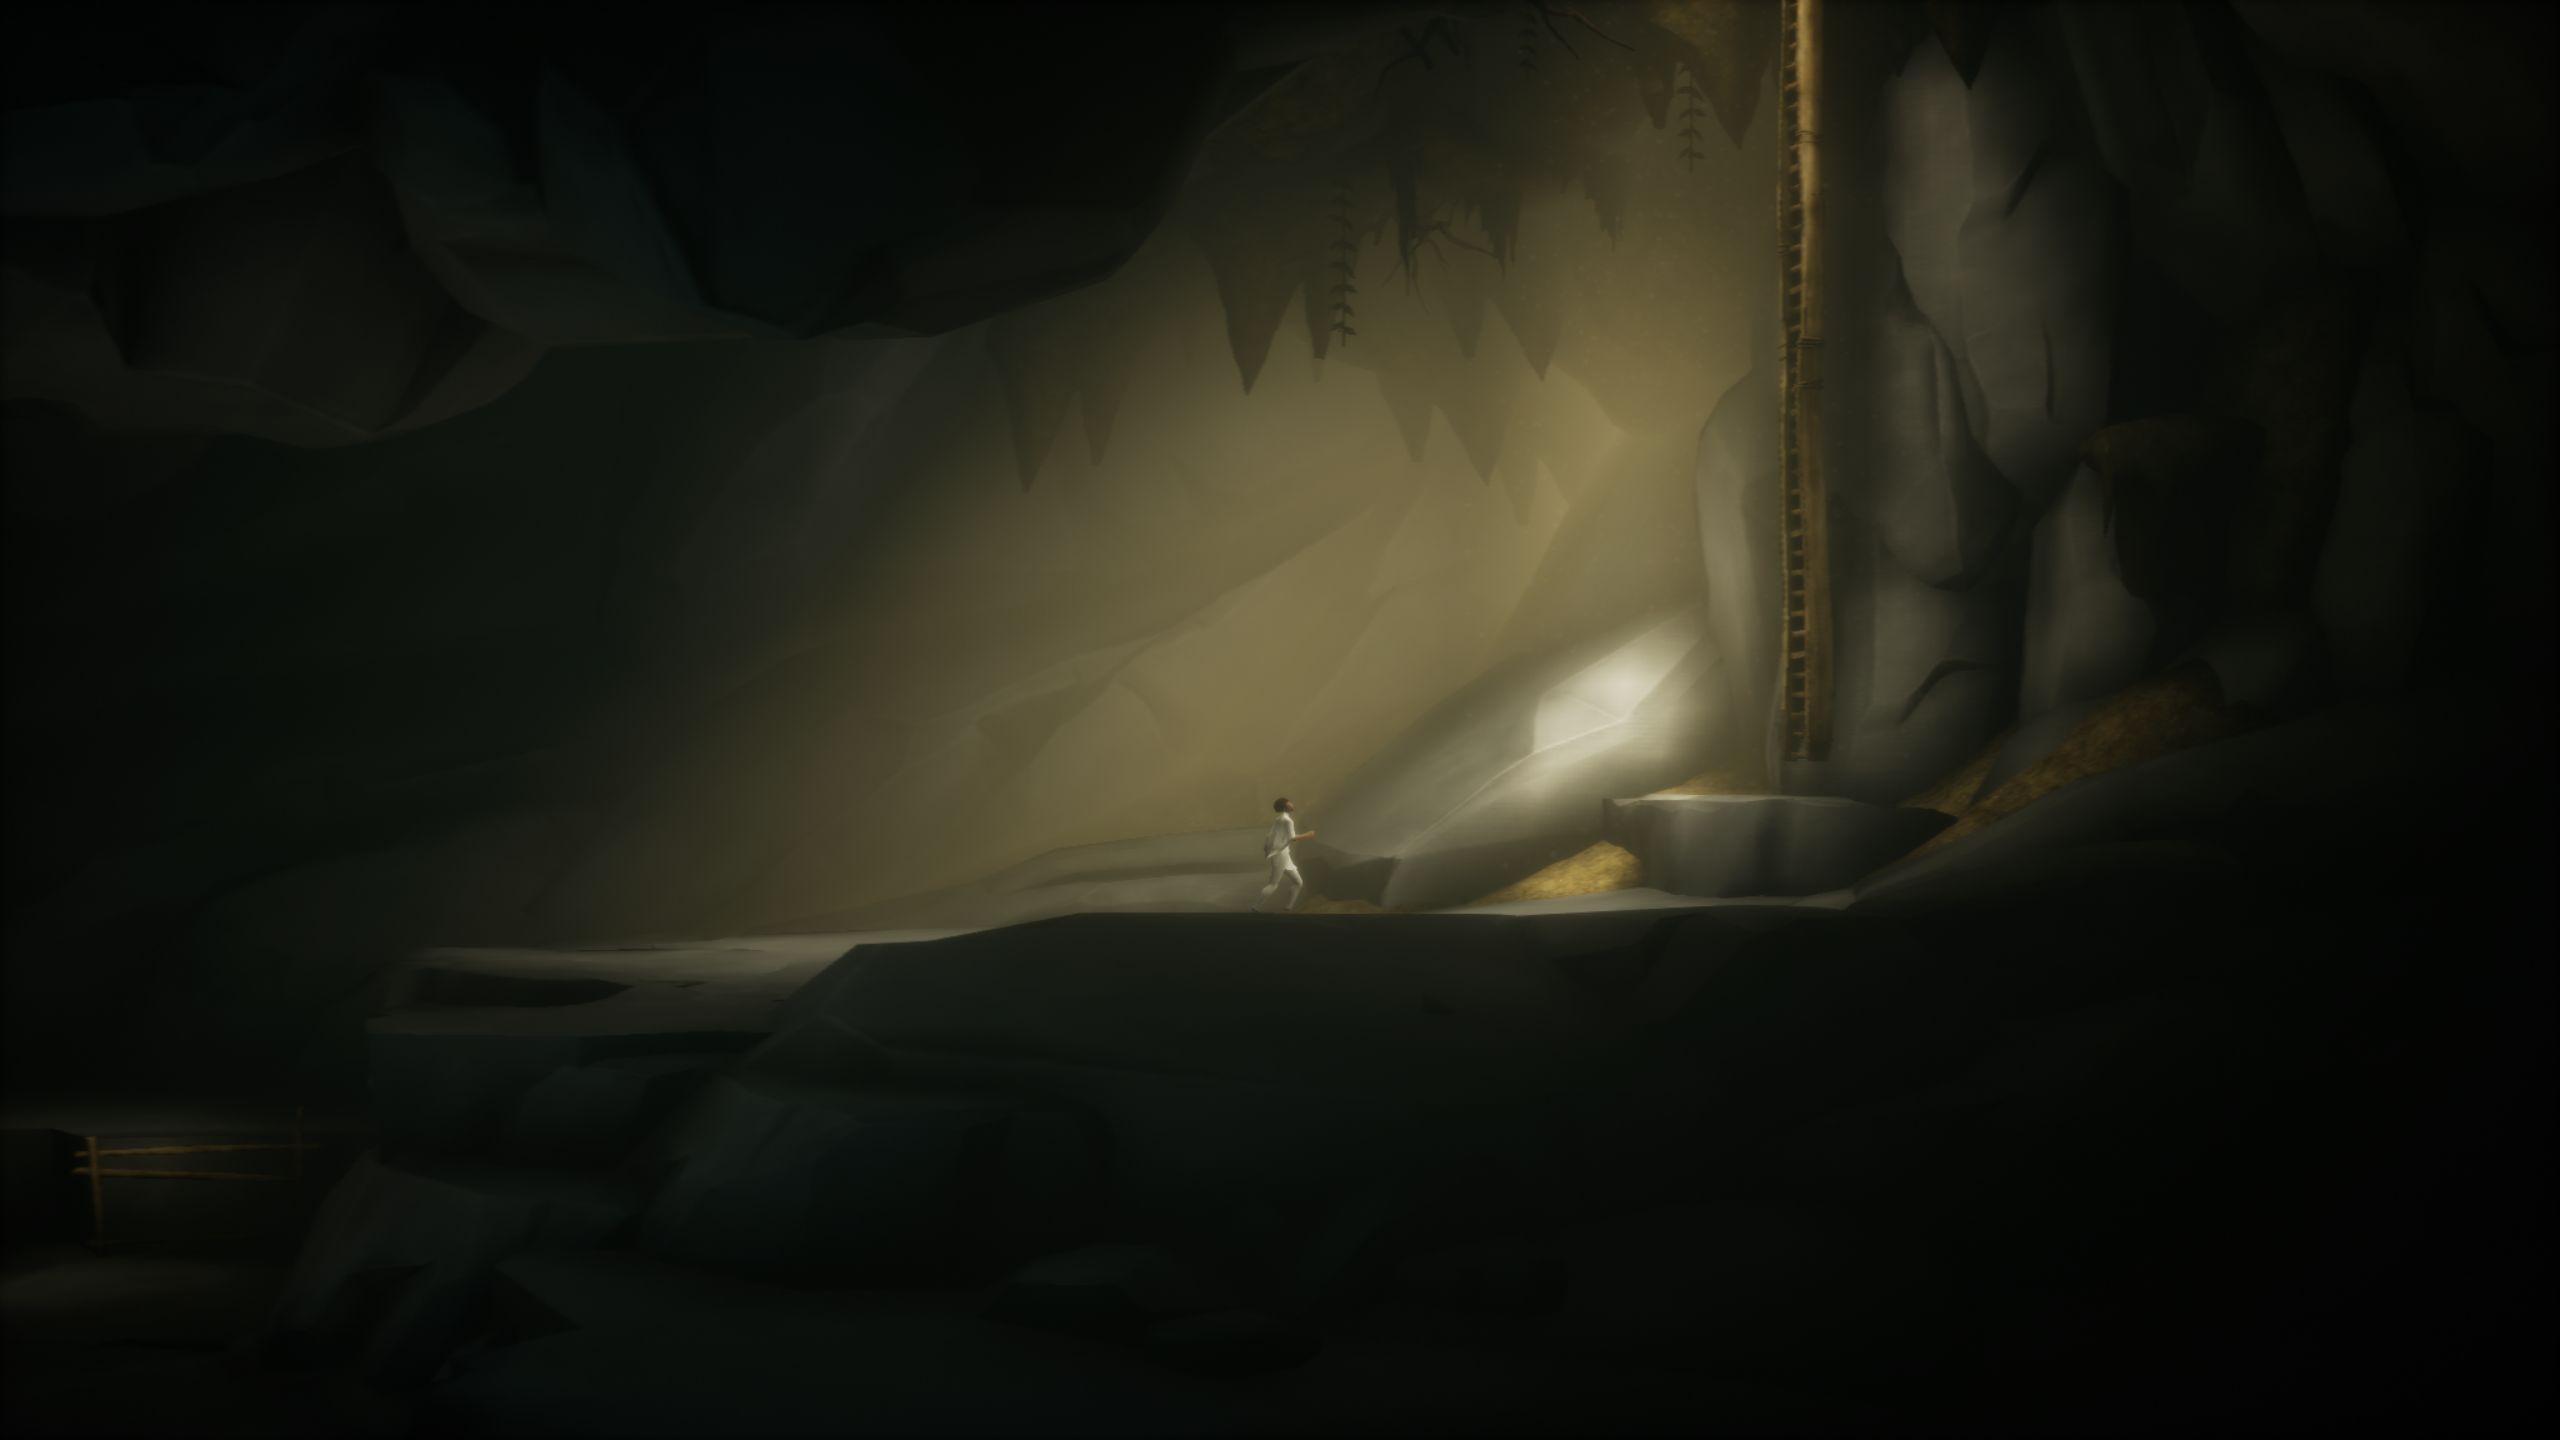
 Start by moving Stela to the right. Jump in the direction opposite to the camera to climb the little ledge, and then jump onto the higher ledge. Proceed right and climb the long ladder up.
Once you’re out, keep going to the right through the field and the gate. When you reach the cart, drag it to the right so that it is right next to the stairs. Climb up onto the cart and then the awning. Head right through the broken section and continue that way.
Once you’re on the floor, things start to get perilous. Begin by running right. When you fall from the broken stairs, jump again to climb onto the intact portion of the stairs. Go upstairs and jump onto the crate, through the window, and you’ll find a cupboard with a torn red net across it.
Start by moving Stela to the right. Jump in the direction opposite to the camera to climb the little ledge, and then jump onto the higher ledge. Proceed right and climb the long ladder up.
Once you’re out, keep going to the right through the field and the gate. When you reach the cart, drag it to the right so that it is right next to the stairs. Climb up onto the cart and then the awning. Head right through the broken section and continue that way.
Once you’re on the floor, things start to get perilous. Begin by running right. When you fall from the broken stairs, jump again to climb onto the intact portion of the stairs. Go upstairs and jump onto the crate, through the window, and you’ll find a cupboard with a torn red net across it.
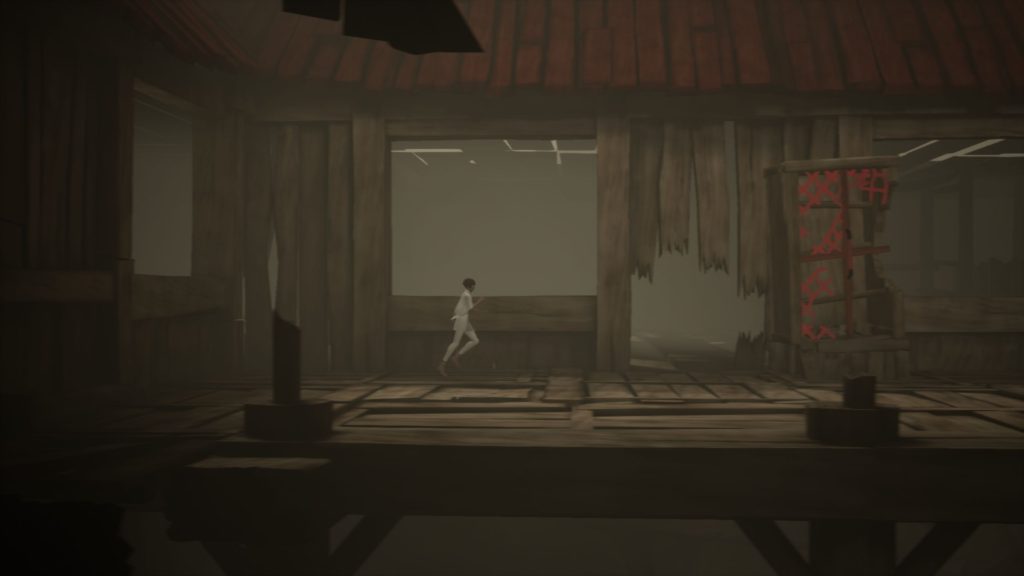 Pull the cupboard to the left to block off the hole in the wall, preventing the beetles from attacking you. Continue running right, off the wooden floor and onto the ground.
Here’s you’ll find a covered cart. Pull it to the right until it slides off the slope. Proceed right through the broken section and down the next slope. You’ll enter another barn here. Very quickly climb onto the haystack with the red string around it, then jump left onto the red handle for the barn door.
If you do it right, Stela will hang onto the door handle and bring it down, trapping the beetles out of the barn. If a large number of beetles made it inside the barn, then it’s too late, and you’ll have to try this section again.
Push the haystack to the far right, until it’s just below a wooden platform. Go to the right and use the lever, pulling it to the left. This will affect the metal track on the ceiling. Climb onto the haystack and up the two wooden platforms. Pull the vertical lever here to bring the wooden crate towards the ladder on the far side of the barn.
Pull the cupboard to the left to block off the hole in the wall, preventing the beetles from attacking you. Continue running right, off the wooden floor and onto the ground.
Here’s you’ll find a covered cart. Pull it to the right until it slides off the slope. Proceed right through the broken section and down the next slope. You’ll enter another barn here. Very quickly climb onto the haystack with the red string around it, then jump left onto the red handle for the barn door.
If you do it right, Stela will hang onto the door handle and bring it down, trapping the beetles out of the barn. If a large number of beetles made it inside the barn, then it’s too late, and you’ll have to try this section again.
Push the haystack to the far right, until it’s just below a wooden platform. Go to the right and use the lever, pulling it to the left. This will affect the metal track on the ceiling. Climb onto the haystack and up the two wooden platforms. Pull the vertical lever here to bring the wooden crate towards the ladder on the far side of the barn.
 Now back down the wooden platforms to the horizontal lever and pull it to the right to bring back the metal track to where it originally was. Go back up to the vertical lever and pull it to bring the wooden crate within reach.
Now pull the vertical lever on the platform once more and very quickly jump onto the wooden crate that you just brought close to you. It will take some time for the crate to start moving, so you should be standing atop it by the time it starts moving.
When the crate comes to rest, head left and climb up the ladder.
Head right and run! Go through the window and then you’ll find yourself on the ground. Cross the bridge and proceed right into the forest.
Now back down the wooden platforms to the horizontal lever and pull it to the right to bring back the metal track to where it originally was. Go back up to the vertical lever and pull it to bring the wooden crate within reach.
Now pull the vertical lever on the platform once more and very quickly jump onto the wooden crate that you just brought close to you. It will take some time for the crate to start moving, so you should be standing atop it by the time it starts moving.
When the crate comes to rest, head left and climb up the ladder.
Head right and run! Go through the window and then you’ll find yourself on the ground. Cross the bridge and proceed right into the forest.
The Forest
 Continue right through the honey-coloured forest, climbing platforms as necessary. Slide down the slope and continue right as you jump off the wooden log.
When you come across a large tree stump and a Shadow, hide behind the tree stump and stay there. When the Shadow turns away and starts walking in the direction opposite to the camera, run to the right.
Needless to say, if any of the Shadows see you, you’re pretty much dead.
Continue right, climbing platforms as necessary, until you come across another Shadow. Continue hiding past this one, but it will go right anyway. When you reach a clearing, wait behind the tree until the Shadow turns away. Then run to the right and proceed to hide behind the other platforms.
Continue right through the honey-coloured forest, climbing platforms as necessary. Slide down the slope and continue right as you jump off the wooden log.
When you come across a large tree stump and a Shadow, hide behind the tree stump and stay there. When the Shadow turns away and starts walking in the direction opposite to the camera, run to the right.
Needless to say, if any of the Shadows see you, you’re pretty much dead.
Continue right, climbing platforms as necessary, until you come across another Shadow. Continue hiding past this one, but it will go right anyway. When you reach a clearing, wait behind the tree until the Shadow turns away. Then run to the right and proceed to hide behind the other platforms.
 When you reach an uprooted tree, you’ll find another Shadow. Hide behind the uprooted tree until the Shadow turns to the opposite direction, and then run right. Keep hiding and moving when the Shadow turns away (keep an eye on its glowing eyes to know where it’s looking).
Eventually, as you make your way right, the Shadow will walk away in the direction of the camera.
Keep going until you reach a bridge. Here, once you jump down the tree stump just before the bridge, you will cause a stone to fall into the river, alerting the Shadows nearby.
When you reach an uprooted tree, you’ll find another Shadow. Hide behind the uprooted tree until the Shadow turns to the opposite direction, and then run right. Keep hiding and moving when the Shadow turns away (keep an eye on its glowing eyes to know where it’s looking).
Eventually, as you make your way right, the Shadow will walk away in the direction of the camera.
Keep going until you reach a bridge. Here, once you jump down the tree stump just before the bridge, you will cause a stone to fall into the river, alerting the Shadows nearby.
 As soon as the stone falls into the river, go right and into the log. Stay in the log. A previously off-screen Shadow will run over to investigate. Proceed right once it has passed you.
As you go right, you’ll down another slope. A Shadow will appear, so hide behind the next tree and move only when the Shadow isn’t looking. Eventually, you’ll come across a broken trunk with a hollow inside. Climb into the hollow and go to the right to hide yourself. Stela should not be visible on the screen if she’s gone to the right inside the trunk’s hollow.
Wait for the Shadow to inspect the place. When it scampers off, get out of the hollow and proceed right.
As soon as the stone falls into the river, go right and into the log. Stay in the log. A previously off-screen Shadow will run over to investigate. Proceed right once it has passed you.
As you go right, you’ll down another slope. A Shadow will appear, so hide behind the next tree and move only when the Shadow isn’t looking. Eventually, you’ll come across a broken trunk with a hollow inside. Climb into the hollow and go to the right to hide yourself. Stela should not be visible on the screen if she’s gone to the right inside the trunk’s hollow.
Wait for the Shadow to inspect the place. When it scampers off, get out of the hollow and proceed right.
 The next Shadow will be too busy to notice you cross the pond, so keep going until you encounter a stream with a rock in the middle. Wait for the Shadow to turn the other way, and then cross the pond.
Next, you’ll have another slide down. Keep going until you encounter a slightly shining rock. Pick it up and go right, towards the gully with the river beneath and the Shadow bashing its head on the tree ot the right. Toss the rock into the gully and once the Shadow has gone down into the river, jump across the chasm.
Proceed right for a ways, climbing and jumping past obstacles as required. Eventually, you’ll encounter a log hanging over a gully. Jump onto the log and clamber in (don’t jump up yet). Wait there as the Shadow investigates. When the Shadow goes below the log, head to the left to expose yourself again and jump up to get past the log.
The next Shadow will be too busy to notice you cross the pond, so keep going until you encounter a stream with a rock in the middle. Wait for the Shadow to turn the other way, and then cross the pond.
Next, you’ll have another slide down. Keep going until you encounter a slightly shining rock. Pick it up and go right, towards the gully with the river beneath and the Shadow bashing its head on the tree ot the right. Toss the rock into the gully and once the Shadow has gone down into the river, jump across the chasm.
Proceed right for a ways, climbing and jumping past obstacles as required. Eventually, you’ll encounter a log hanging over a gully. Jump onto the log and clamber in (don’t jump up yet). Wait there as the Shadow investigates. When the Shadow goes below the log, head to the left to expose yourself again and jump up to get past the log.
 Head right and you’ll encounter another Shadow-and-log stealth moment. Once the Shadow runs past, go right. Keep running and sliding down until you spot a burning tree. Take heed here, as you need to run to escape the Shadows, but there’s no puzzles involved – just run!
Thanks for reading… . For more interesting articles from Into Indie Games, check out the links below:
INDIE DEV INTERVIEW: CHEWA, THE MATRIARCH
THE WILD AT HEART STORY WALKTHROUGH – PART 1 (ESCAPE)
LAIR OF THE CLOCKWORK GOD – REVIEW