Mar
Stela Walkthrough – Part 5 (Monastery, World’s End)
Stuck in Stela? Check out our Stela walkthrough to find out how to get past the monastery and World’s End sections of the game.
- Stela Walkthrough – Part 1 (Farm, Forest)
- Stela Walkthrough – Part 2 (Battlefield, Underground)
- Stela Walkthrough – Part 3 (Depths, Snowfield)
- Stela Walkthrough – Part 4 (Village, Freight Lift)
- Stela Walkthrough – Part 5 (Monastery, World’s End)
Welcome to the Into Indie Games walkthrough of Stela!
For more information on Stela, check out the game’s official website here. Also check out our review of the game here.
The Monastery

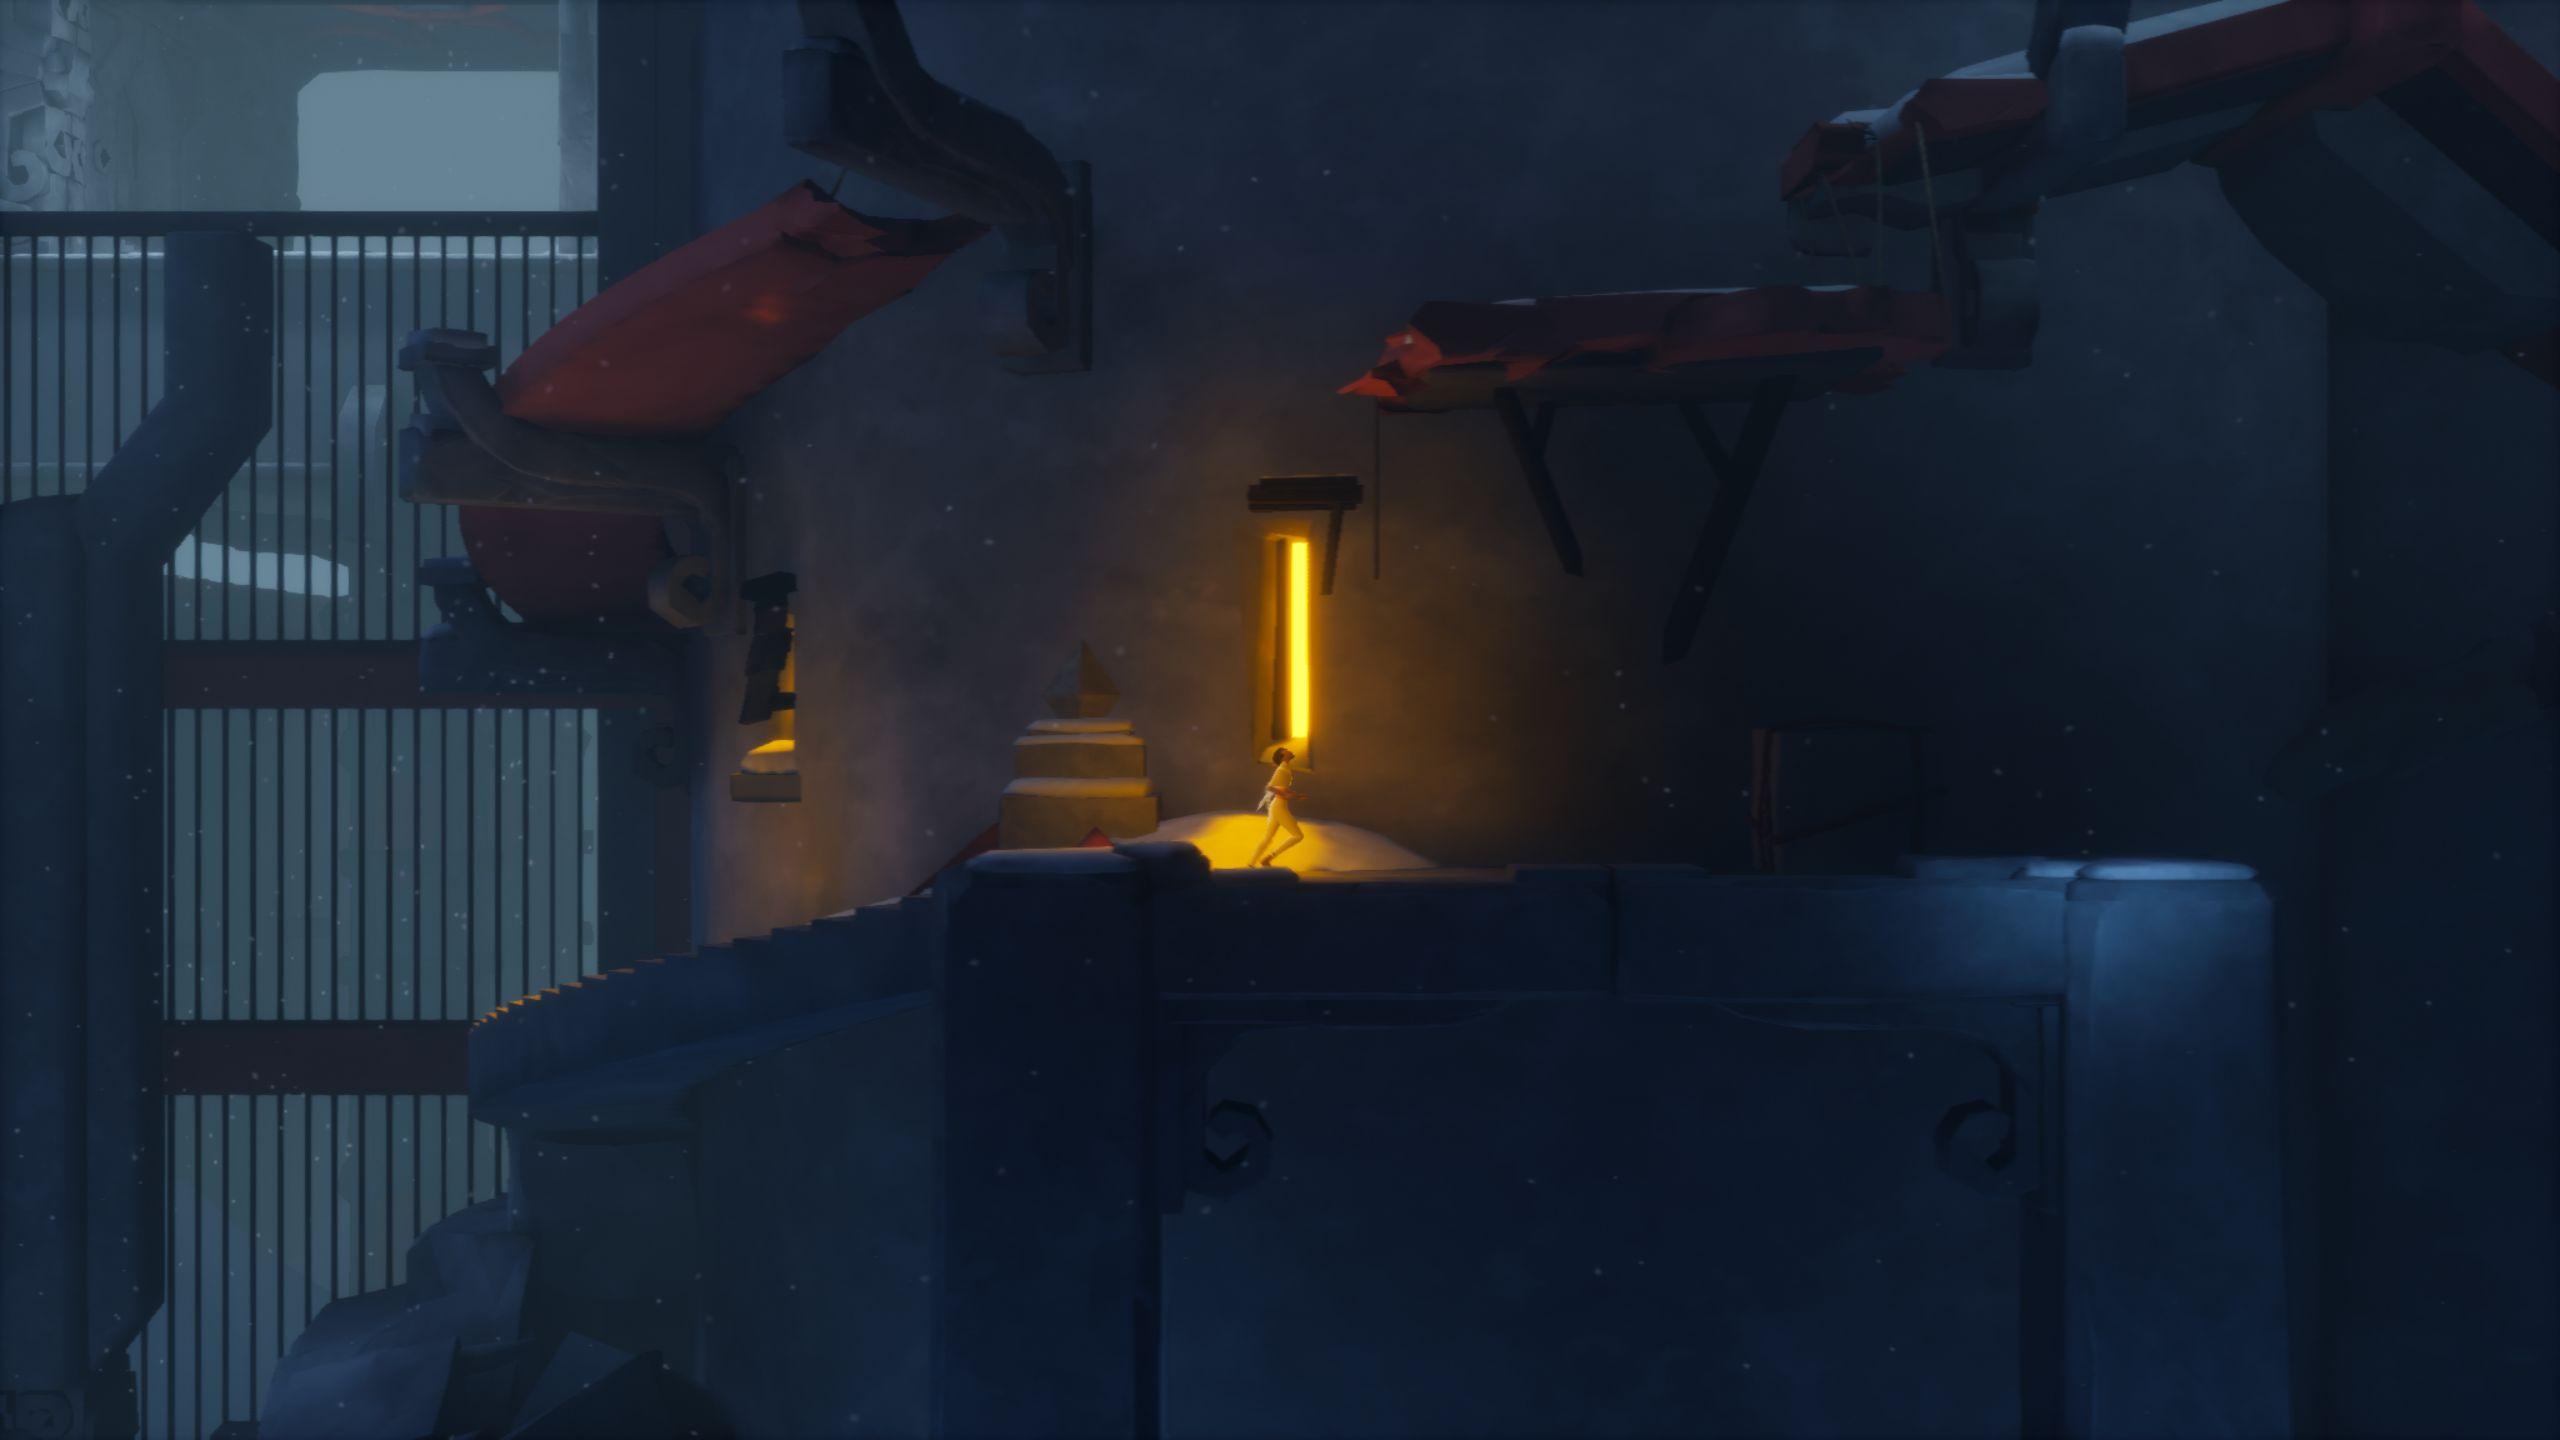
Head right, up the snow-covered roof and past the stony section. Keep running to avoid the burrowing monster and climb up the rocks. Head right past the orange slit windows until you find a box. Drag the box to the left so that you can climb onto the ledges above.
Proceed right from the ledges until you slide down into a gallery with a lamp. Enter the building to find a room with two torches blowing blue. Pick up the torch to the right and use it on the shrine-device in the middle of the room. Then, grab the torch to the left and take it with you to the right.
Here, you can proceed safely through the birds as long as you have a blue flame. Keep going right past the birds until you find a large fire cauldron. Toss the torch into the cauldron to light it up.

Head right from the cauldron and drag the box with you to protect yourself from the birds. Pull the lever when you get to it to bring the shutters down, and keep dragging the box to the right. Position the box just below the gate.
Enter the room to the right and grab the glowing diamond. If you placed the box correctly, the gate will be open enough for Stela to run through. Head to the left now (make sure the shutters are down with the lever!), and place the diamond in the ring next to the blue-flame cauldron.
Once the diamond is in place, run over to the bottom of the cauldron and use the white switch there.

Once the moving stops, grab the diamond again and head left into a new room. Put the diamond into the ring and proceed left, ignoring the birds. Climb up the ladder and use the crank here to bring a blue lantern close to you. Run over to the lantern and then keep walking slowly, in-step with the lantern so that the birds don’t get to you.
Use the lever on the other side of the beam, and once the lantern falls and the shutters go down, return the way you came. Grab the blue torch next to the fallen lantern and proceed right, safe from birds.
Pass the blue-flame cauldron and go right through the birds to light up another cauldron. This one starts to move, so follow it without falling behind or going too far ahead. This section involves quick movement, climbing and jumping!

At the end of the cauldron’s path, you will find a lever. Use the lever to lower the next gate, and proceed right through it.
Head right, grab the box and drag it to the right so you climb onto the higher stone floor. Continue going right and finally, when you reach the inner sanctum, climb onto the stone platform.
Here, you have three levers on the high disk, each of which manipulates a different ring of the puzzle within. Use the levers to rotate the rings and align the image. It’s a tricky image to get right, so you may have to use the levers multiple times. Note that the outermost ring cannot be manipulated, so it’s wise to account for that.

If it helps, the image resembles an eye in a triangle, and the triangle is penetrating a large circle with a smaller circle inside it.
Once the image is aligned, step onto the brick with the glowing image on it. Then, start running left over the tiles. Go as fast as you can, because the tiles behind you will start to fall off.
When the final tile is remaining, Stela will ascend.
World’s End

After Stela’s ascension, you will find yourself in a very abstract space. Go right over the luminescent bridge and wait for the pyramid robot to scan the floor. If you step into its scanning triangle, you will die.
Once the robot is gone, use the glowing lever on the platform. Then, head right over another luminescent bridge. Another pyramid robot appears, and this one is quite persistent. To proceed, you need to jump over the scanning triangle and run right as fast as you can. This may take some tries to get right.
Continue right on the bridge and jump onto the next platform. Stay at the edge of the platform, because you have another robot scanning the place. Once it scans the central ring on the platform, it activates a translucent lift. Run to the right of the platform and wait for the lift to come down (it will disappear once the robot stops scanning, but remain in place regardless). When the robot is scanning the ring again, jump onto the lift.

Follow the lift to the left and then drop onto the pyramid robot. It will carry you over to the next platform.
Jump onto the next platform, where you’ll have to climb translucent platforms. The catch is that only one set of platforms will appear, depending on which ring the robot has most recently scanned. Climb onto the lower-left platform, then the lower-right, then the upper-left, and the upper-right.
Once you’re on the uppermost platform, the robot will assist you by bringing up more platforms to your right. Go right over these platforms and through the portal.
Next, run right onto the incoming pyramid robot, and head down to the lower platform. Go all the way right and jump onto another pyramid robot when it arrives to the right of the platform. Let it carry you over to the next section.

Jump onto the platform here and use the switch. Next, jump up to the upper-right platform and use the switch there. Drop down and drag the translucent box to the right, so that you can jump up to access the upper-left platform. Pull the lever here, and then drop down onto the box below. Drag it to the right so that you can now access the lower-right platform with the lever.
Pull the lever and drop down to the lower platform, and then once more to reach another lever. Use this lever to finally have access to the portal. Jump across the platforms to reach the portal.
Head left over the luminescent bridge to reach even more platforms!
Proceed onto the green lift and jump onto the platform with the lever. Pull it once. Jump right, climb to the next lever and pull it once as well. Go down to the lower lever and pull it once. This will give you a lot of platforms to climb, so go upwards until you get onto the green lift. Head up to the upper lever. Pull it once.

Drop back onto the lift and let it take you to the higher platform. Go from there to the next lever and pull it once. Drop to the lower platform with the lever and pull it once, then use the green lift to go down one platform. Pull the lever here as well, and jump onto the lift to the left.
Let it carry you up to the higher platform, and then climb onto the highest platform you can find. Jump right onto the S-shaped platform and climb into the portal.
Go right onto the luminescent bridge, onto a platform, and then a series of pillars with a ring mark on them.

Go to the rightmost pillar and wait there. This section requires some quick reflexes, but you have to just try and survive as the blocks fall into place. Jump on higher platforms as they come, until one of the platforms’ rings glows. Stay away from the platform with the glowing ring! These are primed to move. Jump onto the platforms after they move, and this will help you make it out alive. Keep jumping to avoid the platforms as they snap into place and eventually Stela will start ascending again.
Finally, run right up the stairs and through the glowing door.
Epilogue

The epilogue is a fairly simple section that involves running and climbing, with no puzzles or challenges involved. Keep running towards the large stone tablets, and then up the long flight of stairs to witness the full ending of Stela.
Why are gamers using VPNs? Read our article here and take advantage of our exclusive offer with VPN Provider Surfshark by following this link.