Jun
The Wild at Heart Story Walkthrough – Part 16 (Crystalfall Coast contd.)
Stuck in The Wild at Heart? This walkthrough will guide you through gathering the sixth and final oyster pile for Cath in Crystalfall Coast.
The Wild at Heart Story Walkthrough – Table of Contents
- Part 12 (Paper Planes)
- Part 13 (Crystalfall Coast Camp)
- Part 14 (Crystalfall Coast Oyster Piles #1 - #4)
- Part 15 (Crystalfall Coast Oyster Pile #5)
- Part 16 (Crystalfall Coast Oyster Pile #6)
- Part 17 (Shiverlings)
- Part 18 (Frostfields Camp)
- Part 19 (Frostfields Crate #1)
- Part 20 (Frostfields Crate #2)
- Part 21 (Frostfields Crates #3 and #4)
- Part 22 (Frostfields Crate #5)
Welcome to the Into Indie Games walkthrough for The Wild at Heart. This story-oriented walkthrough will guide you through completing the game’s story.
The Wild at Heart is a game of exploration and adventure, so be sure to explore and use your spritelings as much as you can, wherever you can. If you’re stuck, our walkthrough will help you out. For more information on The Wild at Heart, check out the official website here.
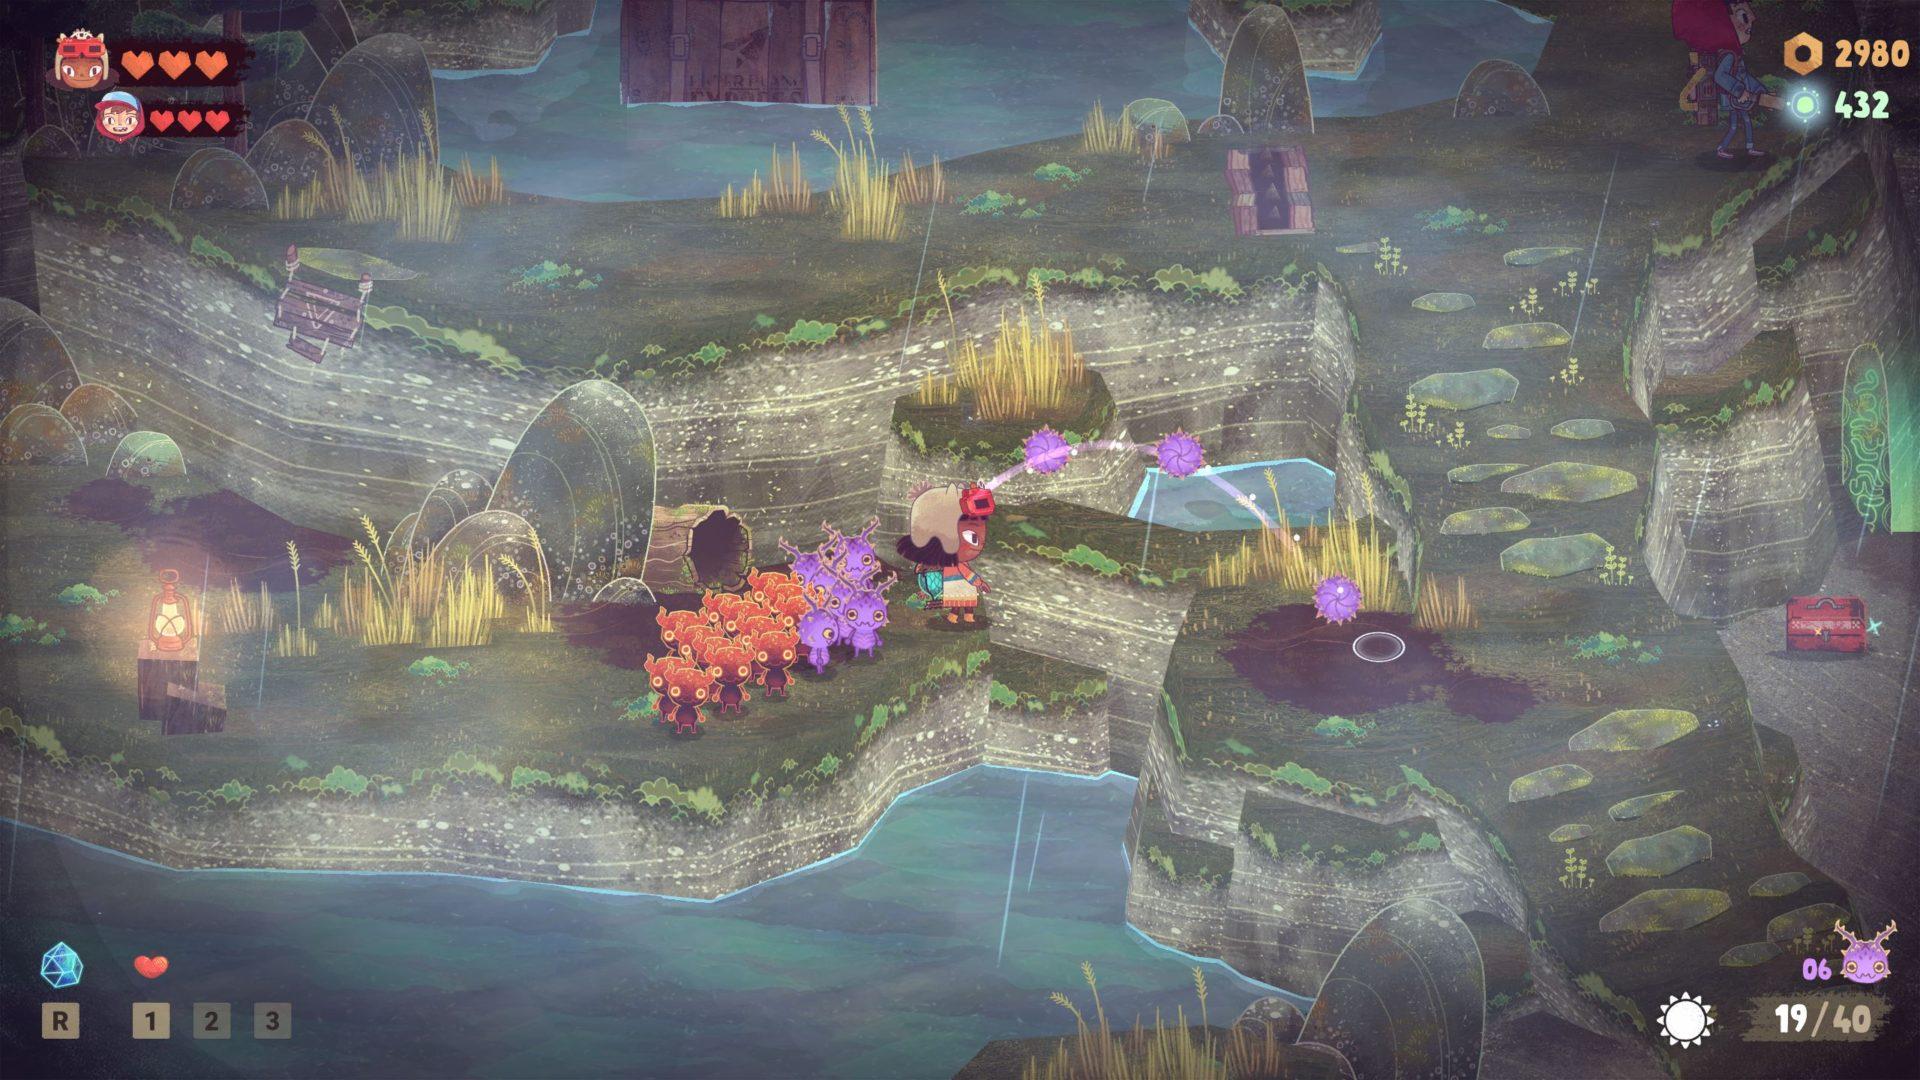
Crystalfall Coast (Oyster Pile #6)
After the Oyster Pile is fully deposited at Cath’s, collect your spritelings again and go back to where you fought the Lotblops south of the warp pad earlier.
To the southwest of this area, you’ll find big crystals to break that will open up the way forward. Break them with your barblings and continue southwest.

Battle the Gloomcaps here and proceed to far west.
If you go south from here, you’ll find a shortcut to the Undergrowth, but we don’t need to go there right now. Instead, go near the chest and throw your spritelings to attack what turns out to be a Lootback.
After it’s defeated, clear the dry bramble to the northwest of the chest with your emberlings. Head up the raised path for the most complex Oyster Pile puzzle.
You will need a full day for this so make sure you rest up before attempting this one.

Begin by vacuuming the windmill to the east of the cliff as Wake and while holding down the vacuum, switch to Kirby.
Now go past the gate that Wake opened to the west and toss 10 spritelings onto the wooden crate. Then, jump down the ledge.
Break down the crystal to the east and then toss barblings to weigh down the barrel to the west.
Return to the now-uncovered log, and before squeezing through it, toss all your spritelings across the cliff.

Squeeze through the log and switch to Wake.
Collect the spritelings that Kirby tossed to your side, and then vacuum the windmill to the north of the gate. While vacuuming, switch to Kirby and collect the 10 spritelings you had previously tossed onto the wooden crate.
Now toss the spritelings onto the crate to the north here. To raise this crate, you need to pull off the barblings off the barrel to the far south.
As Kirby, head through the eastern log to return south. Collect your barblings from the barrel and toss them across the cliff to Wake’s area.
Now go back through the log to the middle area, and then through the next log to the far west, to reach the upper area.

Pull your 10 spritelings from the wooden crate across and toss them at the ruined wall to break it down.
Head north, stand on the switch to open the way back, and use the lantern on the Guardian Statue to unlock the way to Oyster Pile #6.
With the green barrier unlocked, return to Wake and make sure you collect any wayward spritelings along the way.
Head past the green barrier and collect the final oyster pile. Return to Cath once your spritelings deliver the goods.

After the flooding clears, go back to where the lake once stood. You will now be able to go down into the shrine.
Crystalfall Coast Shrine
There’s a lot of treasure to collect inside the shrine. To proceed with the story, go a little north and break the crystal to the west, which is blocking the log.
Squeeze through the log as Kirby and clear the corruption node. Open the chest to find the first artifact!

You must now return to the Grove manually, so warp to the Central Deep Woods warp pad and walk into the Grove from its entrance.
Head to the next part of our walkthrough of The Wild at Heart here!
