Jul
The Wild at Heart Story Walkthrough – Part 30 (Wispwagon Piece #8)
Stuck in The Wild at Heart? This walkthrough will guide you through finding the eighth and final piece of the disk in Wispwagon.
The Wild at Heart Story Walkthrough – Table of Contents
- Part 12 (Paper Planes)
- Part 13 (Crystalfall Coast Camp)
- Part 14 (Crystalfall Coast Oyster Piles #1 - #4)
- Part 15 (Crystalfall Coast Oyster Pile #5)
- Part 16 (Crystalfall Coast Oyster Pile #6)
- Part 17 (Shiverlings)
- Part 18 (Frostfields Camp)
- Part 19 (Frostfields Crate #1)
- Part 20 (Frostfields Crate #2)
- Part 21 (Frostfields Crates #3 and #4)
- Part 22 (Frostfields Crate #5)
Welcome to the Into Indie Games walkthrough for The Wild at Heart. This story-oriented walkthrough will guide you through completing the game’s story.
The Wild at Heart is a game of exploration and adventure, so be sure to explore and use your spritelings as much as you can, wherever you can. If you’re stuck, our walkthrough will help you out. For more information on The Wild at Heart, check out the official website here.
Wispwagon
For the eighth piece, we must first wait for nightfall. Assemble a team of as many Lunalings as possible and go northeast from the camp, across the bridge, and going straight right to where the very large and heavy boulder is located.
If it’s night, then each lunaling will be able to carry 3 times its weight. You can combine these superpowered lunalings with your regular spritelings to move the boulder in total.
If your numbers don’t add up, then increase the number of lunalings in your party until you can move it.
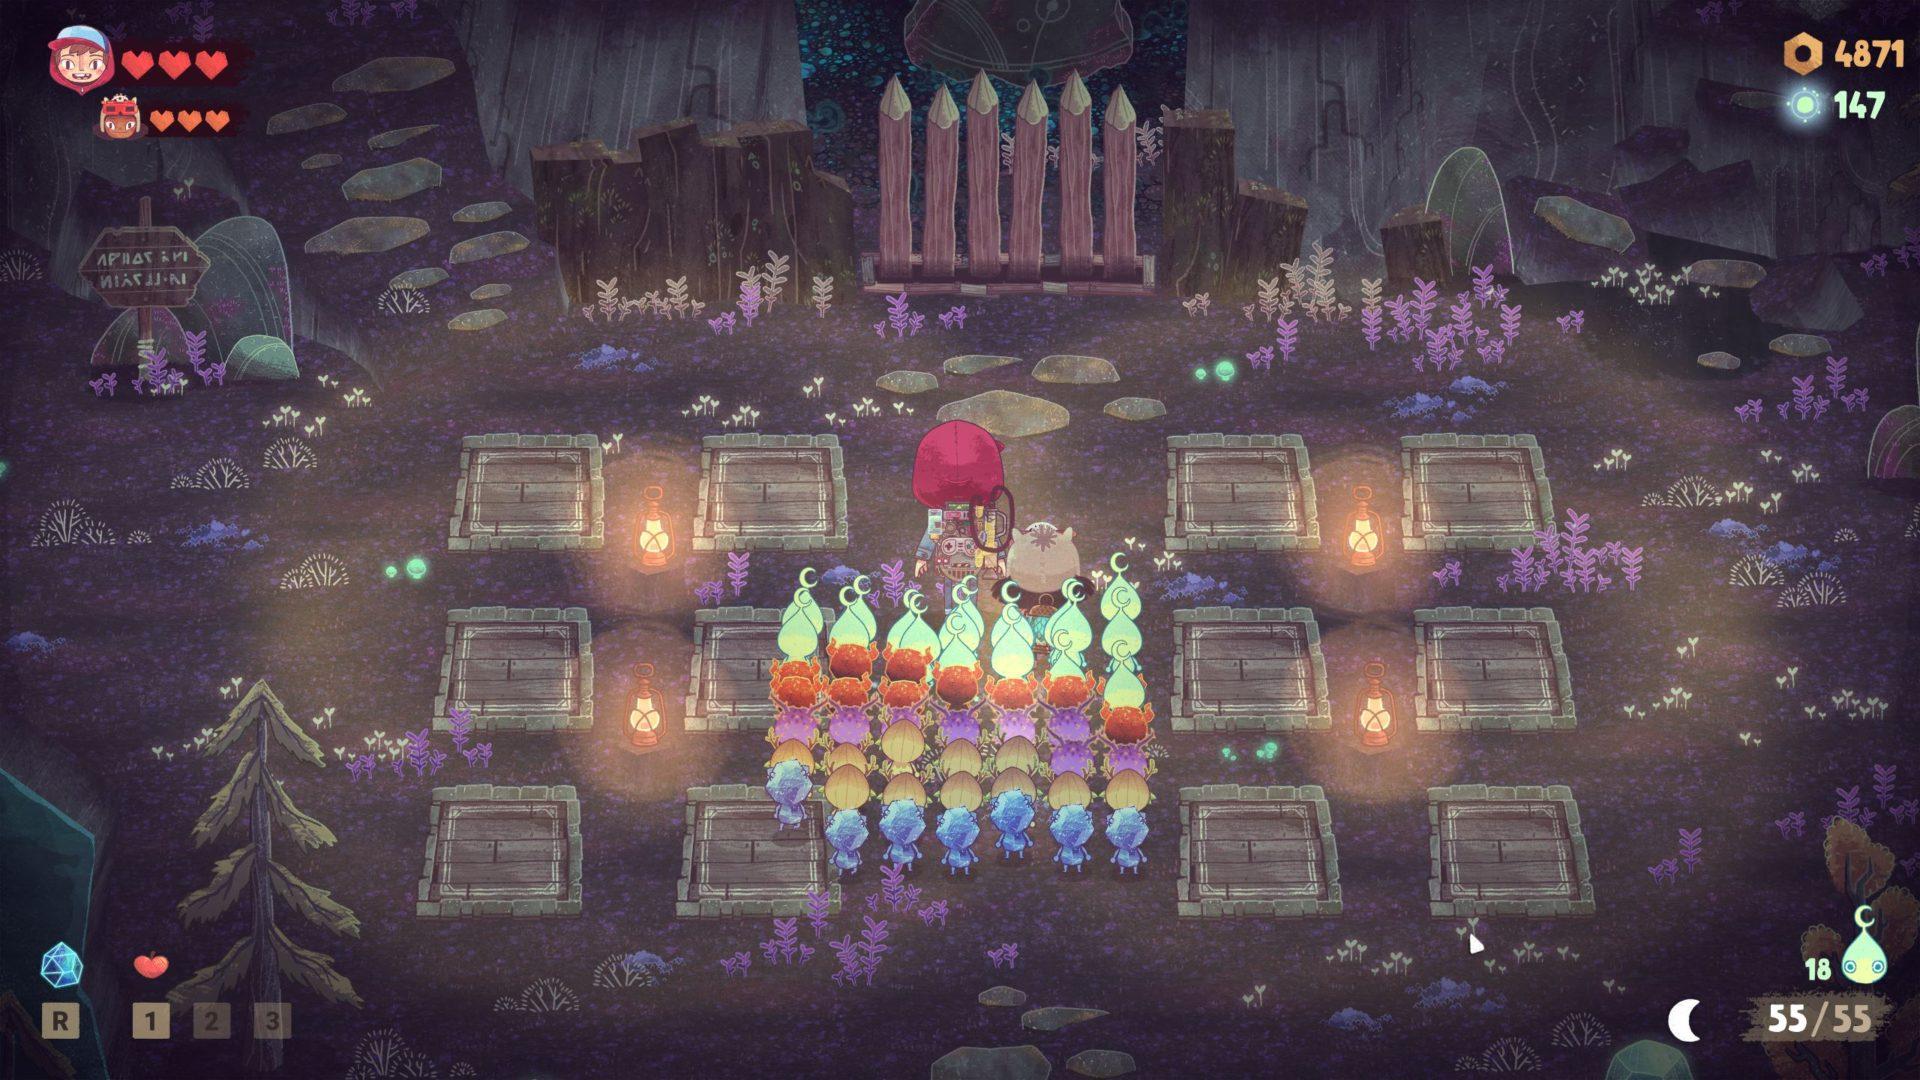
Go north past the opened way until you reach a number of wooden switches.

The piece is beyond a wooden gate. Take the path to the west of the gate.
North from this path, you’ll find a collection of stones with some of them bearing a light. These correspond to the switches you need to press.

Return to the wooden switches and press down the same switches as where the lights were on the rocks to the north. If you get it right, the wooden gate will go down, letting you access the piece.
Collect all your spritelings and dispatch your lunalings to collect the eighth piece. Remember that as long as it’s night, your lunalings will carry 3 times their normal carrying weight.

Wait for the lunalings to carry the piece back to its place, and remember to keep avoiding the Never whenever it shows up (or fight it with your remaining lunalings, if you have any).
Once the final piece is connected, the shrine will open, and you can head on in.
In the shrine, use emberlings to clear out the fiery plants and go north. Remove the corruption node as Kirby and then access the chest to its north.

Once you’ve obtained the final artifact, head out of the shrine and go to the warp pad once more.
Return to the Grove from here.
Head to the next part of our walkthrough of The Wild at Heart here!