Jul
The Wild at Heart Story Walkthrough – Part 31 (The Never)
Stuck in The Wild at Heart? This walkthrough will guide you through returning to the Catafalque and fighting the final boss battle.
The Wild at Heart Story Walkthrough – Table of Contents
- Part 12 (Paper Planes)
- Part 13 (Crystalfall Coast Camp)
- Part 14 (Crystalfall Coast Oyster Piles #1 - #4)
- Part 15 (Crystalfall Coast Oyster Pile #5)
- Part 16 (Crystalfall Coast Oyster Pile #6)
- Part 17 (Shiverlings)
- Part 18 (Frostfields Camp)
- Part 19 (Frostfields Crate #1)
- Part 20 (Frostfields Crate #2)
- Part 21 (Frostfields Crates #3 and #4)
- Part 22 (Frostfields Crate #5)
Welcome to the Into Indie Games walkthrough for The Wild at Heart. This story-oriented walkthrough will guide you through completing the game’s story.
The Wild at Heart is a game of exploration and adventure, so be sure to explore and use your spritelings as much as you can, wherever you can. If you’re stuck, our walkthrough will help you out. For more information on The Wild at Heart, check out the official website here.
The Catafalque
After the cutscene at the Grove, it’s time to go back to the Catafalque for the final confrontation of the game.
Exit the Grove and take the route immediately east of the gate to quickly return to the Catafalque.

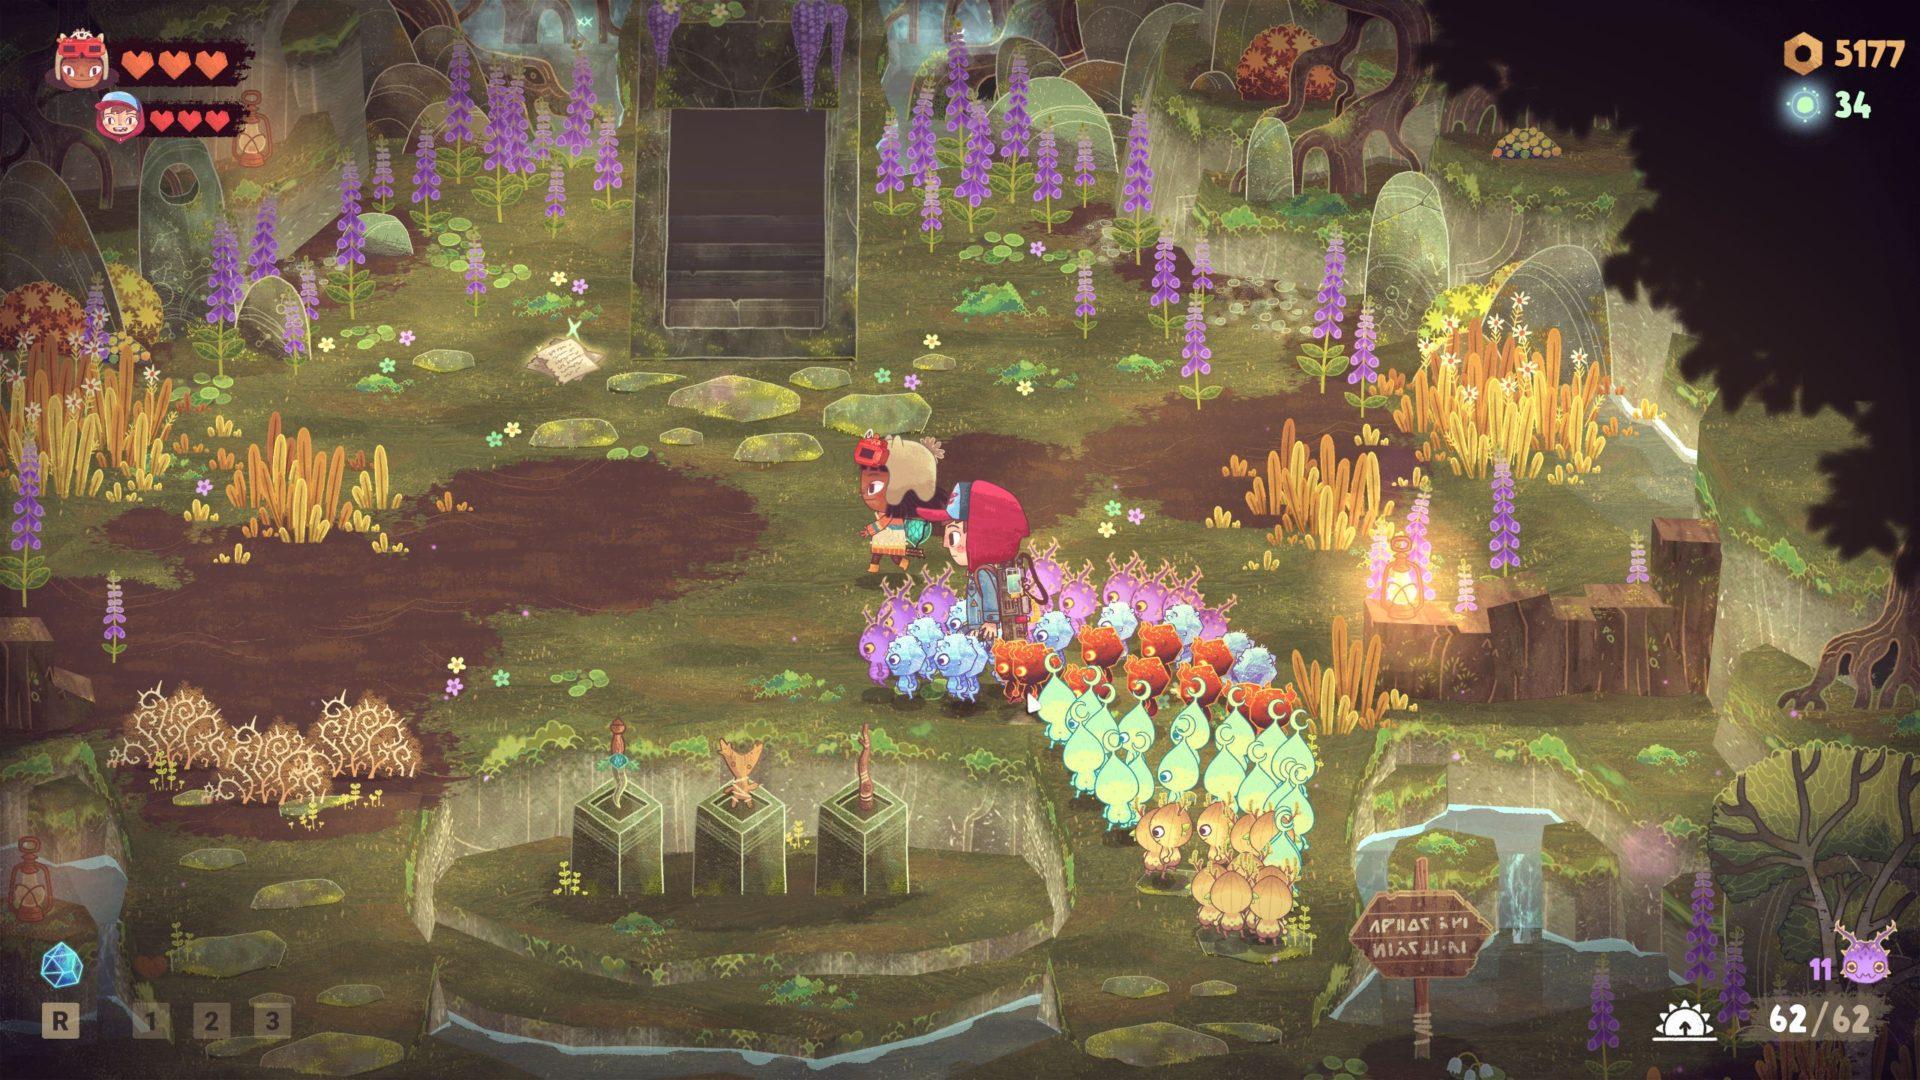
Head north, past the lilypads and the camp, towards the three small pedestals. After the cutscene, head towards the new passageway to the north.
Kirby will warn Wake that this is the point of no return. If you have anything left to do in the world, then you should go do it now. If you are ready to end the game, then descend below.

The Never
When you enter the Never, keep heading north until you encounter a Spirit Well. Here, you can change up your spriteling army if you need to.
When you’re ready for the final boss battle, pass through the green gate to the north.

After the cutscene that follows, the boss battle will begin.
Our first objective is to destroy the apparitions of Big Pockets that are hovering in the boss arena. You can attack them with any spritelings, but remember that if you encounter the Never, you will need the lunalings.
When both apparitions are defeated, the central crystal will be vulnerable. Mount an all-out assault on it with your spritelings. The first phase will conclude when the boss is at 2/3rds health.

In the second phase, you must once again defeat the apparitions, but watch out for the falling rocks. You’ll hear an audio cue when they are falling, so move quickly at that time to avoid getting hit.
Your spritelings will replenish automatically if they die, but remember to keep an eye on Wake and Kirby’s health. If either of them die, you will have to restart the boss battle from the top.
In the second phase, there are 3 apparitions of Big Pockets. Defeat them all. You do not have to defeat the other enemies in the arena.
After clearing them out, as before, attack the crystal in the middle to bring the boss’ health down to 1/3rd.

In the third phase, things get even more intense. Kirby will be frozen, so have your spritelings free her by destroying the crystal.
After that, continue as usual and destroy the Big Pockets apparitions. There will be four this time around, but the strategy is the same: run around, focus on the apparitions, keep yourself healed.
After defeating the four apparitions, attack the crystal in the middle and take out all the remaining health of the boss. Once this is done, the game is over!

Watch the ending cutscenes to find out how it all ends.
We hope you enjoyed this walkthrough for The Wild at Heart!