Jun
The Wild at Heart Story Walkthrough – Part 8 (Rattlebrook Gulch)
Stuck in The Wild at Heart? This walkthrough will guide you through Rattlebrook Gulch and learning to use Kirby’s abilities.
The Wild at Heart Story Walkthrough – Table of Contents
- Part 12 (Paper Planes)
- Part 13 (Crystalfall Coast Camp)
- Part 14 (Crystalfall Coast Oyster Piles #1 - #4)
- Part 15 (Crystalfall Coast Oyster Pile #5)
- Part 16 (Crystalfall Coast Oyster Pile #6)
- Part 17 (Shiverlings)
- Part 18 (Frostfields Camp)
- Part 19 (Frostfields Crate #1)
- Part 20 (Frostfields Crate #2)
- Part 21 (Frostfields Crates #3 and #4)
- Part 22 (Frostfields Crate #5)
Welcome to the Into Indie Games walkthrough for The Wild at Heart. This story-oriented walkthrough will guide you through completing the game’s story.
The Wild at Heart is a game of exploration and adventure, so be sure to explore and use your spritelings as much as you can, wherever you can. If you’re stuck, our walkthrough will help you out. For more information on The Wild at Heart, check out the official website here.
Rattlebrook Gulch
This part of the walkthrough can be done without needing to have the emberlings or having met the Twins.
You only need 20 spritelings, which can be achieved by having the Soul Shell installed in the Grove and acquiring the upgrade from there.
For the next step of our journey, we need to visit Rattlebrook Gulch. Make a team of 20 spritelings of any configuration. After leaving the Grove, go directly west, past the signboard, until you find a big boulder.

Move the boulder with 20 spritelings. Follow the path west, ignoring the teetering tree and the unfinished bridge for now.
You will end up in Rattlebrook Gulch. Fix the bridge as you did before, toss the spritelings near the piles of wood on both sides of the river. Cross the bridge.
After the cutscene, you’ll control Kirby. Head east past the bridge again and squeeze into the log.

Switch back to Wake and toss several twiglings over to Kirby.
Remember there’s a spirit well nearby, so you can change the configuration of your team if necessary. Then, vacuum the windmill to open the way for her.
As Kirby, head south and clear the toxic mushrooms. Head a little south and then west to where the Gumblop is. Defeat it and proceed to the switch. Another cutscene follows.
Now that you have the Warden’s Way, you can ‘vacuum’ spritelings and items back even as Kirby. You can also use them to clear the way.
[the_ad_group id=”3687″]Now we need to get out of Rattlebrook Gulch. For this, you will need at least 5 twiglings, so withdraw them from the spirit well if you don’t have them already.
Go south now, the way Kirby came to meet Wake.
At the end of this path, you’ll find a windmill (and a Bushback). Spin the windmill as Wake and then pull the teetering tree to the west (Kirby cannot vacuum windmills or pull trees).

Next up, there’s two logs for Kirby to squeeze into. Squeeze into the upper log. As Wake, toss your spritelings to Kirby, and then, as Kirby, toss your spritelings onto the higher ledge.
Squeeze back through the log to where Wake is, and then squeeze through the lower log to end up on the same ledge as the spritelings. Toss the spritelings onto the closed flower to open the way north.
Now you can either repeat the process as before to get the spritelings back to where Wake is, but a smarter idea is to send them to fight the nearby Gumblop directly.
This way, Kirby is free to return to Wake and the two can reunite with the spritelings past the lily pads.

Go up the vines to the north-west and then some more vines, and pull the tree down.
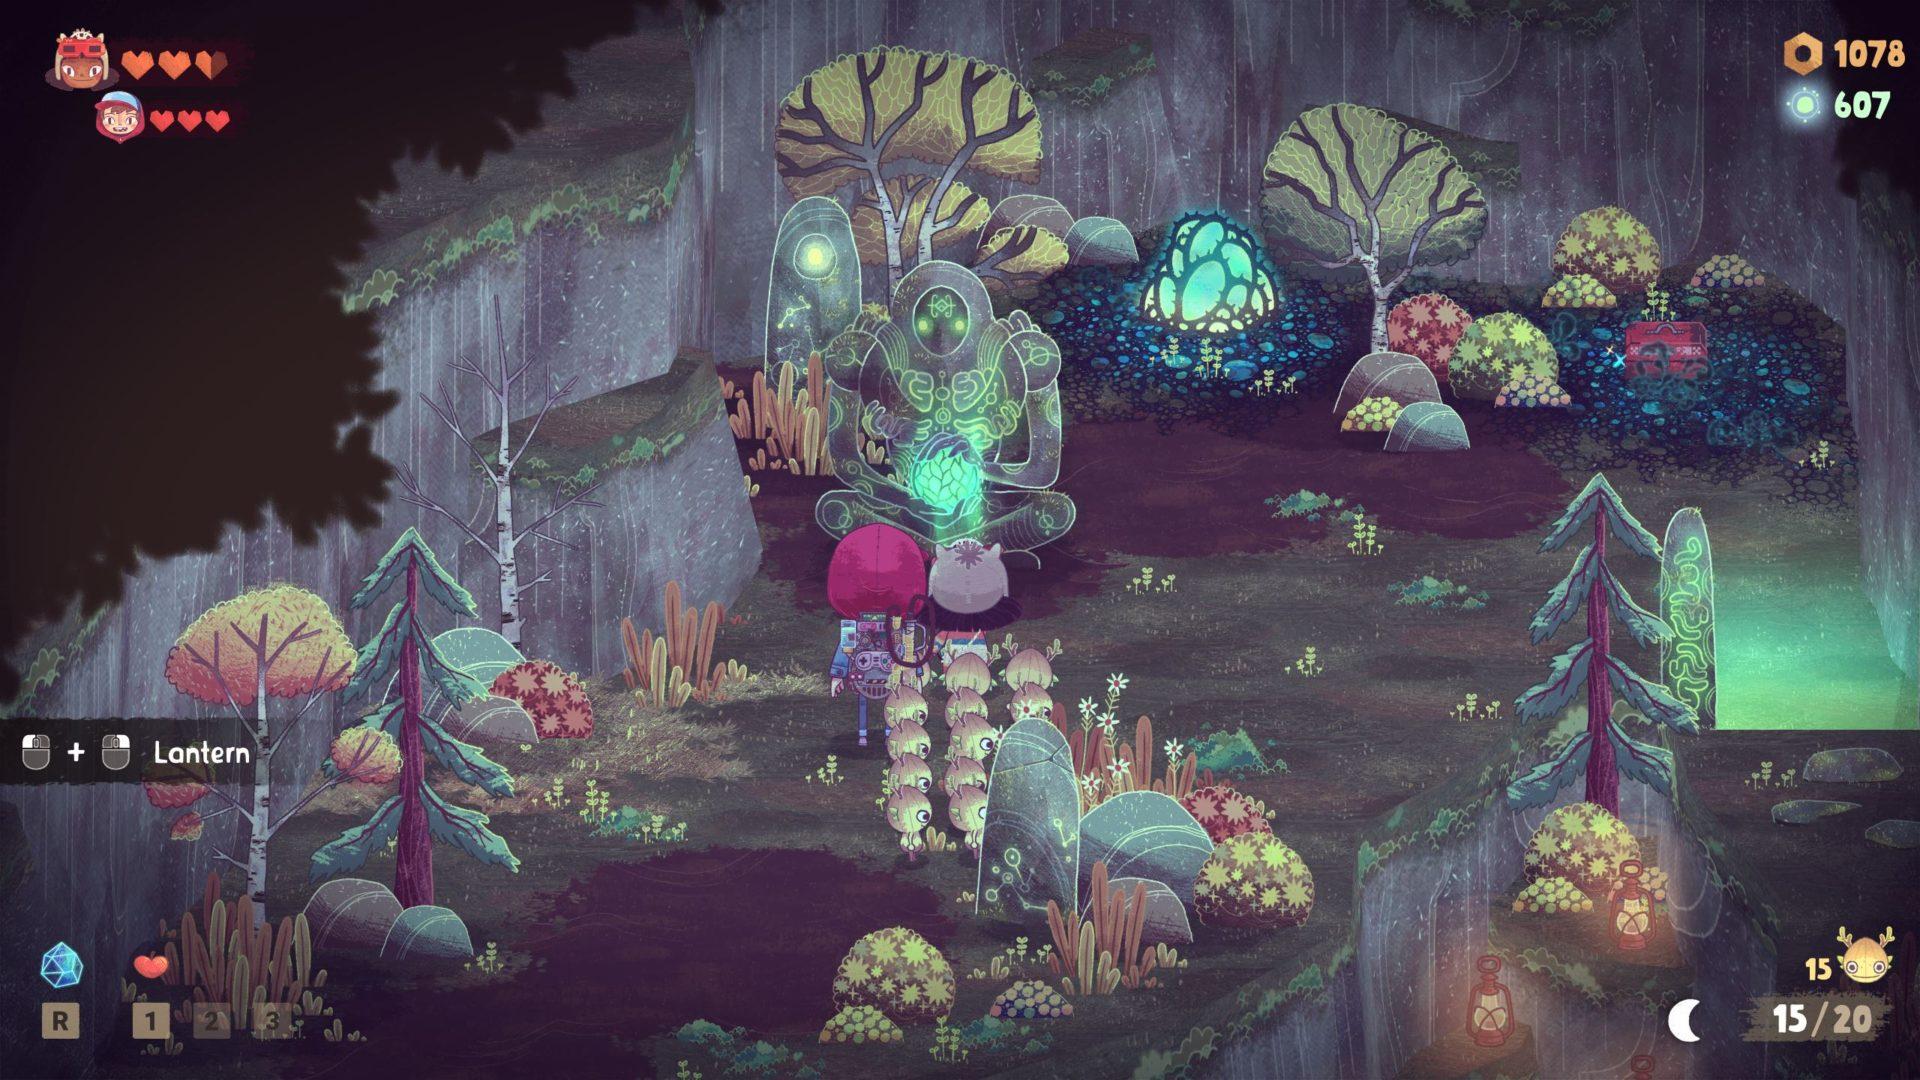
Past the tree, you’ll find a corruption growth. This can only be removed by Kirby’s lantern, so focus your lantern’s ‘vacuum’ on the growth to destroy it (you only need the low-power mode, not the high-power one).
Defeat the Gloomcaps and head further north for a Warden Statue. Use your lantern on it again to clear the way.

You are now free to leave Rattlebrook Gulch! If it is night, you should rush back to the Grove to avoid the Never.
By the light of day, you can proceed to the next part.
Head to the next part of our walkthrough of The Wild at Heart here!
