Jun
The Wild at Heart Story Walkthrough – Part 9 (Sunken Grotto)
Stuck in The Wild at Heart? This walkthrough will guide you to finding the Sunken Grotto and establishing a camp there from which to explore.
The Wild at Heart Story Walkthrough – Table of Contents
- Part 12 (Paper Planes)
- Part 13 (Crystalfall Coast Camp)
- Part 14 (Crystalfall Coast Oyster Piles #1 - #4)
- Part 15 (Crystalfall Coast Oyster Pile #5)
- Part 16 (Crystalfall Coast Oyster Pile #6)
- Part 17 (Shiverlings)
- Part 18 (Frostfields Camp)
- Part 19 (Frostfields Crate #1)
- Part 20 (Frostfields Crate #2)
- Part 21 (Frostfields Crates #3 and #4)
- Part 22 (Frostfields Crate #5)
Welcome to the Into Indie Games walkthrough for The Wild at Heart. This story-oriented walkthrough will guide you through completing the game’s story.
The Wild at Heart is a game of exploration and adventure, so be sure to explore and use your spritelings as much as you can, wherever you can. If you’re stuck, our walkthrough will help you out. For more information on The Wild at Heart, check out the official website here.
Sunken Grotto
Return to the path that led you to Rattlebrook Gulch. There’s a river here, with an unfinished bridge, a teetering tree, and a corruption node.
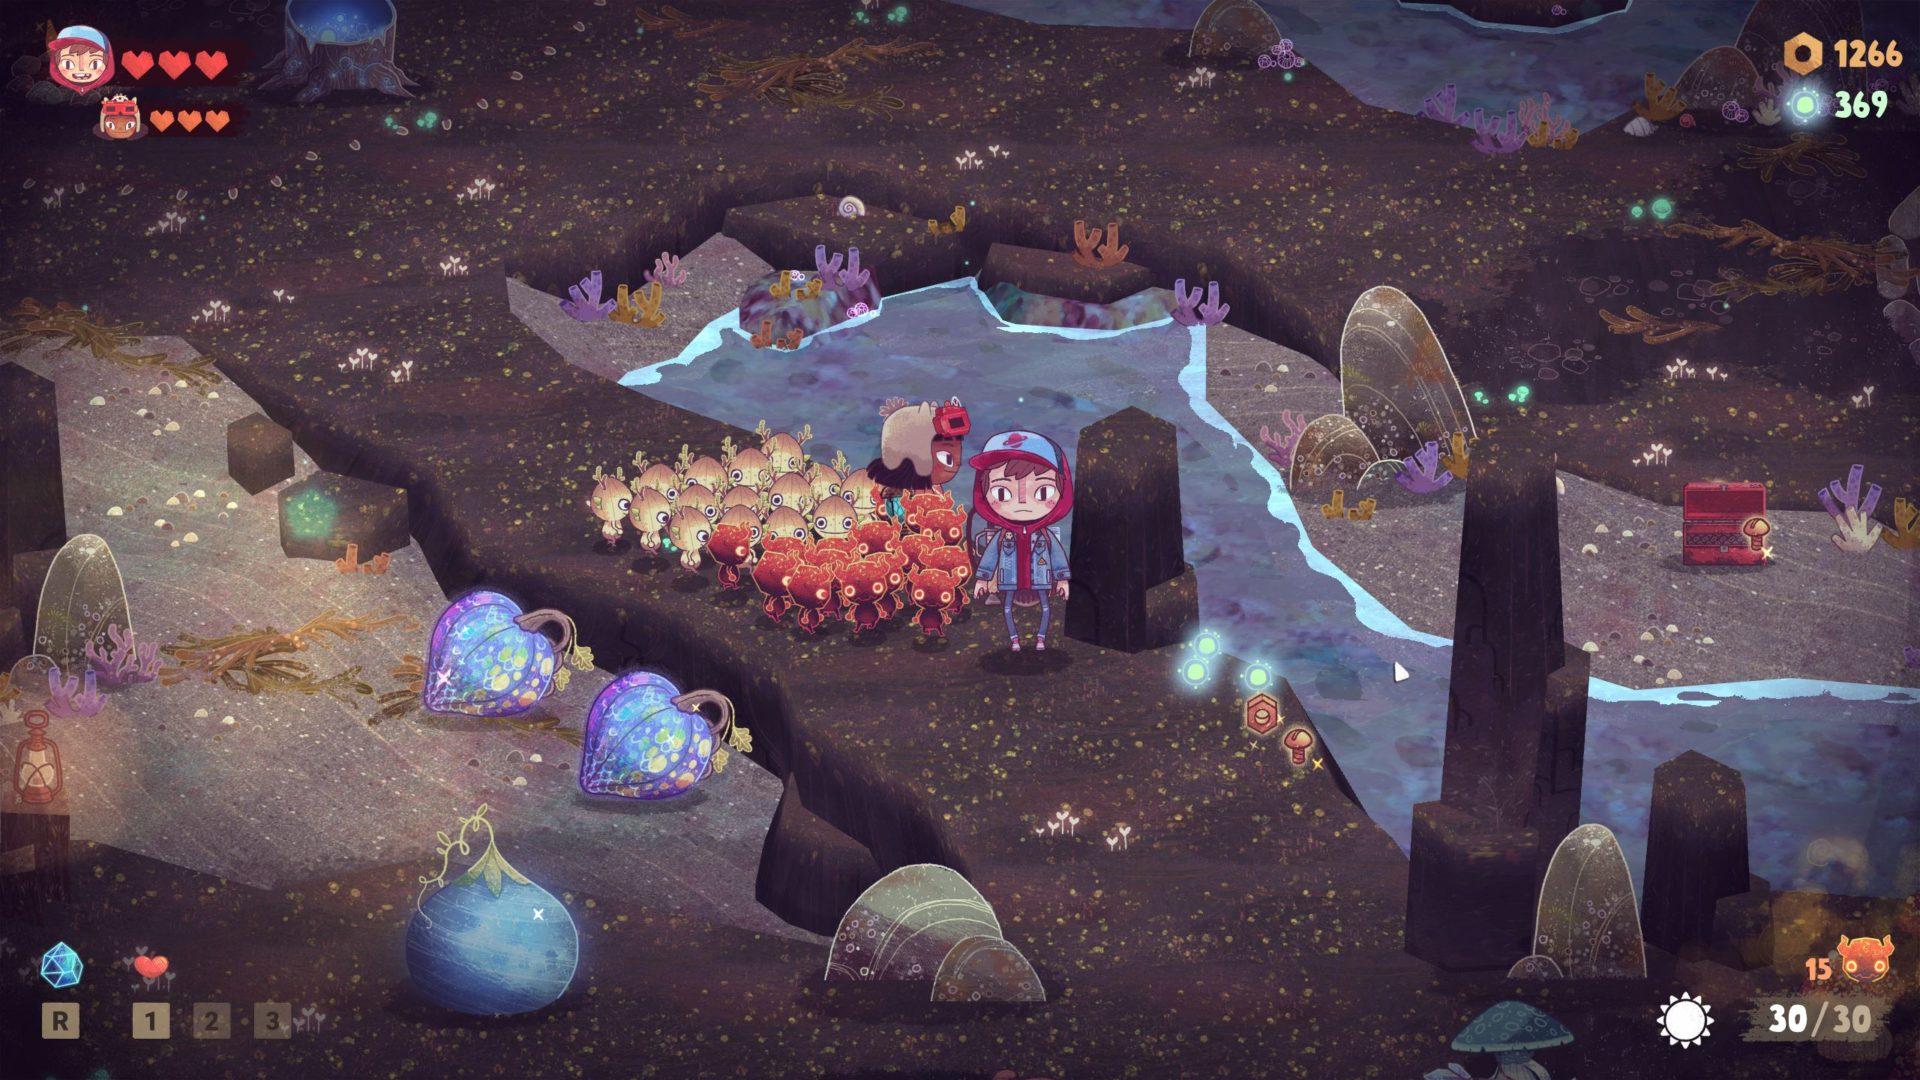
Pull the tree down as Wake and cross it to the little island. Then, as Kirby, remove the corruption node.
Toss your spritelings across the river towards the two wood piles and get that bridge built.

Head down the path to get to the Sunken Grotto. On the way, there’s some treasure to find and a couple of Gumblops to fight.
In Sunken Grotto, head west and you’ll find a fork with the northern side covered in corruption. You can’t get to the node yet, so take the southern path of the fork.
Clear the corruption here as Kirby and continue onward to find a warp pad, and later, a camp site. Remember that only Wake can clear the junk trapped in the spirit well.
After setting up camp, head south over the dark, raised path and fight the Gloomcaps.

Then, to the east of where the Gloomcaps where, you’ll find some toxic mushrooms to bust with your twiglings. Clear these out and then squeeze through the log as Kirby.
On the other side, stand on the wooden switch as Kirby to open up the gate to the north.
Switch to Wake while Kirby stands on the switch, head to the gate, and toss half your spritelings over to Kirby.
[the_ad_group id=”3687″]Now fight the Gloomcaps to the southwest, and proceed south to fight a Lotblop. This one explodes into Lilblobs.
Further south, you’ll find some wood that you can use for the bridge to the west. Send your spritelings to collect the wood and then continue down the path south of the wood pile, which will take you around north to a corruption node you can bust.

Return to where the half-built bridge is, and go a little north to where the corruption got cleared. From here, you can see the big stone block across the river.
Toss your spritelings at the block to move it and create a path for Wake. Switch to Wake and go west, over the stone block, to an area with two wooden switches. Stand on the switch to the south.
As Kirby, squeeze into the nearby log to end up on the same beach as the spritelings you previously tossed. Collect your spritelings, and then stand at the very edge of south of the gate that Wake opened.
From here, you can toss your spritelings onto a pillar with a switch on it. Toss 5 spritelings onto the switch to open up a gate to the west.

Switch to Wake and head south through the gate to find the second pile of wood to complete the bridge. Get the bridge completed.
As Kirby, toss your spritelings back to the previous area across the bridge, then get Wake to once again stand on the southern switch and open up the gate for Kirby. Make sure the spritelings on the pillar stay where they are.
Have Kirby squeeze through the log to return to the main area. Collect your spritelings and head south, then across the bridge to the west, and provided the spritelings are on the pillar switch, you can now reunite with Wake.
If there are no spritelings on the switch, you can toss some from the edge near the gate, and then vacuum them back once you cross the gate.

Once you reunite with Wake, remember to collect the spritelings from the pillar switch!
Now toss 5 spritelings onto the northern switch, to the west of the gate.
As Kirby, clear the corruption node on the next switch, and then have 5 spritelings stand on that switch.
Return to collect the spritelings from the previous switch, collect the ones on the second switch, and now you’ve cleared that area.

Head north to find a signboard and stand on the switch next to it to open the way.
As the signboard warns, you should now return to camp and rest up for the long stretch to come. Do so even if it’s only daytime, because you’ll need all the time you can get.
Head to the next part of our walkthrough of The Wild at Heart here!
