May
Tin Hearts Walkthrough – Prologue and Act 1
Tin Hearts Walkthrough - Table of Contents
- Levels 30 & 31
- Level 32
- Level 33
- Levels 34 & 35
- Level 36
- Levels 37, 38 & 39
- Level 40
- Level 41
- (More parts coming soon!)
- (Coming soon!)
Check out our walkthrough of Tin Hearts to find out how to solve the puzzles in the Prologue and Act 1 sections of the game.
Welcome to the Into Indie Games walkthrough for Tin Hearts!
For more information on Tin Hearts beyond this walkthrough, check out the official website here.
Prologue
Level 1
Just open the box to complete this level.

Level 2
First, open the box to let the toy soldiers out. One of them will turn at the yellow block and enter the chest’s ‘door’. This will trigger the chest to open.

You can now manipulate puzzle blocks. Pick up the one in front of the chest when the toy soldier is near the original box, and then move this block to the slot on the right. Wait for the toy soldier to cross the first slot, and then put the block back onto the first slot, so that the soldier can go to the door with no obstructions.

Level 3
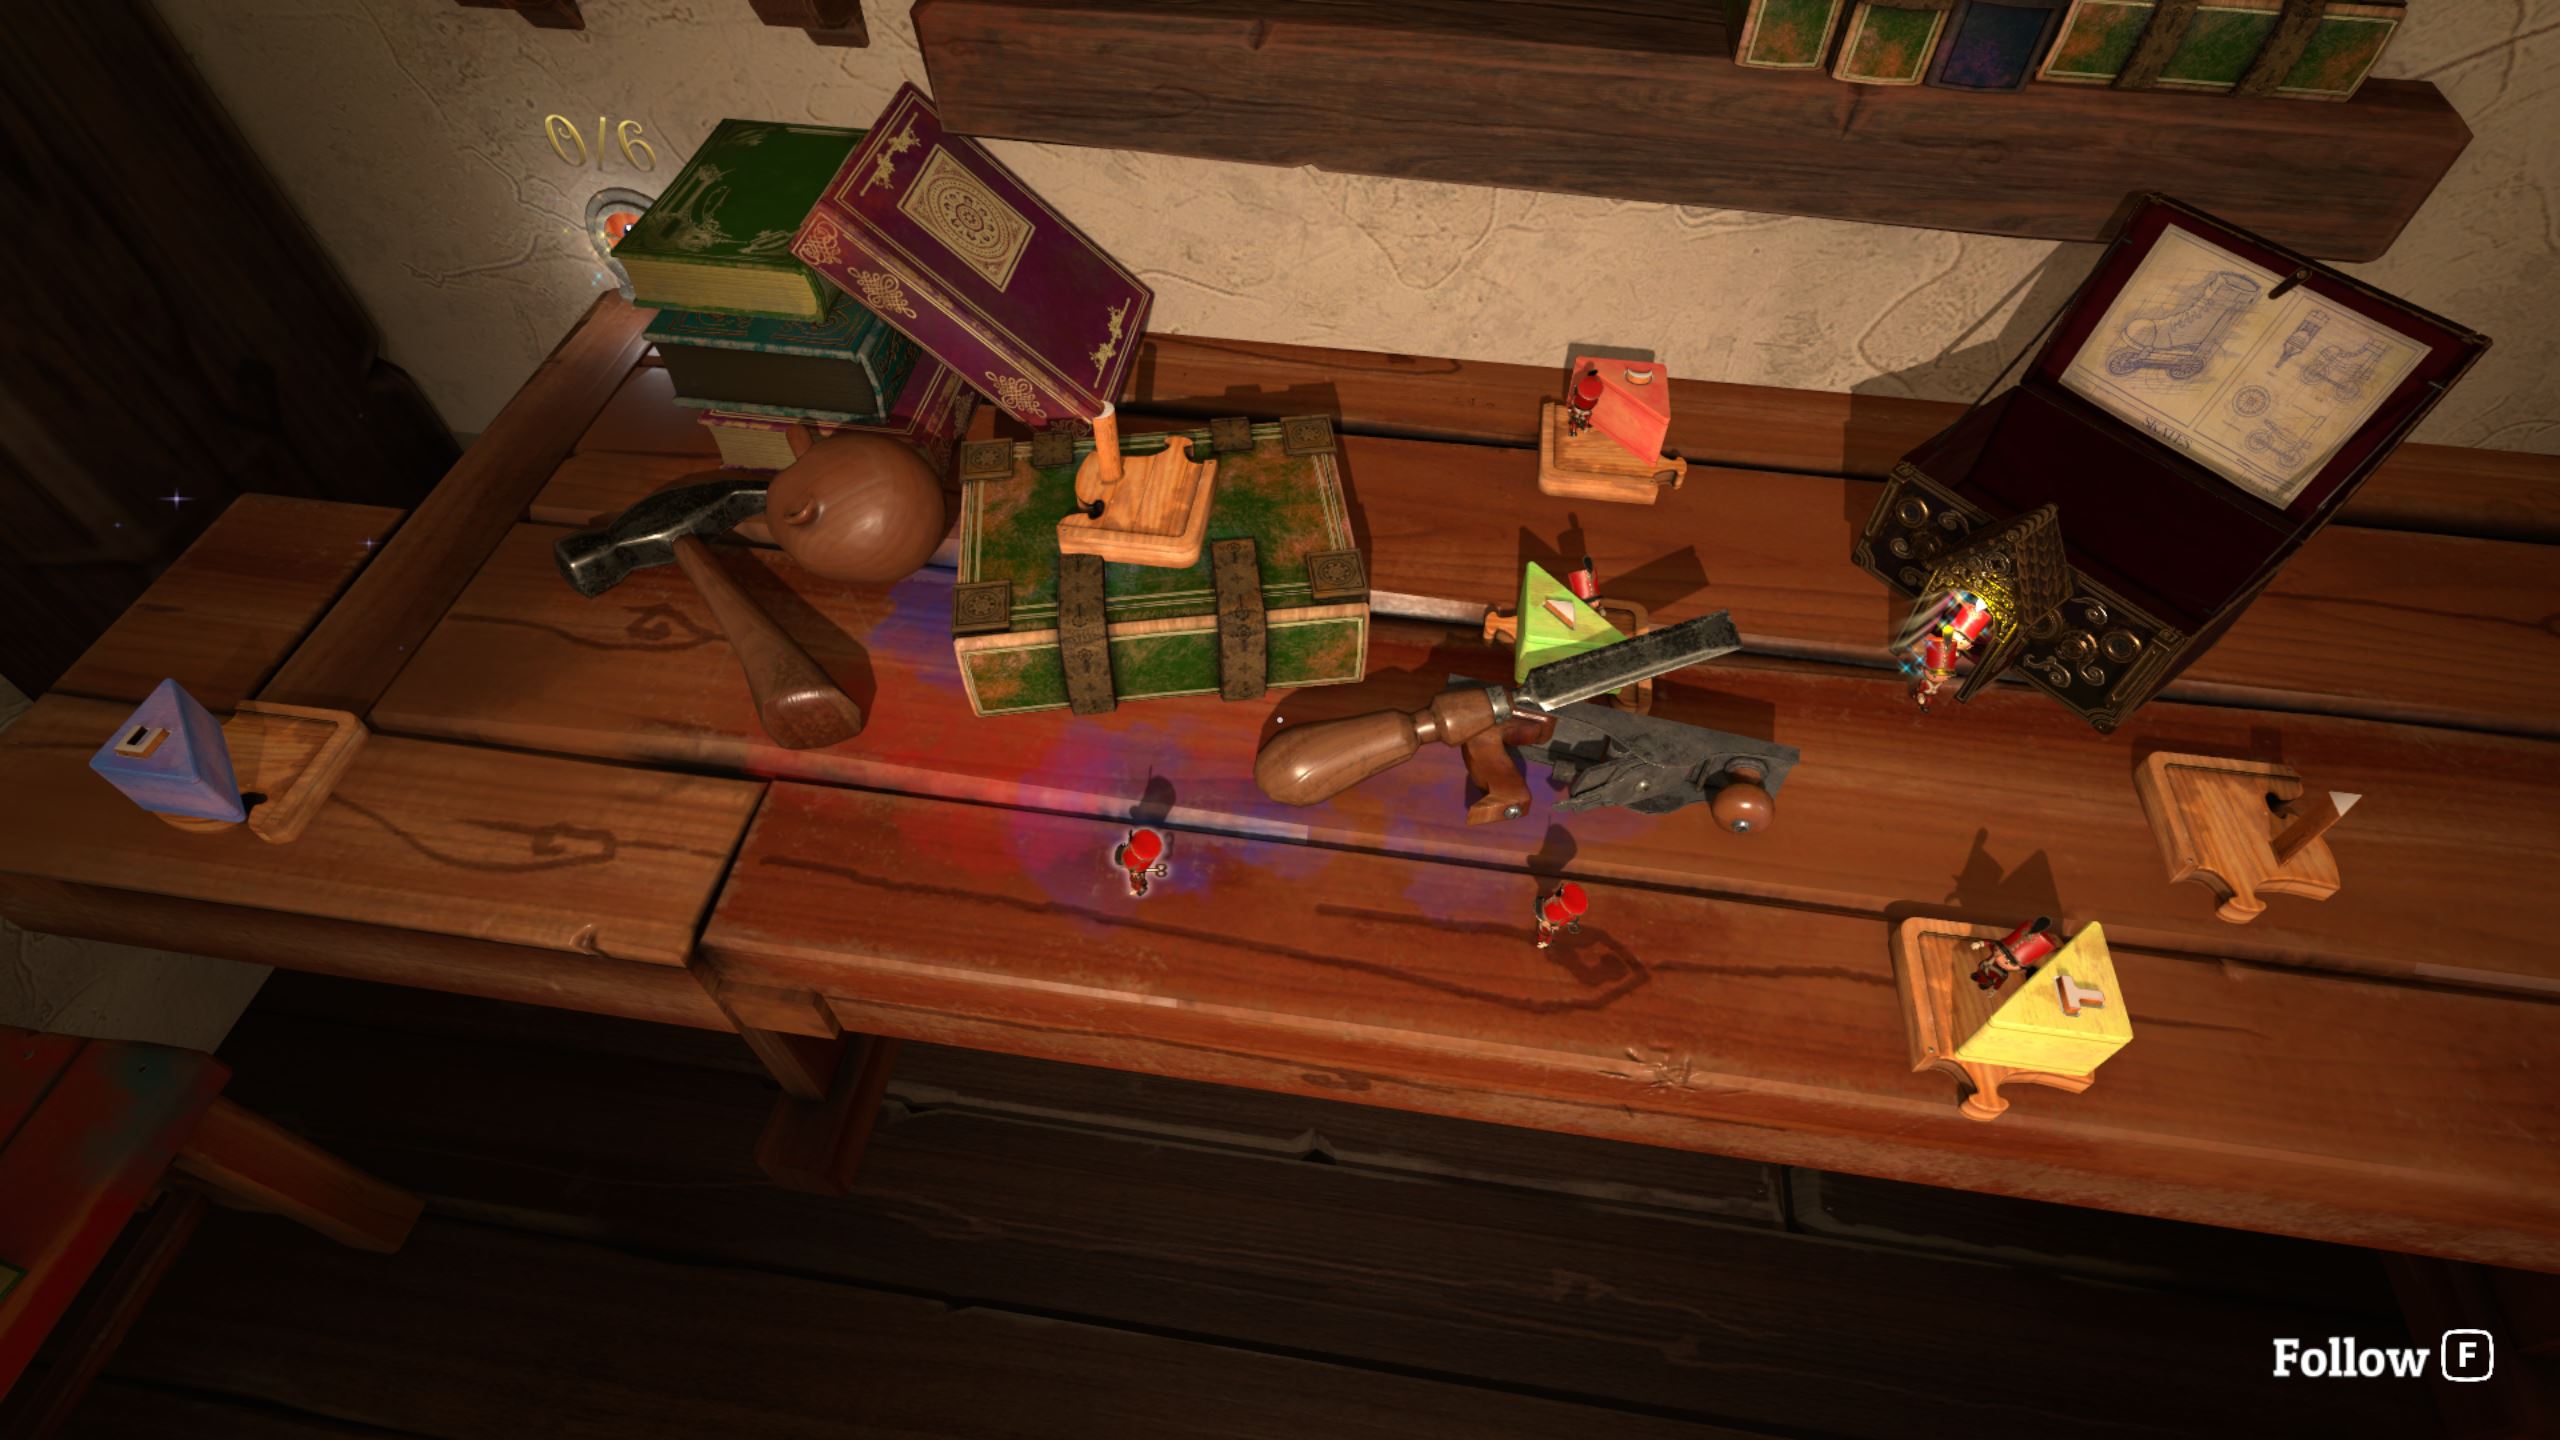
You’ll find the blocks you need to the right of the box, on top of a blue book. Place the green, blue, and yellow blocks on their slots without rotating them. This way, the soldiers will go to the chest and also pass on to the green block far ahead, which will send them to the exit door.

Open the box of soldiers now. When they enter the chest, you will gain the ability to use the cuckoo clock to speed up time.
Level 4
In this level, we seem to be working with a limited set of blocks. No worry. Move the green block to in front of the tin soldiers box, and rotate it so that it will direct the toy soldiers to the chest.

Open the box and send your tin soldiers to the chest.
Inside, you encounter the Remote Grabber, which lets you pick up distant objects, such as the highlighted blocks on the shelves above. Pick up the red, yellow, and blue blocks and put them in place on the slots according to the screenshot below.

This will send your tin soldiers straight to the exit.
Level 5
Here, you have some blocks near you, and also some blocks far in the back, near the yellow duck toys. Grab them and arrange them according to the screenshot below to send 5 soldiers into the door and complete the level.

Level 6
Here, the box is on an upper shelf. Move the red and green blocks in their slots, so that you direct them to the chest.
You now get the skates, which let you go around wherever you like in the given room. Go to the other side of the room after the cutscene, where you’ll find a bunch of blocks to use on the table, near the teddy bear, and also on the floor, near the blue chair.
Place yellow and blue blocks, so that you create a path to the door.

Once all the soldiers are in, open the main door in the room to proceed to Act One.
Act 1
Level 7
This level is straightforward, but all the blocks are hidden away in the room. Here are the locations for the blocks you’ll need:
- Green block: near the crates by the door you came in from
- Yellow block: near some paint cans by the window
- Red block: on the high shelf directly above the tin soldiers’ exit door
- Blue block: near the books by the window
- Yellow block: by the tin soldiers’ exit door
Put them all in place so that the tin soldiers turn at each of the blocks and go to the door. Check out the screenshot below for help.

Level 8
Here we encounter a few new elements. But before we can use any of them, take notice of the puzzle blocks located immediately right of the door you came in from.

Use the red and yellow blocks on the slots near the tin soldiers’ box, so that the tin soldiers are directed towards the train and then the drum. This will eventually take them to the chest.

When the chest opens, you’ll the pocketwatch, which you can use to pause and rewind time. Rewind time now, so that your tin soldiers don’t fall off the table and break.
To proceed, we must use a red block near the chest. Pick up the old red block that you used near the tin soldiers’ box, and place it near the chest you just opened. Of course, make sure all the tin soldiers are ‘in the clear’, i.e. they have gone past the original position of the red block.

The tin soldiers will now bounce off of the red block and unlock another chest.
Touch the object inside the open chest to unlock the Prism Block. These blocks don’t need slots to be placed, which makes them supremely handy.
First, rewind time so that the soldiers are back near the red block that you placed. Then, pick up the prism blocks on top of the big red box, and arrange three prism blocks as shown in the screenshot below.

Place a final prism block by the tin soldiers’ exit door to direct them into the door.

Level 9
We once again get to play with prism blocks, which is a relief. You’ll find three of them on the desk to the left of the door you came in from.
Place them near the tin soldiers’ box as shown below.

Note that there are only three blocks, and we need to make seven turns. This can be accomplished by reusing the blocks once the tin soldiers have walked past them. Remember that you can rewind and pause them as necessary.
The second set of positions is shown below.

Finally, place one block near the exit door, so that the soldiers are directed to the door.

Level 10
This time around, our prism blocks are located on a stool illuminated by the window.
Place three prism blocks on the U-shaped table, so that you route the soldiers around the table and onto the drum. Check out the screenshot below to find out where to place them.

As before, you’re going to have to juggle old prisms forward. The second phase will be around the pillar, as seen in the screenshot below. This will take the soldiers onto the second drum.

Our final phase is fairly straightforward and requires only two blocks to lead the soldiers into the exit door.

Level 11
We’re once again back to our beloved puzzle blocks, which you’ll find located on the blue chair in the middle of the room.

Our first objective is the chest, which is located on a pile of books near the ‘Train Set’ poster. Place the blocks as shown in the screenshot below to get your soldiers over to the chest.

Grab the train set from inside the chest to be able to manipulate trains.
Now rewind time so that the soldiers are back to climbing the inclined book, and pause.
Move the train to a position so that the soldiers bounce off of the blue block on the train, pass over the saw, and go straight to the exit door.

Level 12
Move the train and the puzzle blocks on the table into the positions shown in the screenshot below.

After all the soldiers have bounced off of the train, move the train into the second position, which you can see below.

Wait for the last soldier to bounce off of the first green block in his path, and then move that green block onto the slot on the red chair.

Finally, place the second train in position to bounce the soldiers over to the exit door, as seen below.

Level 13
Here, we have two trains on one track. One of the trains is under a bridge, while another is between two bridges. Take the latter train all the way around the track, so that it bounces soldiers off to the left, towards the books.
Align the other train roughly with the house that has pigs in its yard. This way, the soldiers will bounce from the second train and onto the drum.

Now use the puzzle blocks from the stool and place them so that the soldiers are guided onto the second drum. From there, allow the soldiers to proceed normally to get to the balloon machine, which will take them to their exit.

Level 14
Here, we’re introduced to the Jack in the Box. This vile contraption will eat up your toy soldiers if they pass in front of the box he’s in. In effect, you have to route your soldiers around the box.
There are some puzzle blocks near the window, so pick up the yellow puzzle block and put it in position in front of the soldiers’ box. This routes the soldiers towards the books. At this point, the puzzle might seem impossible – until you go to the exit yourself and find a bunch of prism blocks hidden away in a green crate.

Use the prism blocks to route the soldiers in front of the open book and towards the balloon machine, as shown below.

Level 15
Here, we finally gain access to a new chest, which can allow you to control the positioning of the drums.
Begin by using the two prism blocks near the soldiers’ box to route the soldiers onto the first drum. Place a third prism block on the shelf with the chest, so that the soldiers go to the chest.
You’ll find the third prism block on a red stool near the round window.

Grab the toy drum from the chest and then reposition the first drum so that it sends soldiers flying onto the second drum. Position the second drum so that it sends soldiers onto the table, aligned with the balloon machine.

Position the third drum so that the soldiers land up on the shelf with the exit door. Specifically, they should bounce off of the toy cannon and go to the exit door.

Level 16
Now we use all the skills we’ve learned so far. For the first table, place your blocks and trains as shown in the screenshot below. Note that you will find the blue block and the extra yellow block on the second table, which is by the round window.

Align the drum after the balloon machine so that you bypass the puzzle block slots and go straight to the toy cannon’s button. The soldiers will appear to hit a dead end, which is fine because the cannon will knock the book down.

After your soldiers have cleared the first placed yellow and blue blocks, recycle those blocks to lead the soldiers onto the second balloon machine.

Finally, position the two drums towards the end so that they lead your soldiers to the exit door.

Level 17
Begin by positioning the first prism block so that your soldiers head onto the drum. Position the drum so that your soldiers land on the first table. They should be aligned so that they would pass in front of the Jack in the Box. Use your second prism block to route the soldiers behind the Jack in the Box.

There are two more prism blocks near the six-sided window. Grab one of them and place it near the Jack in the Box, so that the soldiers go to the chisel and bounce off to the balloon machine.

Now use the fourth prism block to route the soldiers from the second balloon machine onto the drums. Position the first drum to target the second drum, then the second drum to target the upper shelf where the chest is. Send your soldiers into the chest here.

Interact with the chest to obtain the ability to manipulate toy cannons.
Now rewind time in case you have lost any soldiers and pause it. Pick up the very first prism block you used, and position it on the table below the chest, so that the soldiers drop onto the table and hit the cannon button.

Position the cannon itself to hit the inclined maroon book, which will cause the other books to fall like dominos. Position your second used prism block (when clear of soldiers) towards the books that are set to fall.
Finally, take your third and fourth used prism blocks (when cleared of soldiers) and put them in place on the green book and the shelf, so as to direct your soldiers to the door.

Level 18
Here, we return to a familiar place. Take the red puzzle block (not the prism block) from the second table and place it so that it sends your soldiers to the yellow block. Use a prism block to redirect the soldiers to the cannon button.

Reposition the first cannon here to fire on the second cannon’s button, and position the second cannon to hit the wooden plank that’s near the painting on the wall, near the exit door.

Position the train so that the soldiers bounce off of it after bouncing off the cannon button, and go to the drum. Repositioning the drum is not necessary.
Once your soldiers are clear of the red puzzle block, put it back where it originally was, so that it directs your soldiers onto the big red box. Once your soldiers are clear of the first prism block, put it back in place as well, so that it directs your soldiers to the other prism blocks and eventually the second drum.

Do not move the second drum. If you do, make sure you reposition so that the soldiers bounce off of the red book. Wait for the soldiers to clear the first used prism block and place it upright against the book, so that the soldiers walk over it as a ramp and go over the blue book.

If you position these correctly, the soldiers will hit the cannon button. Before they do, position the cannon to hit the wooden plank that’s standing upright against the table.
By the time your soldiers hit the cannon, they should be clear of three prism blocks, which you can now use to redirect the soldiers towards the exit door, as shown below.

This concludes Act 1. Interact with the trapdoor to go down to Act 2.
Check out the next part of our walkthrough for Tin Hearts here!
Thank you for reading our walkthrough of Tin Hearts! For other interesting articles on indie video games, be sure to check out the links below!
- Into Indie Games Homepage
- Mail Time Review
- Best Co-op Indie Games of 2023
- The Invincible Walkthrough – Demo
- Indie Dev Interview: Ignacio Javier Berge, talks Project Nightmares
- Review: TONOR TC-777 USB Condenser Microphone