Feb
Luna The Shadow Dust Walkthrough – Part 6
How do you solve the giant clock room? Find out how to solve the puzzles of Luna The Shadow Dust in our text walkthrough!
- Luna The Shadow Dust Walkthrough – Part 1
- Luna The Shadow Dust Walkthrough – Part 2
- Luna The Shadow Dust Walkthrough – Part 3
- Luna The Shadow Dust Walkthrough – Part 4
- Luna The Shadow Dust Walkthrough – Part 5
- Luna The Shadow Dust Walkthrough – Part 6
Welcome to the Into Indie Games walkthrough of Luna The Shadow Dust!
Luna The Shadow Dust, like most point-and-click adventure games, is best played by exploring it and experimenting with the various objects on screen. But if you’re stuck on one of the game’s many puzzles, consult this walkthrough!
For more information on Luna The Shadow Dust, check out its official website here.
To know more about how Luna The Shadow Dust was created, check out our interviews with the game’s developer Lantern Studio, and the game’s publisher Application Systems Heidelberg.
The Clock Room

This might be the most challenging pair of puzzles in the game. It has a lower half and an upper half, but we need to solve the former to proceed to the latter.
Start with Üri and interact with the stone disc in the lower-middle of the room. You don’t need to use the red button just yet, so use the disc at the left-side, making Üri push the disc. Push the disc as far right as it can go to reveal a hole.
Switch to Layh and enter the hole to find a curious little space with symbols on it. Make note of this design! It is critical to solve the next puzzle (although this walkthrough will show you the solution anyway).
Switch back to Üri and move the stone disc back into place over the hole (don’t worry about Layh!). Once it’s back in place, you’ll be able to press the red button again.
Press it once and then switch to Layh. A new design will appear in the inner space, but it’s all jumbled up. You’ll need to rotate the rings to get it fixed. The light outside of the stone disc tells you which of the rings will be moved.
Rotate the rings so that the two outer rings connect together. A good hint to use is the image of the hourglass, which is split between the two outermost rings.
Once you have the hourglass image aligned, switch to the lowermost light and you can move the two outermost rings together and align them with the inner disc.
This whole process may take some trial and error, so take your time.
With the image aligned, things will get powered up at last and you can let Layh out. Switch to Üri and move the stone disc to the far right again. Switch to Layh and jump through the hole in the space to return outside.
This is the lower part of the puzzle done!
Now you can get onto the lift and proceed upwards. Before you do that, though, save yourself some time and press the blue button on the stone device to the right. Once you press the button, the candle on the right will be lit and the candle on the left will go out. You might also notice that the lighting in the room has shifted to the right.
Turn the crank once and you’ll be lowering a presently out-of-frame lantern. Do so now.
With the right-hand-side candle lit and the crank turned once, get in the lift as both Üri and Layh, and pull the lever to go up.

Get off the lift. If you did the above steps correctly, you should have lowered the right-hand-side lantern. This will cast a black shadow on the stone tablet to the right side of the room.
Switch to Layh and go to the right, by the tablet, and jump onto the black shadow. Next, jump onto the open hand carved into the tablet. Position Üri so that the shadow of his head is between the hand and the window. Switch to Layh, jump onto the shadow of Üri’s head, and then onto the window.
Layh will now be facing the outside of the tower.
As Üri, go down the lift and over to the stone device. Turn the crank for each of the candles. This should raise the lanterns high, giving you a solid view of the clock from the outside.
Next, return to the upper level. Here, you need to change the clock timing to match that seen in the initial diagram found in the inner space.
To solve the puzzle, you need to switch the large hour hand to the bottom of the screen, and have the thinner minute hand at a 1 o’ clock position. As Üri is operating the clock from the inside, he will have to move the minute hand to an 11 o’ clock position from his end.
To move the clock hands, turn the crank in the centre of the screen, below the main gear. You can use the lever to the left to switch between the two hands of the clock. The upper gear is for the hour hand, and the lower gear is for the minute hand.
Once the clock is at the right position (roughly corresponding to 6:10 on the clock face as seen from the outside), switch to Layh.
Click just below the window to have Layh drop onto the newly-opened platform below. Walk all the way to the right, jump onto the next platform and unbar the door. Switch to Üri and go through the door to the left on the upper level.
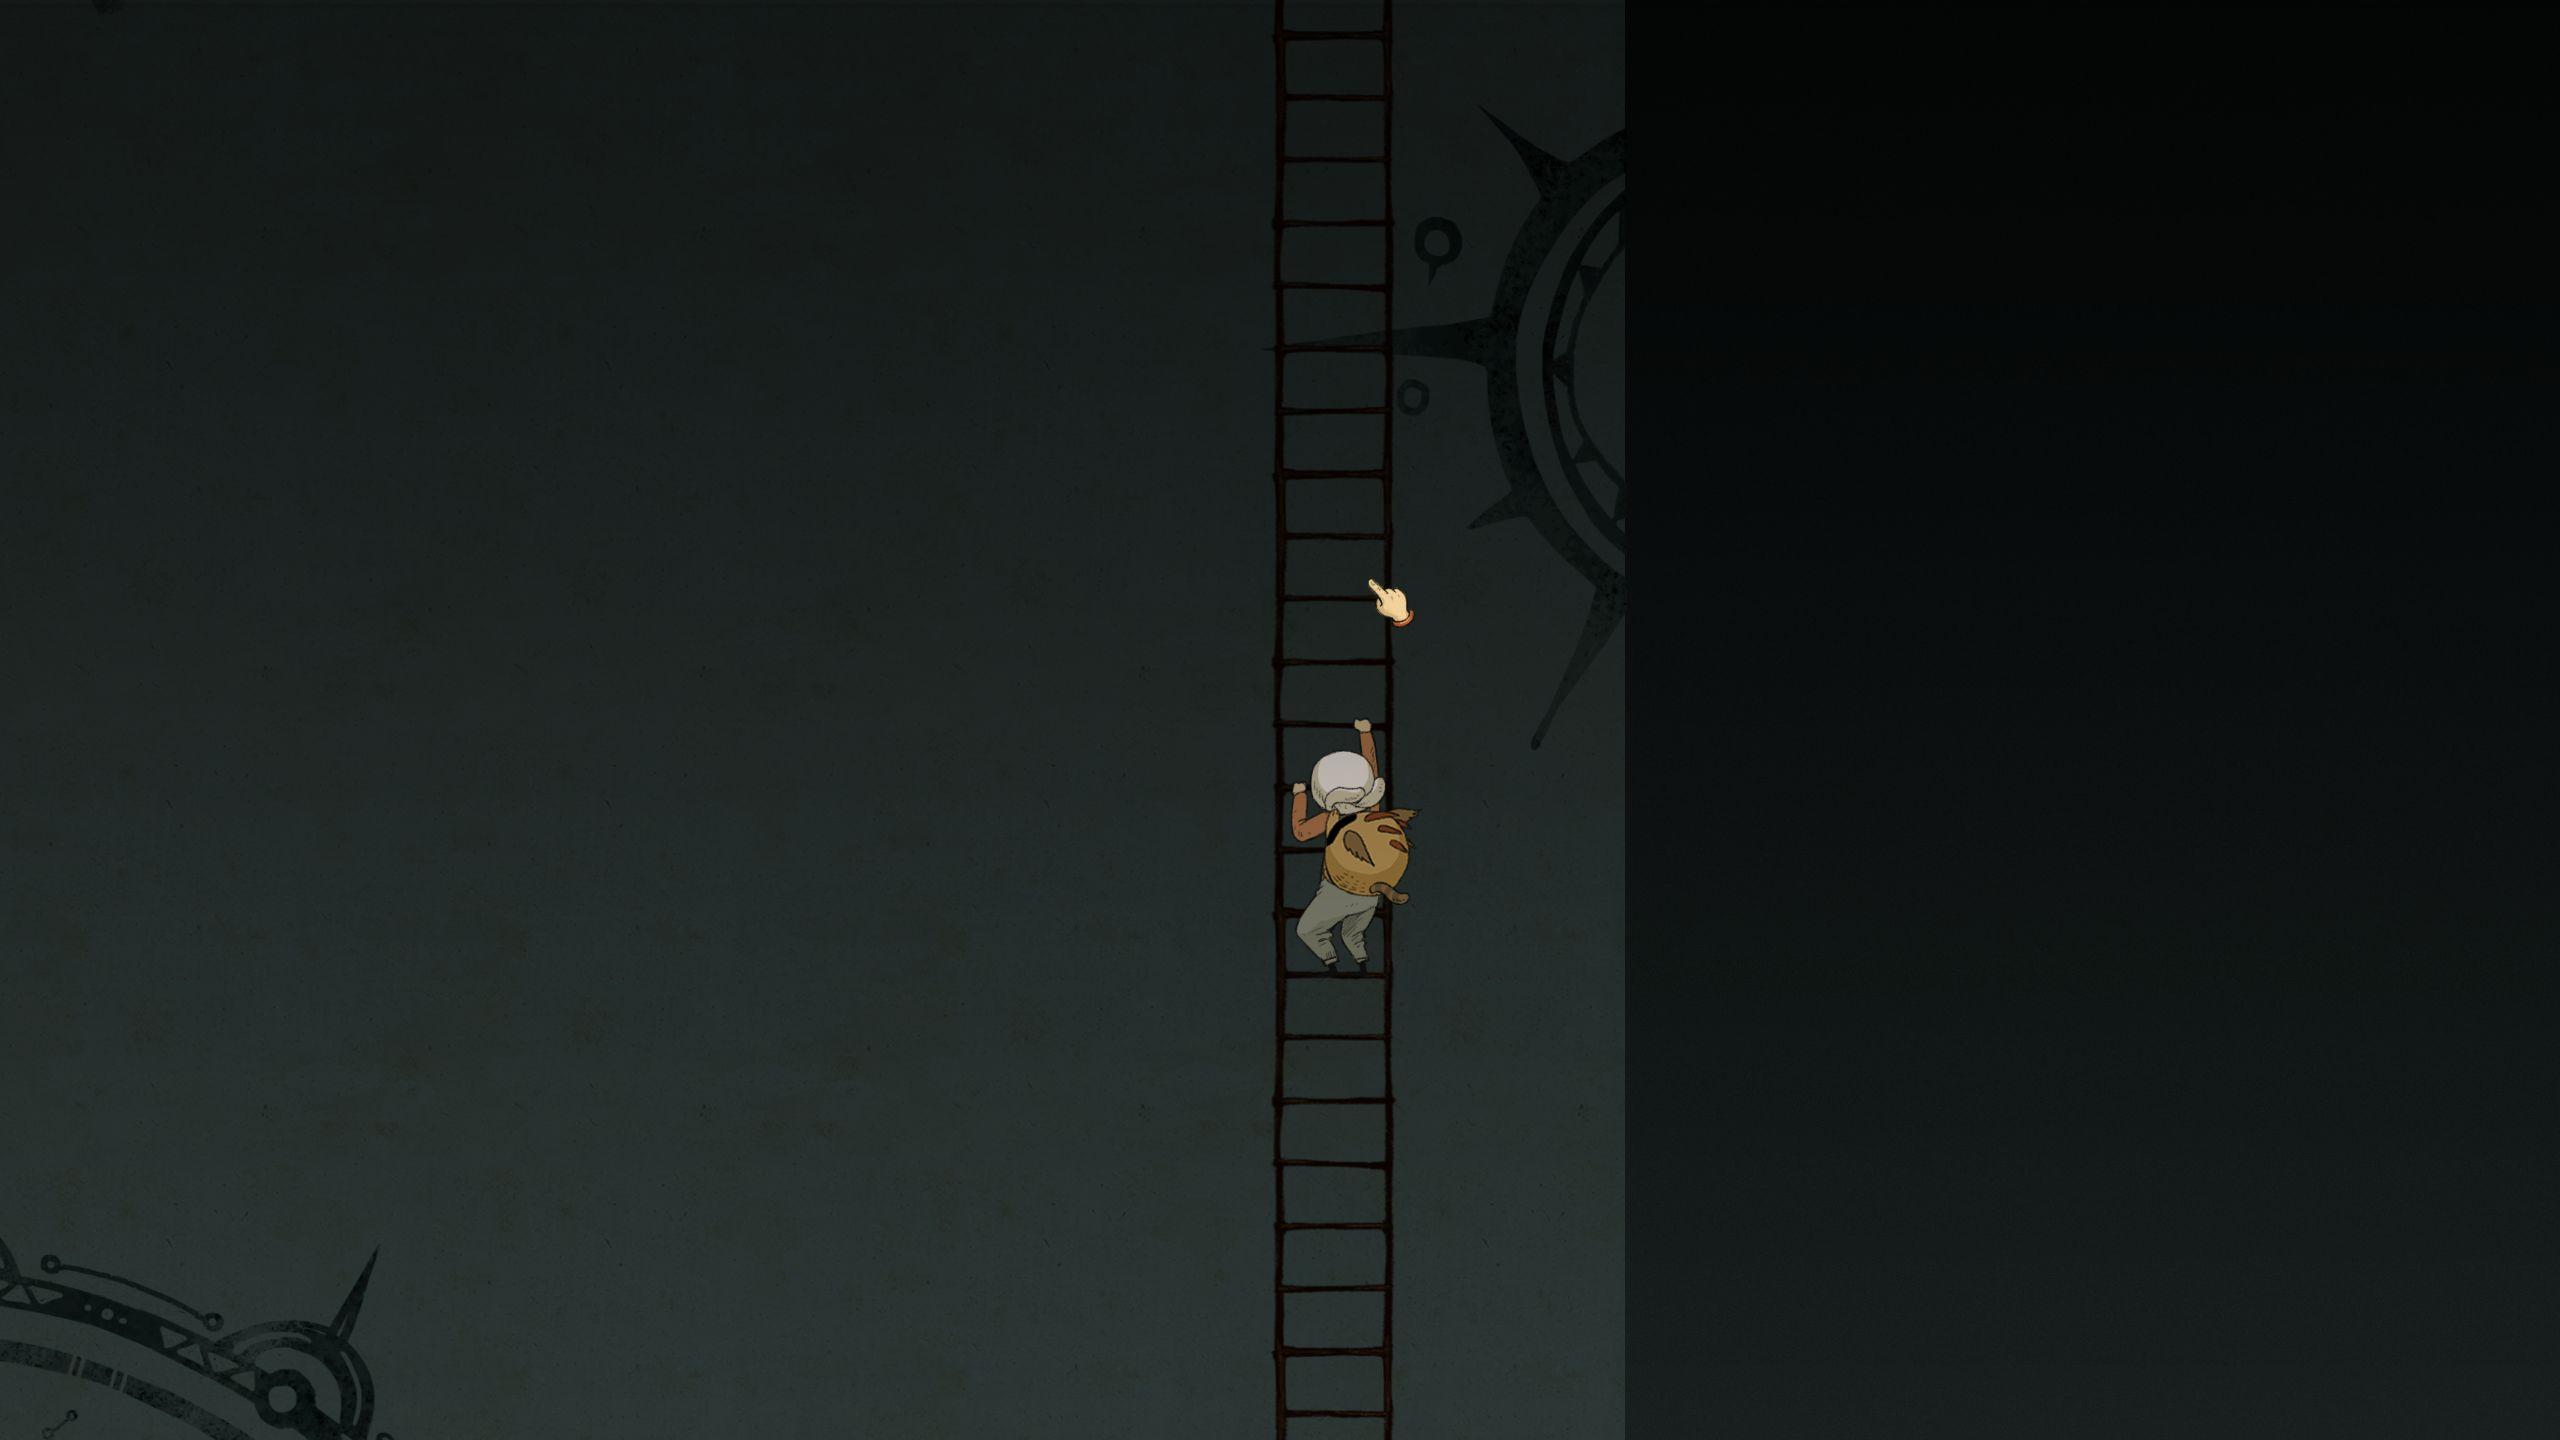
As Üri, start climbing the ladder and Layh will latch on.
The Ending
The ladder is long and buffeted by strong winds. To progress, interact with the ladder to go up one rung. When the wind comes in, stop. If you try to move while the wind is blowing, Üri will drop a few rungs.
This section requires a bit of patience, so don’t get greedy. Progress a couple rungs at a time, wait for the wind, then rinse and repeat. Keep an eye on Üri’s face, as he will look to the right when the wind is blowing and towards the ladder when it is not.
Keep climbing the ladder until you encounter a cutscene.
After the long cutscene ends, have Üri walk all the way to the left of the platform and push the out-of-place obelisk back into its place inside the marked ring on the floor. Üri will take time to push the obelisk, and when he gets close to the ring, another cutscene will play.
That’s the end of this walkthrough! Thank you for reading!