Sep
Toem Stamps Walkthrough – Stanhamn, Part 3
Stuck in Toem? Here’s how to take the right pictures in Stanhamn to solve the Layered Melody and King of Fishes tasks.
Toem Stamps Walkthrough Table of Contents
- Part 1 (Frames & Filters!, A Whistling Dilemma, Photo Challenge #3)
- Part 2 (A Good Spot with No Sun, Solve the Chaos)
- Part 3 (A Layered Melody, The King of Fishes)
- Part 4 (Supreme Deluxe Sandwich?!, Become a Farmer)
- Part 5 (Power Shortage?!, Make Someone Take a Bath, Scorching Flame?)
- Part 6 (Suspicious Activity - Harbor, A Lost Dog)
- Part 7 (Ocean Garbage, Queen of Paper Hats)
- Part 1 (Young and Inspiring, Super Hotbean Bros.)
- Part 2 (A Mouse Bakery, Punk Rocker Bread Crumbs, A Thieving Crow)
- Part 3 (Spooky Scary City, Photo Challenge #5)
- Part 4 (Press-ing News, A Design Problem)
- Part 5 (Hang in There, Buddy, Suspicious Activity - City, Always Tumbled Granny)
- Part 6 (Critical Confusion!, A Ghostly Date)
- Part 7 (Sewer Stumble!, Art Exhibition)
- Part 8 (Cleaning Away the Stress, Ratskullz Crew)
- Part 1 (Become a Yeti, Scarf, Snowball Memories)
- Part 2 (Military Suspicions, Photo Challenge #7)
- Part 3 (Yeti Cuteness, A Wall of Lights)
- Part 4 (Locating an Asteroid, Play Astronaut)
- Part 5 (Ski Goggles, Birthday in Distress)
- Part 6 (Listen to the Goat Choir, Assemble a Snowman)
- Part 7 (Ice Wizard’s Research)
- Part 1 (How to get to Basto, Jet-Ski Tricks)
- Part 2 (Take a Nap!, Dehydrated Muscles)
- Part 3 (Night-Time Cinema, Play a Carnival Game)
- Part 4 (Night Lights, Spooky Stories)
- Part 5 (Bad Hair Day, Painterly Portrait)
- Part 6 (Arthur Hunter)
- Part 7 (Fruit Shortage)
- Part 8 (In Your Face, Sand Castle Competition)
- Part 9 (Bitling Collector)
- Part 10 (Book of Bats, Sweet Tooth)
- Part 11 (Broken Dreams, Brain Freeze)
- Part 12 (Basto’s Hidden Balloons)
- Part 13 (Dry Season)
Welcome to the Into Indie Games guide to Toem! This guide focuses on collecting stamps only, and it does not currently cover compendium photos.
The stamps in Toem are not numbered, but we’ll be numbering them here to make things more manageable. For more information on Toem, check out the official website here.
Stanhamn
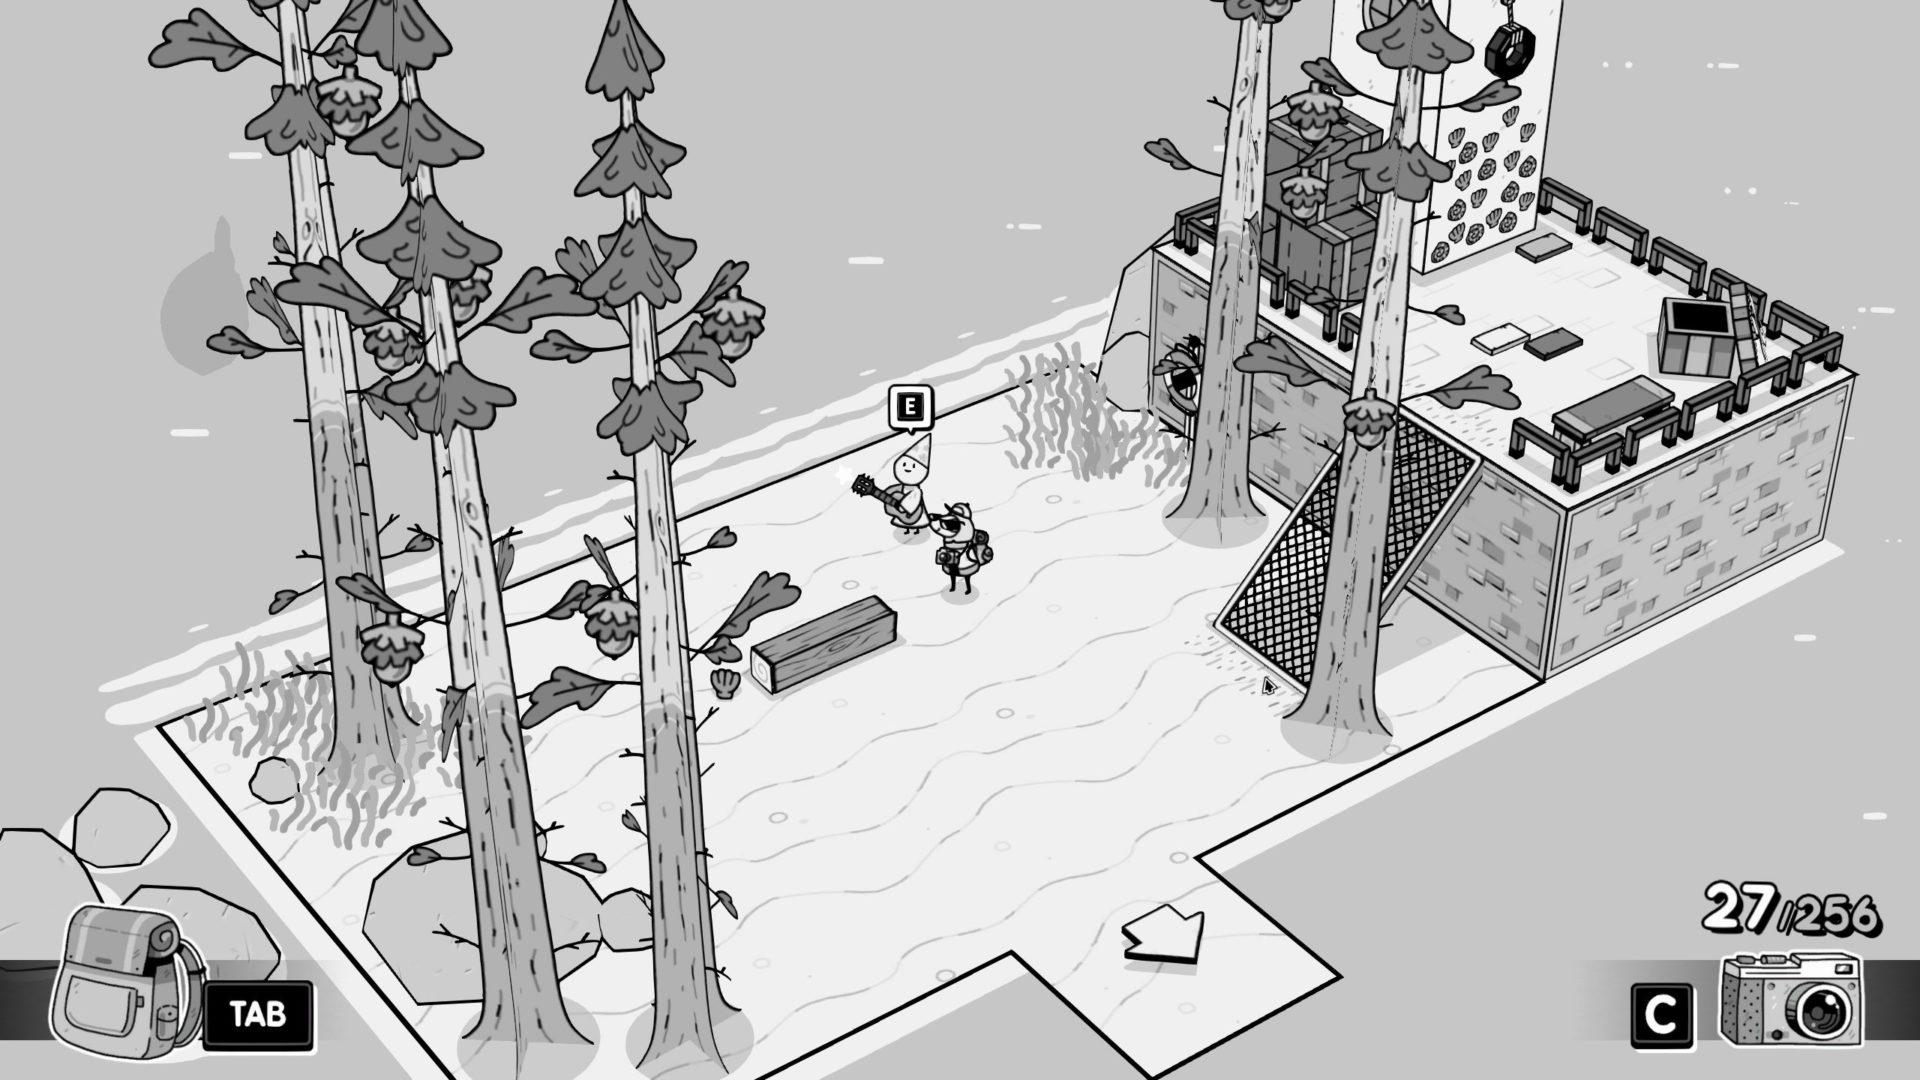
Stamp: A Layered Melody
To get this mission, you must first complete the mission “Solve the Chaos” and acquire the honk attachment for your camera.
Then, use the honk on the birds blocking your way near the lighthouse (honkhouse?), and go past the newly revealed path.

Talk to the guitarist on the beach here to get the task. You should now complete the task “A Whistling DIlemma” if you haven’t already.
After you complete that task, you will get the whistling song on your Hikelady. Return to the guitarist and play the song on your Hikelady (you will have to scroll down to the Stanhamn section) while in the guitarist’s vicinity.

This will complete the task and get you the stamp.
Stamp: The King of Fishes
To get this mission, just talk to the whistling sailor sitting by the fountain, near the harbor.

After this, you will have to complete the “A Layered Melody” stamp, which will in turn require you to have completed the “Solve the Chaos” stamp.
After completing “A Layered Melody”, point your camera at the bubbling area in the sea and when the progress bar fills, the King of Fishes will jump into the air.
Be quick to take a picture of it and then return to the whistling sailor to show him the picture (check your creature picture album if you can’t find it in your regular album).

If for some reason you didn’t get the picture of the King of Fishes in time, simply ask the guitarist to do the performance again.
Head on to the next chapter of our Toem stamps walkthrough!