Feb
Wandersong Story Walkthrough – Act Six (Part 2)
Stuck in Wandersong? This walkthrough will be music to your ears. Read on to find out what to do in the sixth act, after you exit the caves.
- Wandersong Story Walkthrough – Prologue & Act One
- Wandersong Story Walkthrough – Act Two
- Wandersong Story Walkthrough – Act Three
- Wandersong Story Walkthrough – Intermission & Act Four
- Wandersong Story Walkthrough – Act Five (Part 1)
- Wandersong Story Walkthrough – Act Five (Part 2)
- Wandersong Story Walkthrough – Act Six (Part 1)
- Wandersong Story Walkthrough – Act Six (Part 2)
- Wandersong Story Walkthrough – Act Seven
Welcome to the Into Indie Games walkthrough of Wandersong!
Wandersong, like most adventure games, is best played by exploring it freely yourself. But if you’re stuck or you have forgotten what you need to do, do consult this walkthrough!
For more information on Wandersong, check out its official website here.
Act Six: The Beast at Ichor Mountain
Part 2

Once you’re out of the caves, head right for another sinister cutscene. Continue right, and here you will meet your first flying seal. There’s nothing you can do for this one just yet, so carry on to the right.
Keep going right and you’ll find pink crystals as well as a couple flying seals just doing their thing. Go up to the large crystal structure and use it to grab some crystals yourself. Now head back to the first flying seal you found, the one that was lying on the ground. He’ll be quite happy with the crystal, and you can pet him if you like.
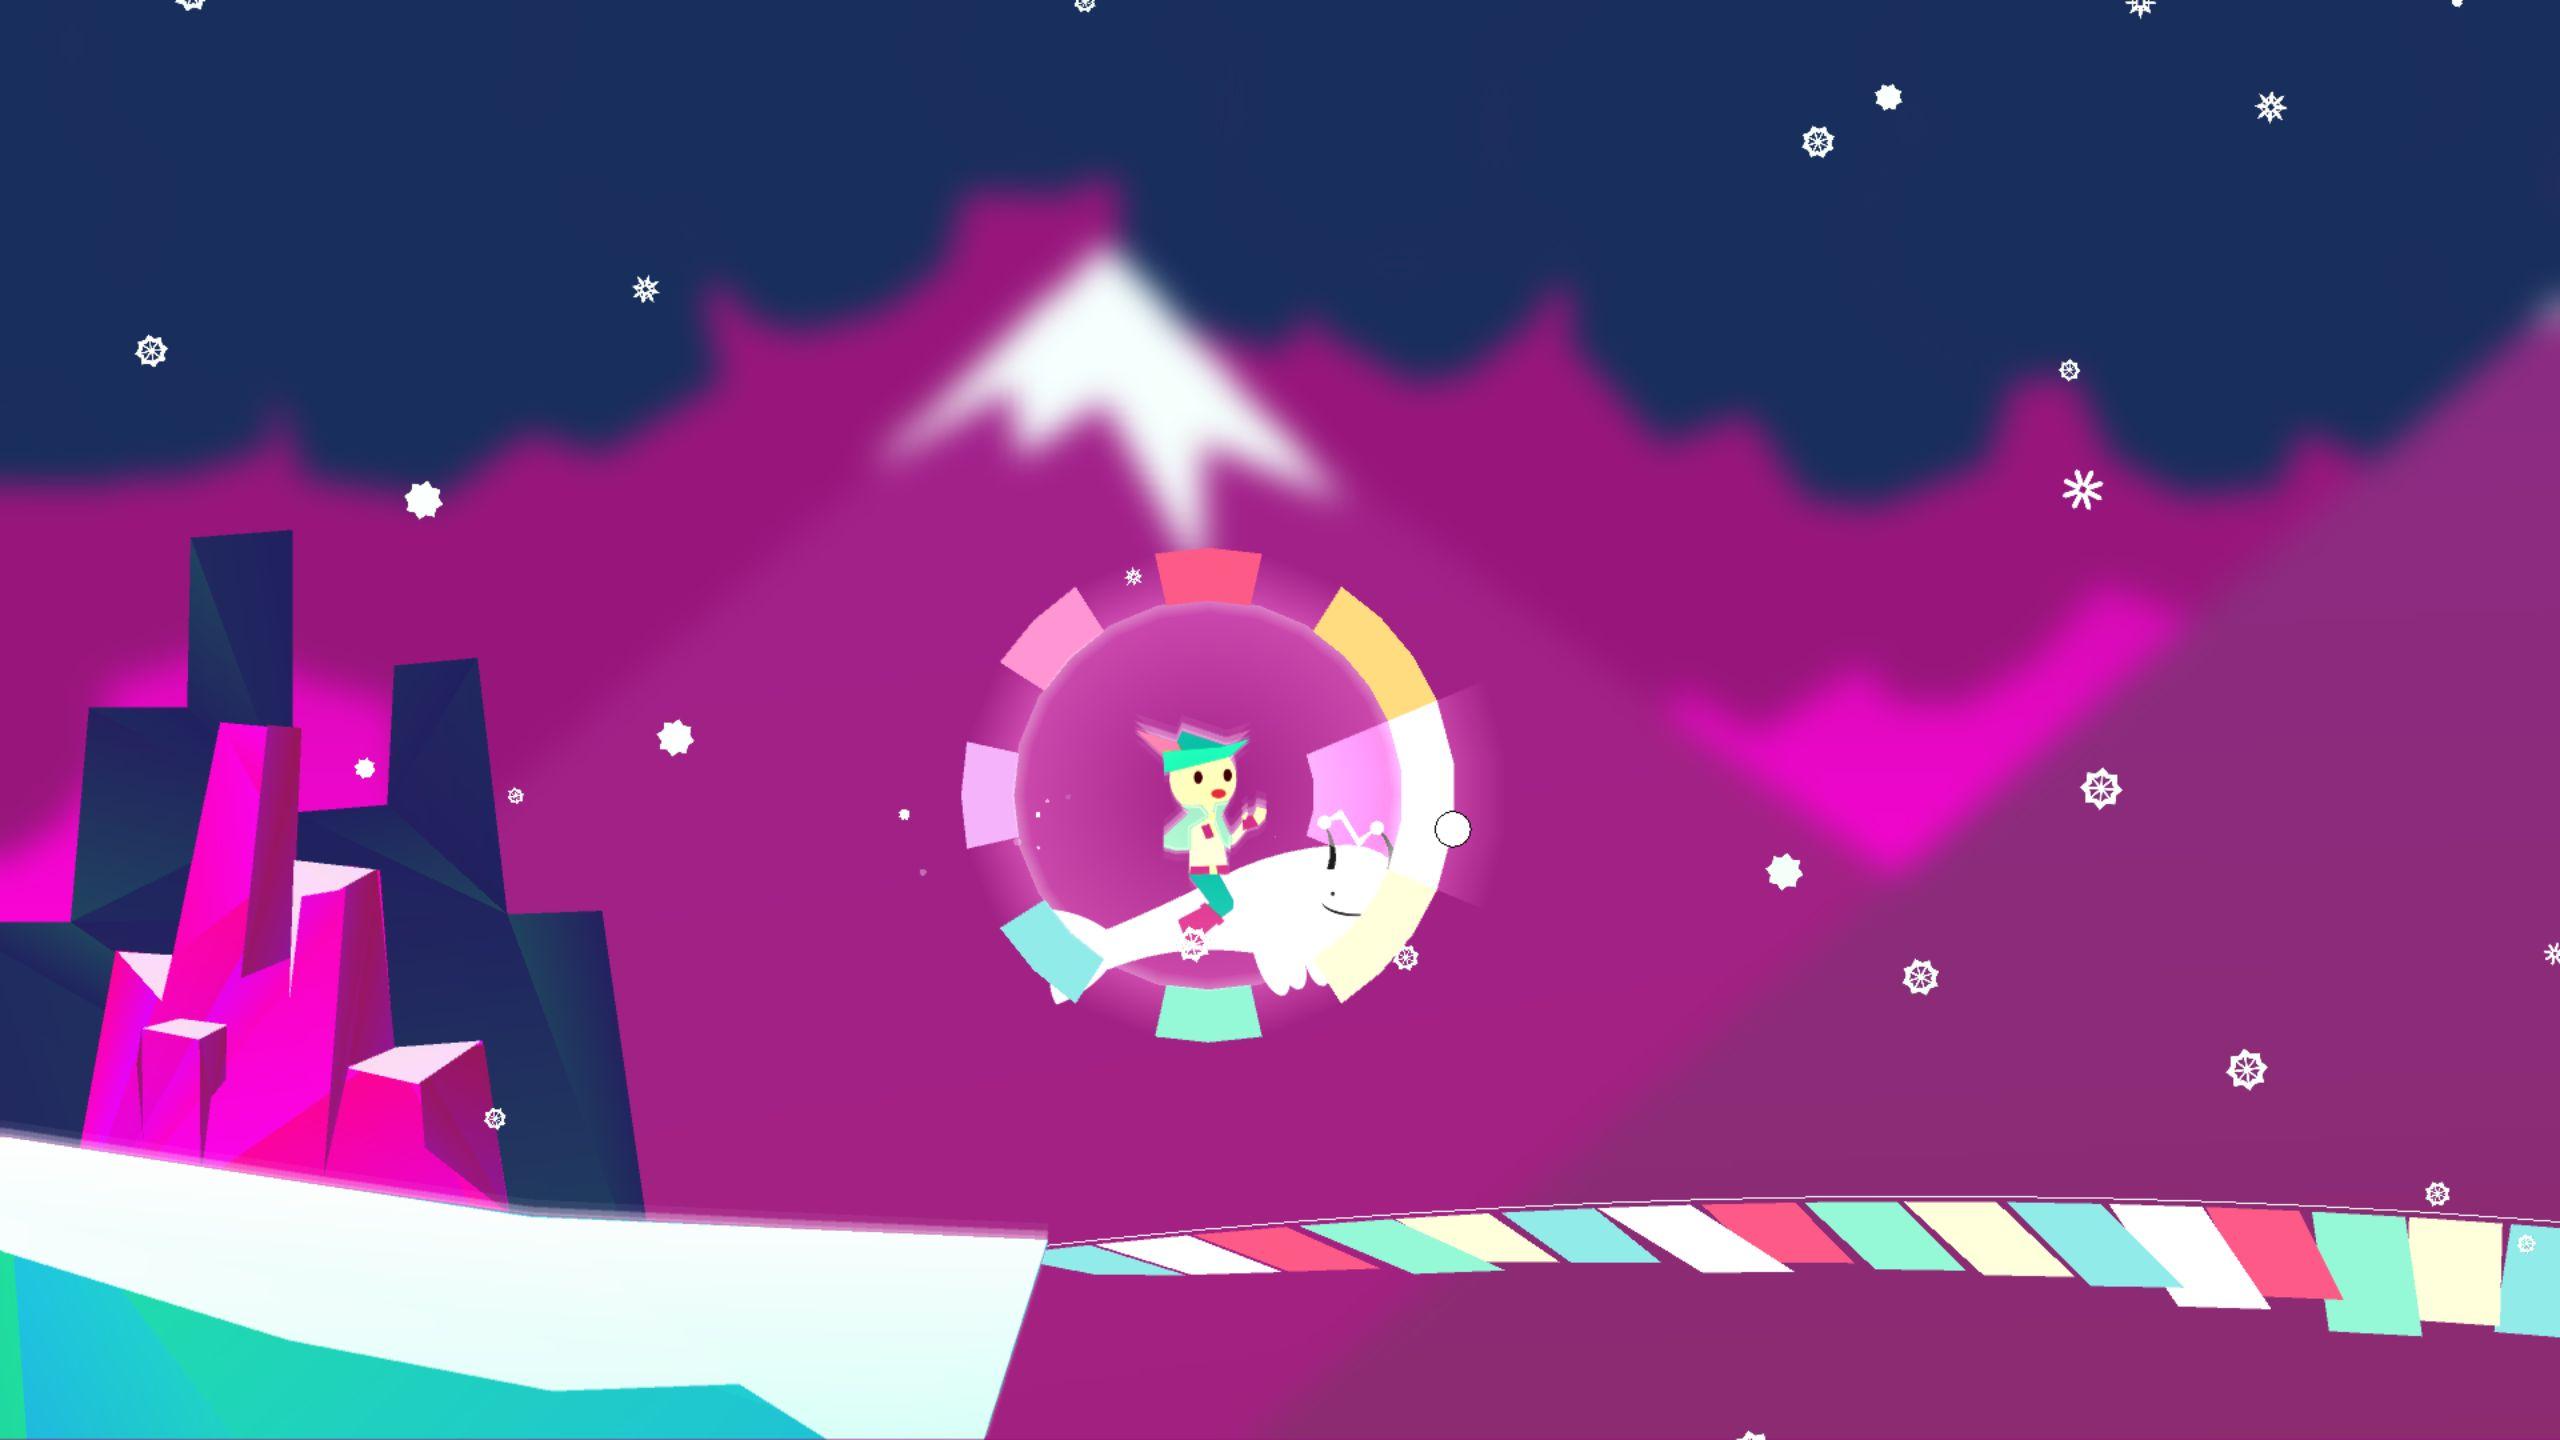
To get the flying seal to carry you, jump on its back and then sing in the direction you want to go. Like the bird, the seal will only take you a limited distance, so make sure you know where you’re going or you’ll run out of steam. Unlike the bird, the flying seal will follow you around and need to be recharged by pink crystals.

Get the seal to take you to the high ledge that you can’t jump to. Here, you’ll find another crystal structure. Grab the crystal, give it to the seal, and fly onto the next high ledge. Proceed right to the next screen.
Here, there’s two high ledges and a crystal structure. Recharge your seal and go as far up as possible, using the help of the ledges. Recharge the seal again and proceed to the right, past the coloured prayer flags. On the other side, you’ll find another crystal structure, and a scarily long chasm. Recharge the seal and fly to the upper-right, as far and high as you can go. By the time the seal runs out of juice, you should safely be on snowy ground.
Head down from here and use the crystal structure to recharge the seal. Jump all the way back up to the highest ledge. Remember not to use your seal to fly up there, or you’ll run out of energy and be forced to go back down for a crystal. At the highest ledge, hop onto the seal and fly to the upper-right, crossing another large chasm. Head right to the next screen.

Go right, recharge the seal with the crystal and hop on. Go right, into the caves. Go up, then fly to the upper-left (recharge as necessary), go up again, and then to the right to find another chasm bridged by coloured flags. Recharge the seal and head right to another cave structure. Proceed up through the shaft in the middle and continue climbing up until you find a crystal structure to recharge your seal. Go right, and fly onto the high ledge. Then proceed right across the snowy land.
Here the wind is really strong and you’re going to have to be careful of how you fly. Recharge your seal when you find the crystal structure and fly up to the higher structure when the wind dies down. Head right, recharge, and cross the chasm. Be extra careful this time, as there’s no safe ground to drop to until your cross the chasm.
Head right from here and jump up the icy ledges when the wind is quiet. When it looks like you’ve reached a ledge you can’t jump to, wait for the wind to pick up and jump in the direction of the wind to be carried to the ledge. Be careful when you jump higher, or the wind will send you flying.

Jump up, and then go right through a cave until you find an opening. Here, the wind alternates between going left and right. Time your jump with the wind and get to the right side. Pick up the crystal, recharge the seal, and then jump left, once again using the wind to your advantage.
Head back through the pink-walled cave to where the coloured flags are and use the seal to fly up to another crystal structure. Grab the crystal, charge the seal, and fly left with the wind over the pointy spike. On the other side, make your way up over the ledges, using the wind to power your jumps. At the top ledge, head right to find a crystal structure and charge your seal. Go past it to the chasm and fly past it. The wind will be against you, but you can make it with your seal. Continue right for a tiny jump. The wind is still against you, but you can jump past it, and then repeat the process for another jump to the right. Continue on to the next screen.
Go right from here until a cutscene plays. Then run left! While trapped, sing in the direction of the binds to undo them. As you do, another cutscene will play, and then you can resume undoing the binds. Just as you finish, you’ll have a familiar character pay a visit.

Once the cutscene ends, you find yourself in a cave. Talk to the Hero and keep talking to them. You’re in for a fairly lengthy conversation, so keep talking to her over and over. Once you’re far enough into the conversation, the Bard will hear a sound. Head to the right of the cave and you’ll find some old friends helping you out.
Another conversation follows. At the end of the conversation, head right into the next screen. Here, you can sing to bugs again, so have them lift the red stone out of the way. Proceed right until you find another red stone and get the bugs to take it to the middle of the area and lift it up. Once you have it positioned right, Audrey will jump across. You can’t jump as good as Audrey, so take your time and get the bugs to carry you to near the ledge.
Continue right for a cutscene and then sing to get the bugs out of the way. Have the bugs mosey along under the floating platform and then lift the red stone as before. Once again, Audrey will jump across and you can follow. On the floating platform you two end up at, direct the bugs to go to the right and lift the second red stone. Once again, Audrey will jump first and then you can let yourself be carried to the ledge.

Go right into the next screen, and then another screen, then up some stairs until you find a throne. A conversation will follow in which the Bard and the Hero talk to the Heart Fairy. After the conversation ends, head right and go up the stairs in the next screen. Get out of the cave (or castle, however you wish to see it), and proceed right and then upwards. You have quite the climb ahead of you. Continue onwards and go left into the next screen.
In this cutscene, the Overseer is being quite elusive. Follow the Overseer to the left, jumping up the ledges as necessary. On the next screen, at the end of the ledge, you’ll encounter another cutscene. After the cutscene, dive off the ledge and onto the platform with the Overseer and Audrey. Head left towards the Overseer for yet another cutscene.
In this boss fight, you have to work with Audrey to defeat the Overseer. She will charge her sword and you need to cover her while she does that. Follow her and keep an eye out for triangular attacks marked by coloured auras. Sing in the direction of the attack to create a defensive bubble that can protect Audrey.

Continue defending Audrey until her sword is charged and eventually she will shoot the Overseer. When he’s down, sing at the Overseer to make him smaller. Eventually, he’ll roar at you and the next phase of the fight will begin.
Here, the Overseer will conjure pillars of light with bombs on them. When the bomb hits the ground, spikes will emerge from the bottom. To interrupt this attack, create a defensive bubble and get to the pillar to stop the bomb from reaching the ground. Other than this attack, you will also have to block regular triangle-attacks.
Keep defending Audrey again until her sword is charged, and she’ll stun the Overseer. Sing at the Overseer again to make it smaller and have it roar at you.
In the third phase, the Overseer will attack you himself, and his angle of attack will be marked by direction and colour. As before, sing to conjure a defensive bubble in the right colour and defending Audrey. Apart from that, he will continue attacking you with the pillar bombs and triangle-attacks.
As with the previous two phases, keep defending Audrey until her sword is charged and she’ll stun the boss. Sing at the boss for the fourth stage of the fight. This one is the most intense phase yet, but there are no new attacks. Keep defending Audrey as before, have her stun the boss, and sing to it until it’s completely pacified.

Watch the next cutscene and you’ll be able to learn the next piece of the Earthsong. Get to one of the white strings, sing in any colour, and release to strum that string. Do this with the strings until you start seeing coloured arrows pop up. Sing in the colour and direction of the arrows while near a string to assign that arrow to the string. You can assign any arrow to any string, so keep doing that. You’ll have to assign the arrows in several waves before you gain Earthsong piece. This one takes a while, so keep at it and you’ll learn the piece.
This will take you to the next act.
Interested in learning more about the best free indie games on Amazon Prime and how to play Amazon Prime games for free, check out this article on Into Indie Games.