


Welcome to the Into Indie Games walkthrough for Telambang in Marvel’s Wolverine. Wolverine is Insomniac’s latest and greatest superhero release and a fine addition to first-party PlayStation titles. Play through Insomniac’s take on Logan’s story and feel the power of those claws against a variety of enemies. You can also learn more about the game on its official PlayStation Store page here.
Check out our walkthrough hub for Marvel’s Wolverine here to find walkthroughs for the rest of the regions.
Mission 1: Back In Action
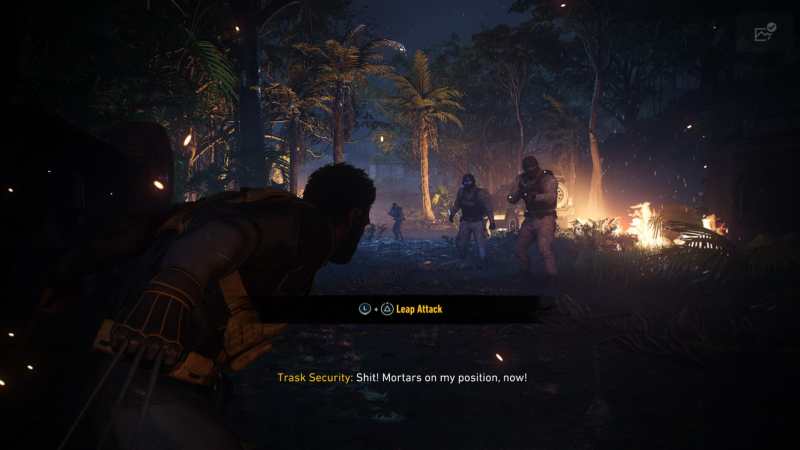
Start your journey off by learning the controls of the game. Just follow the inputs that are being displayed on the screen to continue through the tutorial in this section.
Keep heading straight ahead, fighting through waves of enemies using your newly learned controls to trigger a cutscene at the end.
Once the cutscene ends, use the last stand ability to get back into action. Defeat the next wave of enemies and disable the AA gun in the area.
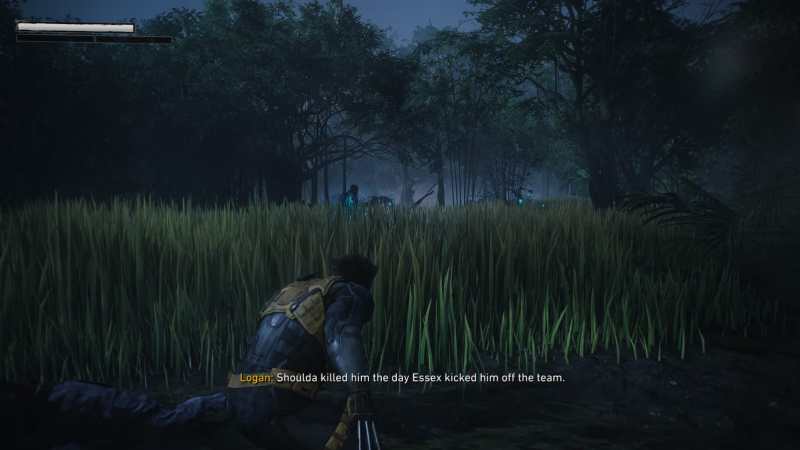
A stealth section ensues after disabling the AA gun. Just stay hidden in the grass and pick off enemies one by one. It is a pretty easy stealth section, and you won’t face a lot of trouble here. Defeat the enemies at the end to trigger another cutscene.
Take care of the next wave of enemies after the cutscene ends. Once the combat section is over, you’ll have to follow Sabertooth across cliffs, so get ready to do some parkour here.
You’ll encounter more enemies at the end. Defeat them, proceed ahead, and use the wall on your right to climb up. Interact with the body at the end and continue ahead.
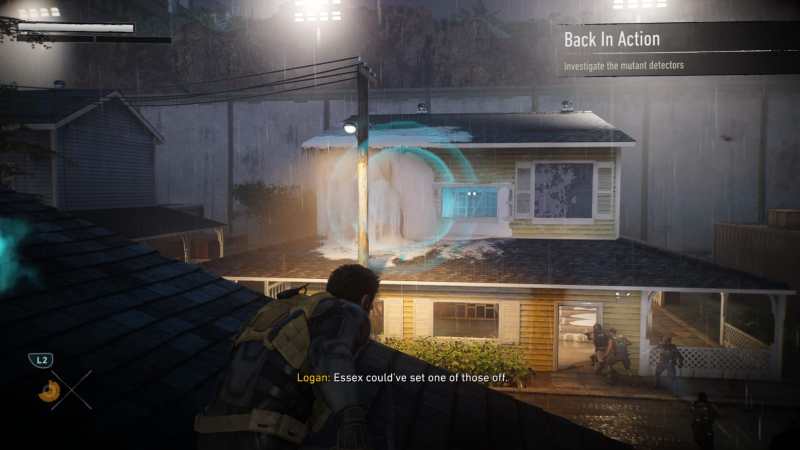
You’ll enter a more open area this time where you can engage Trask’s guards at your pace. Keep following the blue audio cues scattered across the map and disrupt them.
Another cutscene plays once you disrupt the mutant detectors, and you’ll enter a running section which marks the end of your current mission.
Mission 2: A Debt Repaid
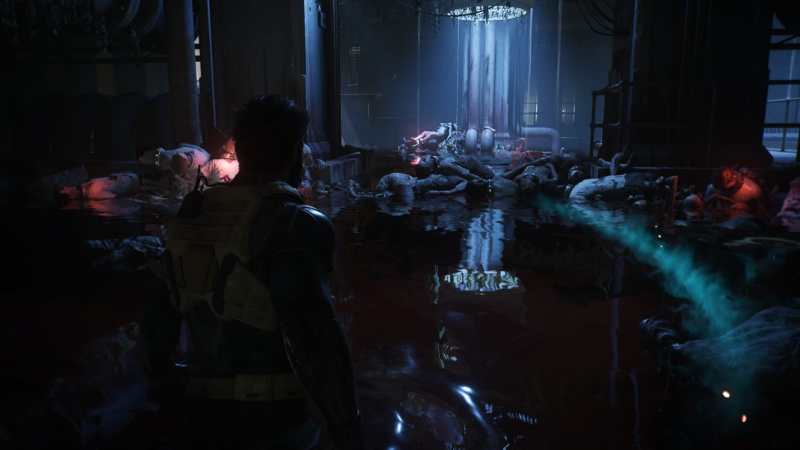
Follow the blue trail of your enhanced senses to your next location. Enter the facility at the end to find Mystique. Keep following Mystique throughout this facility. Defeat the enemies that you encounter in your path as well. Make sure to start incorporating parry into your attacks because the enemies are going to get harder.
Additionally, you’ll encounter a section with mutant inhibitors in your path. Before fighting the enemies in this section, make sure to destroy these inhibitors first.
Once you get out of the facility, you’ll have to make a run for it to the other side. You’ll encounter shielded enemies here, and you’ll have to utilize your kicks to disable their shields first. Make sure to dodge red attacks too because you can’t parry them.
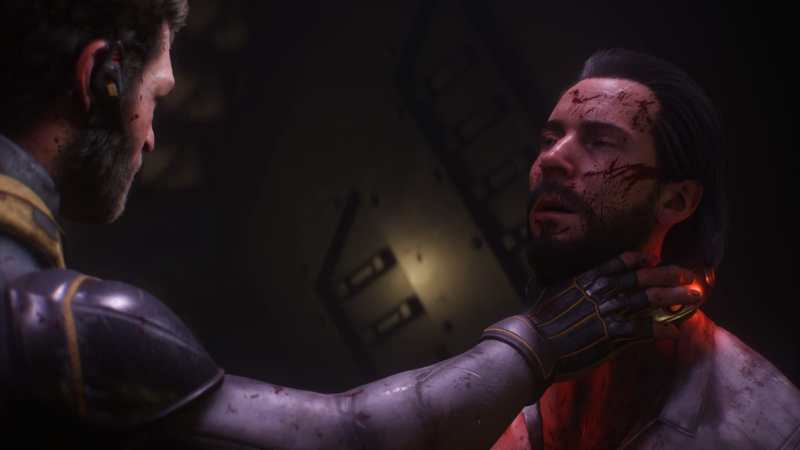
Follow the linear path throughout this section and keep fighting your way through hordes of enemies. Find Essex at the end of this section to trigger a cutscene in the story.
Once the cutscene ends, follow Essex to make your way out of the facility. Get ready to run towards the other side while defeating enemies in your path. This marks the end of your current mission as well.
Mission 3: Last Meal

The final mission of Telambang requires you to beat Omega Red. This boss fight is pretty easy, as the boss’s moveset is not that complex.
Don’t aggressively jump into this encounter; try to parry Omega Red’s whip attacks first to temporarily stun the boss. Next, jump in and eat away at the boss’s health bar.
Make sure to dodge the red attacks because you cannot parry them. Additionally, when Omega Red creates a shield from his whips, you’ll have to use your kick attack to break his defense. Once you defeat Omega Red, you’ll have completed all of the missions in the Telambang region.
This concludes our first walkthrough of Marvel’s Wolverine, which covers all three missions in the Telambang region.
You can also check out walkthroughs of other video games below:
- Into Indie Games Homepage
- Moss: The Forgotten Relic Walkthrough Hub
- Desktop Explorer Walkthrough Hub
- Dead Weight Walkthrough And Guides Hub


