Jul
The Invincible Walkthrough – Demo 2
Check out our walkthrough of The Invincible, in which we explore the second demo from the beginning to the end.
Welcome to the Into Indie Games walkthrough for the second demo of The Invincible! This guide is focused on getting you to experience the most out of the second demo and leading you to its end.
For more information on The Invincible beyond this walkthrough, check out the official Twitter account here!
Demo (June 2023)
On the journal, look down and examine the point marked “Convoy’s Target Location”. After the brief conversation, examine the point marked “Side Path”, a little to the south of the first point.

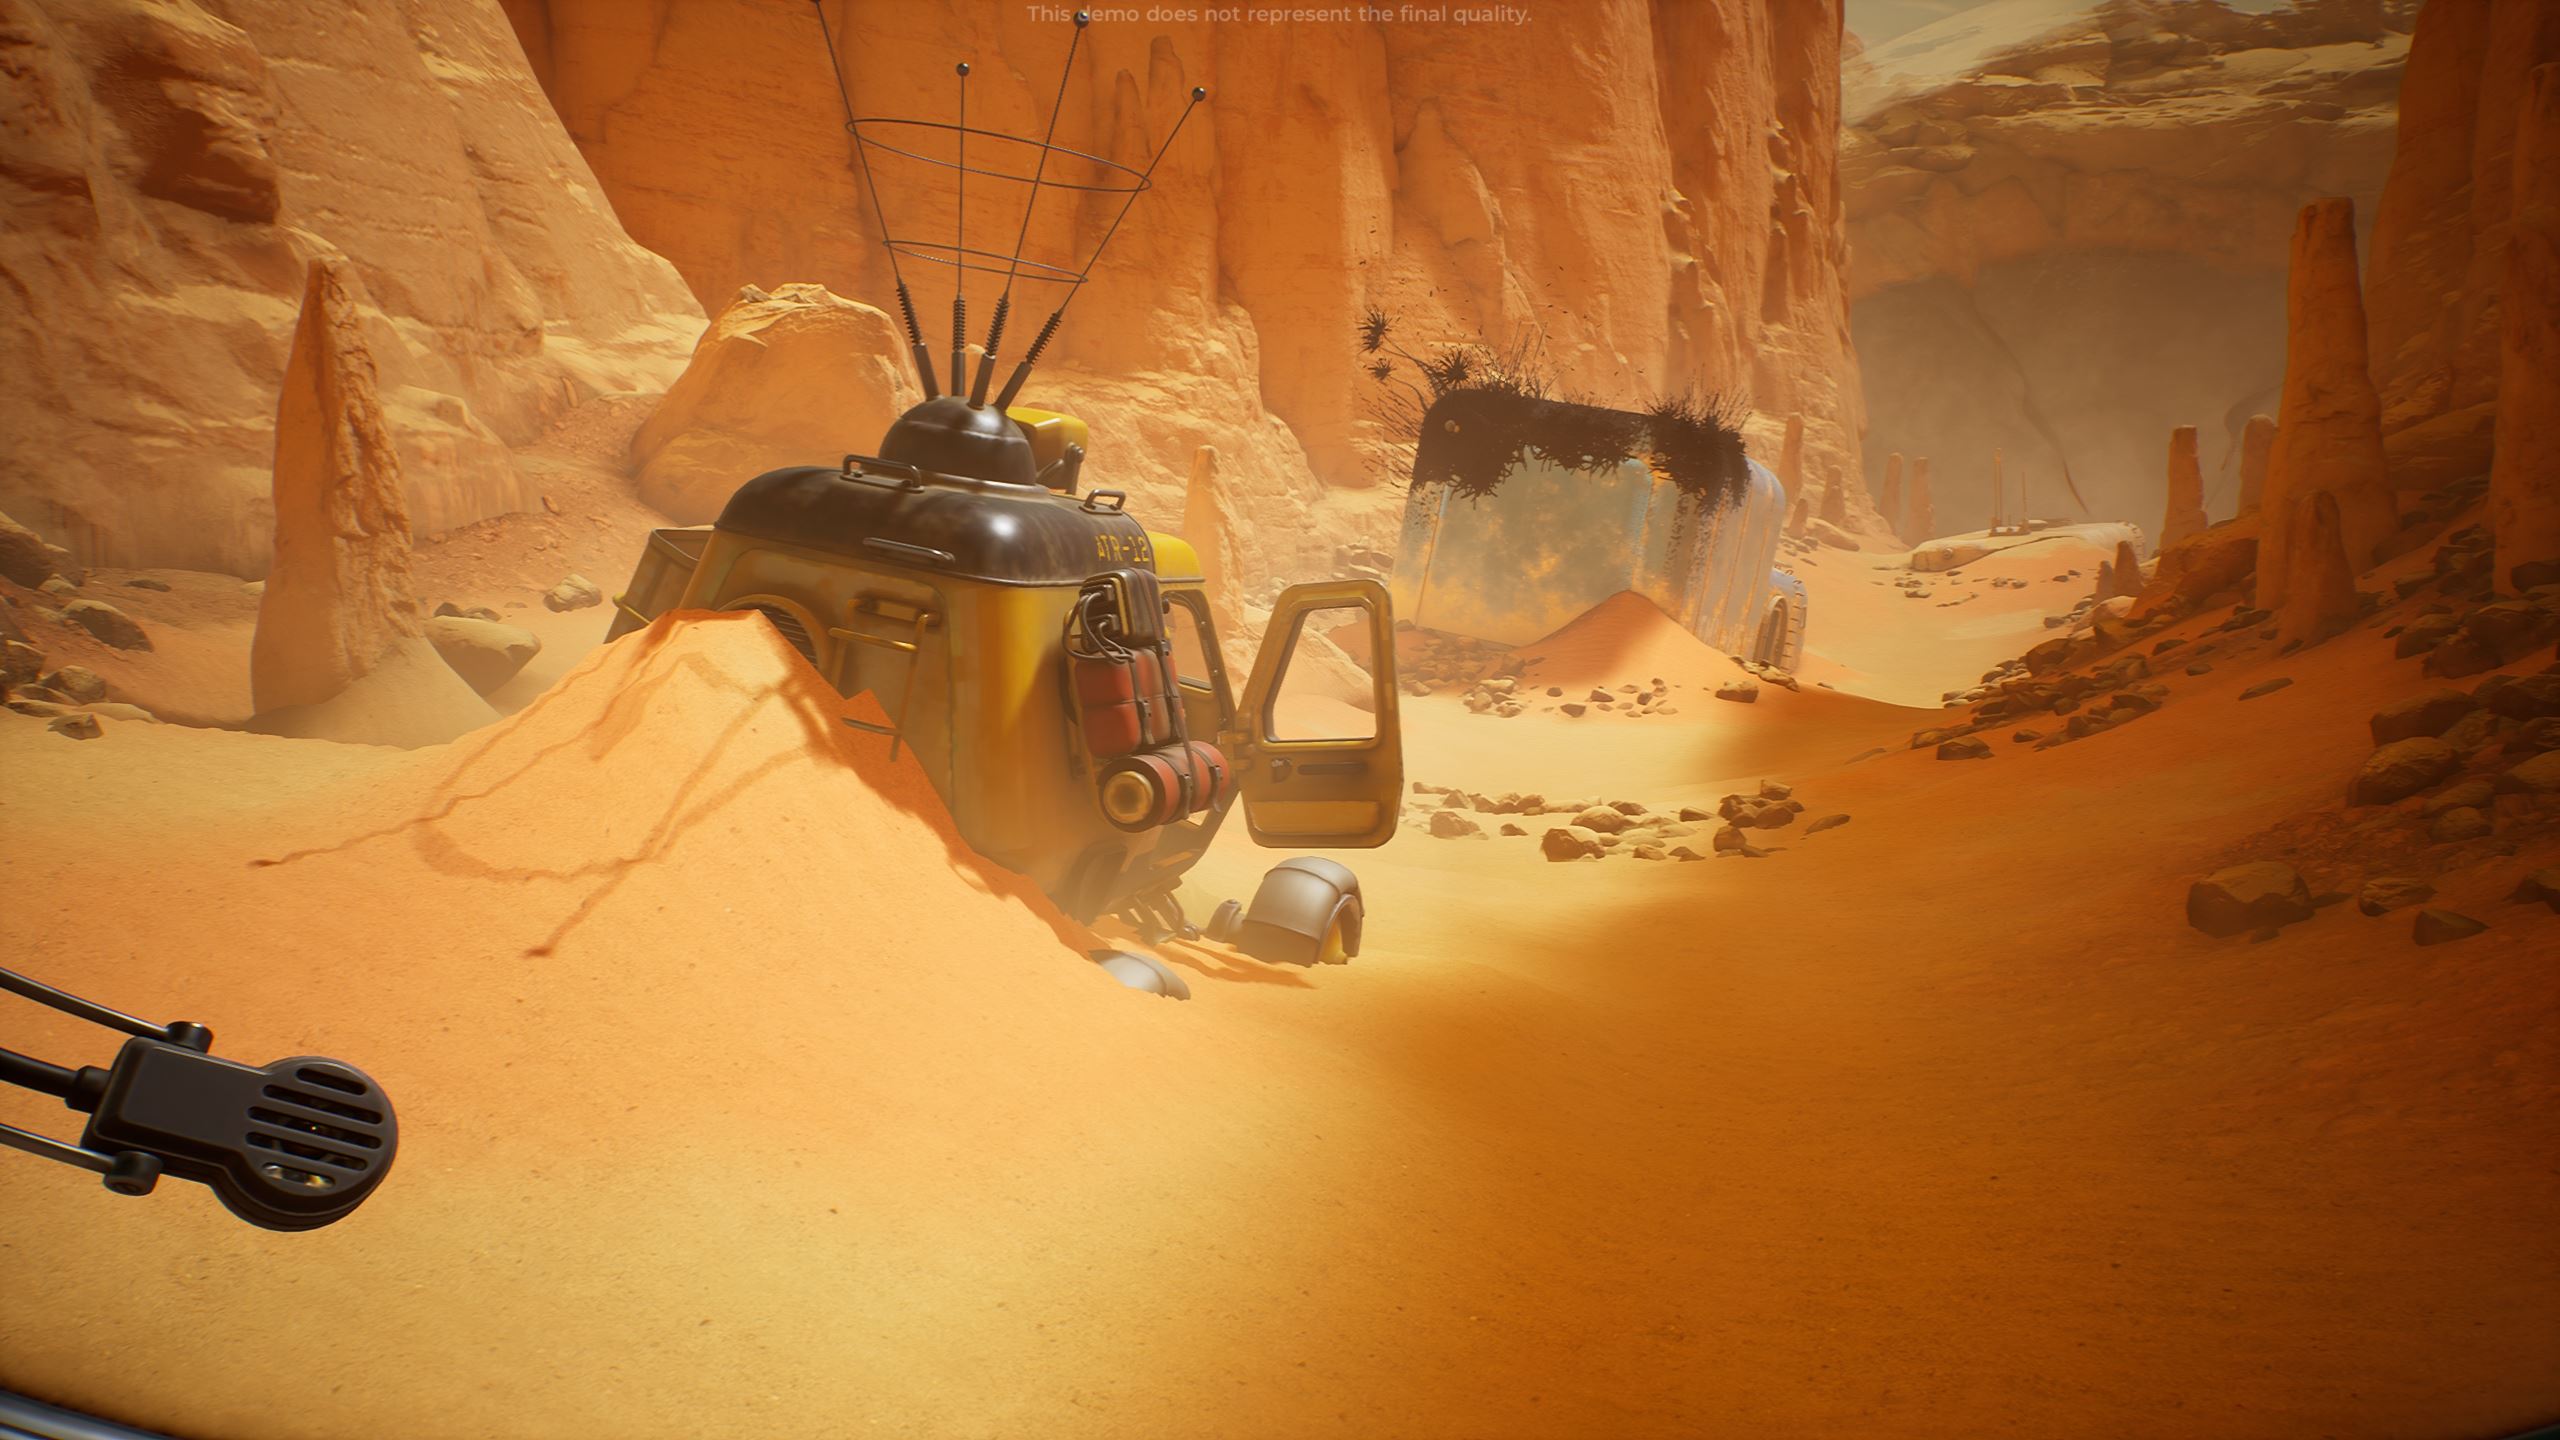
Unequip the journal, get down from the rocks, and get into the rover. Drive along the path until you get to a road blockage. Get out of the rover and approach the blue vehicle that’s stuck up ahead.

Enter the vehicle and go straight ahead, then interact with the elevator at the other end of the vehicle. You can only interact with the elevator on the left side.

Once Yasna has climbed up the elevator, go through the tunnel to your right. On the other side of the tunnel, Yasna will pull out her Tracker. Follow the tracker to one of the bodies in the area.

After examining the corpse of your choice, approach the Antimat (the giant grey robot) that’s lying between the two tunnels. Open up the recorder cover, press the buttons as directed on-screen, and pull out the register slides.

Go through all of the slides and after the conversation, approach the dark tunnel that’s between the two Antimats. Head all the way to the end of the tunnel and drop down to the ground.

Once Yasna is falling better, examine the “Metal Bushes” in the canyon, the “Bare Bushes” on the other side of the area, and the “Arktan” that’s walking in circles. Then, examine the yellow box that the Arktan is carrying.
Now go in the area where you spotted the “Metal Bushes” point before, i.e. the canyon. Keep going in this direction, following the “Side Location” point. A little further on, you’ll find a telemeter prompt above you. Use this to get a better look at the distant location ahead of you.

Interact with the ‘Metal Wall’ point directly ahead (you’ll have to zoom in a bit first). Zoom in even closer to find the ‘Roots’ point, which you can interact with. After this, pull out your Metal Detector device and investigate the metal bushes nearby.
You should find an “Underground Connections” point, inside the canyon rock where the bushes are jutting out from.

After a brief cutscene, you’ll be tasked with following the Arktan. Do so by entering the tunnel it disappeared into. Go to the very end of the tunnel and keep going until you’re in a cutscene.

There’s a conversation after this, and after the conversation, examine the remains of the “Wrecked Robot”, i.e. the two legs standing upright. After this, go through the small tunnel that was formed near the remains of the Arktan (it has cooled by now, so you can enter it).

You’ll find the Rover visible from the tunnel itself, but you can interact with it as you approach it. Go to the rover and get in.

You’ll find the data recorder located directly above you – interact with it with the on-screen indicated buttons to begin playing the data. You can press the white button again to skip through the current piece of data.
Once you’ve listened to all the recordings, After the conversation has proceeded far enough, look to the right to find a prompt to get out of the rover.

Now proceed further to find a transporter with metal bushes on it. Examine it and then the bushes themselves. After the conversation, enter the transporter and look to the left. Open the door to the cargo area by following the on-screen prompts.

Once you have a view of the inside, look at the floor to find a prompt that’ll let you toss a flare inside. Examine the broken containers next to the flare.

Now exit the transporter and head towards the transparent dome that’s further along the canyon.
After the conversation is completed, examine the points of interest here: “Force Field Emitters”, “Molded Rocks”, and “Transporter”. Finally, examine the “Shield Breach” to the left of the transporter.

Now backtrack to the transporter you entered before and go to the right canyon wall, where you’ll find a narrower canyon. Go through this canyon until you reach a probe. Follow the probe into the tunnel and then inside the force field.

Go to the force field emitters now that you had spied before. The entrance to the bot is on the other side from where you entered the force field – go there and enter the bot through the door.

Examine the corpse here and then the bitten glove. Next, interact with the shield power controls opposite the corpse to turn off the force field.

Now exit the bot and go to the active transporter that’s hovering above the ground. Climb onto the transporter from the hovering part that’s near the open door. Climb into the transporter.

Once you’re inside, open the cargo area as you did for the previous transporter and enter the cargo area. After the conversation, interact with the yellow container in front of you.

Follow the on-screen prompts to pull out the research materials inside the container. After the conversation, head to the lever marked “Ramp”, on the other side of the cargo area.

Pull the lever down for the next cutscene.
Thank you for reading our walkthrough of the second demo of The Invincible! For other interesting articles on indie games, be sure to check out the links below!
- Into Indie Games Homepage
- Dordogne Collectibles Walkthrough – Chapter 1
- Planet of Lana Review
- Best Indie Games like Resident Evil in 2023
- The Nordic Folklore and History Behind Bramble: The Mountain King
- Review: TONOR TC-777 USB Condenser Microphone