Feb
Clem Walkthrough – Part 2: Determination
Clem Walkthrough - Table of Contents
- Part 1: Beauty
- Part 2: Determination
- Part 3: Intelligence
- Part 4: Strength (Coming soon!)
- Part 5: Hope (Coming soon!)
Check out our walkthrough of Clem to find out how to obtain ‘determination’ by finding the garden and the snail in it.
Welcome to the Into Indie Games walkthrough for Clem.
For more information on Clem beyond this walkthrough, be sure to check the official website here.
Part 2: Determination
As before, you’ll wake up by the cellar with Clem’s book near you. Pick up the book and go to the section for ‘Determination’.

Here, you’ll learn that what you need to bring to Clem this time is a snail, which we’ll cover in this part of the walkthrough. Exit the book and go up the stairs.
Go right in the kitchen to enter the dining room and then go right again to reach the hall.
Here, you’ll find that the second door on the left is partially open. Go through this door.

Turns out you’ll be locked inside – but that’s alright. We have a bunch of stuff to do here anyhow.
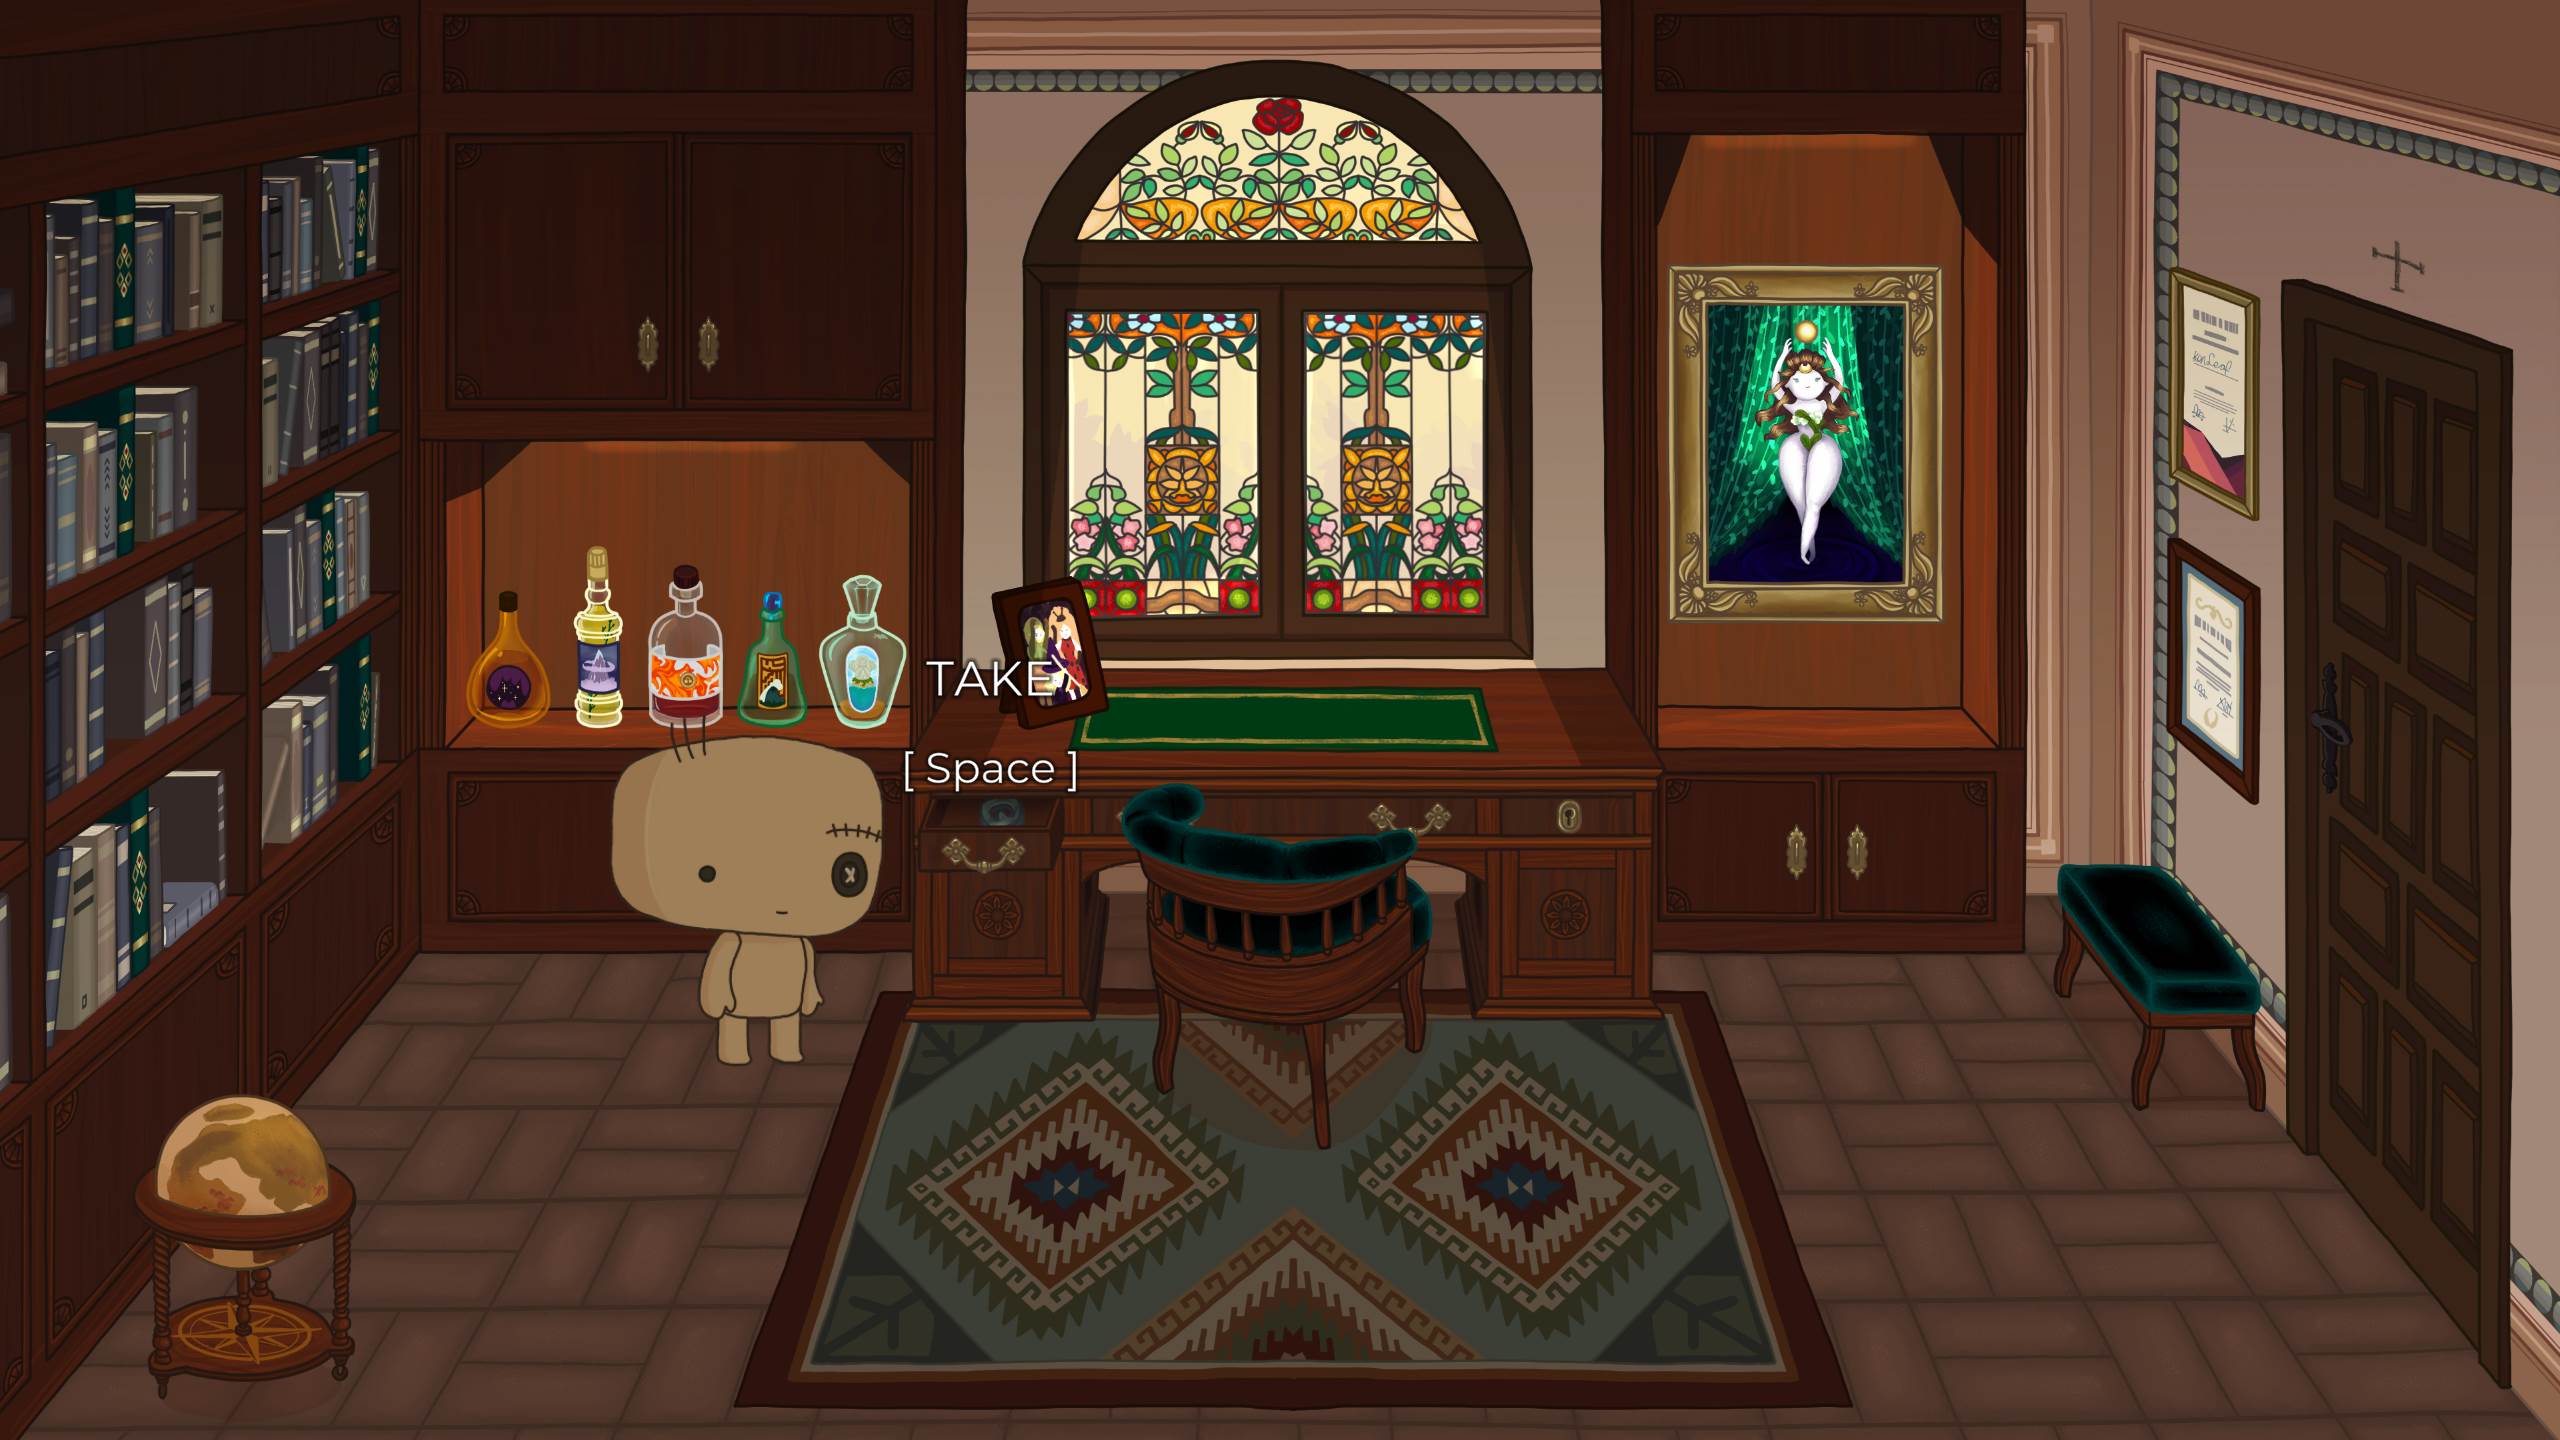
First, examine the painting on the wall near the door. Use your lens of truth and focus around the glass ball that the figure has above her, to reveal a golden sphere.

Now approach the desk in the middle of the room and interact with the drawer to the left side of the desk, where you’ll find the Runic Key.

This is a skeleton key of sorts that you can use to open any lock in the house (unless the lock is magical, as is the case of the room you’re in).
Try to open the drawer on the right side of the desk to use your Runic Key for the first time.
Adjust the ‘stones’ of the Runic Key so that you move the pins in the lock up or down. You need to arrange the pins so that the darker, concave sections of the pin are aligned with the black line. This usually takes a lot of trial and error, so don’t worry if you don’t get it right on your first try (although there is an achievement for doing so).

Read the document inside the drawer to get clues on how to solve the liquor puzzle. There’s another document inside that hints at how you can get out of the room.
First, approach the bottles of liquor on the left side of the screen and interact with them. Here, we have to arrange the bottles in the order of Clem’s parents’ preference. You can use the document for clues on this – or simply use common sense and arrange the bottles in the order of how full they are.

Put the least-full bottle to the left and the most-full bottle to the right to complete this puzzle. The screenshot below shows the order you need to set them in.

When the globe opens, pick up the sphere inside it.
Next, interact with the bookshelf on the far left of the screen. Here, we need to pull out the books to form the sign on top of the door to the right – i.e. the sign for Temperance.

Pull out the books as shown in the screenshot below to achieve this. If done correctly, a pink ‘Temperance’ sign will appear on the shelf.

Note that if you access the book shelf again, or if you re-enter the room after exiting it, you will be locked in again until you solve the bookshelf puzzle again.
Now exit the room and go to the far right of the screen, where you’ll find a locked door to open. As before, use your Runic Key to unlock the door.

In this storage room, pick up the can lying on the floor. Exit the room.
Now go to the yard by going to the bottom of the hall screen, and head into the shed to the right. There’s a screwdriver lying on the floor here, but we don’t need it just yet.

Go to the right and interact with the closed drawer there to find another Runic Key puzzle. Unlock the drawer to find a valve handle inside.

Exit the shed now and re-enter the house. This time, go back to the dining room. You’ll notice there’s water seeping out of the door in the middle of the screen.
Interact with this door to enter the bathroom. Use the valve handle on the valve to the left of the bathtub. Then, use the valve handle to turn off the flow of water.

You can now safely access the first-aid kit box on the wall. Do so to find adhesive tape inside.

We need one more item before we can go for the snail. Go back to the kitchen and then into the kitchen pantry.
Here, interact with the locked green drawer on the left side of the screen.

Note that in this Runic Key puzzle, you’ll find bronze pins, which will slowly reset to the default position even after they are displaced. To solve this puzzle, you must press the unlock button right when the pin is aligned.

Pick up the strainer inside the drawer. Now go through the dining room to the hall and then back out into the lawn. Enter the greenhouse by going left.
Go to the far left in the greenhouse and interact with the statue that formerly granted you the glass lens. Give the statue your golden sphere.
You now have access to the garden, which is beyond where the statue formerly was. Go left through the greenhouse to enter the garden.

Here, look for a crack in the pipe that’s causing water to drop down to the grass. Interact with this crack and place your strainer on it.

Interact with the strainer and use your adhesive tape to keep the strainer in place.
Now interact with the valve handle to the right (i.e. to the left of the bench). Turn the handle to the left a bit, so that it’s on the ‘small drop’ setting.

This will cause a spray of water to form on the pond, similar to rainfall.
Now interact with the handle again and turn the handle all the way to the left to drive away the bird.

Interact with the snail and use the can you picked up from the storage room. This way, you’ll have the snail in your possession.

Now go back to the hall (passing through the greenhouse) and go up the stairs to the right.

As before, go to the slightly-ajar door to the far right to deliver the snail, i.e. Determination. This concludes this part of the walkthrough for Clem.
Head on to the next part of our walkthrough for Clem here!