
Aug
Fort Solis Walkthrough – Chapter 1
Fort Solis Walkthrough
Stuck in Fort Solis? Check out our Fort Solis walkthrough to learn how to complete the first chapter of the game.
Welcome to the Into Indie Games walkthrough for Fort Solis. This is a story-oriented guide, so we recommend exploring the game by yourself first and only using the guide when you’re stuck!
For information on Fort Solis beyond this walkthrough, check out the official website here.
Prologue
We start the game in the prologue, just before Chapter 1.
Follow the on-screen instructions to use your multi-tool. Then, go through the door on the platform you’re on and interact with the computer.
Exit through the door and activate the elevator controls to go down to the surface. Head over to the LTV in front of you to get in and get going to Fort Solis.
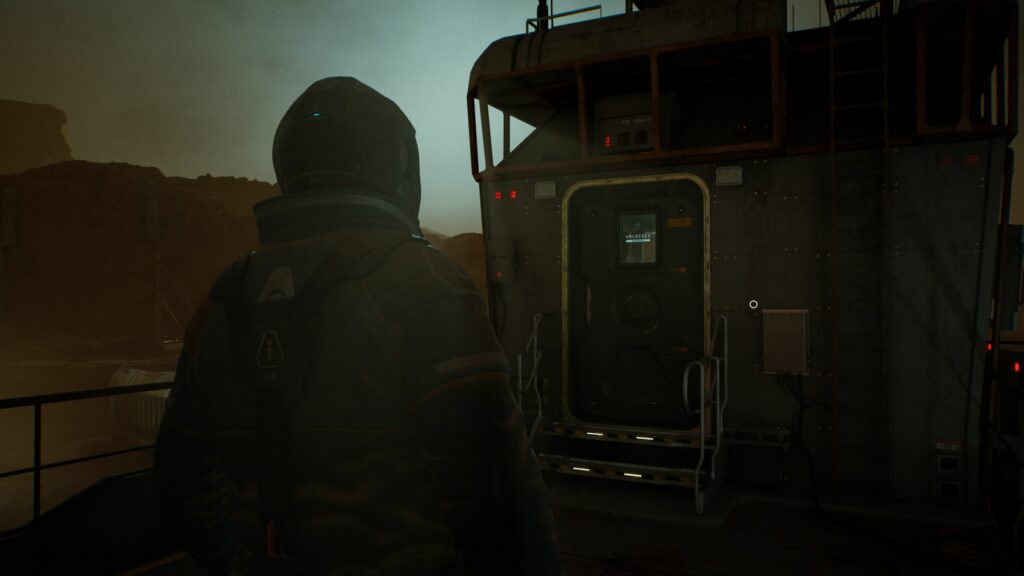
When you get to Fort Solis, go up the stairs and attempt to open the door there. You’ll learn that it’s locked.

Go back down the stairs and proceed to the equipment elevator straight ahead. Attempt to use the computer there, and you’ll learn that this is also locked.

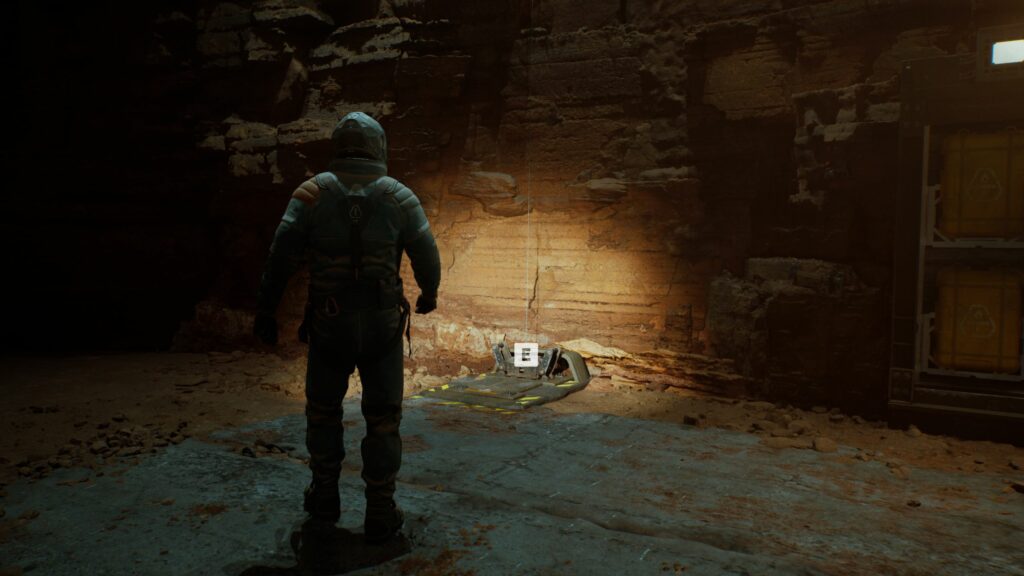
Now go to the climbing equipment to the left of the elevator and follow the on-screen instructions to climb up.
Chapter 1: Dark Descent
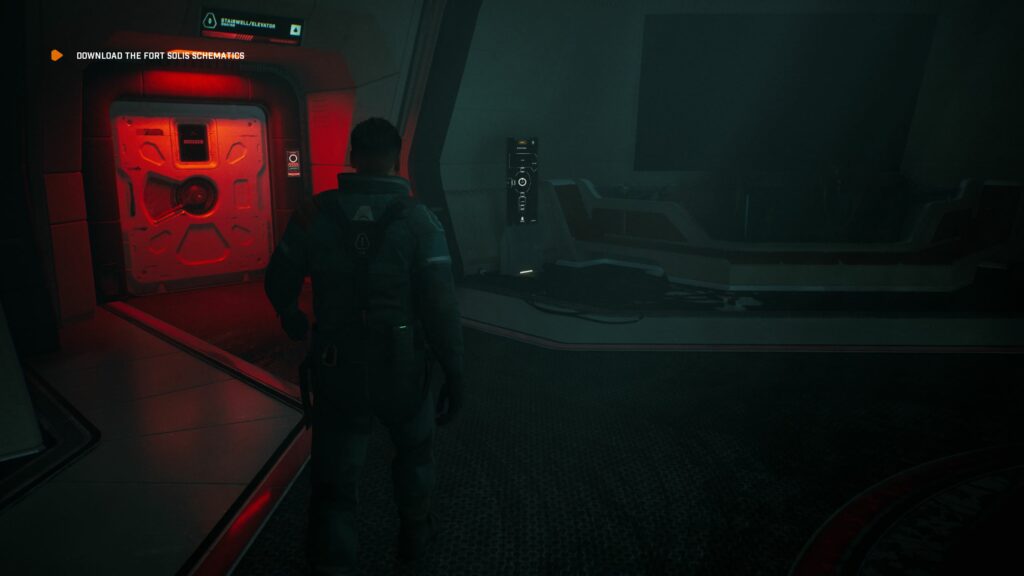
When you see the title card for Chapter 1, go straight ahead to find the atrium entrance. Interact with the door here and override the door to enter.
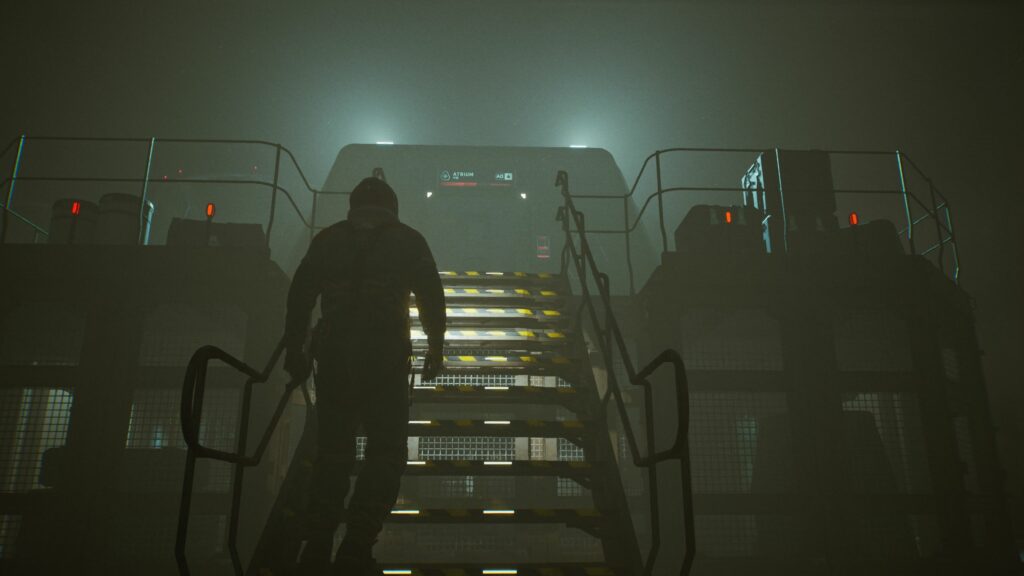
Proceed straight ahead past a few doors into the Atrium. Once in the Atrium, go right and up the stairs.
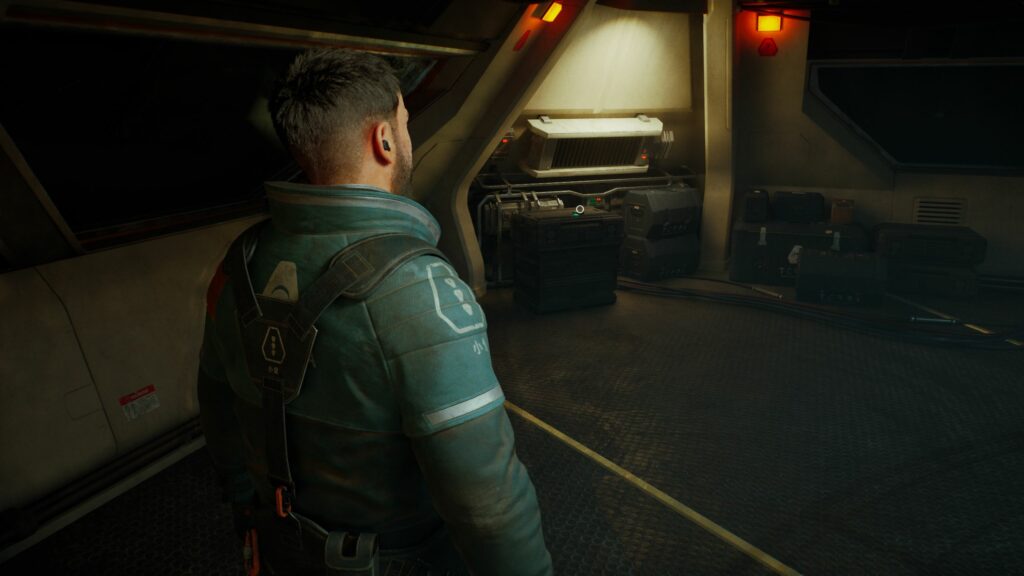
Go to the corner of this floor opposite to the stairs you just came up. Here, you’ll find an i5 Power Cell, which you can use to power a door in the Atrium.
Go back down the stairs and head to the locator – which is a tall screen located to the right of the Stairwell/Elevator door. Interact with the locator a few times to get its maps downloaded.
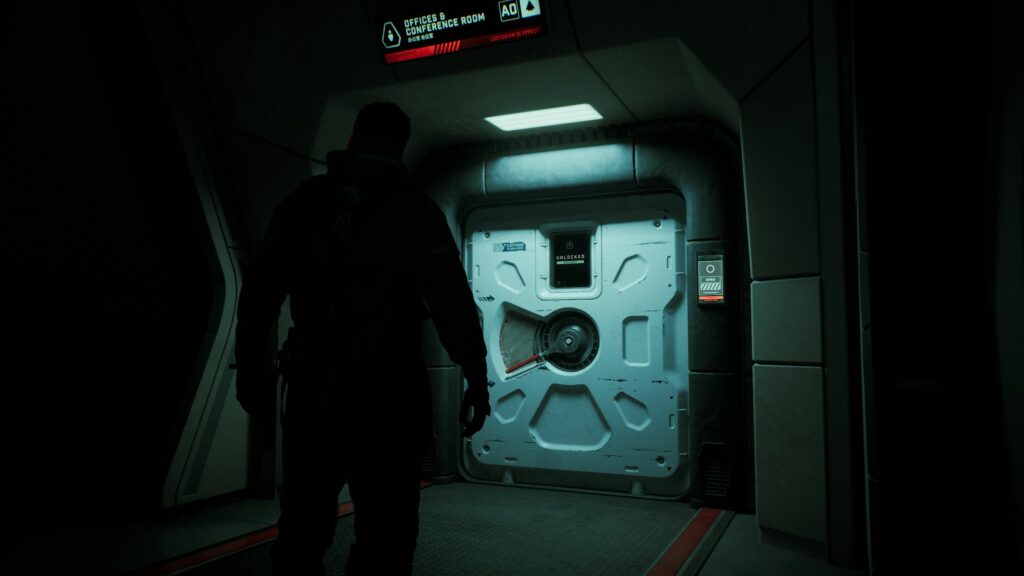
Now go through the only door with a white light in the Atrium – the Offices & Conference Room door. Interact with the control panel for the next door to insert your i5 cell and gain access.
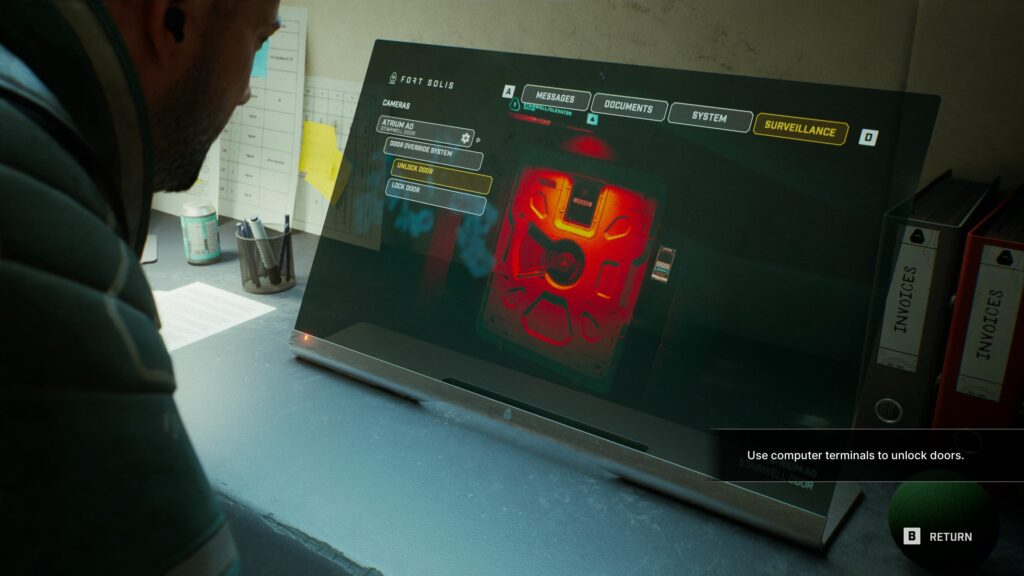
Once through, enter Office 2, which is to your left as you enter this area. Inside, you’ll find a computer and a “digi board” with the code to access the computer.
Interact with the computer and use the code ‘0807’ to gain access. On the computer interface, go right to the ‘Surveillance’ tab. Here, interact with the ‘Atrium A0’ option to unlock the door.
Return to the Atrium now and go to the door to the left of the Locator, which was previously lit red, but is now white.
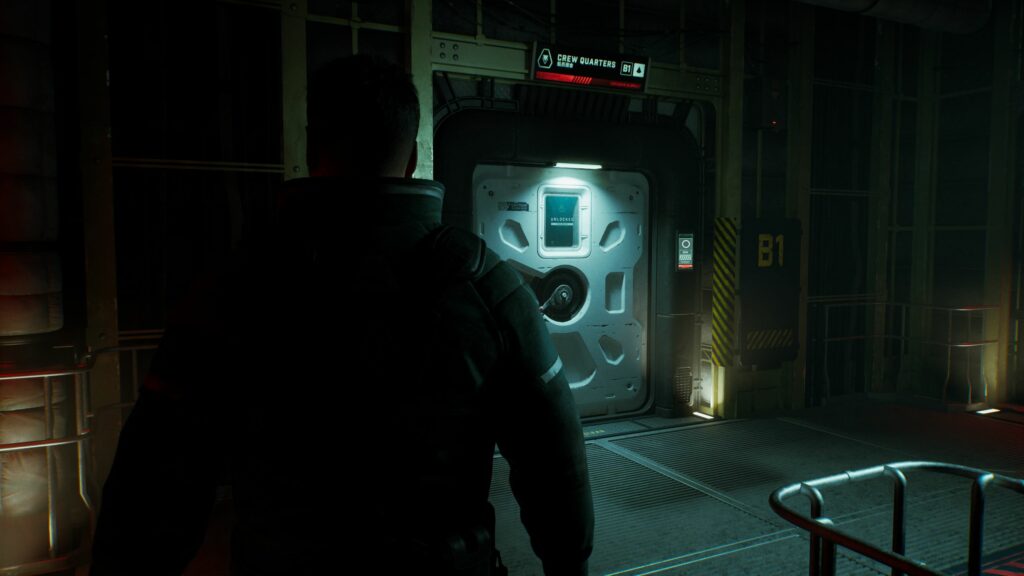
Go down the stairs so that you get to Level B1. Interact with the white Crew Quarters door here to enter.
In Crew Quarters lobby, take a left and enter the Rec Room. Then, immediately take a right and use the door to the Canteen.
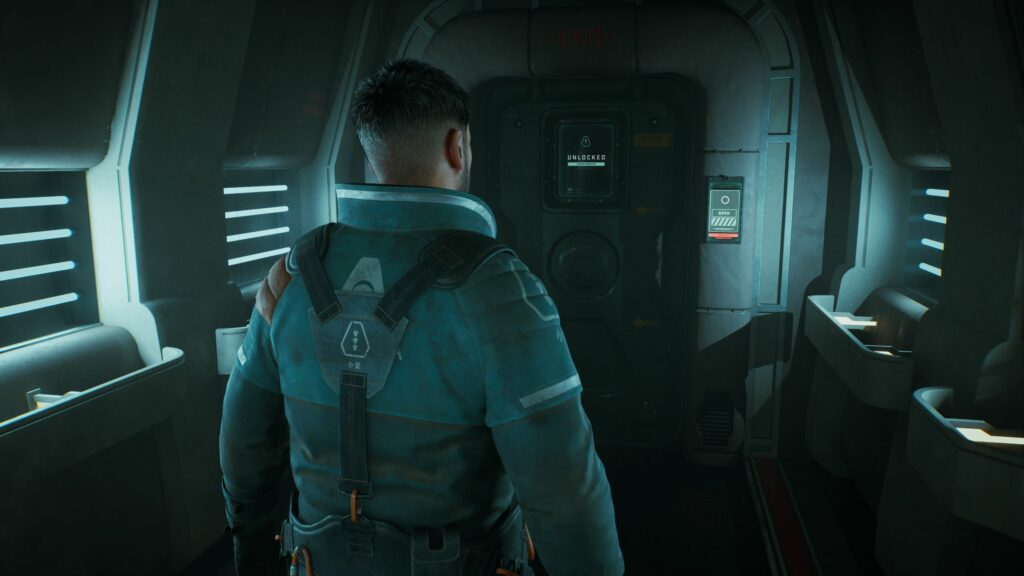
Proceed absolutely straight from here, past a couple of doors, until you reach a door marked ‘Exit’. Go through it and interact with the lock to reset it with some quick-time events.
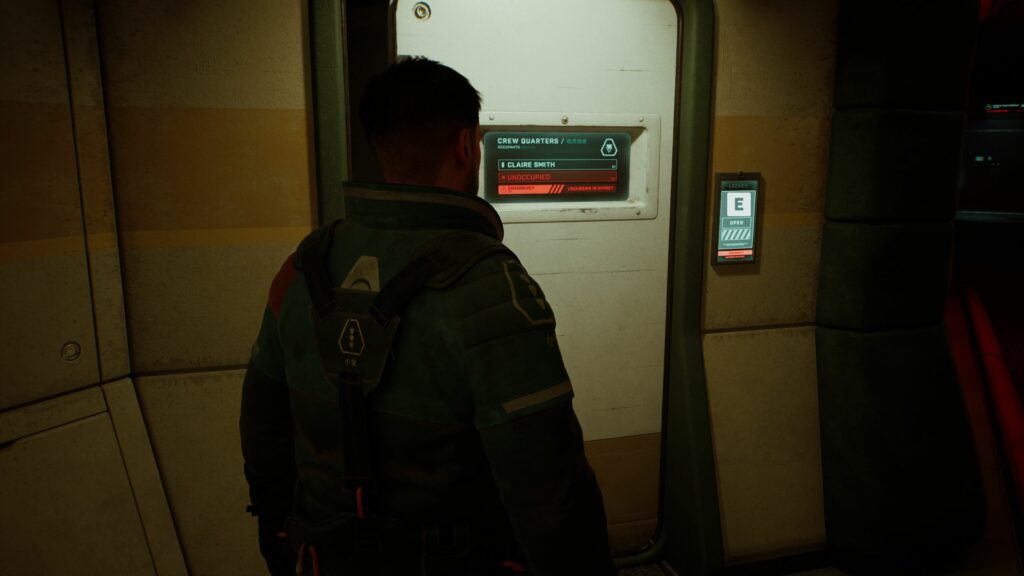
Once you’re in, take a left and then another left. Proceed to the door marked ‘Claire Smith’, which appears to be broken. Enter through this door and you’ll find the yellow Level 1 keycard on a table. Interact with it.
Now exit this room and go through the hallway toward the Crew Bathroom. Look to the right for a door marked ‘Dawson Roberts’, with an L1 insignia on it. You can open this door now, as you have the Level 1 keycard.
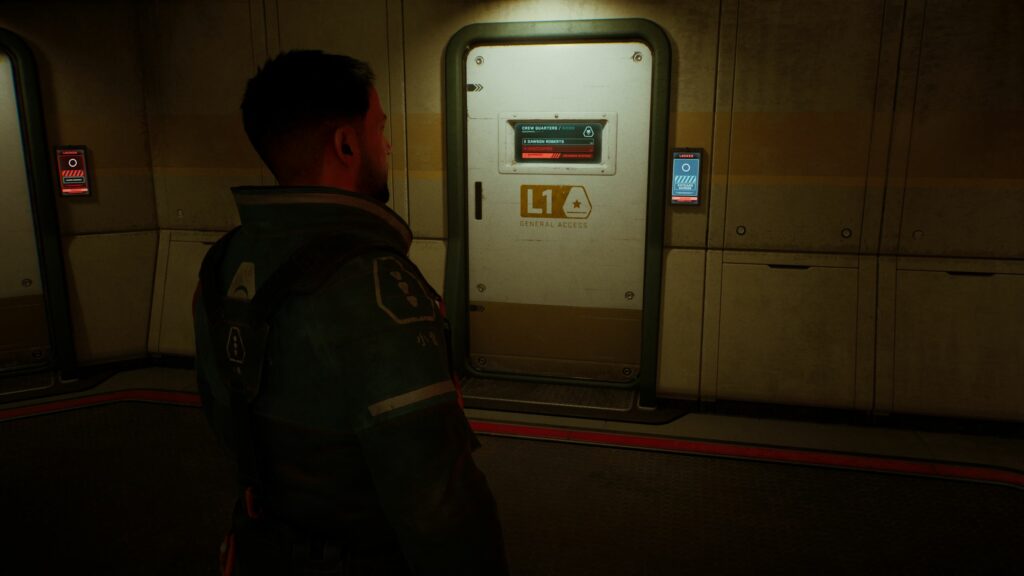
You’ll get an i5 cell here, so grab it from the table.
Backtrack through Crew Quarters and use the L1 door at the end to access the Crew Quarters lobby. (Alternately, you can take the long way around through the Canteen corridor).
Return to the Stairwell from here and go down the stairs to the bottom floor.
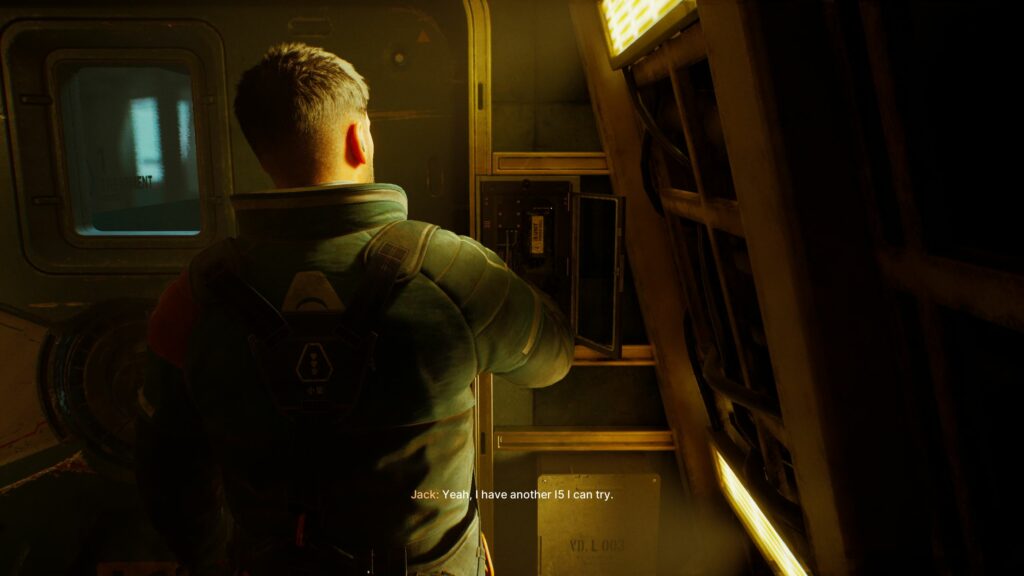
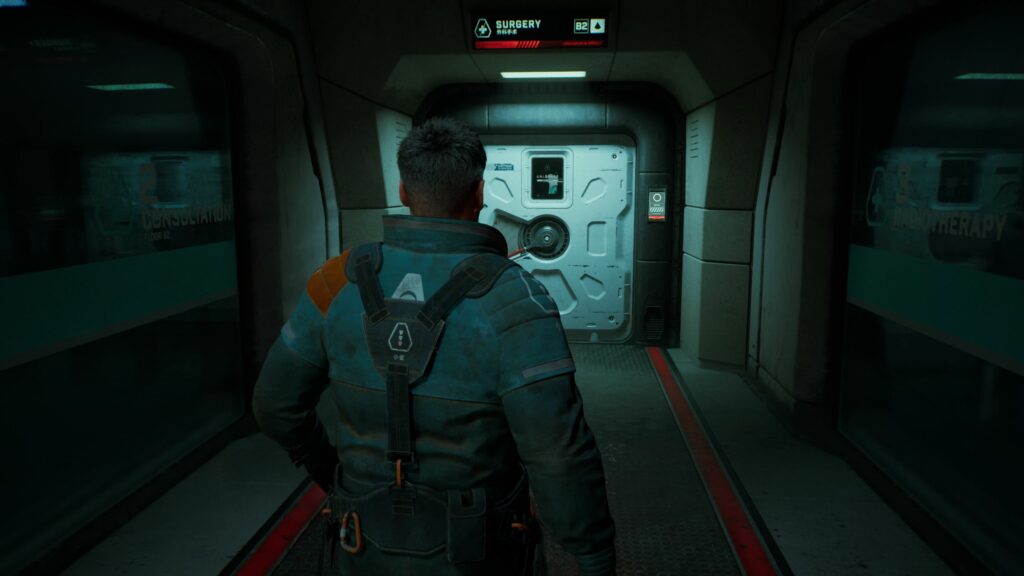
Interact with the Medical Bay door and then the door beyond it. Use the access panel to insert your i5 cell and get through by overriding the lock.
Once in the medical bay, take a right to the door marked “B2 Subsection C” and enter the L1 door marked ’03’.
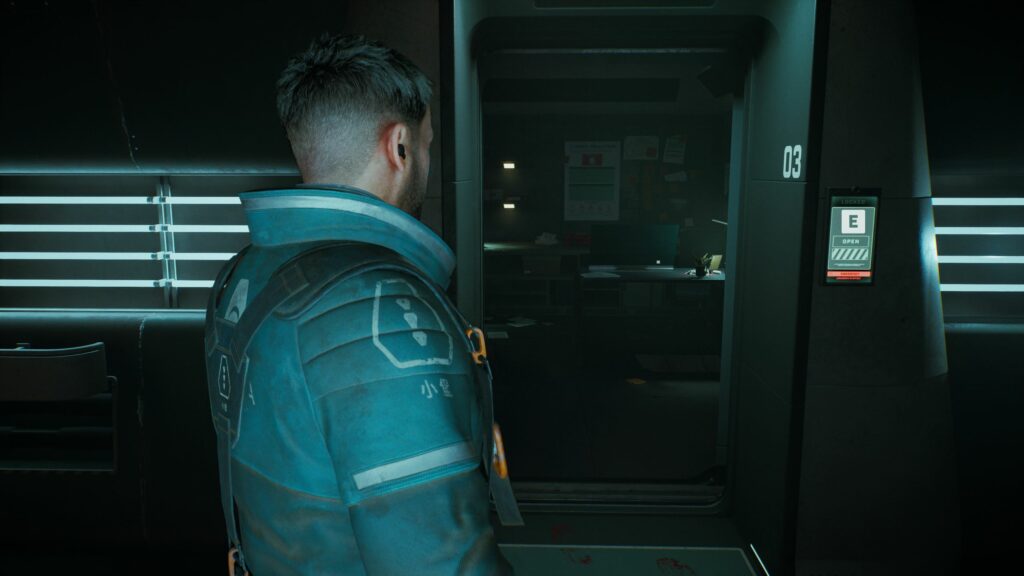
Interact with the computer in this room and switch to the Surveillance tab as before. Switch to the Medbay – Surgery Room option and unlock the door.
Now exit this room and return to the Medical Bay lobby. Take a right to the Surgery Room. Go forward and interact with what you find here. You’ll also find the Level 2 keycard automatically.
Go out of the Surgery room now for a automatic sequence. Interact with the emergency vent when you see the instructions for it, and continue through the vent.
After a while, you’ll be able to exit the vent. Proceed up the stairs now for another automatic sequence.
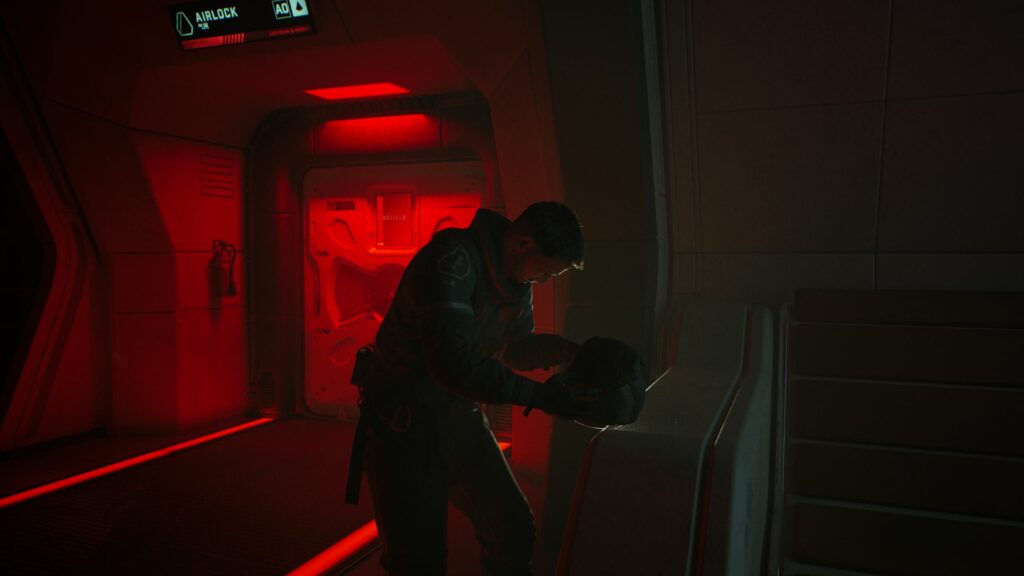
Once you regain control, open the Airlock door.
Interact with the body three times to finish this chapter and begin Chapter 2.
Head on to the next part of our walkthrough of Fort Solis here!
Thank you for reading the Into Indie Games walkthrough for Fort Solis. For more on indie games, be sure to check out the links below!
- Into Indie Games Homepage
- Best Indie Action Games of 2023
- Hauma Walkthrough – Prologue
- The Invincible – Interview with Starward Industries
- The Last Worker Review