Aug
Fort Solis Walkthrough – Chapter 3
Fort Solis Walkthrough
Stuck in Fort Solis? Check out our Fort Solis walkthrough to learn how to complete the third chapter of the game.
Welcome to the Into Indie Games walkthrough for Fort Solis. This is a story-oriented guide, so we recommend exploring the game by yourself first and only using the guide when you’re stuck!
For information on Fort Solis beyond this walkthrough, check out the official website here.
Chapter 3: Midnight Run
Walk straight ahead to approach Fort Solis. Go up the stairs and interact with the Ridge Access door.
Then, go down the stairs and make for the LTV that Jack arrived in. Interact with it and pick up the tools inside. Go back up the stairs to the Ridge Access door and interact with it to cut through.

Once inside, you’ll encounter a sequence. When you regain control, go straight through the Ridge Tunnel and eventually you’ll go through the Atrium doors to end up in the Stairwell/Elevator area.
Now head on up to Level B1, and you’ll find the Maintenance Unit door to the left of the Crew Quarters door. Go through the Maintenance Unit door.

Proceed until you reach the Generator Room door, and then pass through it to reach where Jack previously was. Continue straight ahead through the Stairwell door.
Now go up the stairs and through the next door. After a short sequence, use the airlock to exit the Maintenance Unit.
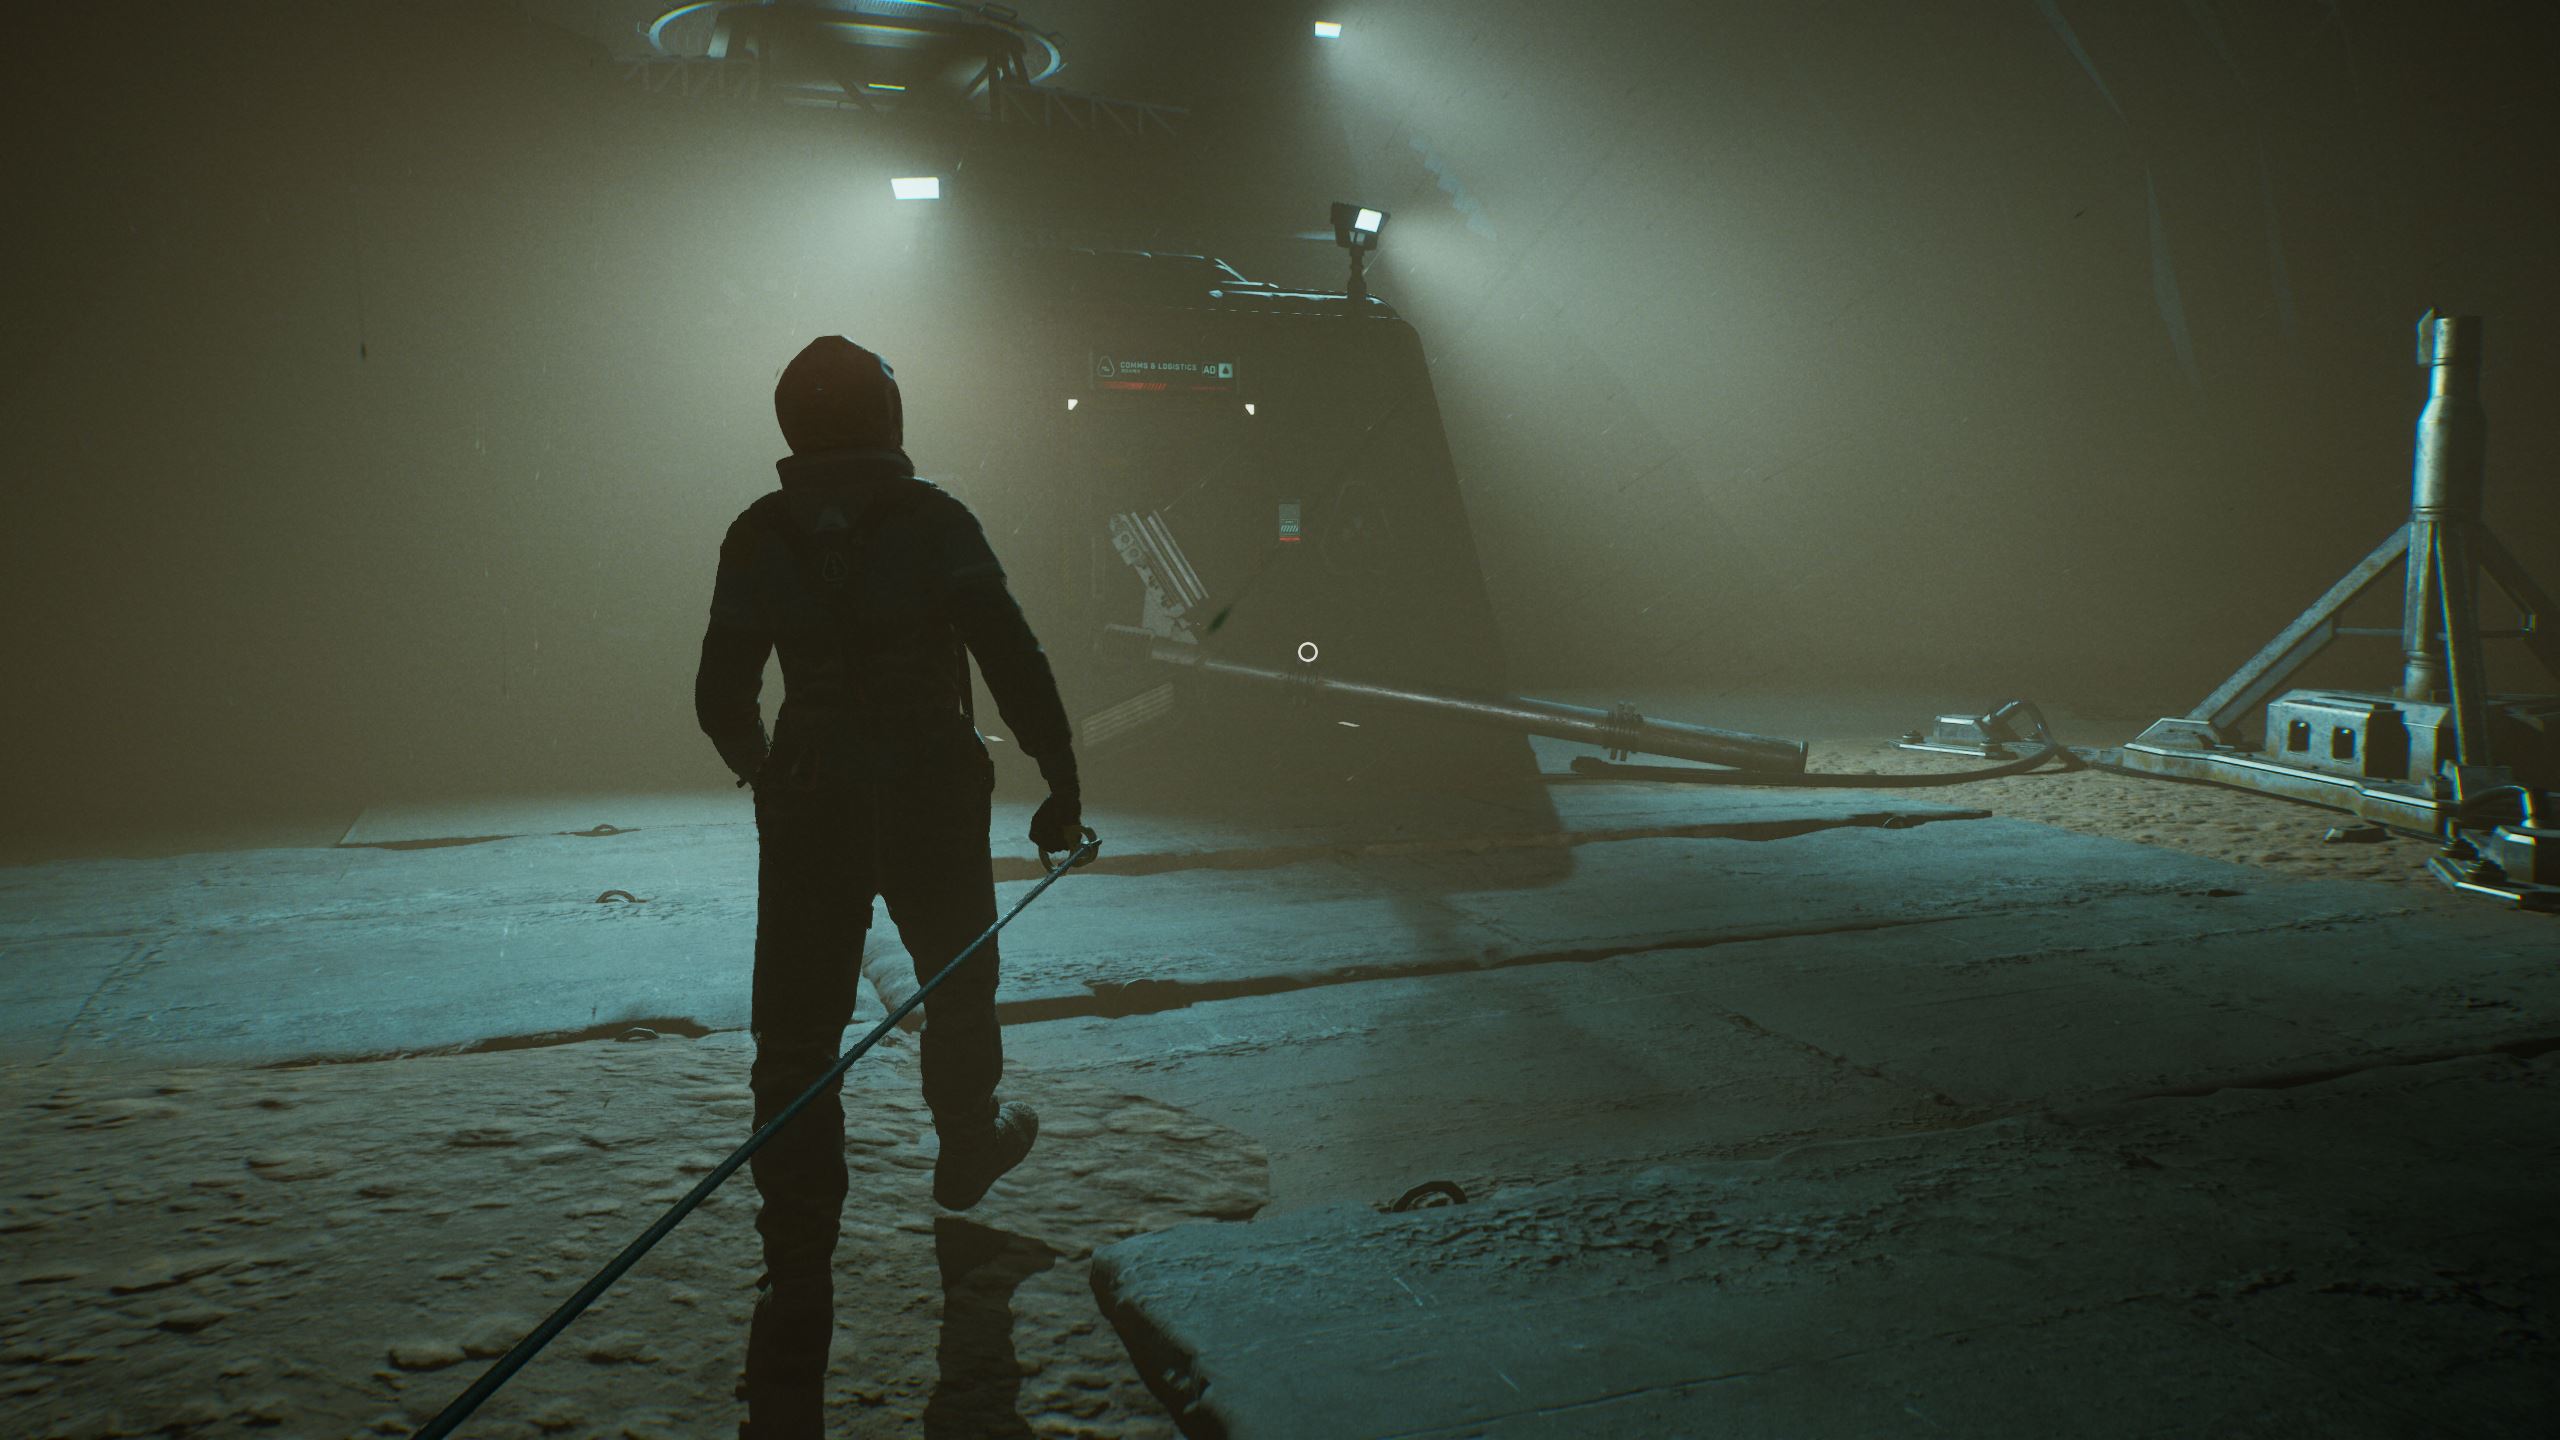
Once outside, go straight ahead, under the entrance to the Atrium, and then straight ahead from where you exit it until you reach the ‘Comms & Logistics’ door, which is blocked.

Turn around from there and go straight to find a pulley. Grab the hook and take it back to the blockage at the door. Connect it to the pole that’s fallen down, and then return to the machine to activate it.

Now go to the Comms & Logistics door and enter through it. Go straight ahead to the Stairwell door and interact with it. Go down the stairs and enter the Server Room door. Go straight ahead now for a sequence.
Next, you’ll be shown a series of servers to bring online.

Enable these servers in the correct sequence by going to them physically and interacting with the little consoles below the numbers.
The servers you need to enable are: 25, 28, 23, 35, and 39.

Once you’ve got all servers online, return to the computer and use it. You will also acquire the Level 4 keycard here.
Exit the Server Room through the Atrium door and then take a left through the next Atrium door, which brings you back to the Stairwell/Elevator area.

Now go into the Crew Quarters immediately to your right and head for the canteen. If you go through the Rec Room, take a right. If you go for the Private Quarters, take a left. Either way will lead you to the Canteen.

Enter the Canteen and approach the man slumped on the table. Interact with him and get the Level 5 Keycard from him.
Return all the way to the Stairwell/Elevator area now. Go down the stairs, or use the elevator, to get to Level B2. Open the Greenhouse door now, which should be the only red door in the area.

Go straight ahead now to conclude this chapter of the game.
Head on to the next part of our walkthrough of Fort Solis here!
