Feb
Harold Halibut Walkthrough – Chapter 1
Welcome to the Into Indie Games walkthrough for Harold Halibut.
For more information on Harold Halibut beyond this walkthrough, be sure to check out the official website here.
Harold Halibut Walkthrough – Chapter 1 Table of contents
Chapter 1.1 – An Ordinary Day
Once you gain control of Harold, go right and interact with the boy sitting on the blue chair.

This will trigger several sequences, after which you’ll finally have your fine paid by Professor Mareaux. Go left now and attempt to leave the room. After the conversation that follows, go ahead and actually leave the room.

Follow the professor over to the tube and wait your turn. Step in when the tube is ready and go to the ‘Central Station’.
Once again, follow the professor from elevator 4a to elevator 2e. Enter it and select the ‘Lab District’ as your destination.
Chapter 1.2 – The Hang of It
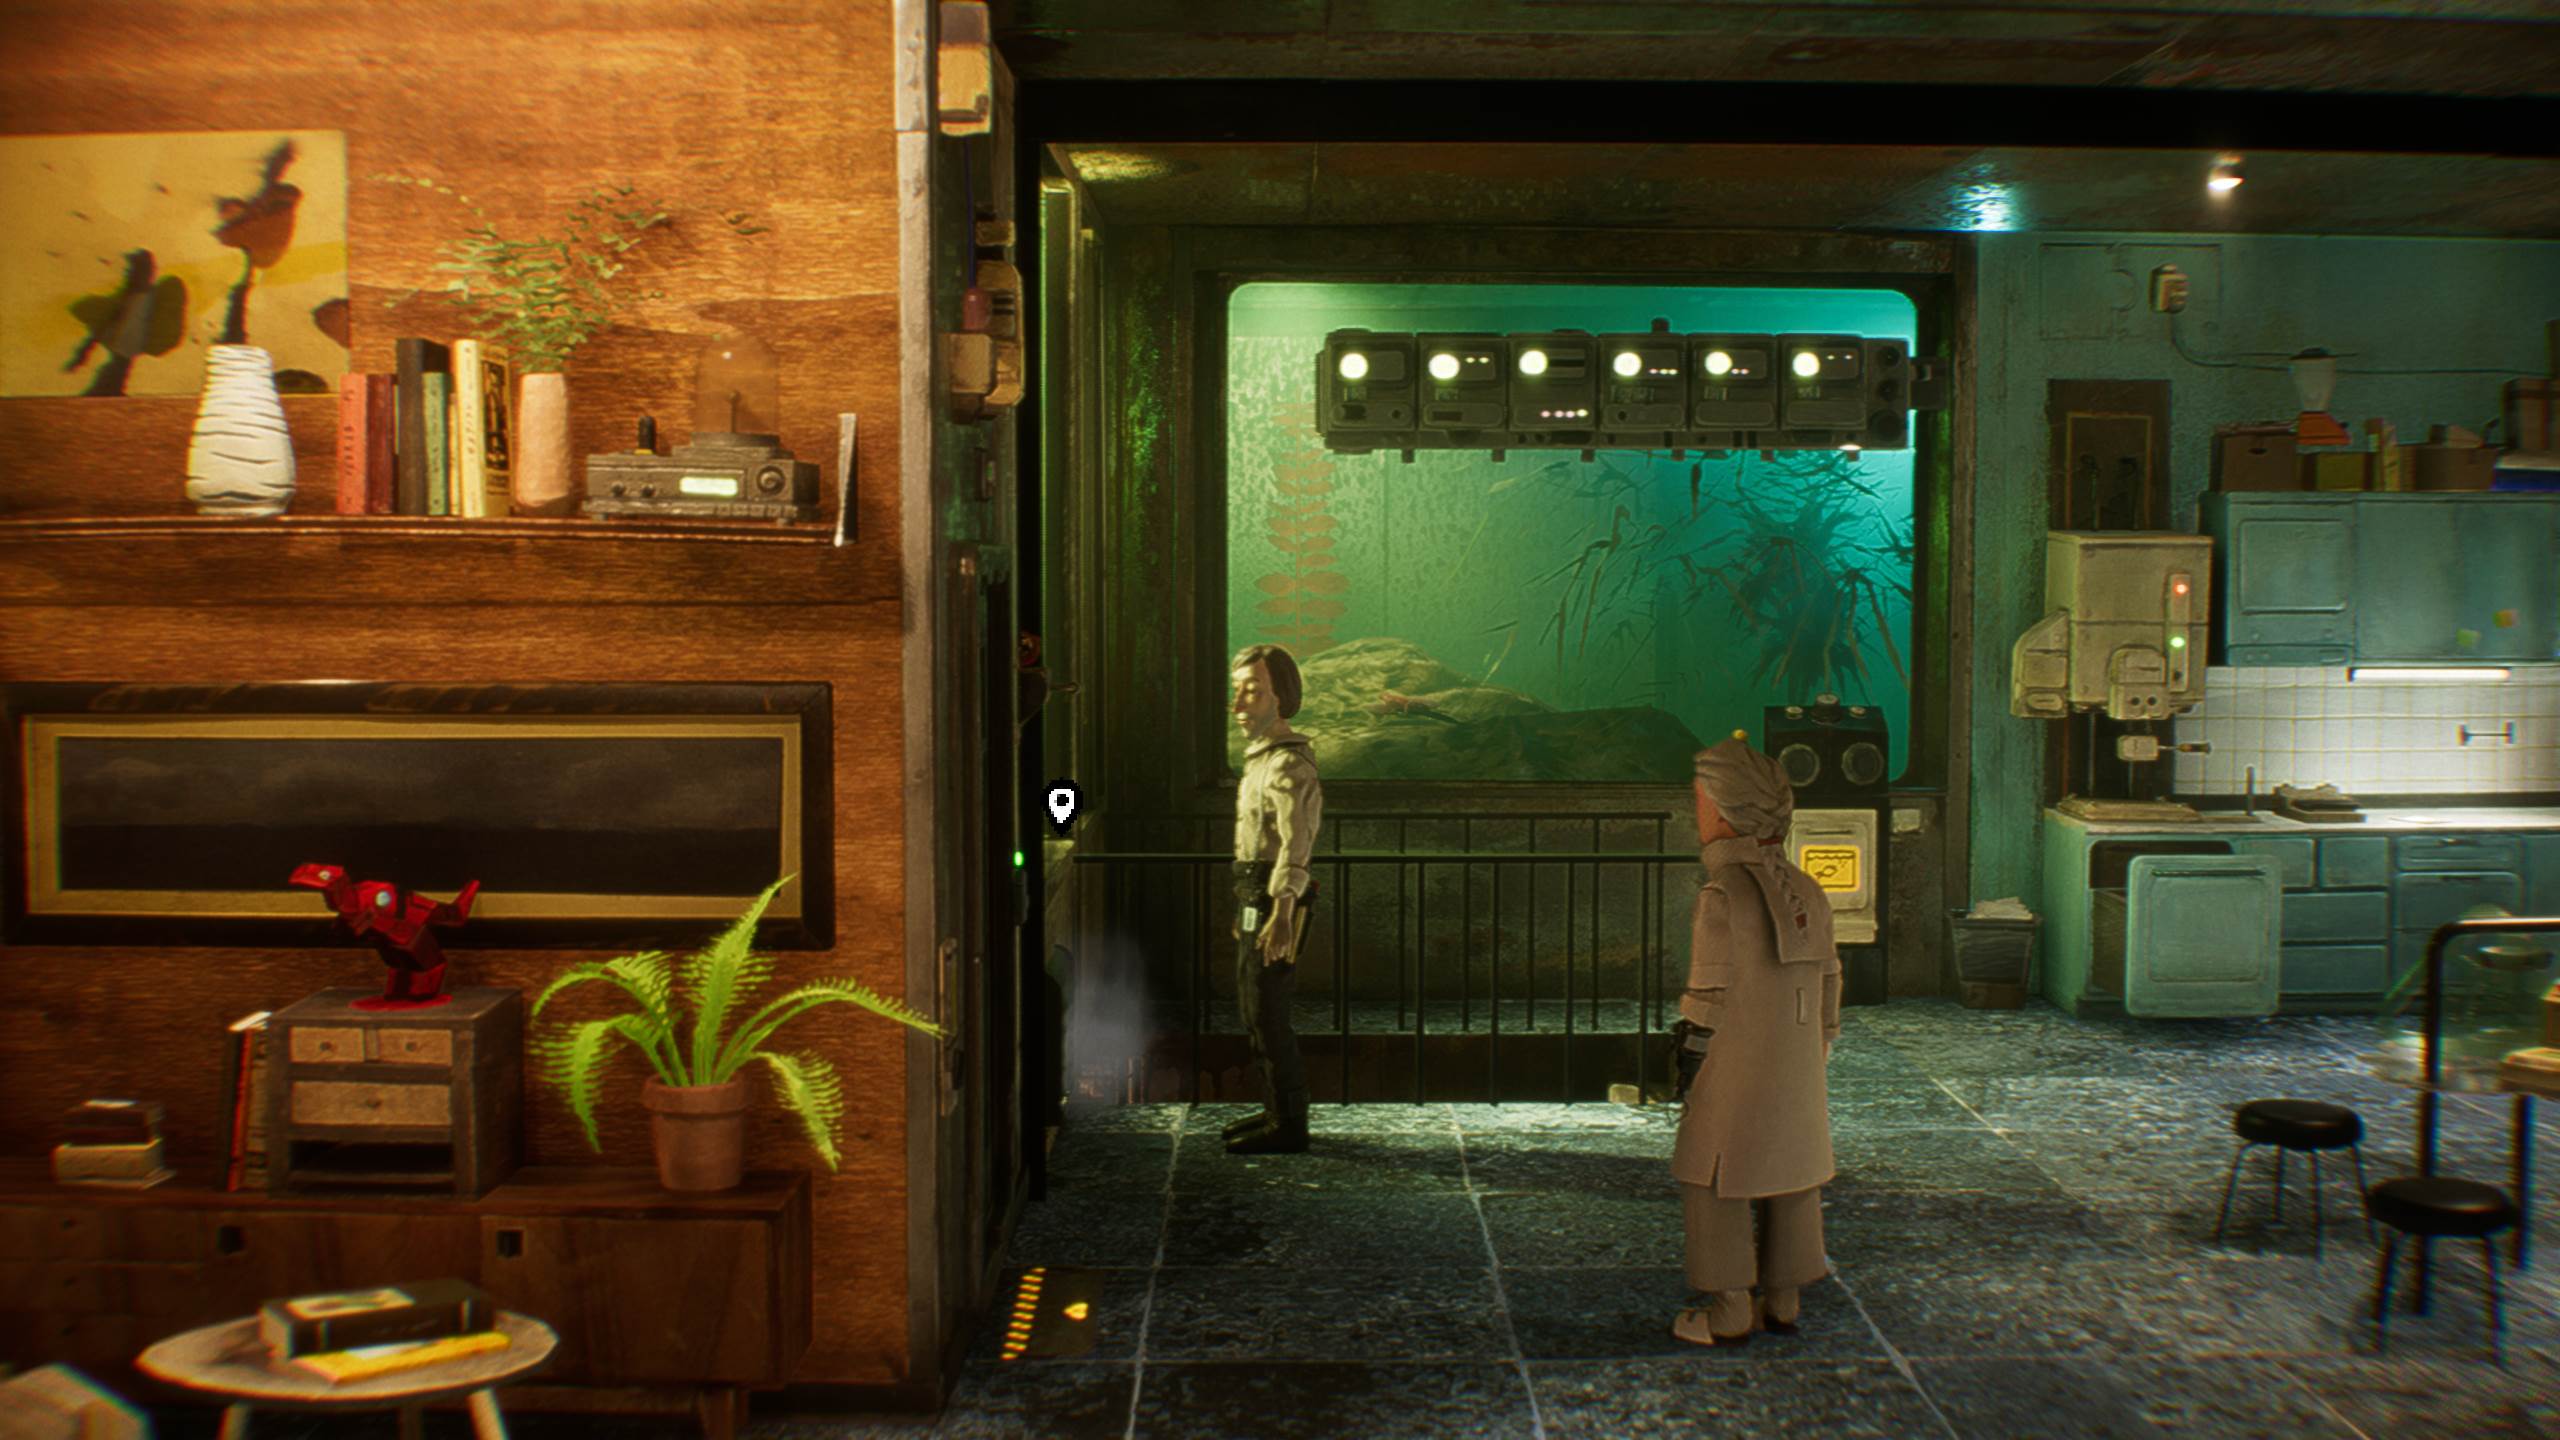
Head right now, following the professor into her lab.

Once there, you’ll learn how to use your PDA. Access the To-Do list and view your tasks.
Once you have control of Harold again, it’s time to get these two tasks done.
Begin by approaching the black machine near the fish tank. Interact with this machine to learn that it’s out of food.

Head back out of the lab and run left until you reach a staircase going down to ‘Lvl 1’. You can go to the Lounge here too, where you can converse with Chris.

Go down the stairs, where you’ll find yourself at another fork: WC to the left and further stairs to the right.
Go down the stairs to Level 1, where you’ll learn from a sign that the filtration pump is to the right.

Keep running to the right, down the stairs, until you reach the filtration pump itself. Go up the three steps and then to the left. Interact with the filtration pump.

Here, move the cursor to the orange square and interact with it. Then, press down and interact again. You will be asked to confirm (in cryptic symbols), simply interact again to confirm. Remember that the chevron-like symbol represents ‘no’.
With this, we’ve checked off one item from the to-do list.
Now head out of the filtration pump area and run all the way to the left, past the filtration pump sign. This time, keep heading left on Level 1 to get to ‘Botanical Concepts 022F’.

Talk to Cyrus here and you’ll receive the fish food you need.

After the conversation, go right and return to the lab on Level 2. Once again, interact with the fish feeding machine.
As your next destination is Agora Arcades, exit the lab and go left to the tube again.

After exiting the tube, go to where Chris is watching TV in the lounge. Simply go back to where the stairs down to Level 1 were, and take a right instead of going down the stairs.
Here, you’ll watch the All Water announcement with Chris.

Your new task after the announcement is simply to go sleep, so head out of the lounge and return to the lab.
Approach the fish tank and take the stairs going down into what are Harold’s quarters.

Approach the bed and interact with it.
Chapter 1.3 – The Solar Winds
After waking up, head back out to the lab, where you’ll reunite with Professor Mareaux.
When you regain control of Harold after the conversation, interact with the hatch and then head to the door that leads out of the lab.

Interact with the switch here to open the sample shelf.
Approach the sample shelf and interact with it to obtain the sample.

Then, put the sample in the hatch and interact with the microscope.
Following the interaction, you’ll be able to talk to Brigitte if you like. Otherwise, head out of the lab and make your way to the tube again.

Once in the tube, head to Agora Arcades.
After the conversation that follows, go right through the turnstile, so that you enter the arcade proper.
There’s a few optional activities to do here, but to proceed with the story, go right to the General Store, where you’ll find the blue rock behind the store window.

To find the store owner Tommy, go left and enter the drinking establishment labelled “Gertrude’s Bier Zone”. Talk to the man sitting at the bar.

Talking to Tommy here changes your objective to checking on Brigitte. Leave the bar and return to the tube by going left.
This time, go to the Energy District. Go right when you reach the Energy District to find Brigitte and Chris talking behind a window.
Interact with the window and lip read what’s going on inside.

When you’re done, go right and to find Cyrus. After talking to him, go to the 3D printer to the far right of the screen. Interact with it.

Here, use your screwdriver to undo all the screws one by one. After you’re done with all the screws, interact with the live wire.
After the conversation, go right to exit the room (twice). Return to the tube and go back to Agora Arcades. Return to Tommy in the Bier Zone and talk to him.

After the sequence that follows, go back to the tube and make your way to the Lab District. You’ll meet Zoodle along the way, but this doesn’t affect anything for now.
Go right as usual toward Professor Mareaux’s lab. Along the way, you’ll find some graffiti to clean. This is an optional objective in your PDA, so it’s up to you whether to do it or not.

When you reach Mareaux’s lab, talk to the professor. Provided you completed both the tasks Mareaux gave you, a series of cutscenes will play.
When you regain control of Harold, go left back to the tube. You’ll automatically go to Central Station.

As before, head to Tube 2e and go to the Lab District again.
Return to Professor Mareaux’s lab to watch another cutscene.
Chapter 1.4 – The Sample
On waking up, exit the room as usual. You’ll talk to Mareaux as you exit, and get your next objective: to take the rock sample to Brigitte.

Return to the All Water tube by running all the way to the left and choose your destination as the Energy District.
Head on into Brigitte’s office and talk to her. After delivering the rock, you’ll have to help Brigitte with the conveyor belt controls.
Exit the office and approach the conveyor belt to the left of the office. Harold will automatically approach the conveyor belt controls.
Wait for a red sample to enter the scanner grid and then stop the conveyor.

On Brigitte’s instructions, cut the sample with the first button and then coat the sample with the lower button.
Repeat this process two more times to finish helping Brigitte. Remember that you only need to work with the red samples.

After this is done, return to Brigitte’s office.
After conversing with Brigitte, you’ll receive a message from Prof. Mareaux asking you to unclog the filter station once more.
Head back to the All Water tube and take it to the Lab District again.
As before, run right and go down the stairs once they come into view. Run right toward the Filtration Pump and access the controls.

Again, select the orange square, then press the lower button, and then the lower button again (the one with the question mark on it).
After the sequence that follows, Brigitte will message you to let you know that the sample is ready for analysis. This means that the sample has already been sent to Mareaux’s lab, but if you go to Brigitte in the Energy District, you’ll get an achievement for it.
In the Filtration Pump area, exit to the left and go up the stairs again, then run right to Mareaux’s lab.
Follow the microscope procedure as before: interact with the button near the door to bring down the sample shelf.

Then, pick up the sample to the lower-right, and put it in the hatch under the microscope for analysis.
Interact with the microscope now to analyse the sample. This will trigger a conversation. After the conversation, you’ll receive a message from Felix.
Head to the Agora Arcades through the tube now.
Chapter 1.5 – Through the Shaft
You’ll meet Felix near the tube, fulfilling your objective and triggering a conversation.

After this, you don’t really have any choice but to keep going left. You’ll encounter a couple of conversations along the way.
Once you’re out of the shaft, return to Mareaux’s lab for another conversation.

Then, simply go down the stairs in Mareaux’s lab to hit your cozy bed.
Chapter 1.6 – The Encounter
On waking up, head upstairs to the lab as usual and check the red-screen computer to the far right.

After this, head back to the filter station by exiting the lab, going down the stairs to the bottom floor, and then going right.
Interact with the filter station controls for a cutscene.

This concludes Chapter 1 of Harold Halibut.
Head on to the next part of our walkthrough for Harold Halibut here!
Thank you for reading this walkthrough of Harold Halibut. For more interesting articles on indie games, be sure to check out the links below!
- Into Indie Games Homepage
- Best Indie Games of 2024
- Botany Manor Walkthrough – Chapters 1 & 2
- Open Roads and Pacific Drive will put road trips at the heart of their respective adventures
- The Night is Grey Review