Mar
Reveil Walkthrough – Chapter 2
Chapters
Check out our Reveil walkthrough on how to complete Chapter 2.
Welcome to the Into Indie Games walkthrough for Reveil.
For more information on Reveil beyond this walkthrough, check out the official website here.
Bedroom
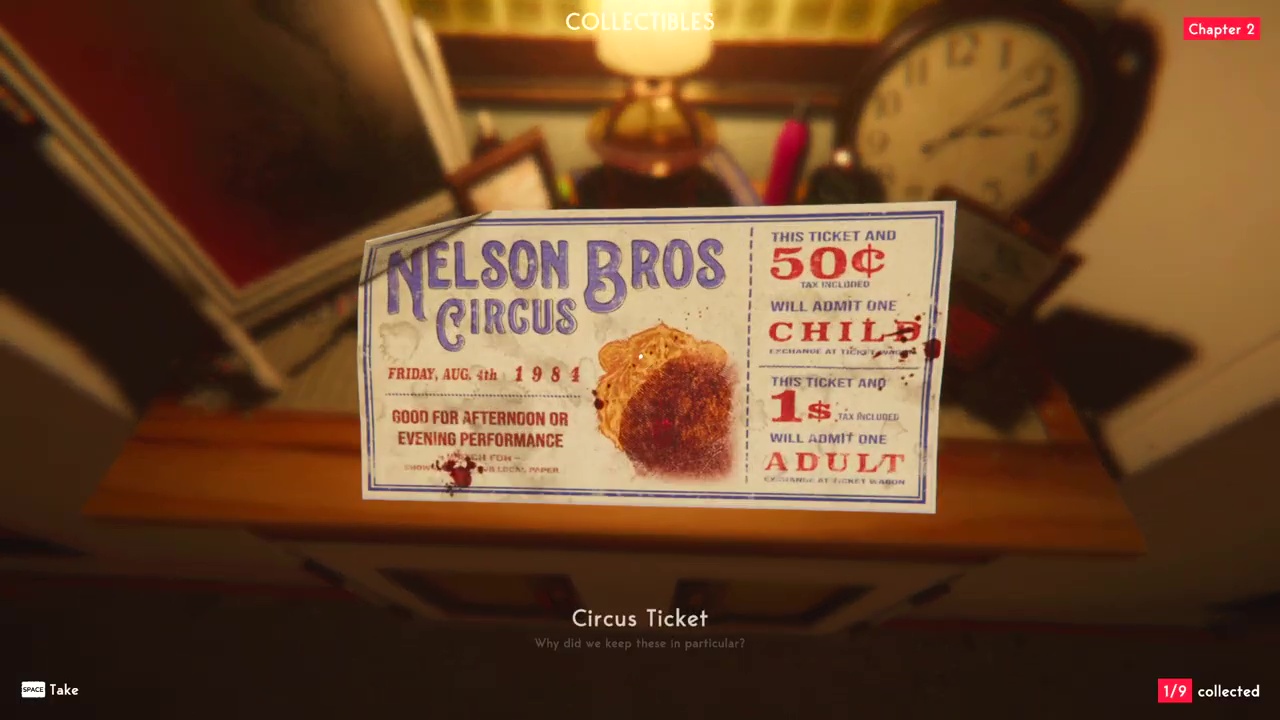
As you wake back up in the bedroom again – you notice things are different now. Your meds are not on the bedside table. Walk up to the small table and check the empty pill packets. Next, to the left check the moving boxes. Go back to the dresser and you will see the music box doll isn’t where it was the last time. Pick up the Circus Ticket next to the music box.

Go back to the bed, but to the right side of the bed and you can pick up the Ballerina figure from the bedside table. Place the figure back in the music box and turn the key. Pick up the key. Exit the bedroom and head to the living room as before. Head to the right and you will see a wall missing from the last time you were here.

Martha’s Room
Head through the corridor and then through the door and finally head up the stairs. You will enter a bathroom – you will find your pills floating in the bathtub. Head out of the bathroom and the stairs that you came up with have changed into a different set of stairs heading up. Open the door at the end and enter Martha’s room. Check the tarot cards on the table.

Go to the left and check the shrine with the 3 plates and eventually an eye. After the vision, go to the left and check the paints on the shelf. Go around and head up the stairs. Head in through the mirror.

After you enter, you will see a figure lumbering around downstairs. Crouch and sneak around her – go to the left and on the table you can pick up a Weird Brush.

Sneak back up the stairs and back into the “real” world. Head back down and place the Weird Brush on the left plate.

Check the eye again for another vision. Head back up the stairs and into the red room. Head down the stairs and crouch to go left this time and you can pick up the Ear on Pillow from the table here.

Head back up the stairs and back to the Eye and place the earring on the plate on the right. Check the eye again – and head back up the stairs and into the red room. Go to the painting at the back and pick up the Tarot Deck.

Head back to the Eye and provide the third offering. Head out to the doorway we came into the room from and you will be reunited with Martha. You will now wake back up in the bedroom. Go back to the music box and take the key. You will notice things have changed around the house again. The way to Martha’s room has been walled up. Head down to the floor where Dorie’s room is and enter the door next to the stairs.

The Kitchen
You will be in the kitchen now. Go to the fridge on the left and pick up the Garage key.

The Garage
Head up the stairs and enter the Garage. On the right side of your workbench, you will find a chest.

Walk around the room and check the mannequin first.

Move to the right and in the locker, you will find a Mannequin hand.

You will find the Mannequin’s arm next to the carousel horse.

And at the back you will find the Mannequin’s torso.

Put the Mannequin back together and follow the laser pointer. You will find a code cipher.

Go back to the mannequin and set the torso to 2.

Set the shoulder to 4.

Set the arm to 1.

Check the bunny for the first symbol.

Back to the mannequin and set the torso to 4.

Set the shoulder to 1.

Set the arm to 4.

Look up to see the next symbol.

Back to the mannequin, set the torso to 2.

Set the shoulder to 3.

Set the arm to 5.

You can now see the 3rd symbol.

Here’s what they look like on the lock.

Inside you will find a prop Sword. Move to the table and open the hilt. Inside you will find Dorie’s contract.
The Train
You will now notice you are on a train – head to the back to change cars. Follow the narrow path through the car, past Emma the elephant, and into the next car. Check the cabins in the sleeping car, and you will find your family’s cabin. You can pick up the Makeup Box which is a collectible here.

Exit the sleeping compartments and into the lounge. Pick up the magnetic chess piece from the table. Exit the lounge and you will be back in the workshop again. Go a little further in and the mannequin that has been following you around will chase you out. Turn around and run out the door that you just came in through. Run through all the compartments as before – you are looking for the lever to decouple the car. It is in the clown’s sleeping chamber.

Pick up the Lever and decouple the train at the gear. Enter the lounge again. Go through and exit through the door at the end. Follow the path until you reach the engine room. Inspect the boiler and then interact with the white hand symbols – ignoring the red ones.

Eventually the boiler will blow up.
This concludes our walkthrough of Reveil Chapter 2. You can find Chapter 3 here.