Aug
The Dream Machine: Chapter 3 Walkthrough
Time to get on a boat! Stuck in the third chapter of The Dream Machine? Figure out what you need to do with our walkthrough!
- The Dream Machine: Chapter 1
- The Dream Machine: Chapter 2
- The Dream Machine: Chapter 3
- The Dream Machine: Chapter 4
- The Dream Machine: Chapter 5
- The Dream Machine: Chapter 6
This walkthrough covers Chapter 3 of The Dream Machine. This walkthrough series covers the game on a puzzle-by-puzzle basis, which involves a lot of backtracking. It also omits side-content that isn’t relevant to the story progression. At all times, it is recommended that you explore the world of The Dream Machine yourself and only consult this walkthrough when you’re really stuck.

Meeting the Crew
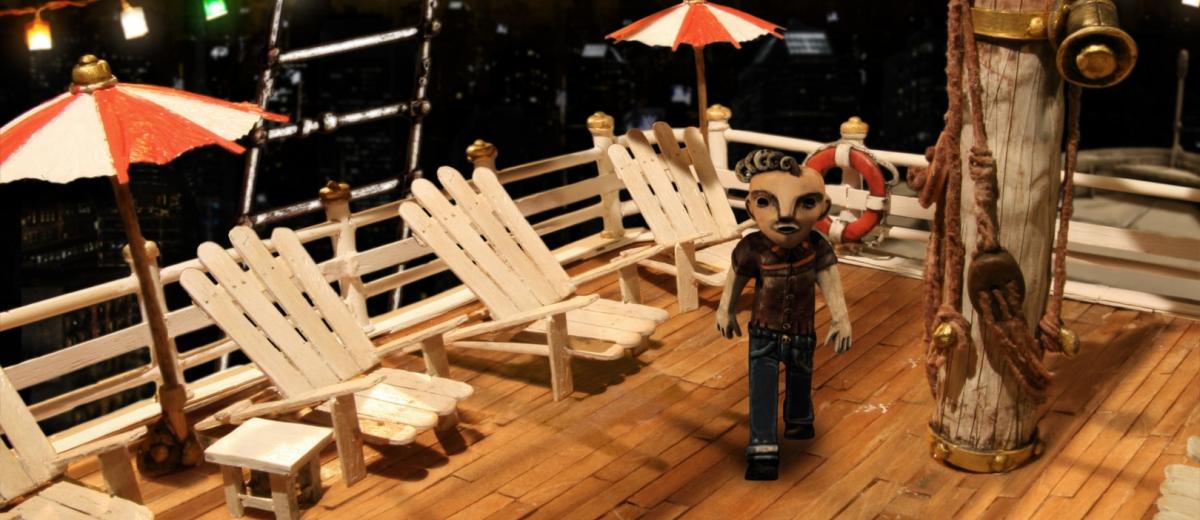
As usual, you should take the time to explore the ship you’ve just found yourself on.
The area you appear in when you enter the dream is the Sun Deck. Go to the bar from here. Talk to the bartender here, and then go up the flight of stairs to the Deck 2 Landing. Take another flight of stairs up to Deck 3. Talk to the crew member here (the Captain’s Aide) to receive your designation and badge.
Use the badge on Victor and put it on right-side up, so that it reads as 6.
The Head Servant’s Task
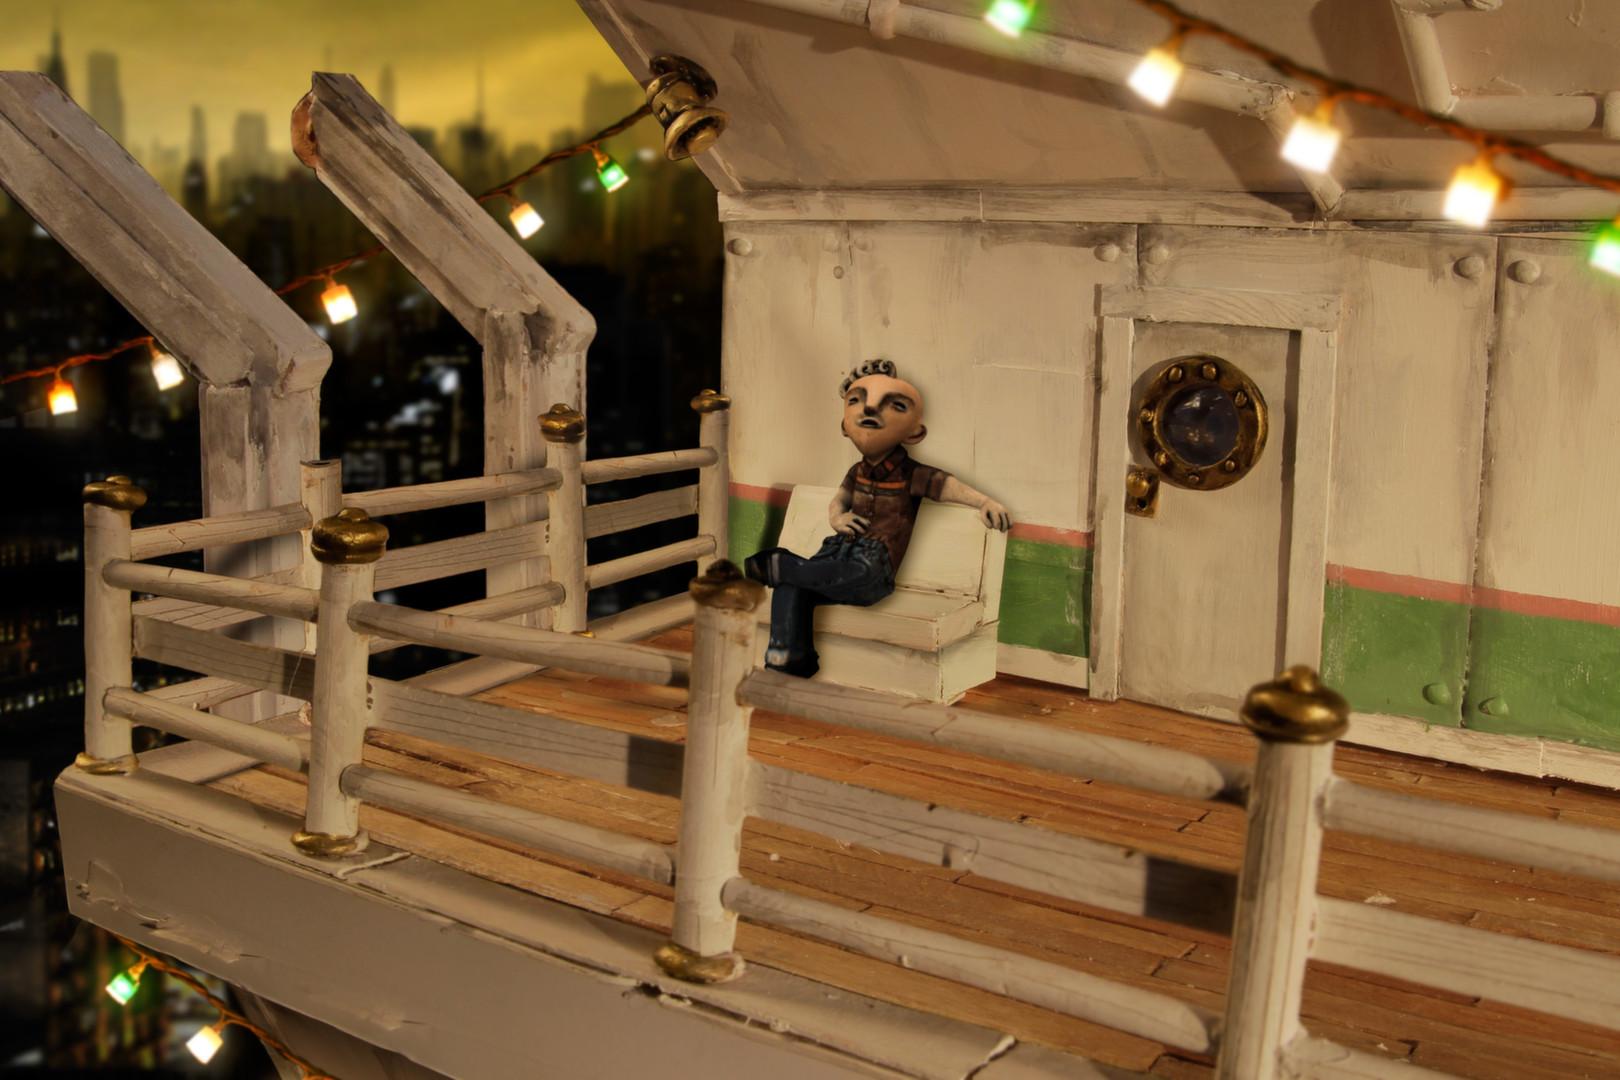
From Deck 3, go back to the Deck 2 Landing, and then left to the Deck 2 Balcony. Talk to the crew member here: he’s the Head Servant. You’ll receive a box of rat poison from him. Use the rat poison on the rat hole located on the wall, to the right of the Cabin 3 door.
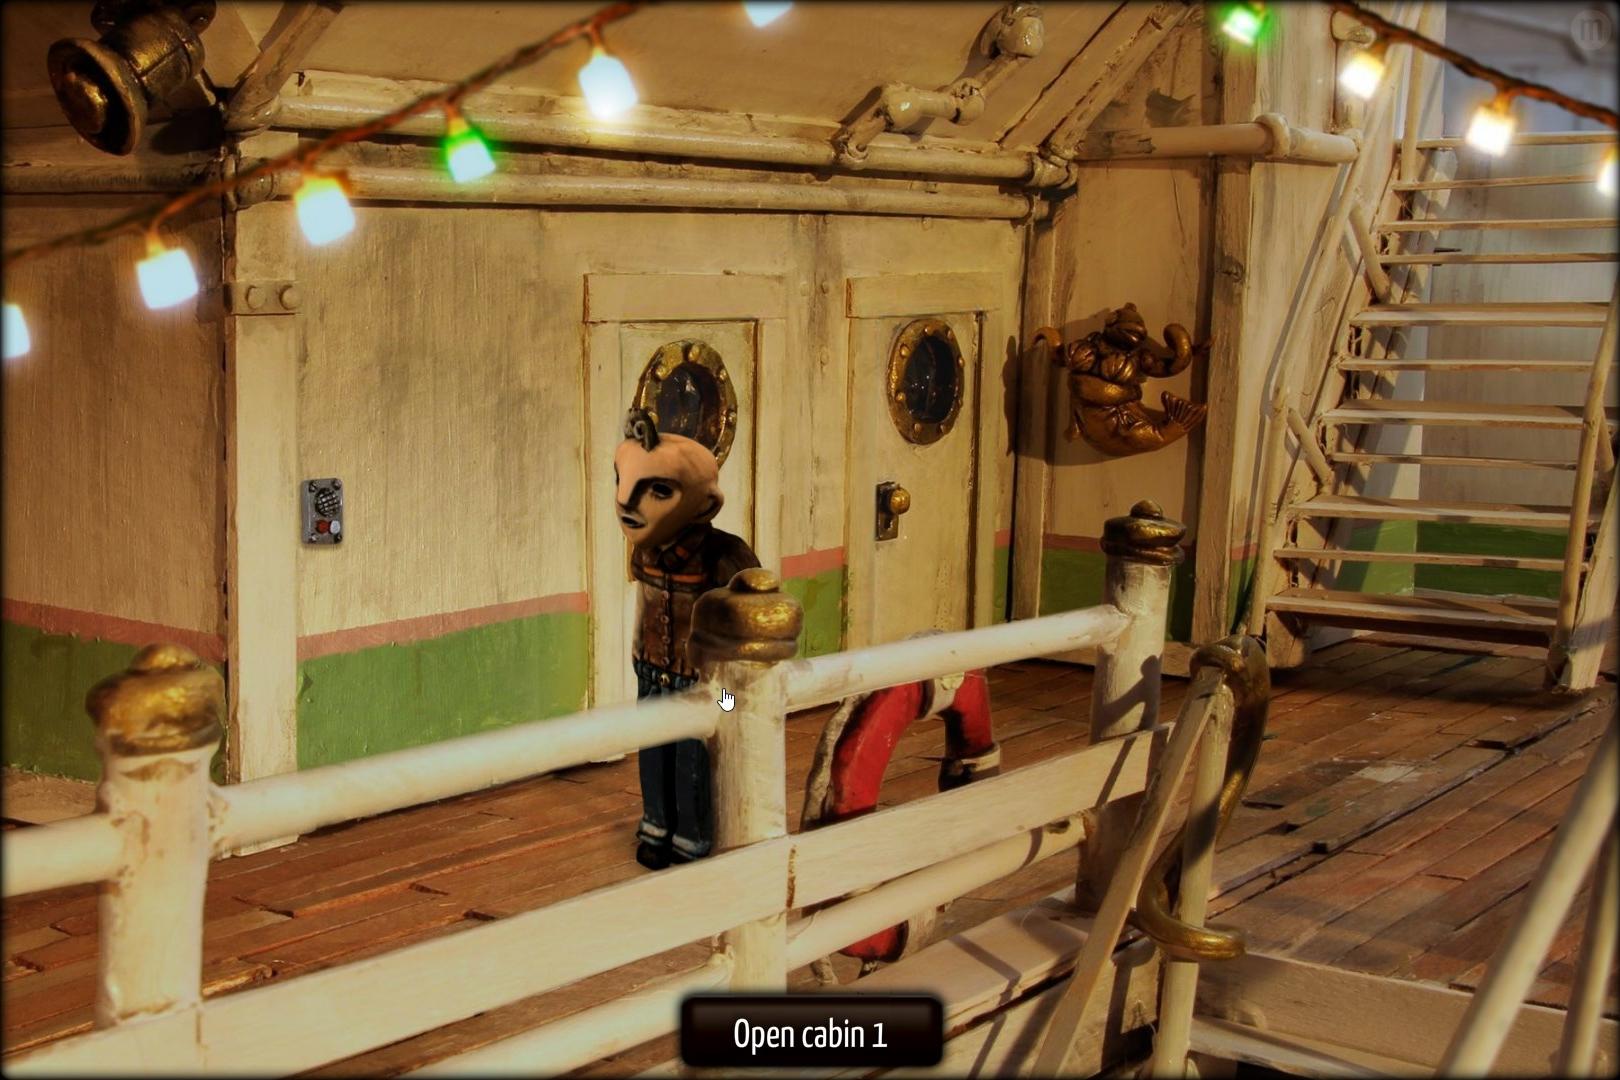
Go back to the Deck 2 Landing and use the Cabin 1 key with the Cabin 1 door. Open it and enter. You should find another rat hole to the far right of the screen, next to the sink. Use rat poison on it.
Go up to Deck 3 and you’ll find the final rat hole, located to the right of the bench. Put rat poison here as well.
Return to the Head Servant and let him know how it went.
The Chief Busboy’s Task
From the Deck 2 Balcony, enter Cabin 3. Talk to the busboy. Then, pick up the dishes on the table, and exit the cabin. Go downstairs to the bar. Press the series of buttons next to the dumb waiter to call it, and then pick up the clean bowl that’s inside the dumb waiter. Place the dirty dishes inside the dumb waiter, and press the buttons again. When asked where you want to send the dumb waiter, send it to the kitchen.
Return to the Chief Busboy and let him know how it went.
The Bartender’s Task
Go back to the bar, and talk to the bartender. Pick up the book he gives you.
Open the book and flip through the pages till you see Martini. This is the recipe you’ll have to follow.
From the racks behind the bartender, pick up a bottle of vermouth and a bottle of gin. Then, pick up the shaker and the lemon located to the left of the dumb waiter.
Use the gin on the shaker, then use the vermouth on the shaker, and finally, use lemon on the shaker. Your martini is ready, so present it to the bartender.
Once you have completed all the tasks, you should receive a notification asking you to visit the Captain’s Aide. Do as you’re told.
The Missing Crew Member – Part I
Once you’ve talked to the Captain’s Aide, you need to interrogate each of the other crew members.
The Head Servant
Go to the Deck 2 Balcony and talk to the Head Servant. Exhaust all his dialogue. It seems that he’s willing to give you access to Cabin 2, but only if you teach the kitchen staff a lesson.
Go to the Deck 2 Landing, and use the intercom to the left side of the screen. Call engineering, and say that you’re calling from the kitchen. Then, return to the bar and call the dumb waiter. You’ll get the gasoline.
Pour the gasoline in the bowl you have. Return to the Deck 2 Landing intercom, and call the kitchen. Say that you’re calling from the restaurant, and that you’ve received a complaint that the soup is too cold.
Return to the bar, and place the bowl with gasoline in it in the dumb waiter. Use the controls to send it to the kitchen.
Return to the Head Servant and get the key from him.
The Chief Busboy
Talk to the chief busboy in Cabin 3. Exhaust his dialogue, and you’ll find that he requires proof of a conspiracy onboard the ship.
If you’ve completed the head servant’s task, you’ll have the key to Cabin 2. Use the Cabin 2 key on Cabin 2 (it’s located on the Deck 2 Landing). Then, enter Cabin 2.
Pick up the book on the table and examine it. Flip through the pages (you don’t have to read them), and you’ll find a surprise. Pick up the scalpel and the note underneath it.
Examine the note. You have to move the movable letters around and attach them to the right place to form a coherent note. If you set the right letter in the right spot, the letter will be ‘stuck’ there, so if it isn’t, you need to move it elsewhere.
The message you want the paper to say is “Last warning: I know what you’ve done. I have proof. Give me what I want or face the consequences.”
Return to the Busboy and show him the letter you found. Exhaust all of his dialogue.
The Bartender
Go to the bar and talk to the bartender. Exhaust his dialogue, and you’ll find that he wants you to make him a Bloody Mary.
Open up the bartending book you have and scroll back to Bloody Mary. There are more ingredients involved than in the martini, and some of them are going to be tricky to find.
You already have the gin, vermouth and lemon juice. Pick up the Worcestershire sauce on the top rack behind the bartender, to the far right.
For the hot sauce, go back to the Deck 2 Landing intercom and call the kitchen. Mention that you’re calling from the restaurant, and that you’ve received a complaint that the soup is too mild. Then return to the bar and call the dumb waiter. There’s your hot sauce.
All that’s left now is the tomato juice. If you ask the kitchen for tomatoes, you’ll learn that there aren’t any left, and that you’ll have to use a substitute.
To ‘make’ the substitute tomato juice, use the scalpel from your inventory on yourself. (To get the scalpel, you’ll have to complete the Head Servant’s favour and gain access to Cabin 2).
Finally, it’s time to get mixing. As the recipe says, put the vermouth, gin and ‘tomato juice’ (i.e. the blood) into the shaker. Then, add the Worcestershire sauce, hot sauce and lemon to the shaker. You now have a Bloody Mary to present to the bartender. He doesn’t seem very impressed.
Go to the Sun Deck. Pick up the parasol located to the left of the screen. Then, use the parasol on the Bloody Mary, and thanks to dream logic, it’ll fit perfectly. Present the Bloody Mary to the bartender. Then, put the Bloody Mary in the dumb waiter and use the controls to send it to the Bridge.
Talk to the bartender again to get your reward.
The Missing Crew Member – Part II
If you examine the paper you got from the bartender, you’ll notice that it’s got a map of the area, as well as radio frequencies of some sort.
Go to Cabin 1 and examine the radio. Victor remarks that the radio is missing in Cabin 2. Go to the Deck 2 Balcony and talk to the Head Servant. Exhaust his dialogue, and then do the same with the Chief Busboy.
When you return to the Deck 2 Landing, you’ll find a new crew member. You need to get him away from the door somehow.
Use your scalpel on your badge. Then, use the loose number on the numberless badge. Insert it as Number 9, and then use the badge on Victor to get him to wear it.
Go to one of the crew members other than Victor 9, and say something that will get Victor 9 reported. Return to the Deck 2 Landing, and Victor 9 will be in trouble, thanks to you. Now that the door to Cabin 2 is unguarded, open it and sneak in.
As you’ve learned previously from the Chief Busboy, the radio is located below the sink. Examine the area to find the radio. Then, examine the radio.
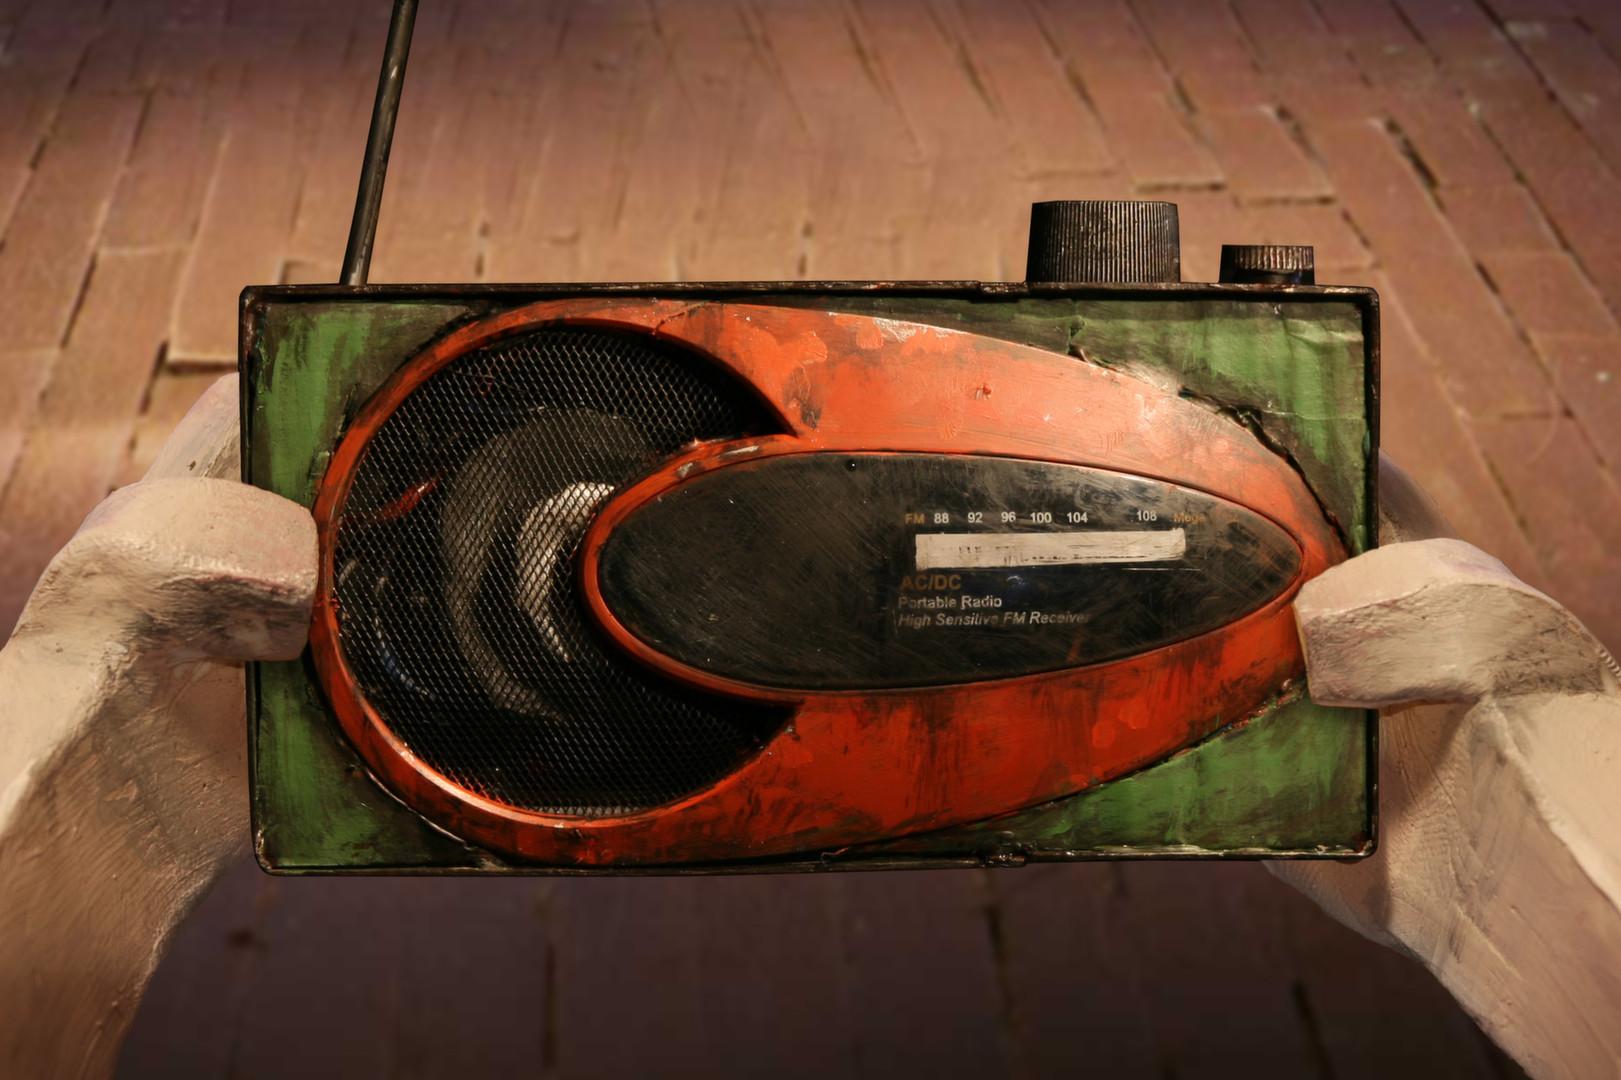
To turn the radio on, use the smaller dial on the far-right. Then, use the bigger dial to change the frequency to 26.0 MHz. Go to Cabin 1 and move to the far-left. The radio starts emitting a sound. Use the yellow plug at the bottom of the bed, and it’ll come off, giving you a piece of paper.
Now set the radio frequency to 27.0 MHz. Go to the Deck 2 Balcony and move to the far left. The radio makes a sound again. Examine the knob on the railing, and you should get another piece of paper.
Finally, set the radio frequency to 28.0 MHz and go to the Sun Deck. The radio makes a sound again. Stand in front of the pole on the Sun Deck, so that Victor remarks that the sound is coming from there. Examine the Pulley, and you’ll get the final piece of the puzzle.
Now return to the Deck 2 landing and enter either Cabin 1 or Cabin 2. Use the map pieces on the porthole, located on the cabin door. Arrange the three map pieces so that the shapes on the red-line pieces align with the actual map piece. The two red lines should converge right outside Cabin 2, and Victor will remark as such.
Exit the cabin and then examine the golden mermaid on the Deck 2 Landing. Examine its head, and then stick a finger into its mouth. You’ll find a rather interesting book.
Go to the Captain’s Aide on Deck 3 and show him the personnel files you just found. Once you’re done talking, use the intercom next to the Captain’s Aide and call the Bridge. The Bridge should let you in once you state your case.
Talk to Alicia and exhaust her dialogue.
Poisoning the Well
First things first, you need to turn on the lights. Examine the fuse box behind Victor. Click once on each of the switches, and the lights should turn on. If you mess up, just remember that upper two switches need to face each other, while the lower two should face away from each other.
Examine the fresh corpse. That’s the one the tentacle is draining stuff out from. Then, examine the rat poison that you have. You should see a list of ingredients. With no more rat poison remaining, you’re going to have to make some of your own.
For the ethanol, pour the gin into the shaker. For the distilled petroleum, pour in the gasoline. For citric acid, squeeze some of the lemon in. For the iron oxide, use the gasoline on the coal chute. That should get you some rust, which contains iron oxide. Put it in the shaker. Finally, for the calcium, pick up the bone lying on the floor. Open the coal chute, put the bone in the coal chute, and then close the chute to crush the bone. Pick up the bone shards and put them in the shaker.
Return to the bartender and make him chug the rat poison down.
Climb the rope to get back up. Once you’re done talking to Alicia, return to the Sun Deck. A part of the floor should be blurry. It’s your way out of here, so use it.
Don’t own The Dream Machine? Get it on Steam for PC and Mac!