Jul
Viewfinder Walkthrough – Chapter 5
Viewfinder Walkthrough
Stuck in Viewfinder? Check out our Viewfinder Walkthrough to complete the fifth chapter of the game and complete the game itself.
Welcome to the Into Indie Games walkthrough for Viewfinder. This guide covers all the optional challenges in the game along with the standard levels.
For information on Viewfinder beyond this walkthrough, check out the official website here.
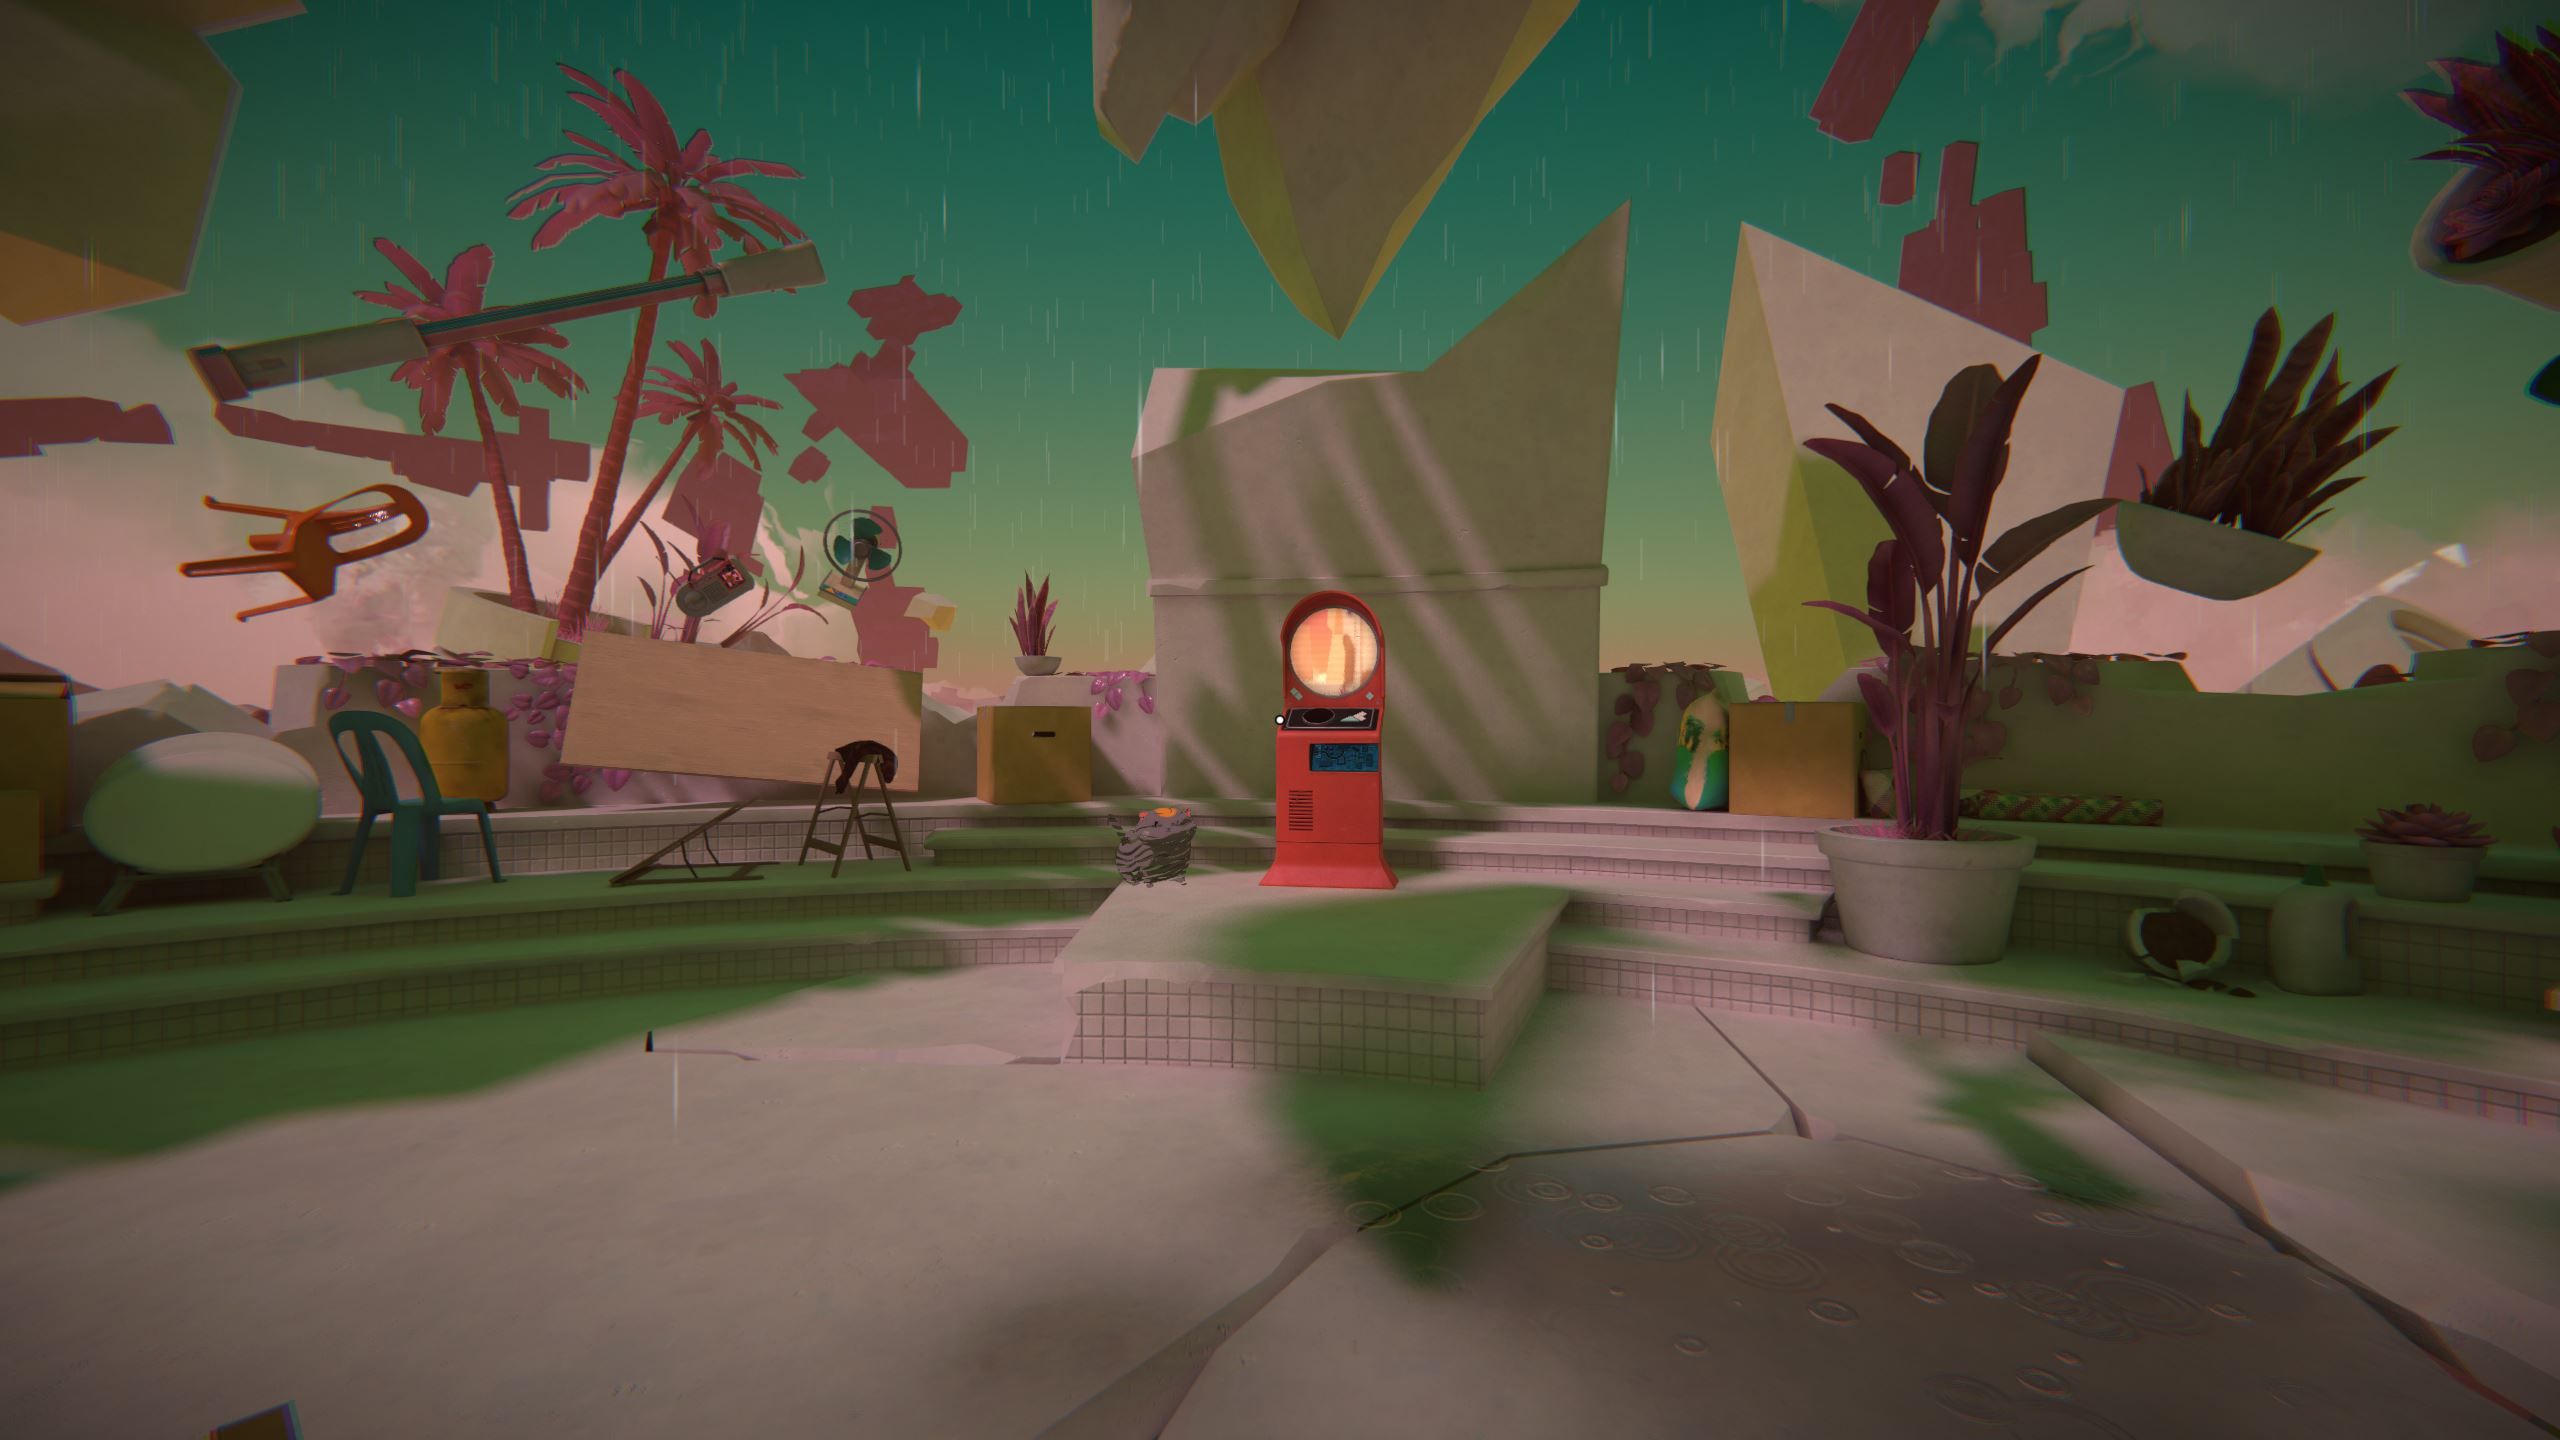
Chapter 5
Take the train after Chapter 4 to make it to Chapter 5.
Level 1.1
(The teleporter for this level is immediately to the left as you go up the stairs from the train).

Go straight and look to the left for a fixed camera aimed at the sky. Use it to take a picture and then go back to where you started this segment.

The violet infection keeps you from overwriting the cage with the teleporter in it. However, if you look opposite the cage, you’ll find a metal fence.
Use your sky photo to cut through the grate and enter the area beyond.

In the newly-accessible area, you’ll find a timer camera. Use the camera and quickly run to the walkway where the camera is pointing. When the timer ends, the camera should take a picture of you.

Make sure you’re on the picture by returning to the camera. Your figure will be a little fuzzy, but that’s normal.
Place this photograph so that the figure is in the cage, near the teleporter. Use the teleporter to move on.

Level 1.2
There’s a timed camera right where you start this segment. Use the camera and stand in front of it, on the other side of the cage.
Pick up the picture, but don’t place it anywhere. Instead, take another picture exactly like before, so that you have two pictures of yourself.

Place one of the images to put yourself in the cage. Be careful not to overwrite the red lever.
Flip the red lever and then place the other image to take yourself out of the cage. Use the teleporter to move on.

Level 1.3
Go straight ahead to find a timed camera. Use it to take two pictures of yourself.

Place one of the pictures so that you enter the cage with the red battery in it.

Pick up the battery and toss it out of the hole in the violet wall. Then, place the remaining photograph that you have, to get yourself outside the cage.

Take the battery that you threw outside the cage and place it in front of the camera. Take a picture that includes both you and the battery.

Place the photograph of yourself inside the cage with the teleporter and the pad. Put the black-and-white battery on the pad and then use the teleporter to move on.

Level 1.4
Go to the timed camera and use it. Then, quickly run to where the camera is facing, on the same floor, and jump when you’re right in front of the camera.
If timed right, you will have taken a picture of yourself in the air. This might take a few tries.

Place this picture of yours in the air above the platform with the teleporter on it.

Use the teleporter to move on.
Level 1.5
Go to the blue camera and take two pictures of yourself standing before the violet fence.

After this, use the camera and then quickly place one of the photographs beyond the violet fence. Go as far as you can from the camera, but still in its view. The result should be a picture of you as far away from the camera as possible.

Use the photo in your hand to return to the camera’s side of the fence. Then, pick up the photo of you standing as far as possible from the camera.
Now take one more picture of yourself from the camera, but as you did the first time – before the violet fence.
This way, you have one ‘close’ photo and one ‘far’ photo. Place the close photo above the violet fence. If done right, you should land on the metal fence itself.

Place the far photo on the platform far above, where the blue teleporter is.

Use the teleporter to move on.
Level 2.1
(The teleporter to this level can be found right in front of you as you go up the stairs from the train).

Your shakey camera indicates that it is a destructive camera – any pictures you take with it will destroy the area you have captured in your photograph. Note that the destruction can be overwritten by another photograph.
Go down the stairs and take a picture of the upside-down teleporter.

Place the photo where convenient with the teleporter upright, and use the teleporter to move on.
Level 2.2
Go straight to the beige-colored path and stand at the very end of it. Take a picture of the path, covering as much ground as possible. Needless to say, the violet parts won’t be captured or destroyed.

Place the photograph you just took while facing the opposite side, so that you can now access the blue battery. Pick it up and bring it back to the remainder of the beige path from where you previously took the photo.

Now take a picture of the placed black-and-white path from where you are standing.

Place the photograph on the other side, so that it replaces the destruction where the beige path used to be.

Take the battery to the teleporter’s pad and use the teleporter to move on.
Level 2.3
Move the battery somewhere far away from the pad and take a picture of it.

Now go down the very narrow flight of stairs to the right of the teleporter. Here, you’ll find a photocopier. Make one copy of the battery photo.

Place the original photo and its copy wherever convenient and take the two batteries over to the pad.

Use the teleporter to move on.
Level 2.4
Go right to find a pressure pad. Stand near here and take a picture of the white wall. Take the picture from an angle, with the wall aligned against one edge of the camera.

Place this wall picture in the gap between your platform and the battery platform. Of course, rotate as necessary.

Pick up the battery and take it to the pad.
Pass through area that was formerly the wall (don’t worry, you can walk through the chaos) and use the teleporter to conclude this level.

Level 3.1
(The teleporter to this level is located to the right as you go up the stairs from the train).

Use the red timed camera to take two pictures of yourself (while standing inside the cage). Place one of the pictures outside the cage, where convenient.

Now go down the stairs and take a picture of the ground. Remember that the shakey camera will destroy what it captures, so make sure you take a picture of some unnecessary corner of the platform.

Use the picture of the ground to form a ramp up to the platform with the battery. Pick up the battery and take it all the way back to the cage.

Put the battery in front of the timed camera but outside the cage. Then, use the remaining photo in your hand to re-enter the cage.
Now use the timed camera to take a picture of yourself. Provided the battery is in the camera’s viewfinder, it will also be captured.

Use this picture to get out of the cage. Place it where convenient without overwriting the original red battery.

You should now have two batteries. Carry them both to the pressure pad and use the teleporter to move on.
Level 3.2
From where you start, go right to find a white bridge leading to a timed camera. Go to the other end of the bridge and take a picture of the bridge with your shakey camera, thereby destroying it.

Place this bridge photo right in front of the timed camera.
Now use the timed camera and run as far as you can from the timed camera, while still staying in its view. Ideally, you should be floating the air beyond the black-and-white bridge.

Cross the bridge and go to the pressure pad. Stand on it to power the power bank, which powers the teleporter.
Now place the photo you just took so that the figure in the photo is as close to the teleporter as possible. You don’t need to worry about overwriting anything as the whole area is violet.

Quickly use the teleporter before the power bank runs out.
Level 4.1
(The teleporter for this level can be found by going up the floating stairs that lead to a higher platform).

Note that this level has a timer that persists through rewinds. This timer starts when you pull the first lever. To truly restart this level, you must use the menu option.
Go down the stairs to the lever and pull it when you’re ready.

Look up and take a picture of the towers above you. Place the photograph between you and the next lever, so that you can jump and run your way to the next lever. Be careful not to block up the lever!

Look right and go up the stairs. Stand in front of the black-and-white image on the boards to realize it, then run to the next lever.

Look right to find the next lever… behind a violet fence. Take a picture of the beige bridge leading to the lever.

Place the bridge at an angle from its original location, so that it passes to the side of the violet pillar.

Stand at the very end of the bridge, look back, and take a picture of the black-and-white bridge. Place the resulting photograph so that you get a path to the next lever.

Look right and go over to the metal grate bridge. Look down to find a platform with a red battery. Take a picture of the battery (which destroys it).

Go to the pressure pad and look back to find a platform with an upside-down photocopier. Take a picture of the photocopier (destroying it).
Place the new photo with the photocopier upright where convenient and use the photocopier to duplicate the photo of the battery that you already have.

Return to the battery pad and place both the battery photos in the air above you, so that the batteries fall tumbling out. Place the batteries on the pad (manually if required) to move on.
Now go straight through the doorway. The gap will form an invisible bridge that you can walk over.

Go right towards the lever and the doorway will form a wall. Take a picture of this wall to destroy it.
Step through the destroyed wall and use the lever to proceed.

Head towards the timed camera and look back to the beige bridge (that you’re standing on). Take a picture of it, destroying it, and place the resulting photo in front of the timed camera.

This will allow you to stand in front of the camera when it takes a picture.
Use the timed camera to take a picture of yourself and then place the resulting picture beyond the violet fence/wall, so that you end up on the other side and can use the lever.

Cross the sideways bridge to get to the side with the blue battery.
Take a picture of the bridge you just crossed. Place this picture so that you can access the floating platform with the second battery. Pick it up and bring it back to where the first battery is.

Now stand near the first battery, look at the cage with the battery pad, and take a picture of that entire area, making sure that you include the speaker as well.
Place the resulting image where convenient, but away from the violet cage and with the speaker close to the blue receiver (which is near the first battery).

Put both batteries on the battery pad. Provided the speaker is close enough to the receiver, this should let you proceed.
Next, take a picture of the timed camera and the area in front of it.

Place it where convenient, and then use the black-and-white timed camera to take a picture of yourself. Use this picture of yourself to get through the cage and pull the final lever.

Use the teleporter when it is enabled. Then, go to the dead tree and look at its foot to find a green sapling. Pick it up.

Pass through the black door and wait for the game to conclude.
Thank you for following this walkthrough of Viewfinder! We hope you had a great time!