Jul
Viewfinder Walkthrough – Chapter 1
Viewfinder Walkthrough
Stuck in Viewfinder? Check out our Viewfinder Walkthrough to complete the first chapter of the game, along with the optional challenge.
Welcome to the Into Indie Games walkthrough for Viewfinder. This guide covers all the optional challenges in the game along with the standard levels.
For information on Viewfinder beyond this walkthrough, check out the official website here.
Chapter 1
Level 1.1
From where you start, head left, go down the stairs, then right, and out of the door past the fallen file cabinet. In the open area outside, you’ll find a platform in the middle with three bridges leading to it.

Head for the platform from any bridge, and that bridge will break, sending you down. When you learn the control for rewinding, rewind until you’re back up, just before crossing the bridge.

Now go around to another bridge and cross it to get to the middle square platform.
Pick up the black-and-white photo located on the corkboard in the middle of the platform. Aim it and apply it, so that you can enter the photograph. Interact with the Teleporter device here.

Level 1.2
In this level, the teleporter is right in front of you, but it needs to be powered by three batteries. One of them is already in place on the pad next to the teleporter.

Turn right and you’ll find the second red battery located near the yellow bean bag. Pick it up and take it to the pad next to the teleporter.

Pick up the photograph on the easel in the back and place the photograph so that you can walk into it.

Inside, pick up the battery (same location as before, except inside the photograph), and take it back to the pad next to the teleporter. Put it down and you’ll power the teleporter. Head through.

Level 1.3
Pick up the photo on the easel and aim it. Rotate it while you’re aiming it so that it’s upright, then place it to enter the photograph.

There’s a teleporter here, which requires one battery to work. There’s also an easel to the left of the teleporter. Pick up the photograph from the easel, align it right, and apply it to enter this photograph.

Pick up the battery here, return to the previous photograph area and place the battery on the pad.

Stand on the teleporter to move ahead. Go up the stairs to find the next teleporter and use it to go to the next level of the game.
Level 2.1
Go right and up the stairs to find a photograph of a bridge on a table. Pick it up and go back down the stairs.
Now look towards the gap, aim your bridge photograph and place it so that the bridge covers the gap. Cross the bridge to go to the other, previously inaccessible side.

On the other side, you’ll find a low table with another photograph on it. Pick it up. Aim it at the closed gate near the table, and place it so that it overwrites the closed gate. Pass through the open arch and go right to find a flight of stairs.

Go up and look right to find a photograph on a golden disk that’s hanging down a trellis. Pick up the photograph and aim it at the gap between the solar panels and the higher platform. Align the photograph so that the wall is diagonal and forms a sloping surface for you to go up to the higher platform.

Head over to the teleporter to move to the next part of this level.
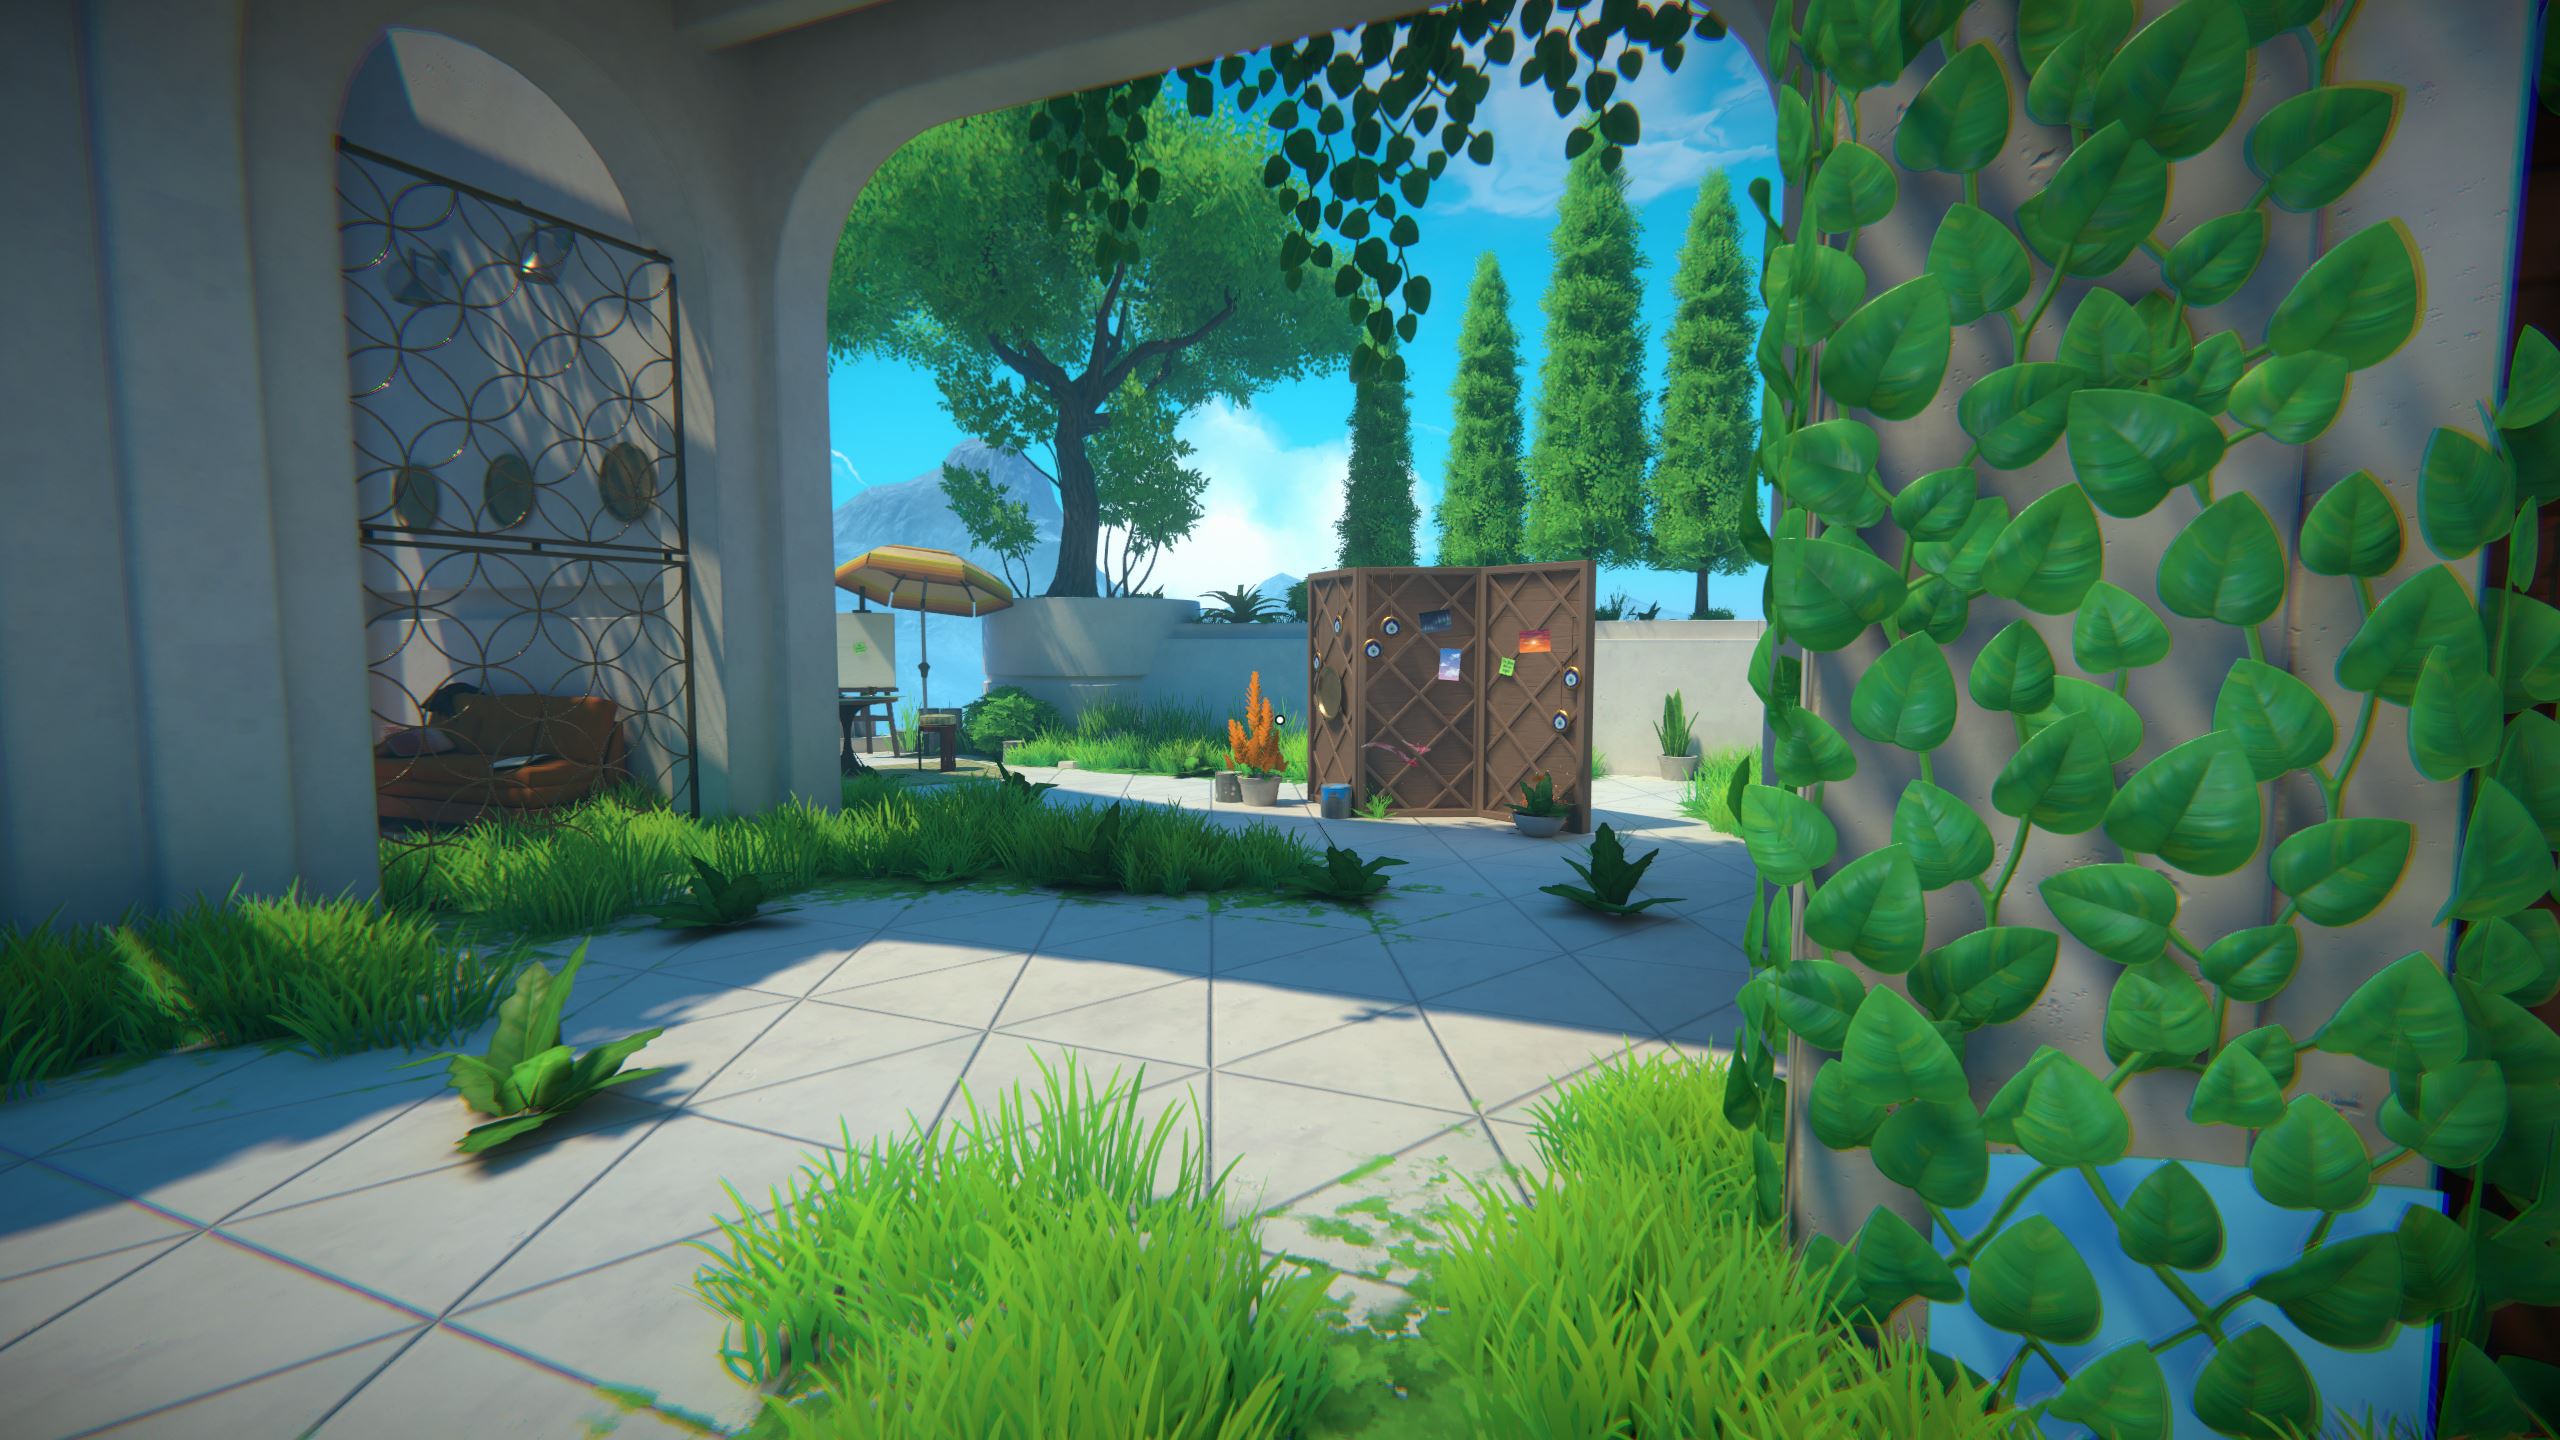
Level 2.2
We once again need three batteries to power the teleporter. Go right and look at the wooden partition to find three color photographs. Pick up all three of them.

From the partition, look left to find a battery that’s inaccessible because it’s behind an inaccessible structure. Aim and place one of your photos over part of the structure (of course, without overwriting the battery).

Step towards the photograph to find that you’ve ‘cut’ into the world. Pick up the battery when you’re inside the structure and take it back out to the pad.

From the pad, aim your second photograph at the mural of the barren tree. Apply your photo to ‘cut’ into the structure here. Inside the structure, you’ll find the third battery. Take it and return to the pad.

With the teleporter powered, use it to continue on.
Level 2.3
Here, your objective is at a significant distance from the area you’re in.

Look behind you for a flight of stairs going down. You’ll find an easel here with a photograph on it. Take the photograph and apply it in the gap.

Enter the photograph and pick up the photo inside the photo, then place it somewhere, and enter that photo. Repeat this process a few times.
When you encounter the red error message, walk around the area and then wait for a little square to open up.

In the lab, go through the exit door and then through the wooden door ahead.
In this room, there’s a machine that’s directing power to the labs. Interact with all five buttons to turn them off. After turning them all off, turn them all back on to restore power.

Return to the simulator you exited from to continue the level.
Head through the open door to enter the Hub World. Here, use the teleporter right in front of you (near the empty easel) to return to the level where your simulation crashed.

Follow the same instructions as before. This time, make sure you place the photographs so that you steadily advance towards the floating platform with the teleporter on it. This will require you to pick up and place several photographs.

Use the teleporter to continue.
Level 2.4
This segment is straightforward. Go to the end of the corridor and pick up the drawing and place it, then enter the drawing.

Go up the stairs and pick up the painting on the empty easel, then apply it.
Head on to the roofed structure and pick up the picture on the table, then apply that.

In the picture, go behind the boulders to find a gramophone and a drawing. Pick up and apply the drawing.

Open the door of the house here and inside, you’ll find another picture. Pick it up and apply it.
Enter the castle and proceed through the corridors until you encounter a closed drawbridge. Look to the left to find a chain. Pull the chain to lower the drawbridge.

On the other side of the drawbridge, pick up the photo and apply it. Go to the teleporter and use it. You’re now back to the Hub World!
Hub World
You can now use the teleporter to revisit levels you have been to before. The teleporter near the empty easel will let you access Level 2. The teleporter near the bookshelves will let you access Level 1.
You can access an optional level (designated Level 4) by using the teleporter near the bathtub.
Finally, you can move on to the Level 3 by using the teleporter near the hammock. We’ll do so now and cover the optional level after Level 3.

Level 3.1
The teleporter here required two batteries. Head to the easel and pick up the photo here. Don’t place it.

Go down the stairs to find a photocopier and use your photo on it. Apply both the photo and its copy somewhere and pick up the battery inside each, then place it on the pad to power the teleporter.

Level 3.2
Pick up the photograph on the round table. From the round table, go left to find a photocopier tucked away into a corner.

Use the photocopier on the photo you have.
Now aim one of your pictures (either the photo or its copy) at the highest point of this area. Rotate the picture 180 degrees, so that the teleporter silhouette is upright and the vines are on the left. Place the photo so that the teleporter will be accessible from the highest platform.

Now place the second picture in the gap between your platform and the other platform. Align it so that the vines are along the bottom.

You should now be able to cross to the other platform, go up the stairs, and use the teleporter.

Hub World
The train will show up, giving you access to the next chapter of the game. Before we step on it though, we’ll do the optional level by using the teleporter near the bathtub.

Level 4.1
Head for the sofa and pick up the photograph on the chest of drawers next to it. Rotate it so that the vines are on the bottom and the grass is on the right.

Enter the photograph, go up the incline, and drop down to an area with a photo on a table. Pick it up and rotate it so that the brighter sky (with the mountain visible) is on the right and the dimmer sky is on the left.

Enter the photograph and pass through the left arch to find a photo on a table. Pick it up and rotate it so that the wooden floor and the paintbrush are on the bottom. Enter the photo.

Turn right down the corridor and you’ll find another photo on a table. Pick it up and place this photo at your feet, so that you fall through.

Go to the teleporter and use it to complete the optional level.
Head on to the next part of our Viewfinder walkthrough here!
Thank you for reading the Into Indie Games walkthrough for Viewfinder. For more on indie games, be sure to check out the links below!
- Into Indie Games Homepage
- Planet of Lana Review
- The Invincible Walkthrough – Demo 2
- Best Indie Action Games of 2023
- Review: TONOR TC-777 USB Condenser Microphone
- Indie Dev Interview: Tomasz Ostafin talks Papetura