Jul
Viewfinder Walkthrough – Chapter 2
Viewfinder Walkthrough
Stuck in Viewfinder? Check out our Viewfinder Walkthrough to complete the second chapter of the game, along with the optional challenge.
Welcome to the Into Indie Games walkthrough for Viewfinder. This guide covers all the optional challenges in the game along with the standard levels.
For information on Viewfinder beyond this walkthrough, check out the official website here.
Chapter 2
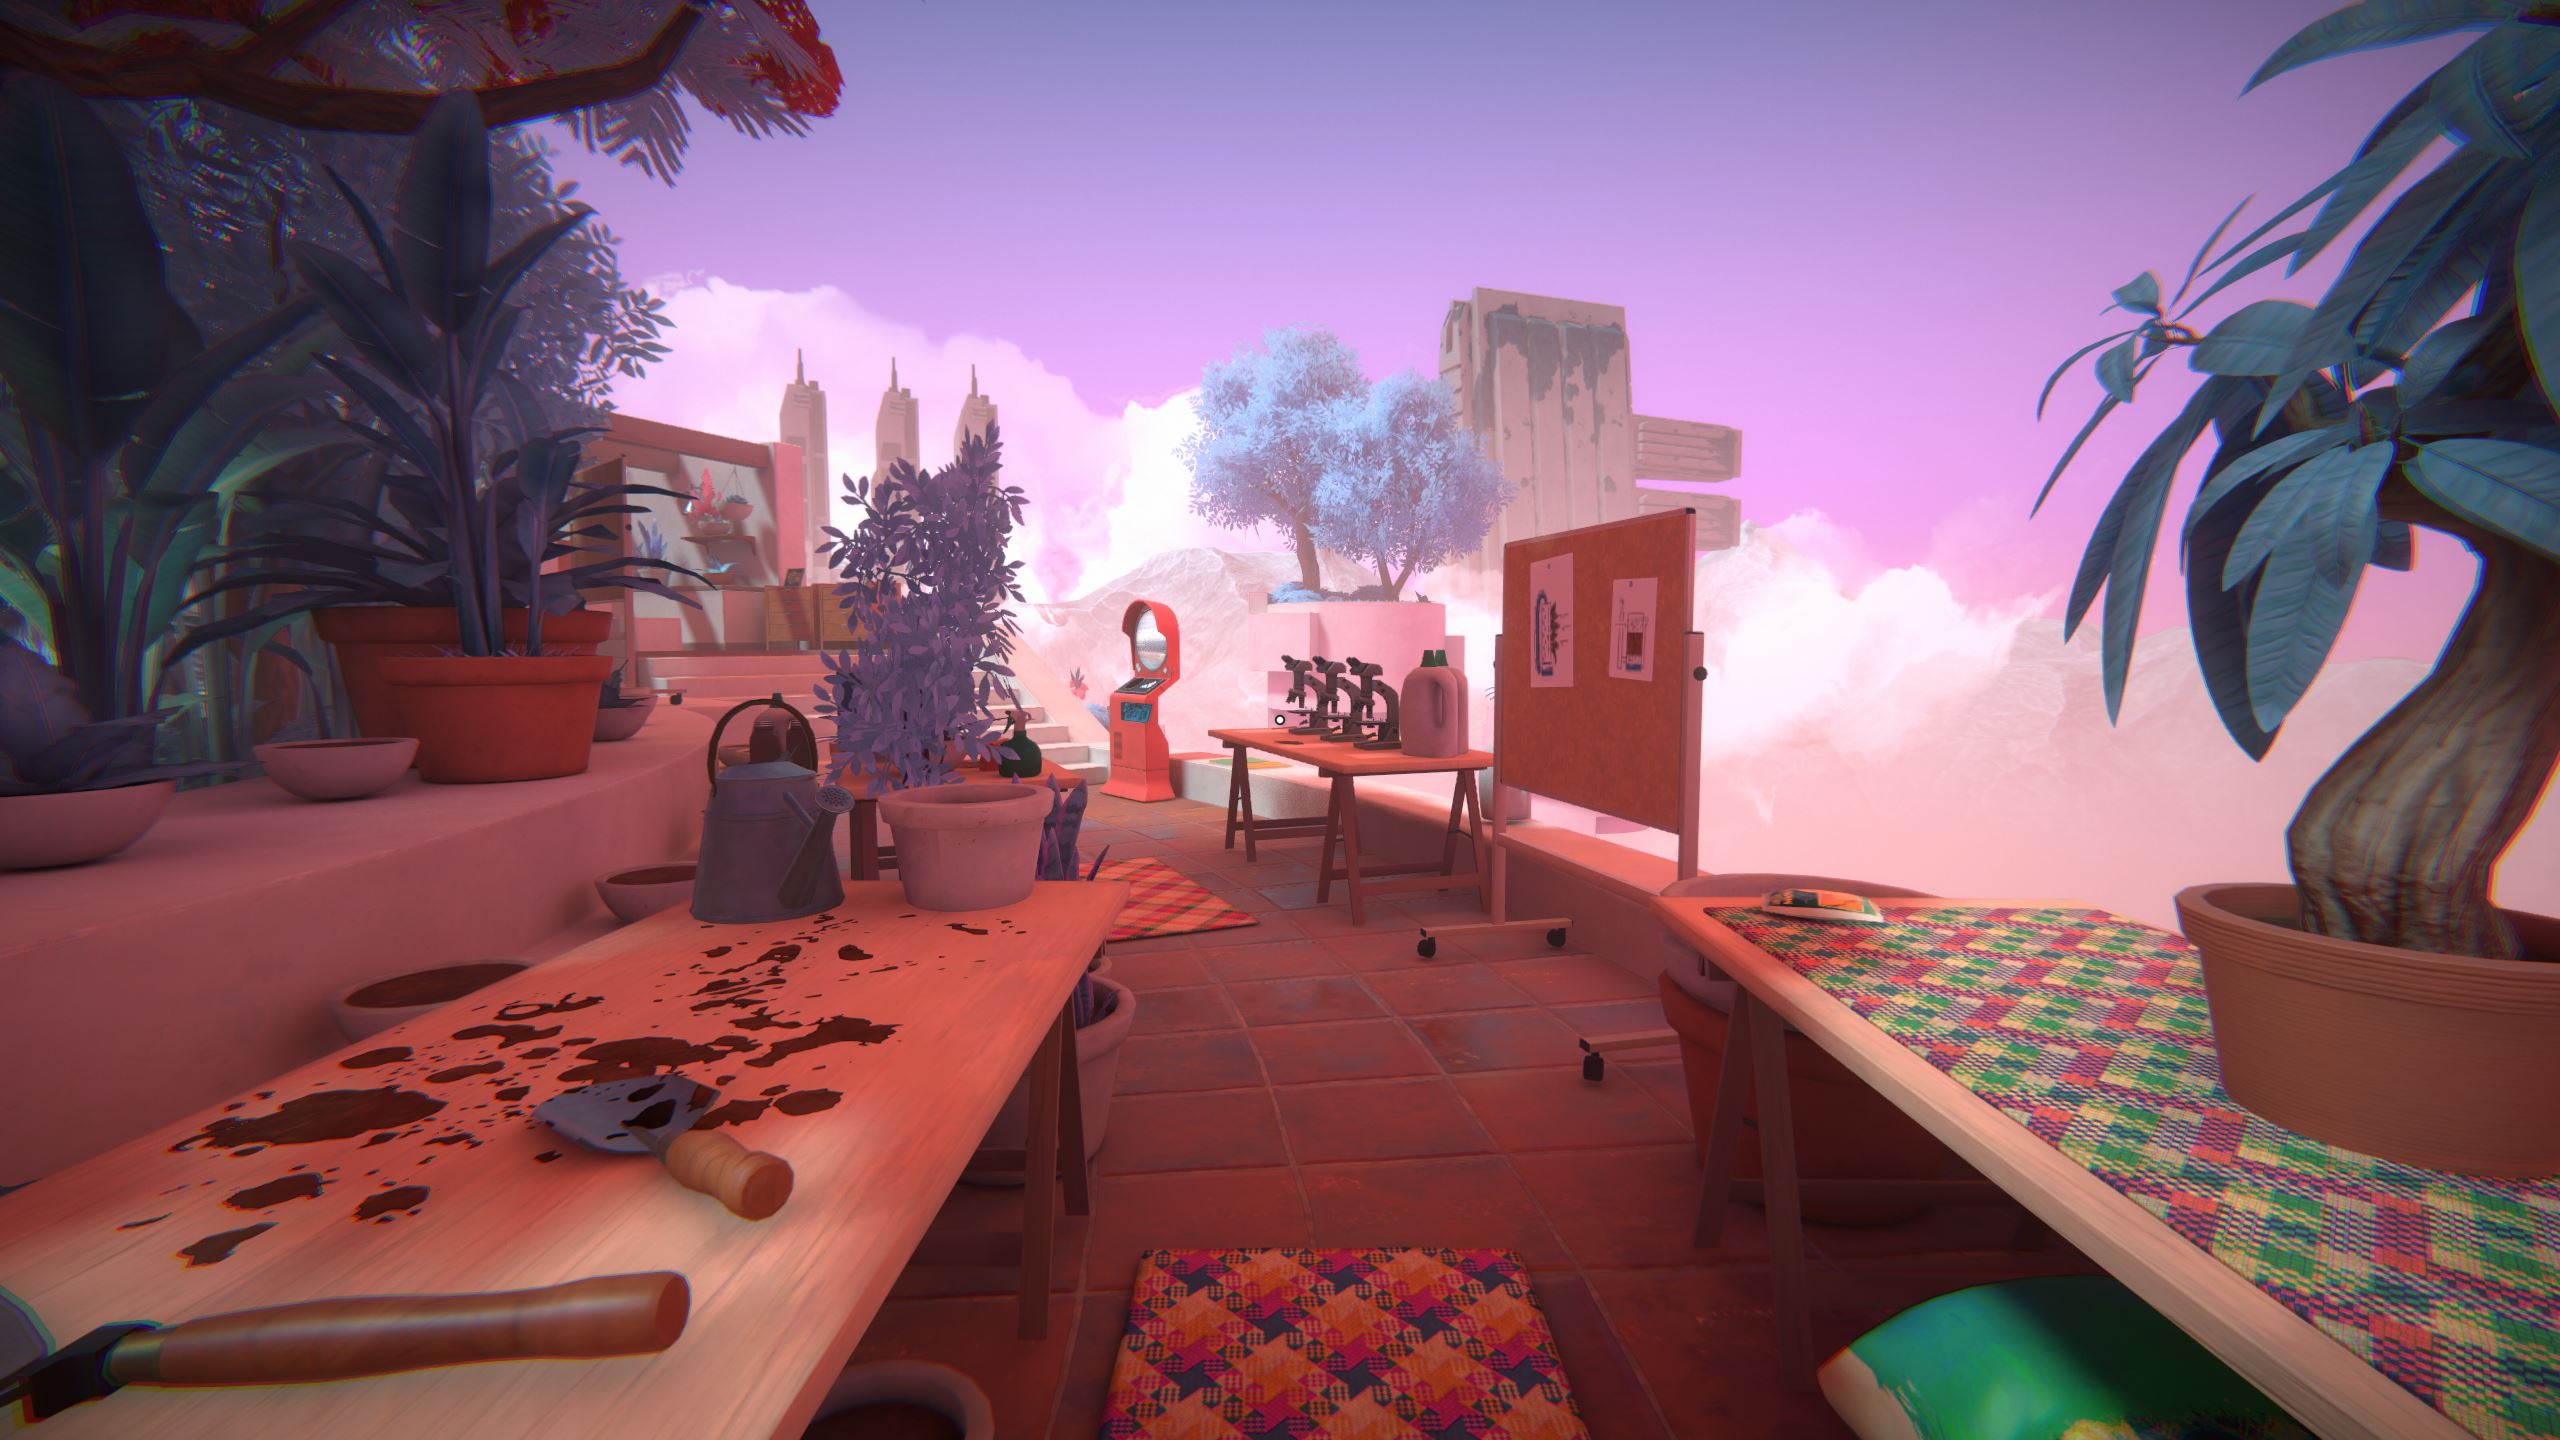
In Chapter 1, take the train to the next chapter. You will arrive in Chapter 2’s Hub World.
Once you get down the stairs from the train, go right and you’ll find your first level teleporter next to a couple of benches.

Level 1.1
From where you start, go right and then straight through to where you’ll find a couple of folding chairs. Stand near the folding chairs and look in the direction you came.

Move around until the image overlaid across the wooden planks becomes a perfect square, which will cause the image to become reality. Go straight ahead to step into the image.

Inside the hut, you’ll find another image on the right, which you can complete and access by going to the left and standing near the green plastic chair.

Step through into this new image. Keep going forward and you’ll find a new image of a teleporter, which you can’t access from the lower floor yet.
Keep going past the image and up the stairs. On the upper floor, look down at the teleporter image from the right angle (next to the right wall) to make the image a reality.

Step through the realized image and use the teleporter to move on.
Level 1.2
You can pick up the phone here, but otherwise head on to the blackboard in the area behind the telephone. Next to the blackboard, there’s a photo on a desk – pick it up.
This photo has a mountain background in it. Use the photo exactly as shown in the screenshot below, so that you cut into the inaccessible area and also remove the wall jutting out from the left.

Enter the formerly inaccessible area and stand in front of the boards that form an image so that the square image is realized.

Then go to where the wall previously was and stand so that the image of the teleporter is also realized. Head over to the teleporter and use it.

Level 1.3
This level is quite easy and simply involves finding and pulling levers. The first lever is right in front of you as you start this segment.

For the second lever, turn around from the first lever and go down the stairs. This will take you to the area to the right of where you started this segment. The second lever can be found behind a wall.

For the third lever, go to the opposite end of this area segment. Essentially, return to the first lever and then pass through the empty door frame.
The third lever can be found to the right once you enter through the empty door frame.

Now stand roughly to the left of the first lever and in front of the ‘Vision CR’ screen. You will activate the next teleporter image.
Step over to the teleporter and move on to the next level.
Level 2.1
(To find the Level 2 teleporter, continue along the rim of the Hub World and look for the table with three microscopes on it. The teleporter is nearby.)

Look left and go down the stairs.
Go behind the camera and interact with it to take a picture of the stairs.
Retrieve the picture from the camera and go back up the stairs, then place the photograph so that you can climb up the stairs and onto the higher platform.

Now stand before the second camera and take a picture of the teleporter. Retrieve the photograph when it’s done.

Rotate the image so that the teleporter is upright, and then place it where convenient.

Head into the black-and-white photo of the teleporter and use the teleporter to move on.
Level 2.2
Here you’ll find a teleporter that requires two batteries to work, as well as a pad for the batteries.
Go straight ahead and use the camera to take a picture of the wall and pillar ahead. Take another picture, so that you have two pictures of the wall and pillar area.

Aim the first picture at the gap between your platform and the platform with the battery, and rotate it so that the wall with the vines is at the bottom.

Cross over to the second platform and bring the battery to the first platform.
Use the second photograph you have, rotate it as before, and place it in front of the camera, so that the area in front of the camera is walkable. Place the battery in this newly walkable area.

Now take a picture as before, which will you a photograph that includes the battery, essentially serving as your second battery. Place this image somewhere convenient and enter it to pick up the second battery.

Place both the second and first batteries on the pad to power the teleporter and then use the teleporter to move on.
Level 2.3
Go up the stairs to the left and use the camera here to take a picture.
Retrieve the picture and place it as shown in the screenshot below – cutting into the inaccessible area to the left of this camera, and gaining access to the second camera.

Take a picture from the second camera, and make sure that the area directly in front of the camera is at least partially open. If not, rewind and re-apply the previous photograph.
Retrieve the picture from the second camera (which depicts the first camera) and take it to the opposite side of this area, i.e. towards the trellis.
Place this photograph so that it overwrites the first camera, resulting in a black-and-white camera that’s facing the teleporter. Go to this (third) camera and take a picture of the teleporter.

Aim this photograph of the teleporter where convenient, rotate it upright, and enter it to use the teleporter.

This completes Level 2!
Level 3.1
(To find the Level 3 teleporter, turn left from the Level 2 teleporter and continue along the rim of the Hub World, so that you pass through the kitchen area and reach the dining room area.)

Look right and go to the clothesline to find a photograph hanging from it. Pick it up.

Look behind you and go down the stairs. Do NOT realize the color image here. Instead, go to the left of this area, where you’ll find a hole in the floor.
Place your photograph here so that you overwrite the hole in the floor. Move the black-and-white battery from where it’s sitting.

Now go ahead and realize the color image, so that the battery falls onto the area you created with the photograph.

Pick up the batteries and take them back to the teleporter pad to activate the teleporter.
Level 3.2
Pick up the phone to silence it, and then go up the stairs. Take a left from here to find a camera next to an orange rug.

Take a picture with the camera and retrieve it. This is Photograph #1. Do not place the photo anywhere just yet.

Now go to the phone and stand near it so that you realize the color image on the boards (which has a battery in it). This will also cut the connection between the teleporter and the pad, however. No worries.

Return to the camera and take another picture, which becomes our Photograph #2.
Place both Photographs #1 and #2 where convenient (without overwriting the existing battery). In the image below, Photograph #1 is on the right, and Photograph #2 is on the left.

Take the battery into Photograph #1 and place it on the pad there. Go into Photograph #2, take the battery from there, and also put that onto the pad in Photograph #1.

This powers the teleporter in Photograph #1, allowing you to proceed.
Level 4.1
(This level is optional. To access it, continue along the rim of the Hub World, back to where you started, i.e. towards the train. You’ll find the teleporter at the end of the rim.)

From where you start, go right and you’ll find a camera that’s facing a wall. Use this camera and retrieve the photograph.

Now go back up to the wooden-floored area and place the image of the wall perpendicular to the actual wall, and in front of the camera.

Return to the camera and take your second photograph. You might need to rewind and retry your placement, as the teleporter needs to be completely within the camera’s viewfinder for the second photograph.

Aim the second photograph anywhere, rotate it so that you can access the teleporter, place it, and then go ahead and use the teleporter.

Hub World
When you’re done with all the levels at Hiraya’s Station, return to the train and use it to move on to Chapter 3 – Chi Leung’s Station.
Head on to the next part of our Viewfinder walkthrough here!