Dec
Born of Bread Walkthrough – Part 3 (Badger Mines & Crystal Mines)
Born of Bread Walkthrough - Table of Contents
- Part 1 (Prologue & Forest of Roots)
- Part 2 (Royal Town & Lapwing Village)
- Part 3 (Badger Mines & Crystal Mines)
- Part 4 (Side-quest Clean-up)
- Part 5 (Undergrowth & Sunken Spires)
- More parts coming soon!
Check out our Born of Bread walkthrough to find out how to find Niagara’s toolbox and restore the power to the elevator (and the mines).
Welcome to the Into Indie Games walkthrough for Born of Bread!
For more information on Born of Bread beyond this walkthrough, check out the official website here.
Badger Mines
On entering the Badger Mines, you’ll find a house you can rent if you’d like to rest and restore your party.

A little to the southeast of this house, you’ll find a badger with a ‘troubled’ bubble over her head. Talk to her to get a side-quest: Bag a Break.
Far to the south of this area, go to the west to find a dirt mound you can have Lint dig. You’ll find a chest inside, granting you a Simple Pickaxe. Remember to equip it in your backpack!

When you’re ready to proceed into the mines, return to where Niagara is walking around and go east. Note that from this area onwards, you will encounter monsters to fight.
Go south following the minecart tracks, and you’ll reach a signboard where the road forks.

We’ll go east first to retrieve Niagara’s toolbox.
From the signboard, go east and stand under the hydraulic press. It’ll make you very flat, allowing you to go east through the gap. Continue east into the Crystal Mines.

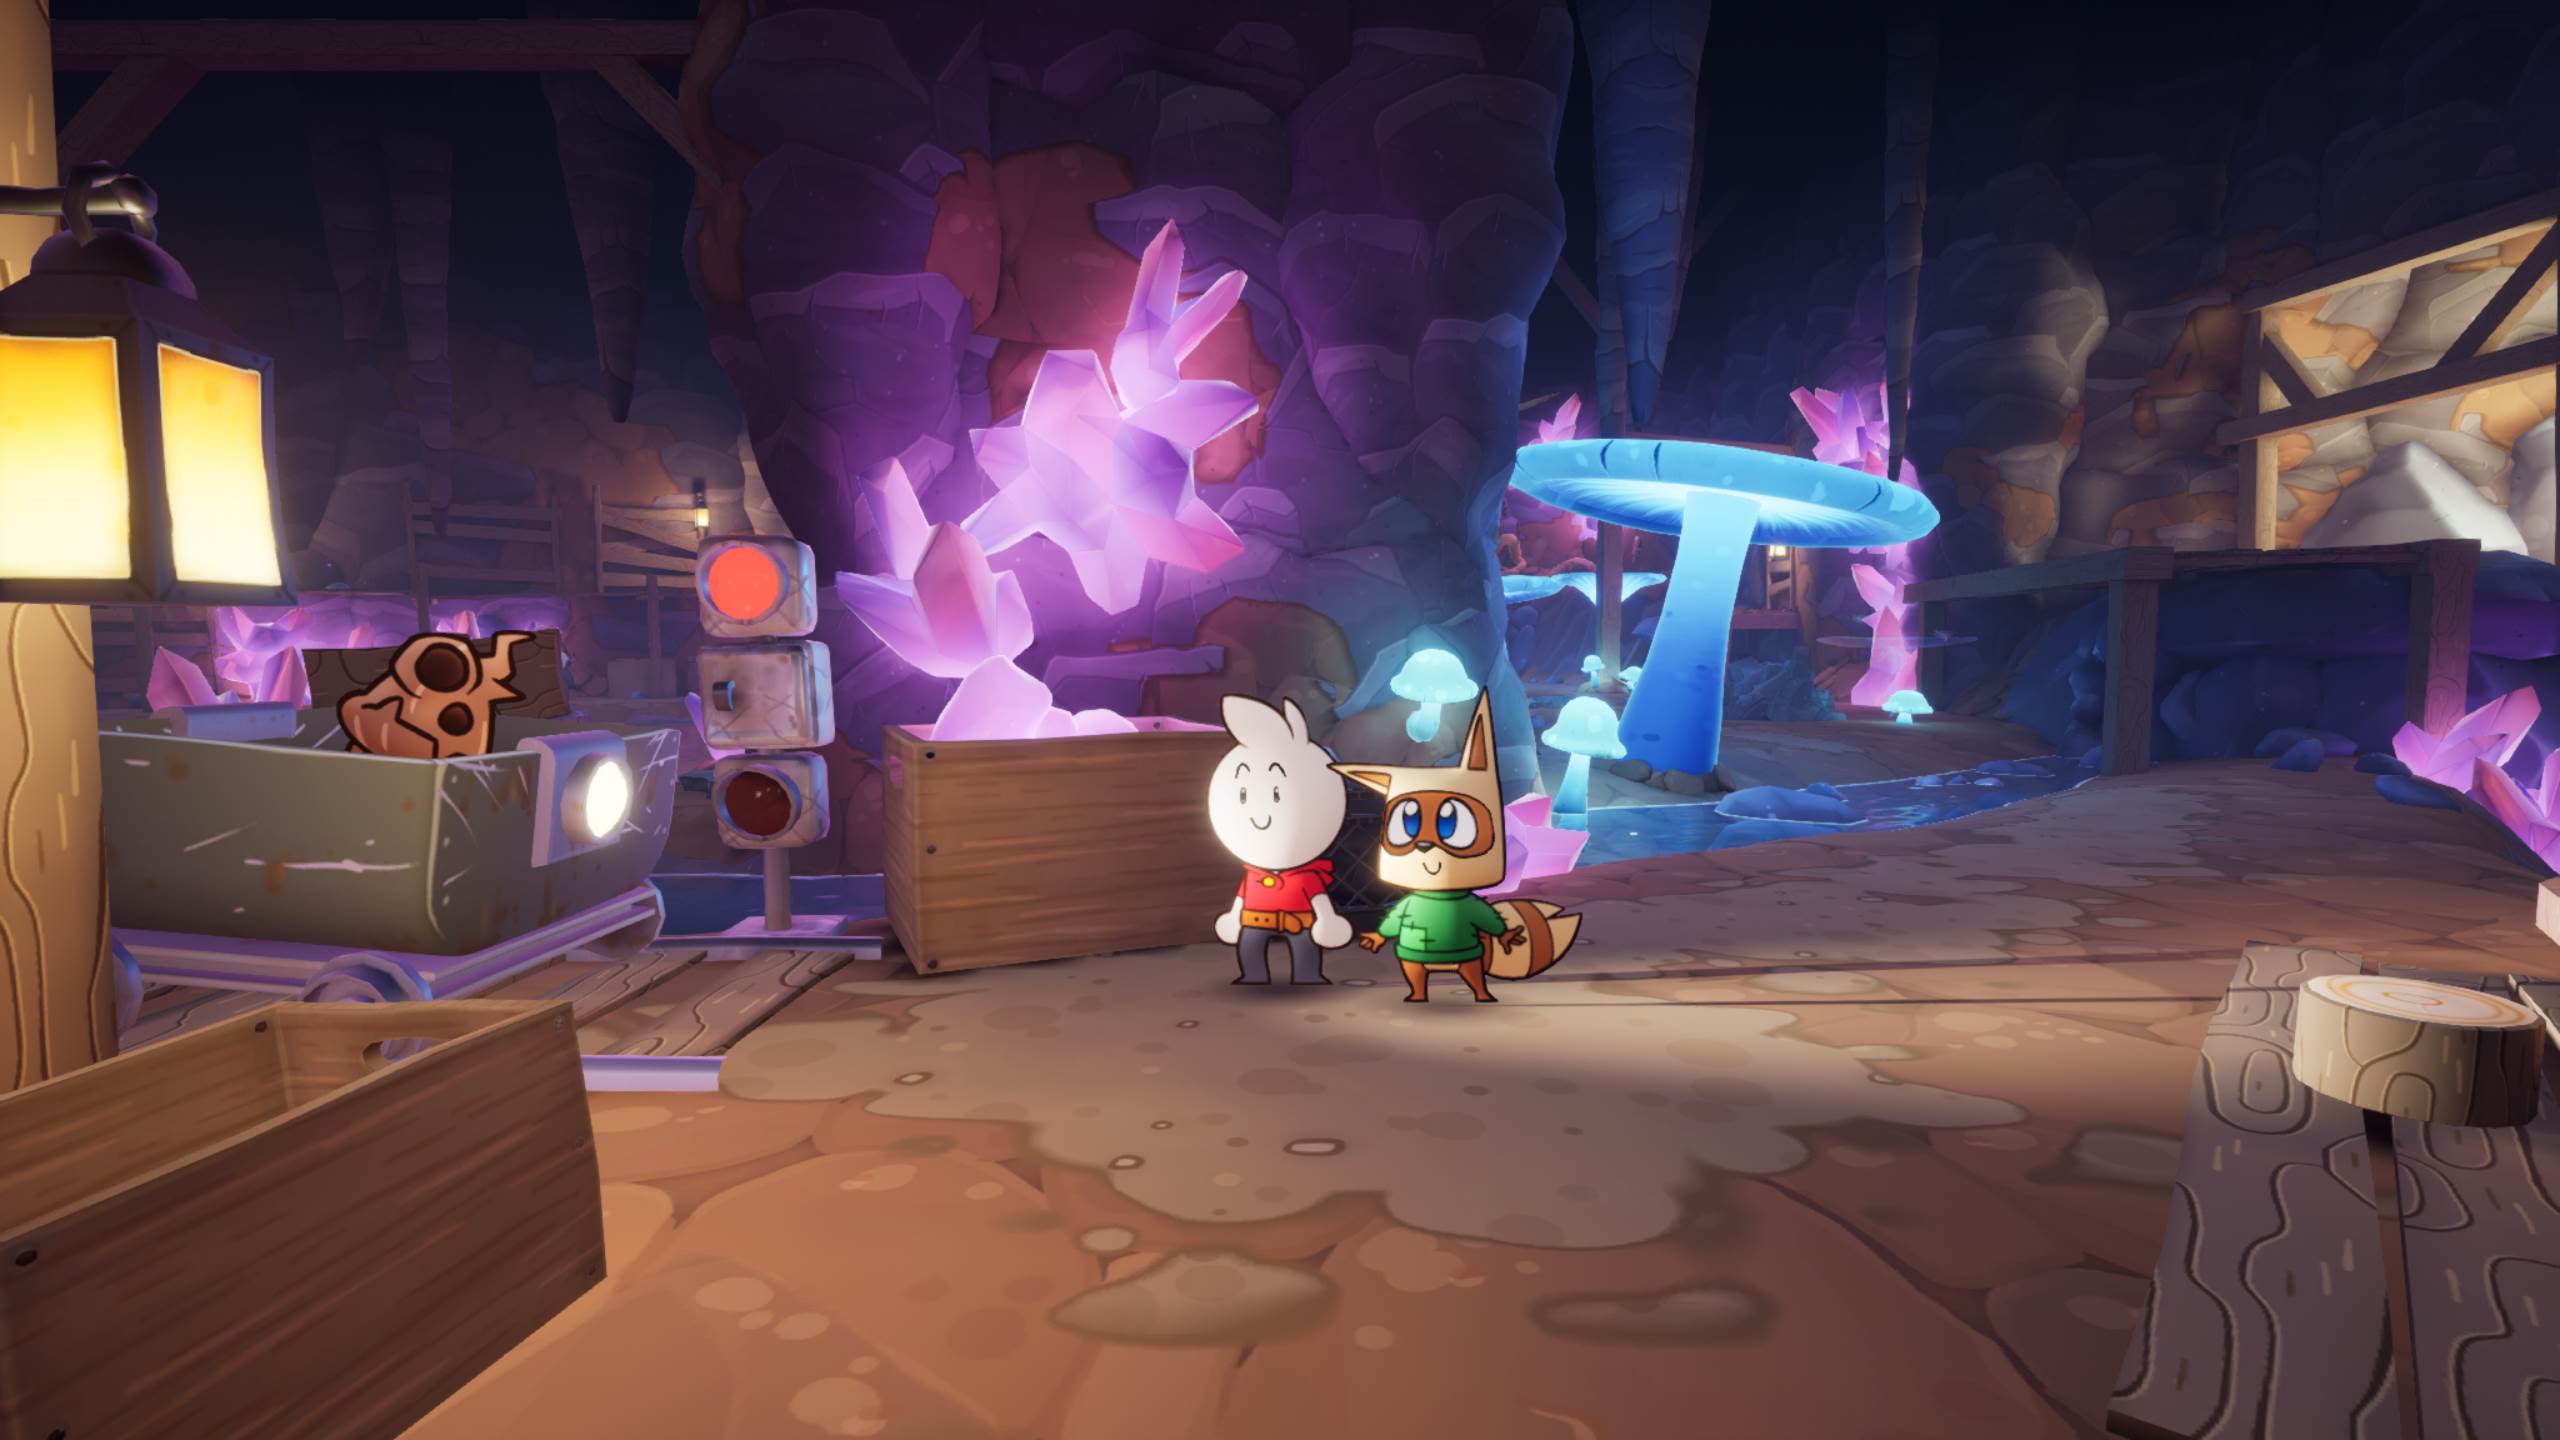
Crystal Mines
On entering the Crystal Mines, go far to the east until you reach a large dirt ball. You can dig through it, but ignore it for now.
Go south and follow the wooden planks to the west, until you come across Professor Rose. Talk to her to gain a glossary of ‘forestial’ fauna.

Go south off the planks and then keep going south, over a wooden plank serving a bridge across the river.
Further south, you’ll find Niagara’s toolbox to the west… but it’s too high to get. To get to it, you’re going to have to take a very circuitous route.
Step into the hydraulic press to the south of the plank-bridge, and then go southeast from the press.

Jump across the gap (you’ll find that you are floatier when flattened), and then make your way south quickly, so that you can walk through the gap under the wooden beams.

Go west now and open the green chest to find a Resolve Up. Continue west and north up the ramp until you finally get Niagara’s toolbox.
Before you leave, it’s worth grabbing the salamander in this area. Flatten yourself again and make your way to the middle platform, i.e. before going through the gap under the wooden beams.
You’ll find a salamander snoring on a pink crystal towards the back – whack it to grab it.

To exit this area now that you are un-flattened, go northeast and jump across the gap (carefully).
Here, you can go northeast to fight some monsters and hit a dead end. Otherwise, approach the minecart operated by the Rootling to the west.

Do not touch the minecart under any circumstances, as this will damage you. Wait for the minecart to go west, and then follow it until you reach a platform to stand on to the south.
Wait here for the minecart to get to the east, and then run west again.

Now return north to the area with the dirt ball. Before we leave here, we’re going to grab another salamander.
Have Lint dig through the dirt ball to reveal a path to the east. Go this way and jump southeast onto the blue mushroom.

Jump southeast onto the next blue mushroom, and then east onto the wooden platform. Note that if you fail these jumps, you’ll have to make your way back up through the Rootling’s minecart track.
Go north now and you’ll find the salamander near some pink crystals. There’s also a mound you can dig here, which gives you a new color palette for Dub.

Make your way back across the blue mushrooms (or the minecart tracks, you pick). As we’re done exploring the Crystal Mines, go fully to the west until you’re back to the Badger Mines.
Badger Mines
Go up the ramp and jump over the fence. Return to Niagara at the mines’ entrance and talk to her to get an Item Bag upgrade.

Now, it’s time to get the power back on – return to the signpost and go west. Stop before the blue mushrooms and go south instead.
At the bend, go east and when reach the table with the papers on it, go south. Here, you’ll find that the chain link fence is padlocked, preventing you from going any further.

To find the key for the padlock, go north again to the table with papers on it. Jump onto the crates to the east of the table, and then onto the barrel. Jump right from the barrel onto the wooden plank.

Go south now and you’ll find the padlock key on a wooden platform.
Return to the gate in the chain link fence with your Badger Key and interact with it to proceed.
Go west now, up the green mushroom, and save your game with Dub. There’s another minecart rootling section ahead – just bear in mind that your ‘safe’ space will be to the north this time.

Wait for the minecart to go east when you’re in the safe space and then run west.
Keep going west to find the L.A.P.W.I.N.G.S. and fight the oreling that’s terrorizing them. Defeat the oreling and its crony to free Rocky and Pepper.

Once the power’s back on, go northeast past the open chain link gate. Jump onto the blue mushroom to the north and further on to reach the entrance of the Badger Mines area.

This fixes the elevator to the Undergrowth, so exit the Badger Mines and return to Lapwing Village now.
Head to the next part of our Born of Bread walkthrough here!