Aug
En Garde! Walkthrough – Preposterous Portraits (Part 2)
En Garde! Walkthrough
- Episode 1 - Tremendous Trials
- Episode 2 - Preposterous Portraits
- Episode 3 - Midnight Mischief
- Episode 4 - Fraudulent Fortress
Stuck in En Garde? Check out our En Garde Walkthrough to find all the points of interests and secrets in the second episode of the game.
Welcome to the Into Indie Games walkthrough for En Garde! This guide covers all the points of interest and secrets in the game, along with a general walkthrough of how to proceed through a level.
For information on En Garde! beyond this walkthrough, check out the official website here.
Episode 2: Preposterous Portraits (contd.)
This guide continues from where the first part of Episode 2 left off.
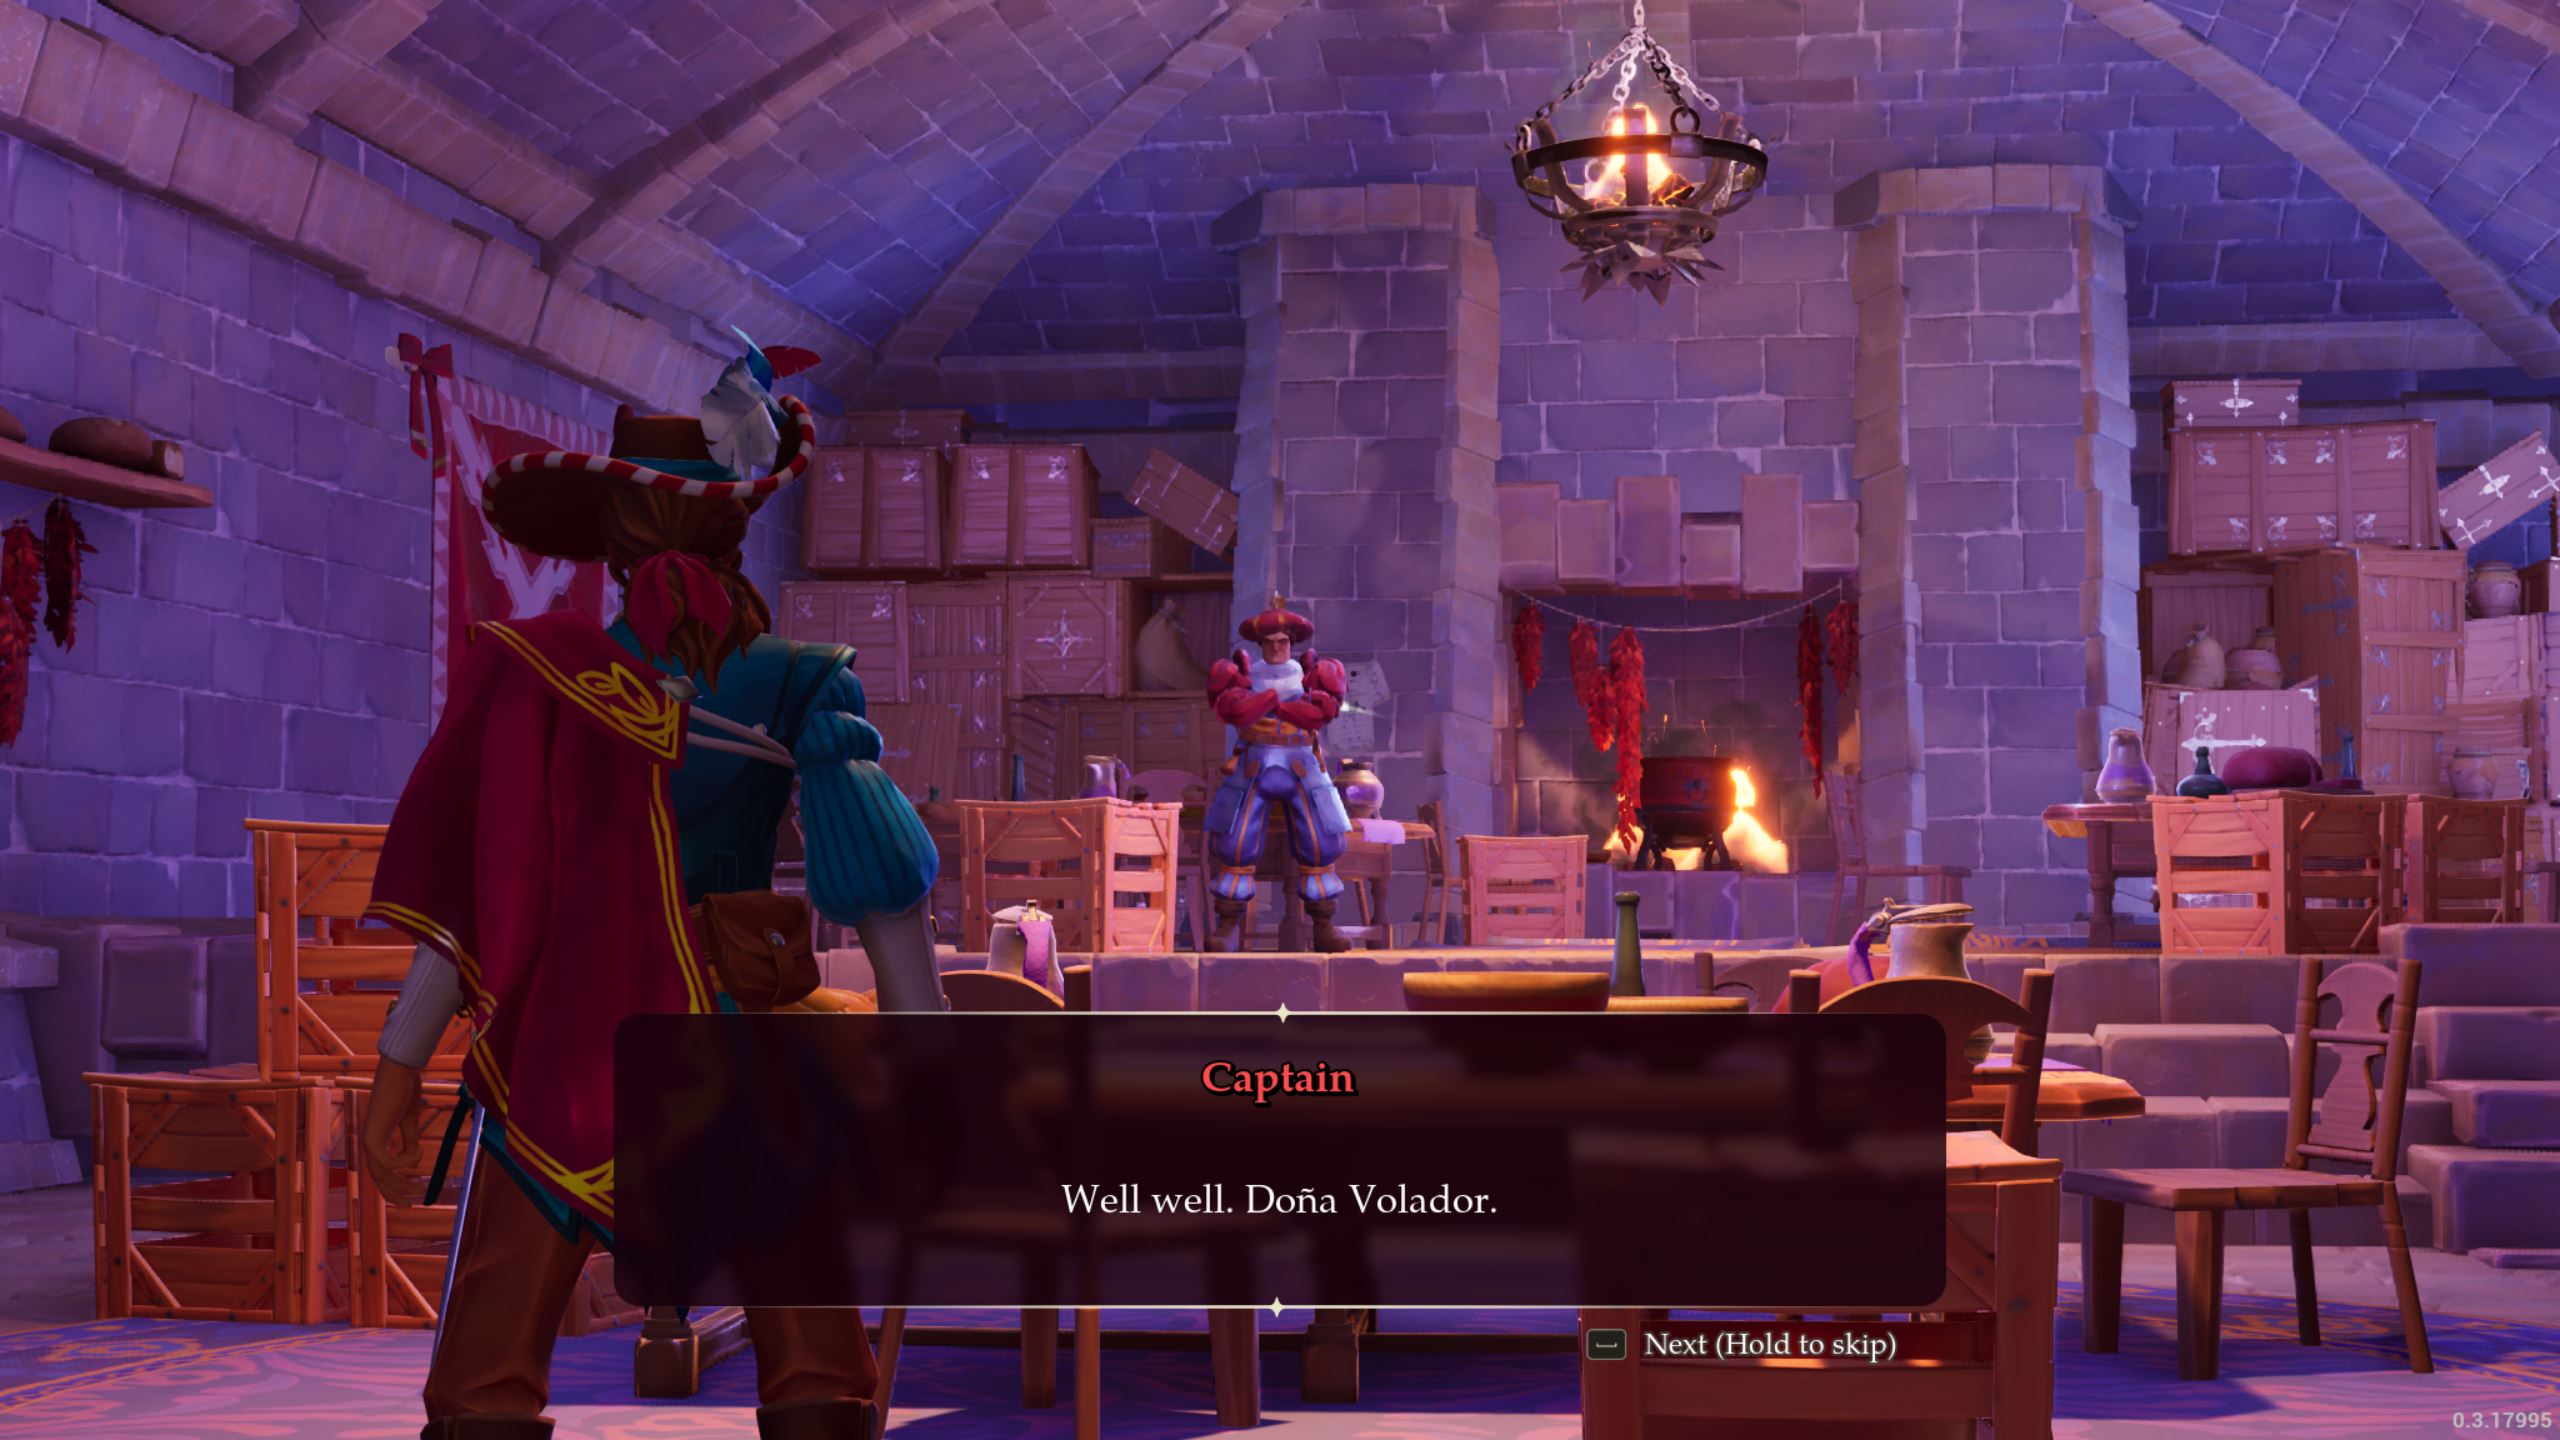
At the closed portcullis, take a left up the stairs and then a right at the end of the corridor. Go through the closed doors to battle a new type of enemy: the Captain. Take her out.

Point of Interest 13: Investigate the letter pasted on the stone wall to the left of the fireplace.

Go through the closed doors (and the next set of closed doors) to proceed. Use the lever here to open the portcullis and then use the cages to jump over to the other side of the room.
You can take out the soldiers here if you wish – otherwise, proceed through the closed doors to the next area.

After the next set of closed doors, you find yourself in an open area. Run toward the open portcullis to trigger a big fight.
After defeating the enemies and their reinforcements, go to the left side of this area and roll through the broken metal grate. This will marked by an arrow and it’s just below the stairs from the functioning cannon.

Drop down to the waterworks area and proceed through the closed double-doors to head to the next area.
Go straight ahead from here and jump onto the walkway to the left.
Point of Interest 14: Investigate the defaced poster of the Count-Duke near the pot of soup.

Return to where you came from and proceed along the broken walkway on the right. Stop just before the bar and look to the right for an opening in the metal grate. Roll through it, then go right up the broken stones and use the lever here.
Secret 3 (Waterworks Station): Rather than going through the opened portcullis, go straight past the lever and drop down into a shallow part of water, where you’ll find the wall is broken. Proceed to the room straight ahead.

Point of Interest 15: Investigate the giant map on the wall to complete this PoI and the third secret.

Return to the portcullis you opened with the lever and pass through it. Go straight ahead, down the ramp, into a noxious looking area. Beat the lackeys here.
Point of Interest 16: Go to the corner of the room that has many markings on it, near some candles. Investigate the stack of papers near the markings.

Now proceed through the open doorway under the red flag and proceed until you hit a dead end.
Point of Interest 17: Investigate the letter next to the bombs.

Pick up one of the bombs and throw it at the brasero, then drop down the hole next to the brasero. Go forwards and take out the enemies ahead.
When done, proceed through the opening in the wooden planks ahead and through the metal grate. In the next area, drop down from the sewers for a big fight with two rounds.

Pass through the open gate when you’re done to enter the next area.
Go straight ahead and down the street and the stairs. You’ll encounter a couple of lackeys in a public square with a metal grate in the middle.
Point of Interest 18: Investigate the blue-ink poster in this square, opposite the drinking fountain.

Go ahead to reach a fork. If you take the left path, you’ll end up at a well where you can fight some lackeys and a captain.
Point of Interest 19: Near the well, investigate the poster of El Vigilante.

Now go down the stairs and you’ll be at another fork. There’s stuff in both directions.
Secret 4 (Mandatory Pacheesi Tournament): Take a left at this fork and stick to the left wall to find an alley just next to a plant. Head into this alley to find a tavern.

Point of Interest 20: Go up the stairs here and investigate the pacheesi tournament poster to complete this PoI and the fourth secret.

Return to the previous fork and take a right until you find a drinking fountain.
Point of Interest 21: Investigate the notice on the wall to the left of the archway.

Go through the archway now, up two flights of stairs.
Point of Interest 22: Investigate the books strewn on the floor, near the flower-pot painting on the ground.

Return to the arch now and proceed through the open metal gate.
Go through the open portcullis to find the boss of this level: the Count-Duke. Defeat him to end this level.
Head on to the next part of our walkthrough of En Garde! here!
