Aug
En Garde! Walkthrough – Preposterous Portraits (Part 1)
En Garde! Walkthrough
- Episode 1 - Tremendous Trials
- Episode 2 - Preposterous Portraits
- Episode 3 - Midnight Mischief
- Episode 4 - Fraudulent Fortress
Stuck in En Garde? Check out our En Garde Walkthrough to find all the points of interests in the second episode of the game.
Welcome to the Into Indie Games walkthrough for En Garde! This guide covers all the points of interest and secrets in the game, along with a general walkthrough of how to proceed through a level.
For information on En Garde! beyond this walkthrough, check out the official website here.
Episode 2: Preposterous Portraits
Point of Interest 1: From where you start, look left and investigate the lower shelf.

Run to the big painting in the back of the cell and interact with it to find a way out. Jump up the stonework and interact with the back of the next painting.
Pick up your sword from the table and defeat the two rounds of enemies.
Point of Interest 2: View the long list of Adalia’s crimes, located to the right of the cell Adalia was in.

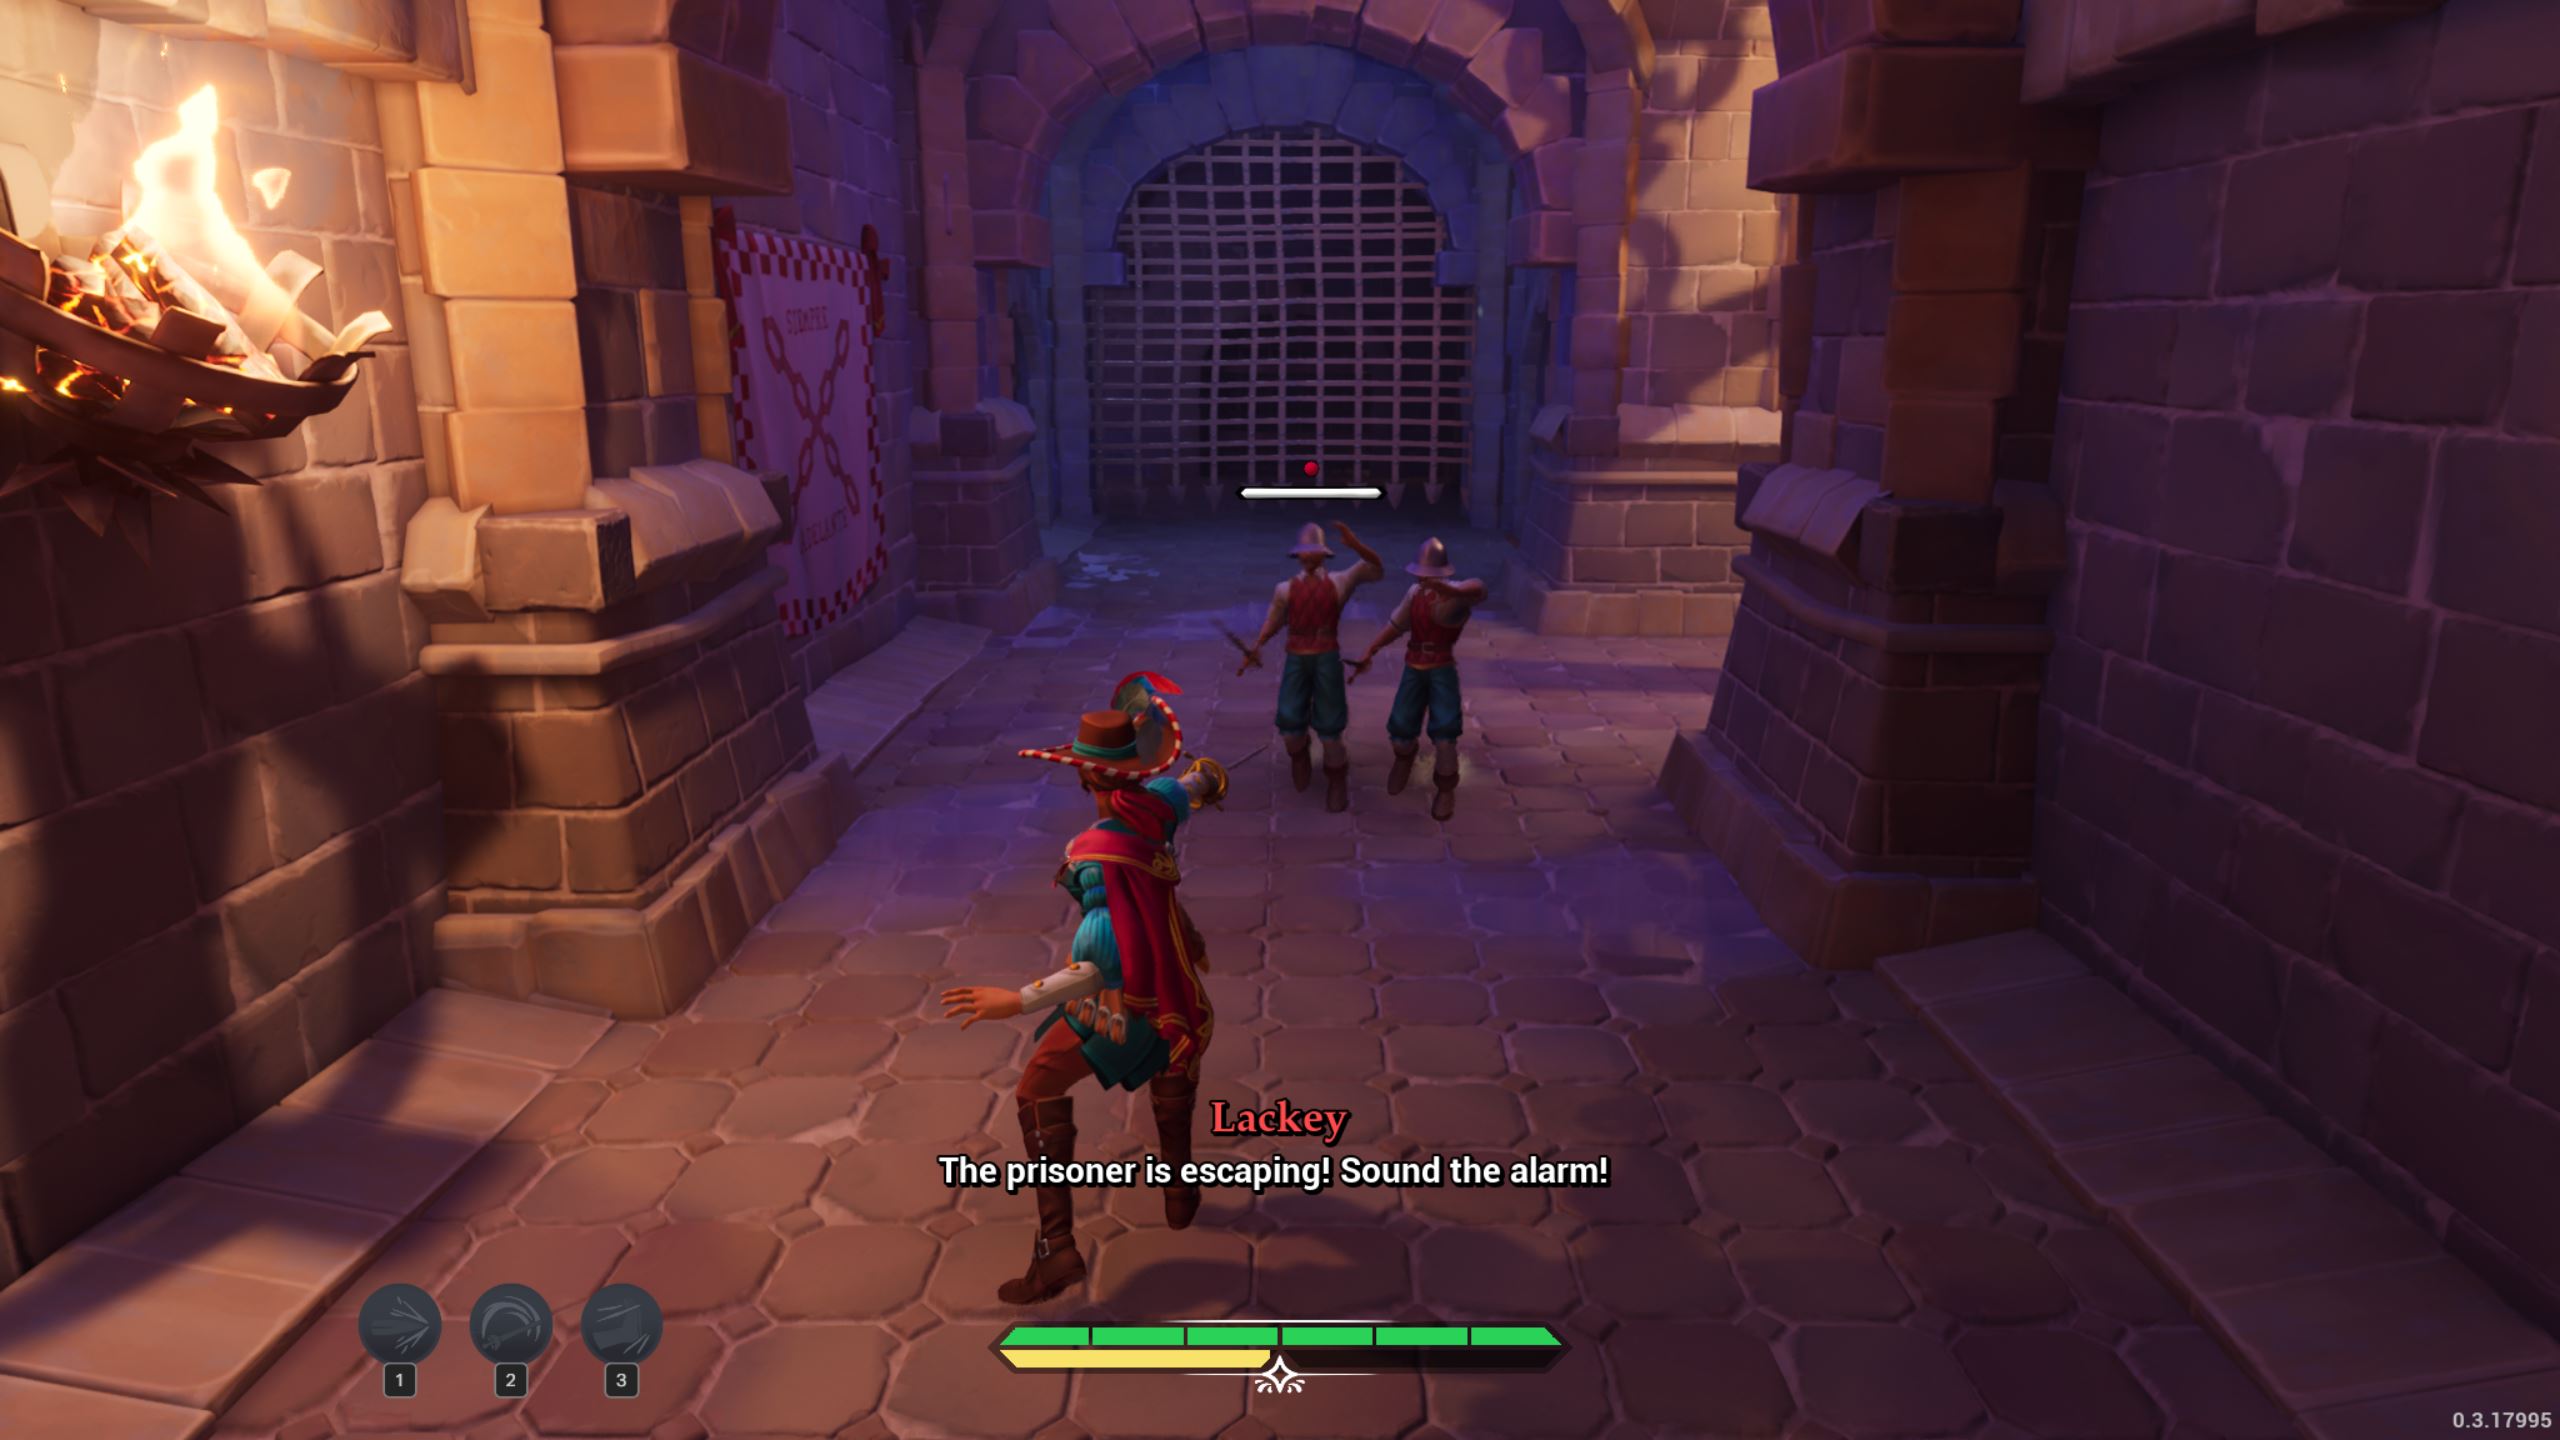
Go through the open gate and use the big lever to open the portcullis. Go back down the stairs and through the portcullis to find a couple of lackeys. Deal with them and go right.
Proceed to deal with a lone soldier and go up the stairs.
Point of Interest 3: View the notice board next to the cell on the left side of the uppermost level.

Run to the right side of the uppermost level and jump toward the bar. From where you land, jump on the opposite side of the room’s uppermost level.
Climb up the wooden cage at the end of this walkway and then up to the viewing post.
Secret 1 (Super Secret Cell): Drop down on the other side of the viewing post, where you’ll find a hole in the wall lit by a candle. Go through this hole to find a broken cell.

Point of Interest 4: Interact with the giant portcullis in the broken cell to complete both this PoI and the Secret associated with it.

Return to the viewing post and use the giant lever. Now jump towards the rope-with-a-handle near the viewing post and you should jump across the entire room through the opened portcullis.
In this area, run ahead to a plank of wood on the left side. There’s a rope near it, which you can use to get past the broken metal grate.

Open the closed double doors and proceed past the portcullis by rolling under it. Take out the lackey and use the giant lever.
Proceed across the lowered platform and look left at the broken metal grate to find a net you can jump to. Use it to bounce to the other side of the room.

Jump up the broken stonework and use the giant lever here. Now without descending from the same platform as the lever, jump to the rope and cross over to the other end of the room.
Use the next rope to cross over to the platform you originally lowered. Now that the portcullises are open and the second platform is in place, run over through it.

In the next area, pick up one of the grenades (the yellow bottles) and toss it at the red chest through the opened gate. Go through the way that’s opened up to be introduced to a new type of enemy – the Grenadier.
Defeat the one round of enemies here.
Point of Interest 5: Investigate the notice board at the other end of the room from where you came.

Proceed through the closed doors to the next area. Go straight ahead for a big, two-round fight here.
Point of Interest 6: Investigate the blackboard in the smaller room to the side of the bigger room.

Point of Interest 7: Go up the stairs from the smaller room and investigate the giant paintings wrapped in cloth.

Proceed through the closed doors to the next area. Go straight ahead and take out the enemies there. When you reach the broken elevator, look left for a broken metal grate. Roll through it.
Here, jump on the cages as they come within reach to make your way up. Jump onto the stone platform and (finally) take out the annoying grenadier.

Then, kick the brasero (the lit brazier) to fire a cannon. Proceed through the broken wall and take out the lackeys here.
Point of Interest 8: Check the notice board on the wall near the elevator-cages.

Secret 2 (A Spoonful of Freedom): Go towards the area with the elevator-cages, and drop down in a corner to bunch of planks over the water. Face back to where you came from to find a broken wall to pass through.

Point of Interest 9: Check the diagram in the little area beyond the broken wall to complete both this PoI and Secret 2.

Jump onto the elevator-cages to go up and onto the other side of the room.
Point of Interest 10: Check the letter on the table, near the weapon racks and before the stairs.

Point of Interest 11: Go down the stairs and take a right to the metal gate with several posters stuck to it. Investigate the poster with the Count-Duke’s face on it.

Proceed forward to battle a couple of lackeys and pass through the open metal gate. Jump across the net.
Point of Interest 12: Check the cage near the lone chicken. This cage has several other chickens behind it.

Go up the wooden platforms and use the next net to get up to the walkway. Take a left and another left, and take out the two lackeys.
Head on to the next part of our walkthrough of En Garde! here!
