Aug
En Garde! Walkthrough – Fraudulent Fortress (Part 2)
En Garde! Walkthrough
- Episode 1 - Tremendous Trials
- Episode 2 - Preposterous Portraits
- Episode 3 - Midnight Mischief
- Episode 4 - Fraudulent Fortress
Stuck in En Garde? Check out our En Garde Walkthrough to find all the points of interests and secrets in the fourth episode of the game.
Welcome to the Into Indie Games walkthrough for En Garde! This guide covers all the points of interest and secrets in the game, along with a general walkthrough of how to proceed through a level.
For information on En Garde! beyond this walkthrough, check out the official website here.
Episode 4: Fraudulent Fortress (contd.)
This guide continues from where the first part of Episode 4 left off.
Head onto the bridge for a boss fight. After the boss fight, cross the bridge and go up the stairs, past the crates, up another flight of stairs.
Point of Interest 12: Examine the wooden board with many papers, including a map, affixed to it.

Point of Interest 13: Examine the wooden board opposite it, which has a drawing of Zaida on it.

Go up the stairs, through the next corridor and take a right. Go towards the waterfall, and jump towards the waterfall to land on a rock ledge.
Point of Interest 14: Examine the paper behind the waterfall.

Go forwards from here and up the rocky ledges into the cave.
In the new area, go forward and jump off the sloping rock onto the bars. Climb up to the rocky ledge here.
Point of Interest 15: Examine the paper on the lower wooden shelf.

Turn around and jump towards the rope. Get to the other end of the tower, look right, and jump on the bars to reach a higher area.
Climb up onto the stone walkway.
Point of Interest 16: Examine the white tree.

Go towards the portcullis and look right for a net. Jump onto the net and through the broken wall. On the other side, climb up the pile of stones and jump through the broken wall on the right.
Proceed past the cannon.
Point of Interest 17: Examine the weapon rack that’s fallen down in the corridor ahead.

Go to the broken gate and roll through the hole. Turn left and jump onto the net, then the bar ahead to land in a doorway.
Fight the enemies after this and go towards the open portcullis.
Point of Interest 18: Examine the wooden trunks stacked to the right of the portcullis.

Go through the open portcullis and take a right. Go up the stairs.
Point of Interest 19: Examine the paper just above the stairs.

Go forwards from here.
Point of Interest 20: Examine the letter on the wooden planks.

Point of Interest 21: Examine the letter on the wooden trunk to the left.

Turn right and go through the broken wall. Take a left and jump towards the bar. Take a right and past the rope, towards the next bar. Proceed and jump towards where Zaida was.
Look to the waterfall and jump to the rope. In the little candle-lit cave, jump up on the wooden board and then turn left to jump to a bar and a rope.
Go up the rocky ledge and jump across the gap ahead, then climb up the next rocky ledge.
Point of Interest 22: Examine the open book lying on the mat, near the fishing rod.

Drop down ahead and fight the enemies here.
Secret 3 (ConspiraCon): Look to the very right of the heaped-up wooden crates to find a small opening. Roll through it and go right. Drop down onto the stairs and go down the stairs.

Point of Interest 23: Examine the area right in front of the stage.

Return the same way you came to the room with the heaped-up wooden crates, and then climb up the wooden crates. Roll through the broken metal grate and into the small area ahead.
Here, pick up one of the yellow bottles and throw it at the cannon above. Jump up to where the cannon was and jump through the newly-broken wall.
Take a right and go past the portcullis when it opens. Take a left, then another left.
Point of Interest 24: Examine the shelves next to the ladder.

Continue past the barrels and roll under the portcullis, and then the next portcullis. Open the closed double doors.
In the next area, proceed forward and open the double doors. Fight two rounds of enemies ahead.
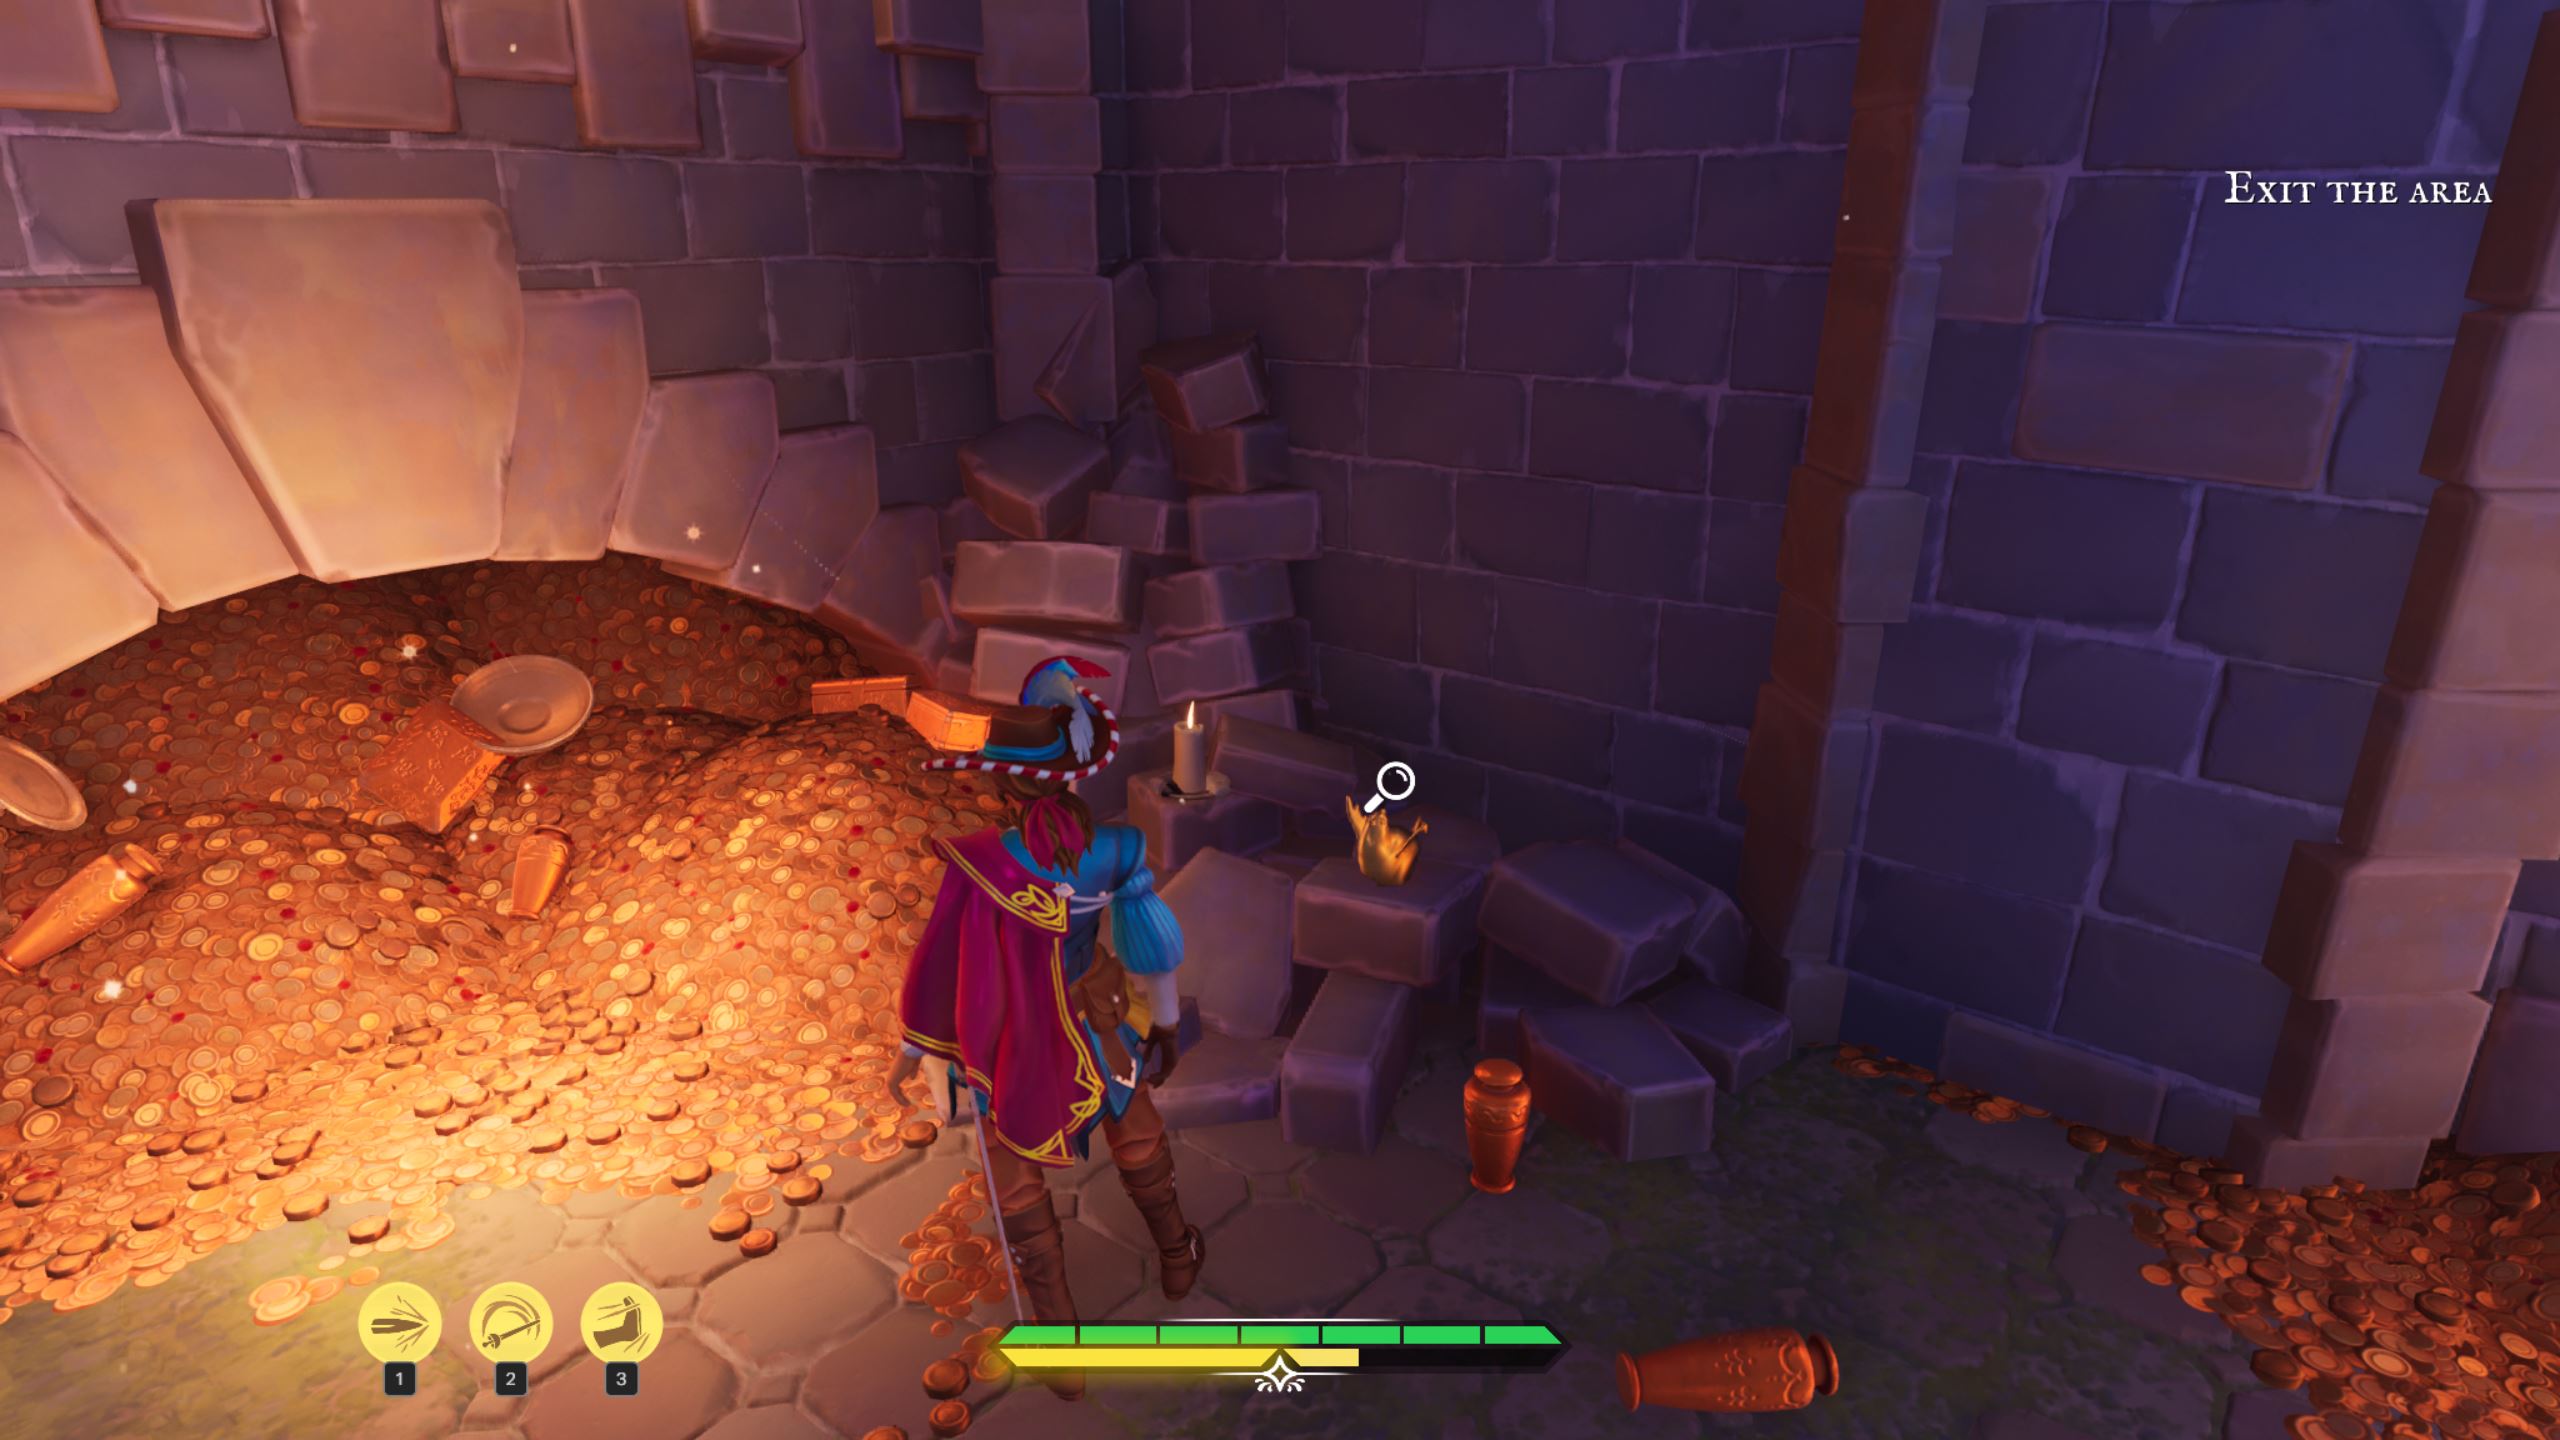
Point of Interest 25: Go right from the open portcullis and examine the golden chicken in the corner of the room.

Proceed through the marked closed doors.
Head on to the next part of our walkthrough of En Garde! here!