Mar
The Last Worker Guide: Chapter 2 (Finding Emma)
The Last Worker Guide - Table of Contents
- Chapter 3 (Rats and B-Kon)
- More parts coming soon!
This Into Indie Games guide to The Last Worker covers the third part of the second chapter of the game, which includes finding Emma.
Welcome to the Into Indie Games guide to The Last Worker! This guide is focused on completing the game story and its various endings, and it does not focus on getting achievements.
For more information on The Last Worker, check out the official website here!
Chapter 2 (Finding Emma)
After finding Skew and entering the next segment, do the J-wave and proceed to the ‘lake’ in the recreation area. After the sequence, you’ll have to do the crank thing on three pillars one by one. The bots will guide you to the pillars, so don’t worry about looking for them – just hit the cranks with your Jüngle gun as you have before.

Another sequence follows, then go towards the opened door to proceed.
At the bottom, restore power to the pod with the crank, and then proceed down the open path to the left. When you come across an iron beam blocking your way, use your Jüngle gun to pull it away and proceed. You’ll have to do this another time later in the path, and then restore power to the pod again.
As you proceed, Hoverbird will tell you stop in your tracks, which you should do. As it turns out, there’s mines ahead – you’ll have to avoid them to proceed. This is easier than it sounds, so pass the mines by on the right first, then on the left. This puts you in the clear.

After the section with the rats along the walls, you’ll encounter a door. Grab it with your Jüngle gun and pull it upwards, then proceed to the end of the path. After a brief sequence, grab the yellow object to proceed. Following the collapse, move forwards and wait for Skew to clear the way.
Continue on to another bar blocking the way and pull it away, and then another one shortly after that.

Go past the open field and you’ll find yet another bar blocking your way. Pull it away three times for the next sequence.
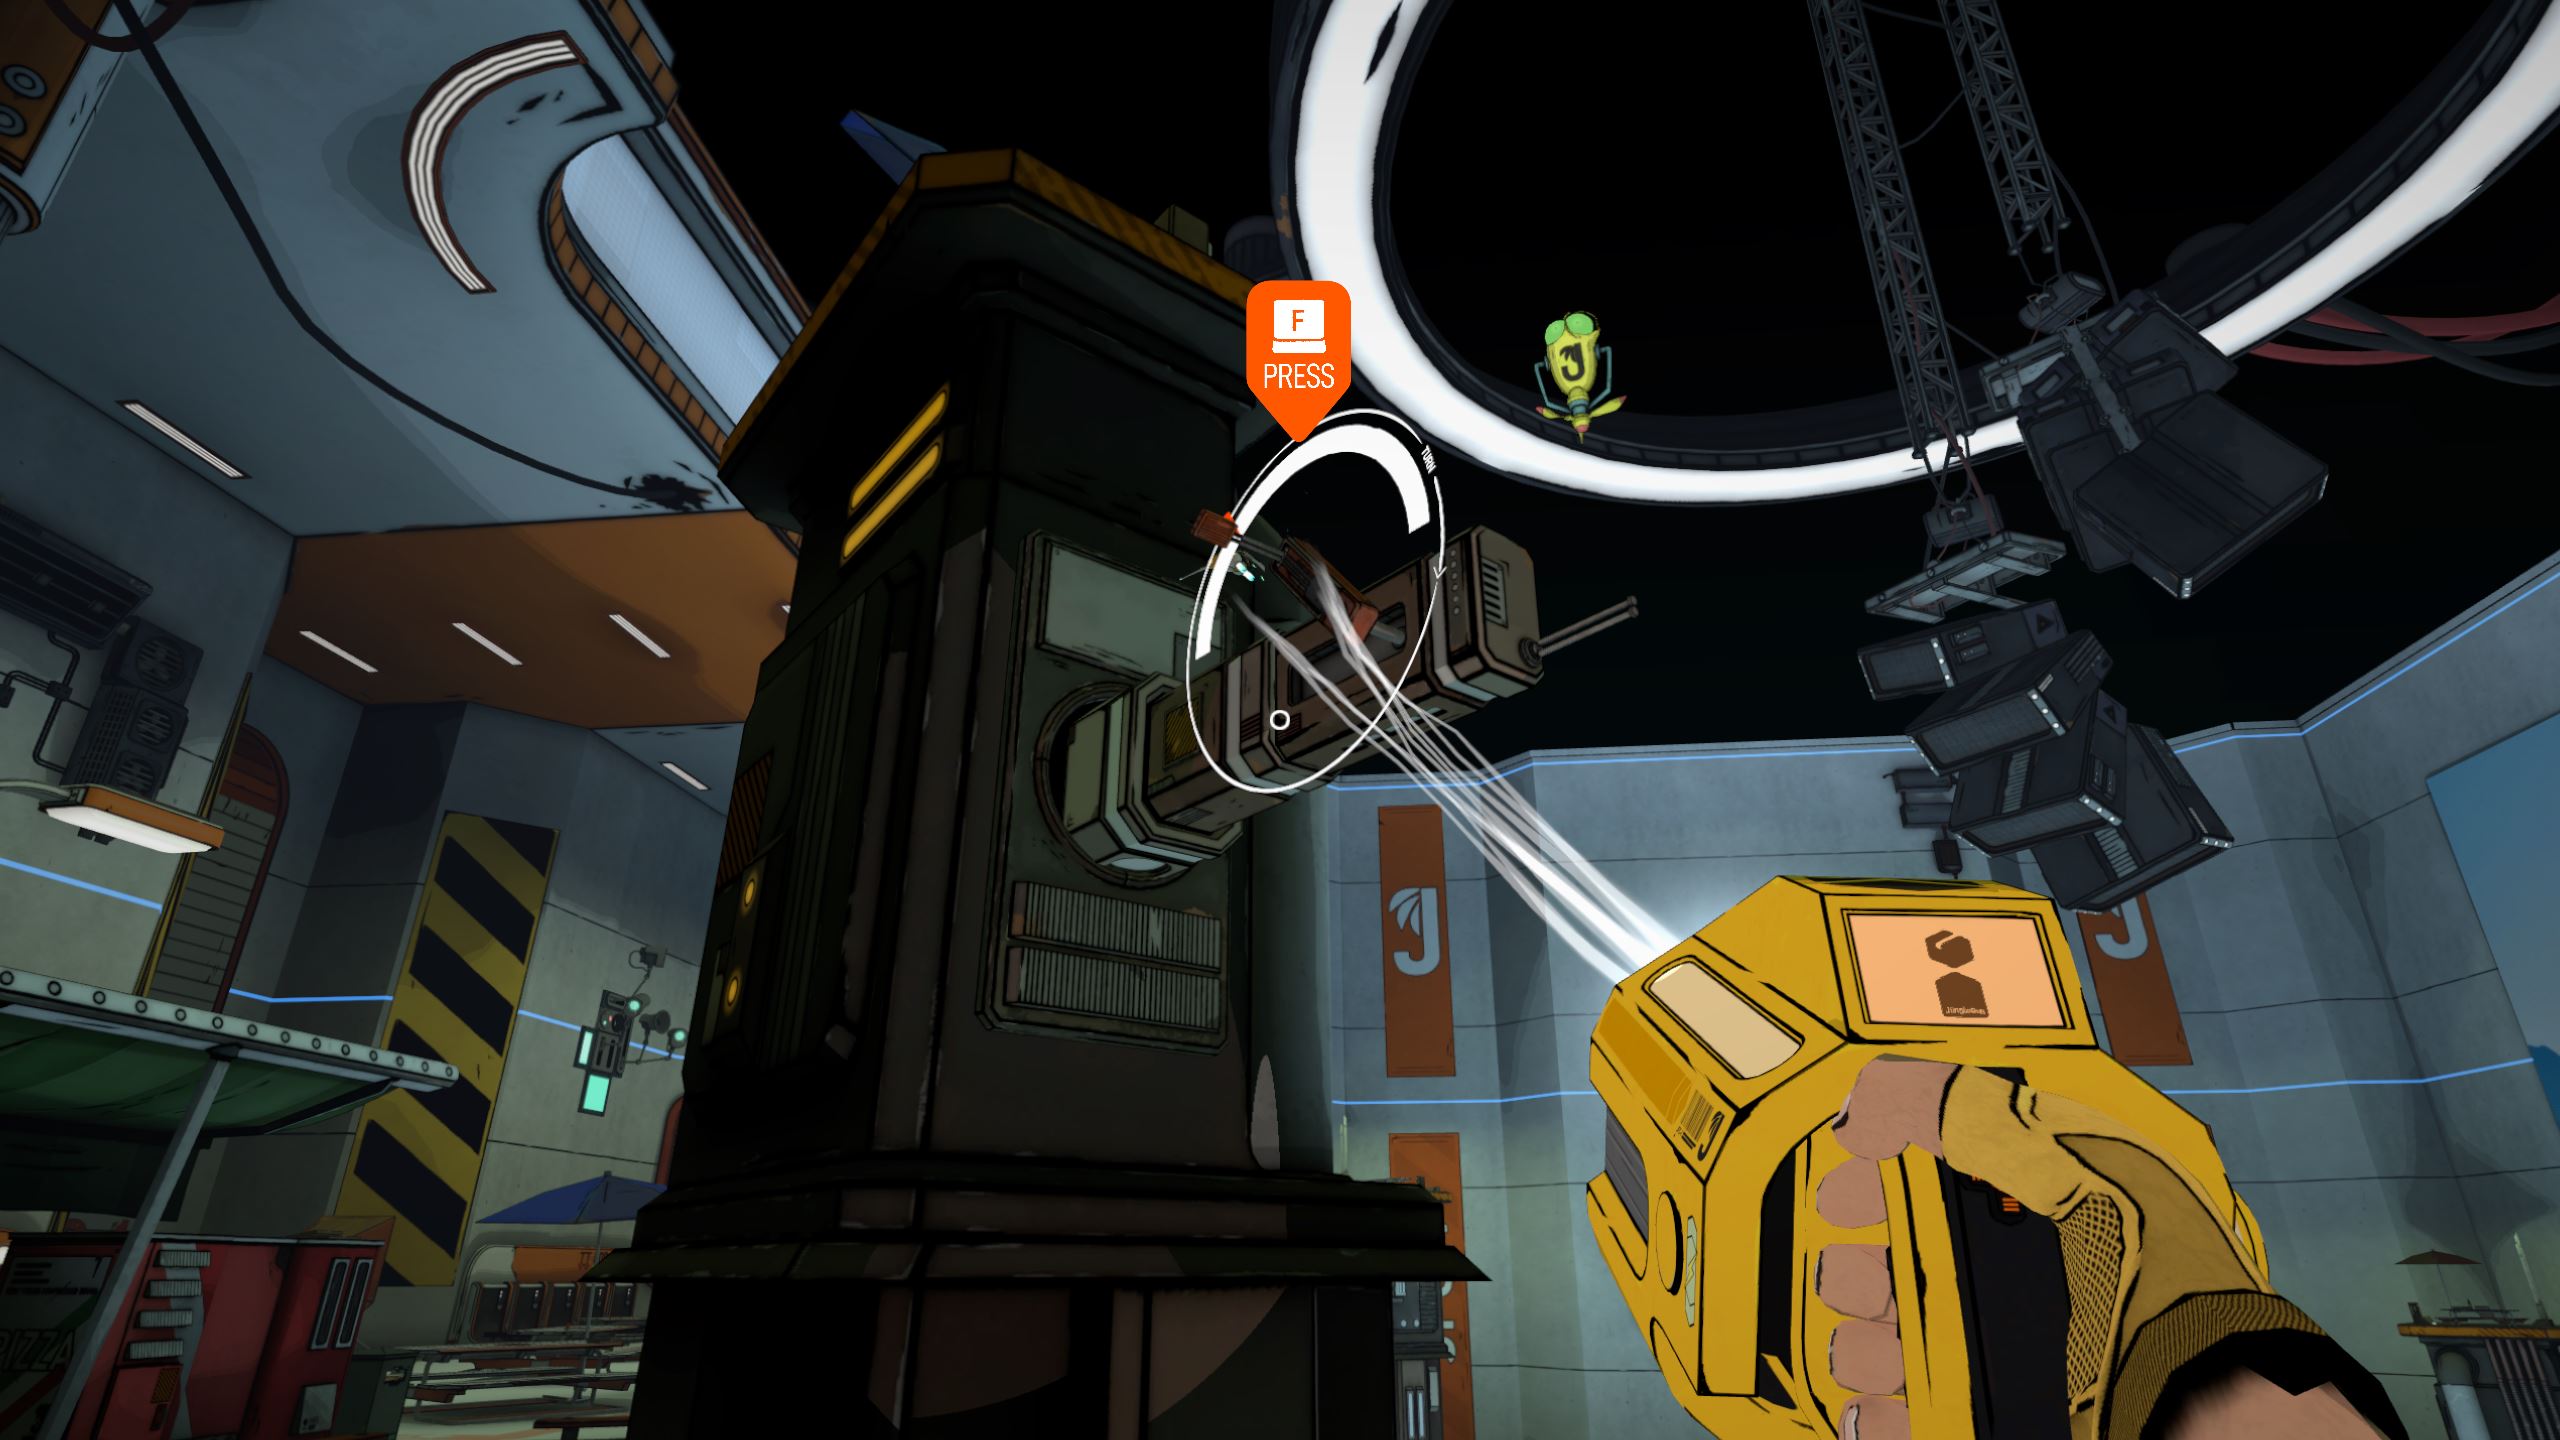
In this sequence, pull out your Jüngle gun and shoot the magnet that’s got Skew and Hoverbird. You have to move your stick or mouse towards the smaller, lit-up section of the circle. This will turn yellow if you’re pointing towards it right – but its position will keep changing, so be alert. Once it turns fully yellow, you will successfully disable the magnet. On the other hand, be careful not to raise the larger ring around the magnet, which turns red.

To proceed, you have to disable the magnet several times. If the machine ends up eating too much, you will lose.
After this section, turn around to find a rubik’s cube-like puzzle. Equip your hacking tool and shoot-and-hold at the puzzle. Solve the puzzle according to the reference to proceed.

Back at the Penthouse, look at Skew, and watch the sequence that follows. When prompted, use the interact button to put Skew’s parts back together. Later in the sequence, eat the sausage presented to you.
The sequence that follows concludes the chapter.
Head on to the Into Indie Games guide for Chapter 3 of The Last Worker here!