Jan
The Night is Grey Walkthrough – Chapter 4 (Part 1)
The Night is Grey Walkthrough - Table of Contents
- Our Review
- Chapter 1
- Chapter 2
- Chapter 3
- Chapter 4
- Chapter 5
- Chapter 6
Check out our walkthrough of The Night is Grey to find out how to create a makeshift smoke pump in the park area and access the toilets.
Welcome to the Into Indie Games walkthrough for The Night is Grey.
For more information on The Night is Grey beyond this walkthrough, check out the official website here.
Chapter 4
Part 1
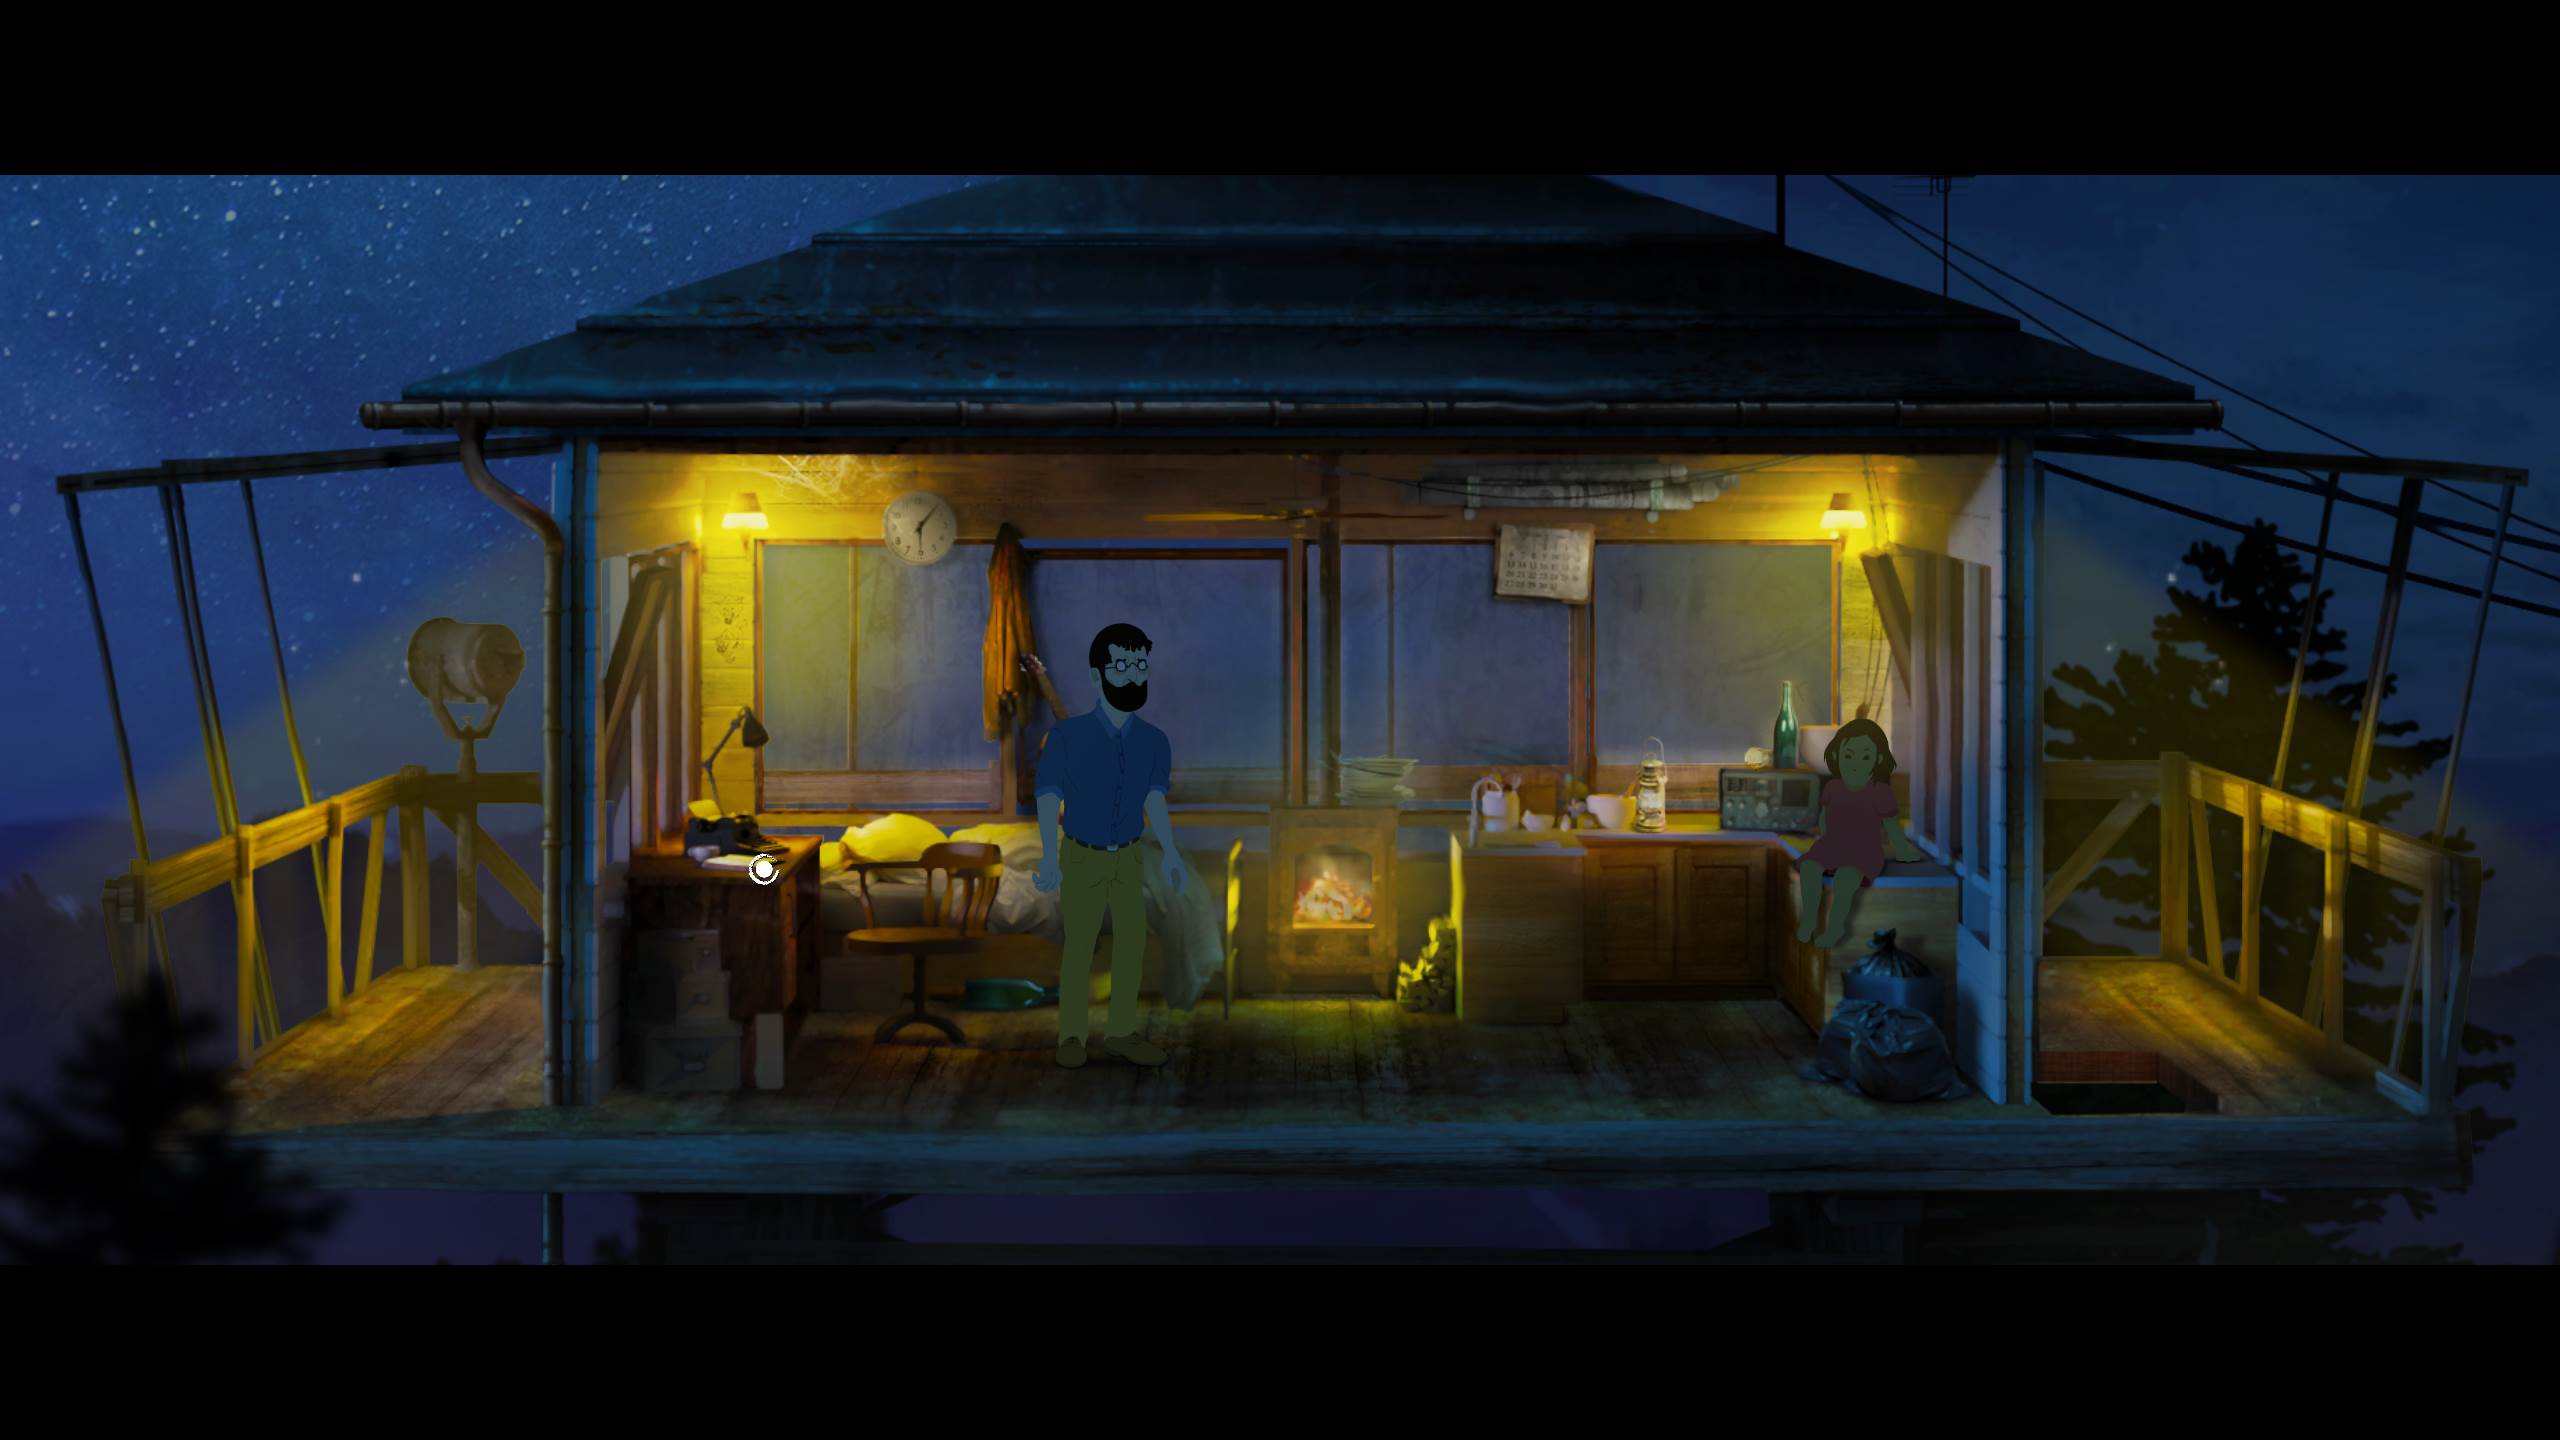
Begin by entering the room on the ranger tower and talking to Hannah.
After the conversation, we’ll start exploring the room. Pick up the funnel to the right of the fireplace. Then, pick up the piggy bank below the bed.

Finally, examine the guitar and then interact with it. You’ll find a strange object, which we will make use of later in this chapter.
Check out the ranger’s journal, which is to the far left of the room, next to the typewriter.

Turn to the pink page and read what it says. As you might have deduced, it is a treasure hunt crafted by the park ranger’s daughter for her father. Keep the clues in mind for now.
Stop reading the pink page, but don’t put down the journal just yet. Use the crayon from your inventory on the page to the right of the pink page.

Now that you have an additional clue, put the journal down and exit the room, so that you can see the exterior of the tower.
Go to the left of this place and use the piggy bank on the empty area to the left of the tower. This will break the piggy bank open, which we’ll get to when we get down from the tower.

Before leaving, interact with the power box to the right of the doorway.
Here, flip the switch for the Park Entrance/Exit, so that it’s turned up. You can leave the other two as they are for now.

This done, go down the tower by using the stairs to the right of the room.
Ignore the wooden cabinet near the stairs for now. Instead, examine the piggy bank’s remains to the right of the red bicycle, where you’ll pick up a coin.

Now go right from this screen to reach the hub area of the park. This hub leads to the four main areas of the park: the tower (which is where you came from), the Rock Path, which is the exit toward the mines; the toilets; and the Park Entrance/Exit area.
For now though, Hannah is blowing her whistle, so return to the tower and go up the stairs again. Enter the room and talk to Hannah.

After conversing with her, go back down the stairs and return to the hub area. From the hub area, go south to reach the toilets.
The way to the left is blocked by a bunch of beehives though, with some angry bees ready to stab you. We’ll need to smoke them to advance.
Look to the bottom-right of the screen to find a smoke pump. Pick it up.

Return to the hub area and then go left from there to reach the Park Entrance/Exit. Here you’ll find the main gate, which leads out of the park and to the village where Hannah’s grandparents are. Unfortunately, the gate is locked, so we’re going to have to find the key… or someone who has the key.
We’ve already turned the lights on for this area from the power box atop the ranger tower, so the lights should be on here.

Use the power cable coming from the soda vending machine at the bottom-right of the gate. This powers on the vending machine.
Use the coin you got from the piggy bank on the vending machine. This grants you a can of Alpha Cola, which is going to be handy in completing your smoke pump.

For now, go back to the hub, then the tower, and then go up the tower. Give Hannah your can of Alpha Cola, and you’ll receive an empty can back.
Exit the room and use the power box again. This time, turn off the power to the Park Entrance/Exit and the Toilets, and turn on the power for the Rock Path.

Go down the tower and return to the hub. Then, go to the right to reach the Rock Path. Here, use your Alpha Cola can with the nails on the pole.
Now in your inventory, combine the can with the smoke pump, and combine that combination with the funnel. Finally, use the duct tape on your contraption to finish it off.

Now return to the toilets area by going south from the hub. We still need fuel for the smoke pump, so use the map of the mines in your inventory with the duct-taped smoke pump.
Finally, use your box of matches on the rusty surface to the right.

This clears out the bees, so you’re free to go to the left toward where the toilets actually are. Do so, and you’ll enter into a conversation with the park ranger.
Head on to the next part of our walkthrough for The Night is Grey here!
