Jan
The Night is Grey Walkthrough – Chapter 2 (Part 1)
The Night is Grey Walkthrough - Table of Contents
- Our Review
- Chapter 1
- Chapter 2
- Chapter 3
- Chapter 4
- Chapter 5
- Chapter 6
Check out our walkthrough of The Night is Grey to find out how to explore the mine area and find the right parts to restore power there.
Welcome to the Into Indie Games walkthrough for The Night is Grey.
For more information on The Night is Grey beyond this walkthrough, check out the official website here.
Chapter 2
Part 1
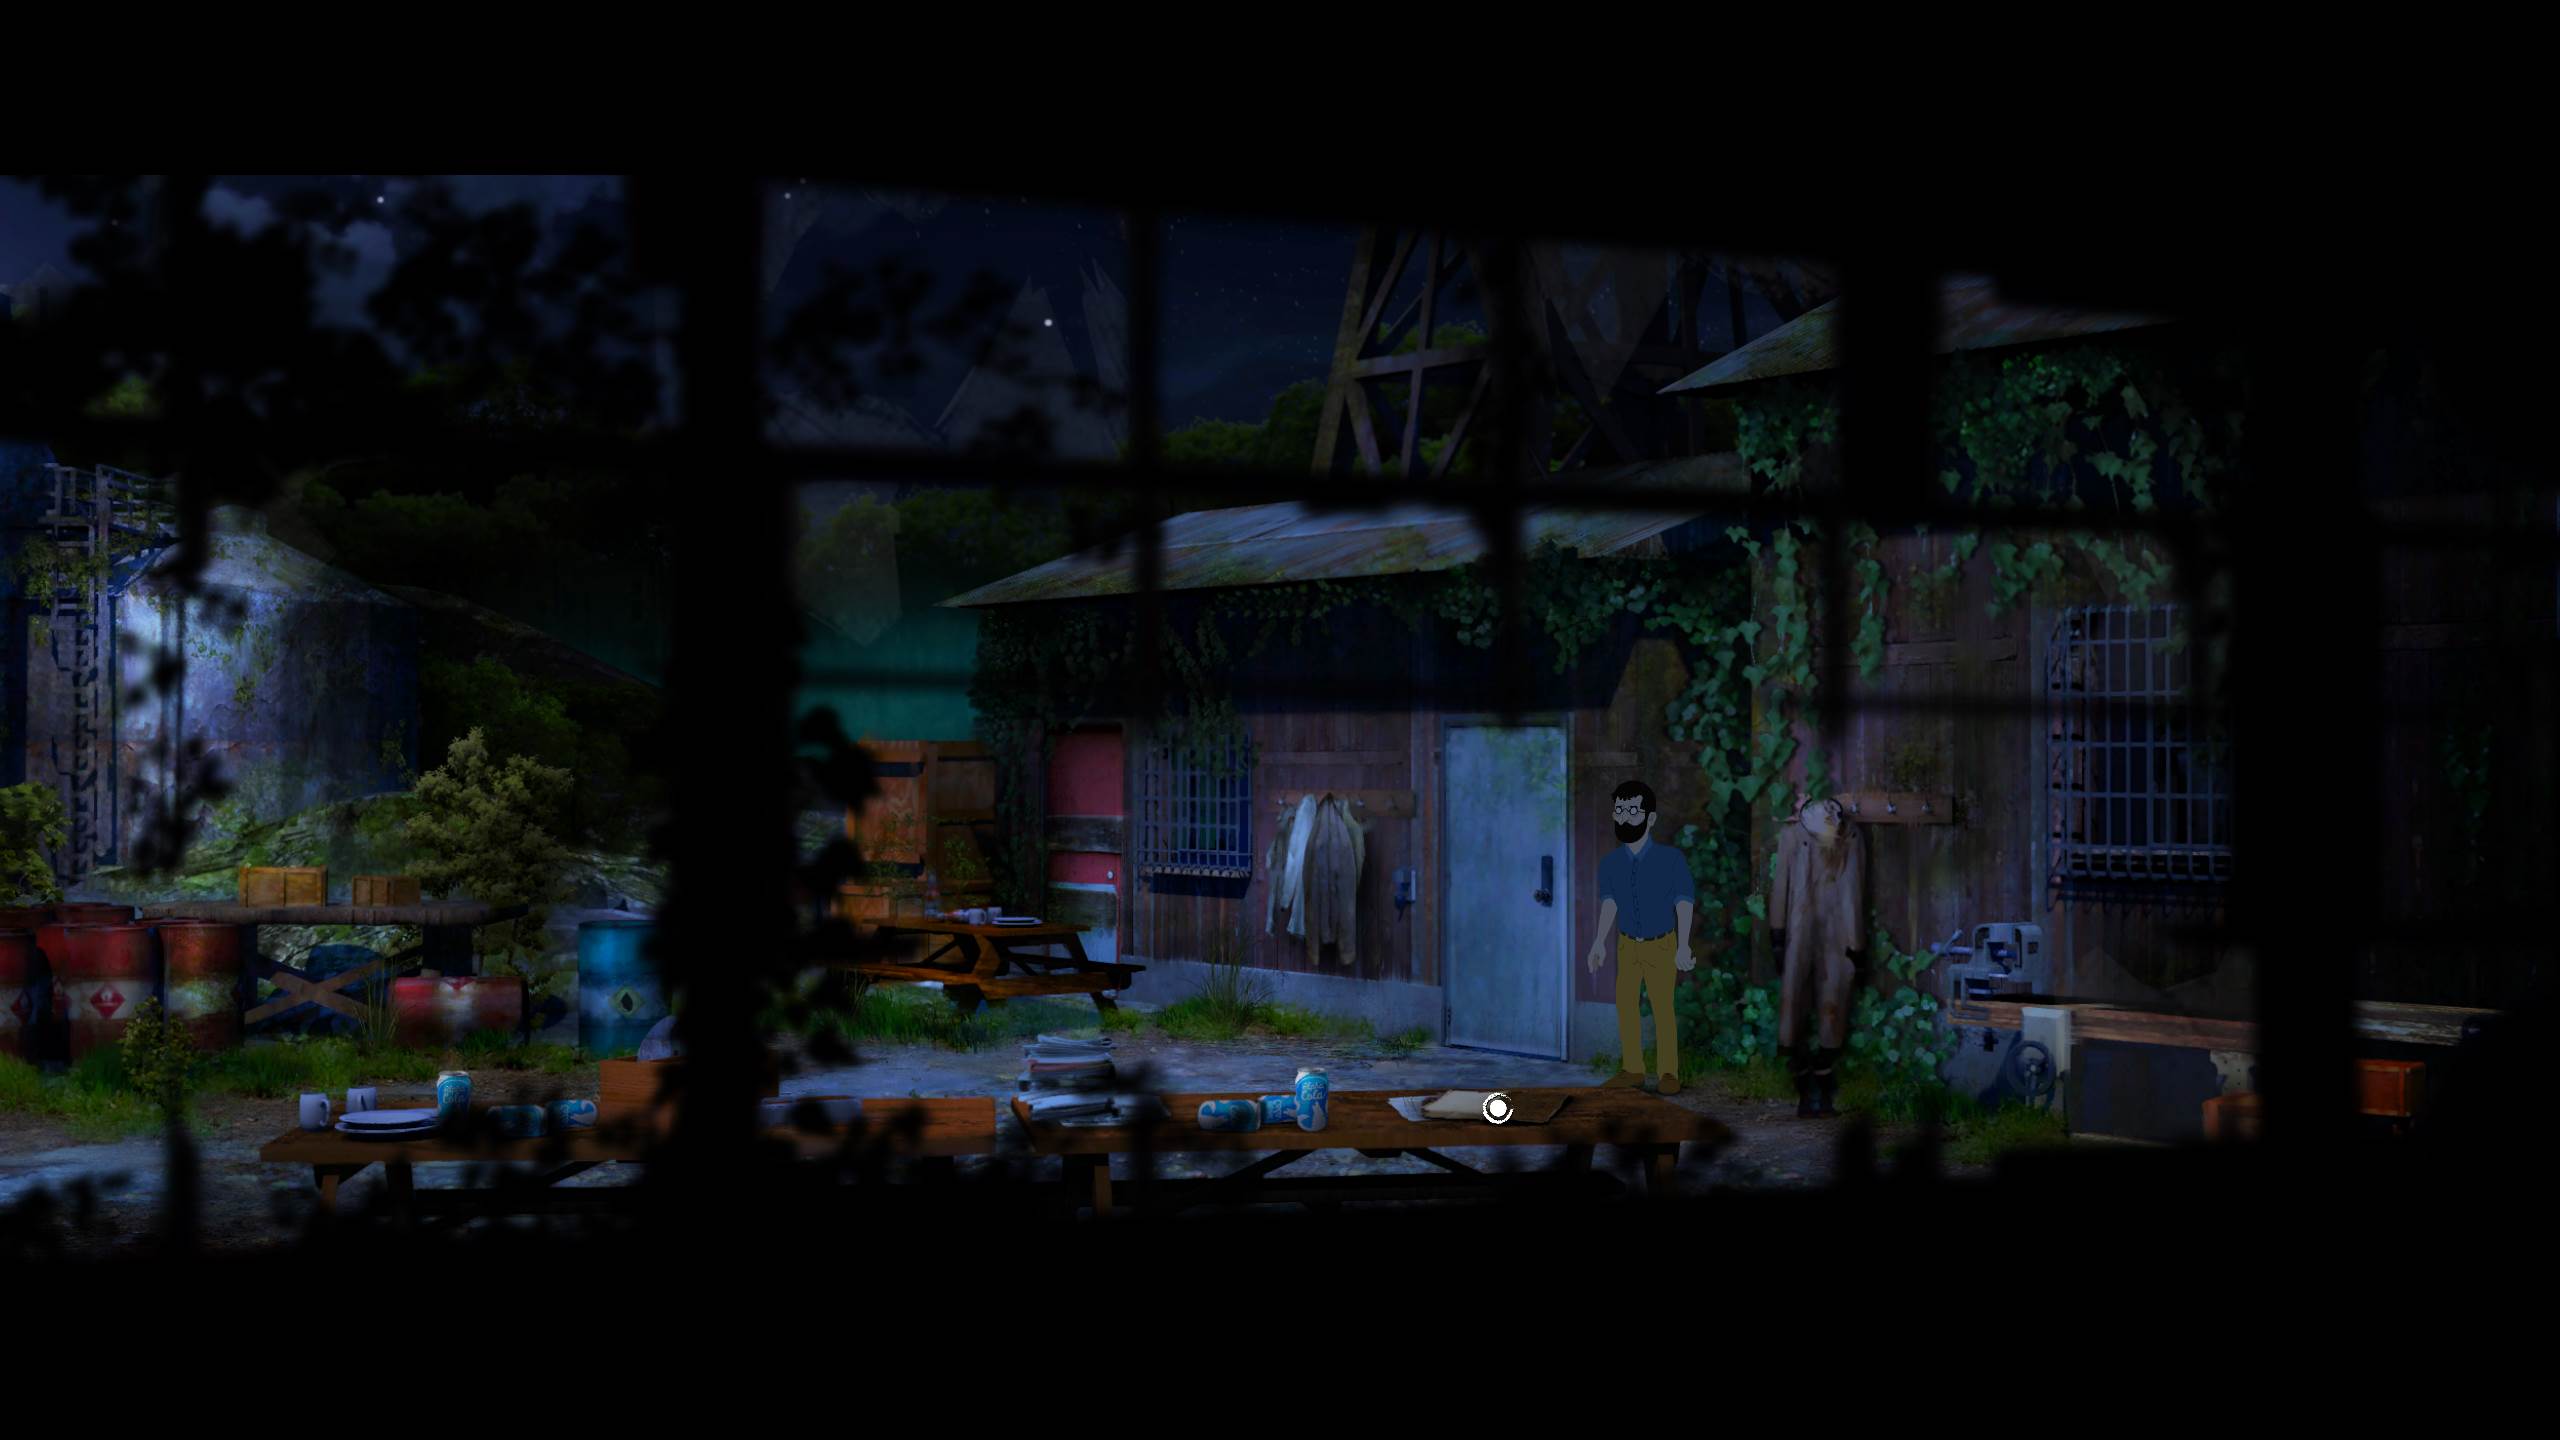
As Chapter 2 starts, you find yourself near a mine. You have to figure out a way to get out of this place.
There’s a lot of objects to interact with in this chapter. We’ll grab as much gear as we can to start before solving the actual puzzles.
Examine the pickup trunk (the back of the pickup truck) to pick up an electrical connector.

Then, go all the way right from where you are to reach the path near the old building. There’s a rusty lever on the ground here, so pick that up.

Proceed to the right into the next area, where you’ll find a few small shacks, tables, and barrels.
Interact with the toolbox in the foreground to pick up a screwdriver.

Then, interact with the jackets hanging to the left of the blue-grey door to pick up a small key. Interact with the jackets one more time to reveal an electrical access panel. You can’t do anything about this panel for now, so ignore it.
Next, interact with the miner suit to the right of the blue-grey door, which will net you a keycard.
Also examine the diary in the foreground, near the soda cans. You don’t have to read it all at the moment, but just the first page will give you an idea of how Graham and Hannah should proceed. That is, they have to proceed through the mines to reach the park.

Exit this area by going to the left and then return to where Hannah is on the pickup truck.
Go to the left of the pickup truck, where you’ll find an inactive electrified fence, and a gate through the fence. Interact with the gate to enter the mine entrance area.

Interact with the oil lamp to the left of the fence to salvage a wick and find another electrical connector.

Interact with the spare cables spilling out of a crate, further to the left from the oil lamp. You’ll pick up one of the cables.

Now we can start solving puzzles, so return to the pickup truck area by passing through the gate again.
Interact with the power switchboard to the right of the chain-link fence. Of course, it’s without power for now – but we need to bring the power back up to light up the mines, amongst other tasks.
Use the screwdriver on the lower panel (below where it says Section B: Shaft) to open this panel up. Inspect the compartment behind the panel to learn that you need a cable.

We’ve already picked up a cable from the mine entrance area – but its wires aren’t exposed. So back away from the switchboard and use the cable on the barbed wire on the chain-link fence.
You can now try to put the cable in the switchboard’s panel – only to learn that it’s too short for your needs.
Approach the pick-up truck and use the screwdriver on the visible headlight, which is near Hannah’s feet.

Now combine the two cables, and interact with the electrical switchboard again. Place the combined cables in the compartment with the other wires.

Next, we need to re-install a handle and figure out the right amperage to restore power. We’ve already picked up a handle from the area to the right of the pick-up truck area. Unfortunately, it’s too rusted to fit in right.
Back away from the switchboard and go right, back to the rest area with the tables and shacks.
There’s a blue oil barrel here, but interacting with it, you’ll learn that you can’t pry it open with your hands. Use your butter knife on the barrel to pry it open.

Once the barrel is open, dip the handle in the oil barrel to get all the rust off.
Before moving on, interact with the journal here one more time. Ignore the first page and instead, click on the paperclip on the lower-right to turn to the next useful page.

Read the page here and pay attention to the bolded parts, which state that 5 workers died on November 7th, and then 9 workers died on December 2nd.
Further on, you’ll read that the amperage you need is equal to the total number of workers on the site, minus the workers who died.
Now exit the journal and go right. If you go to the mine entrance again, you can find the total number of workers on the site (when it was at full strength) stated on a red notice board. The number is 91.

As 91 – 5 – 9 = 77, that’s the amperage you need to configure on the switchboard to restore power. Return to the switchboard now if you haven’t already done so.
Flip the second, third, and fifth switches to point downward. The numbers on the switches should say: 31 – 23 – 12 – 09 – 02.
Now put the handle in place in its slot next to the red on/off light. Pull the handle to restore power.

Head on to the next part of our walkthrough for The Night is Grey here!