Jan
The Night is Grey Walkthrough – Chapter 3 (Part 1)
The Night is Grey Walkthrough - Table of Contents
- Our Review
- Chapter 1
- Chapter 2
- Chapter 3
- Chapter 4
- Chapter 5
- Chapter 6
Check out our walkthrough of The Night is Grey to find out how to acquire an oil lamp in the mines, and prepare to enter the tunnels.
Welcome to the Into Indie Games walkthrough for The Night is Grey.
For more information on The Night is Grey beyond this walkthrough, check out the official website here.
Chapter 3
Part 1
Upon getting down the ladder, go left into a flooded area, where Graham will drop off Hannah. He will return to the ladder area after this.
Pick up the red pump wheel lying on the ground near Graham’s feet, and then return to the flooded area.

There’s a tunnel to the left of Hannah, which leads deeper into the mine. Before going there, though, pick up the map displayed to the left of the tunnel.

After the conversation with Hannah, go as far left in the flooded area as you can go to find the exit. Your goal in this chapter is to find a way to the exit.
For now, go into the mine by entering the tunnel to the left of Hannah. You can view the map to get a loose overview of where you are.

To your left is the Water Pump Room, which is locked at the moment. To your right are two rooms: the Main Cargo Elevator and the Control Room.
For now, go to the Main Cargo Elevator by taking the door to the right further away from the camera.

Here, interact with the wood cabinet right below the main light. Use the keycard you have with the gap between the cabinet’s doors.

With the cabinet opened, pick up the oil lamp and then interact with the folders to the right, where you’ll find a small valve.

There’s nothing more to do here, so exit to the left again. You can check out the Control Room now, but there’s nothing to do there that will advance the game.
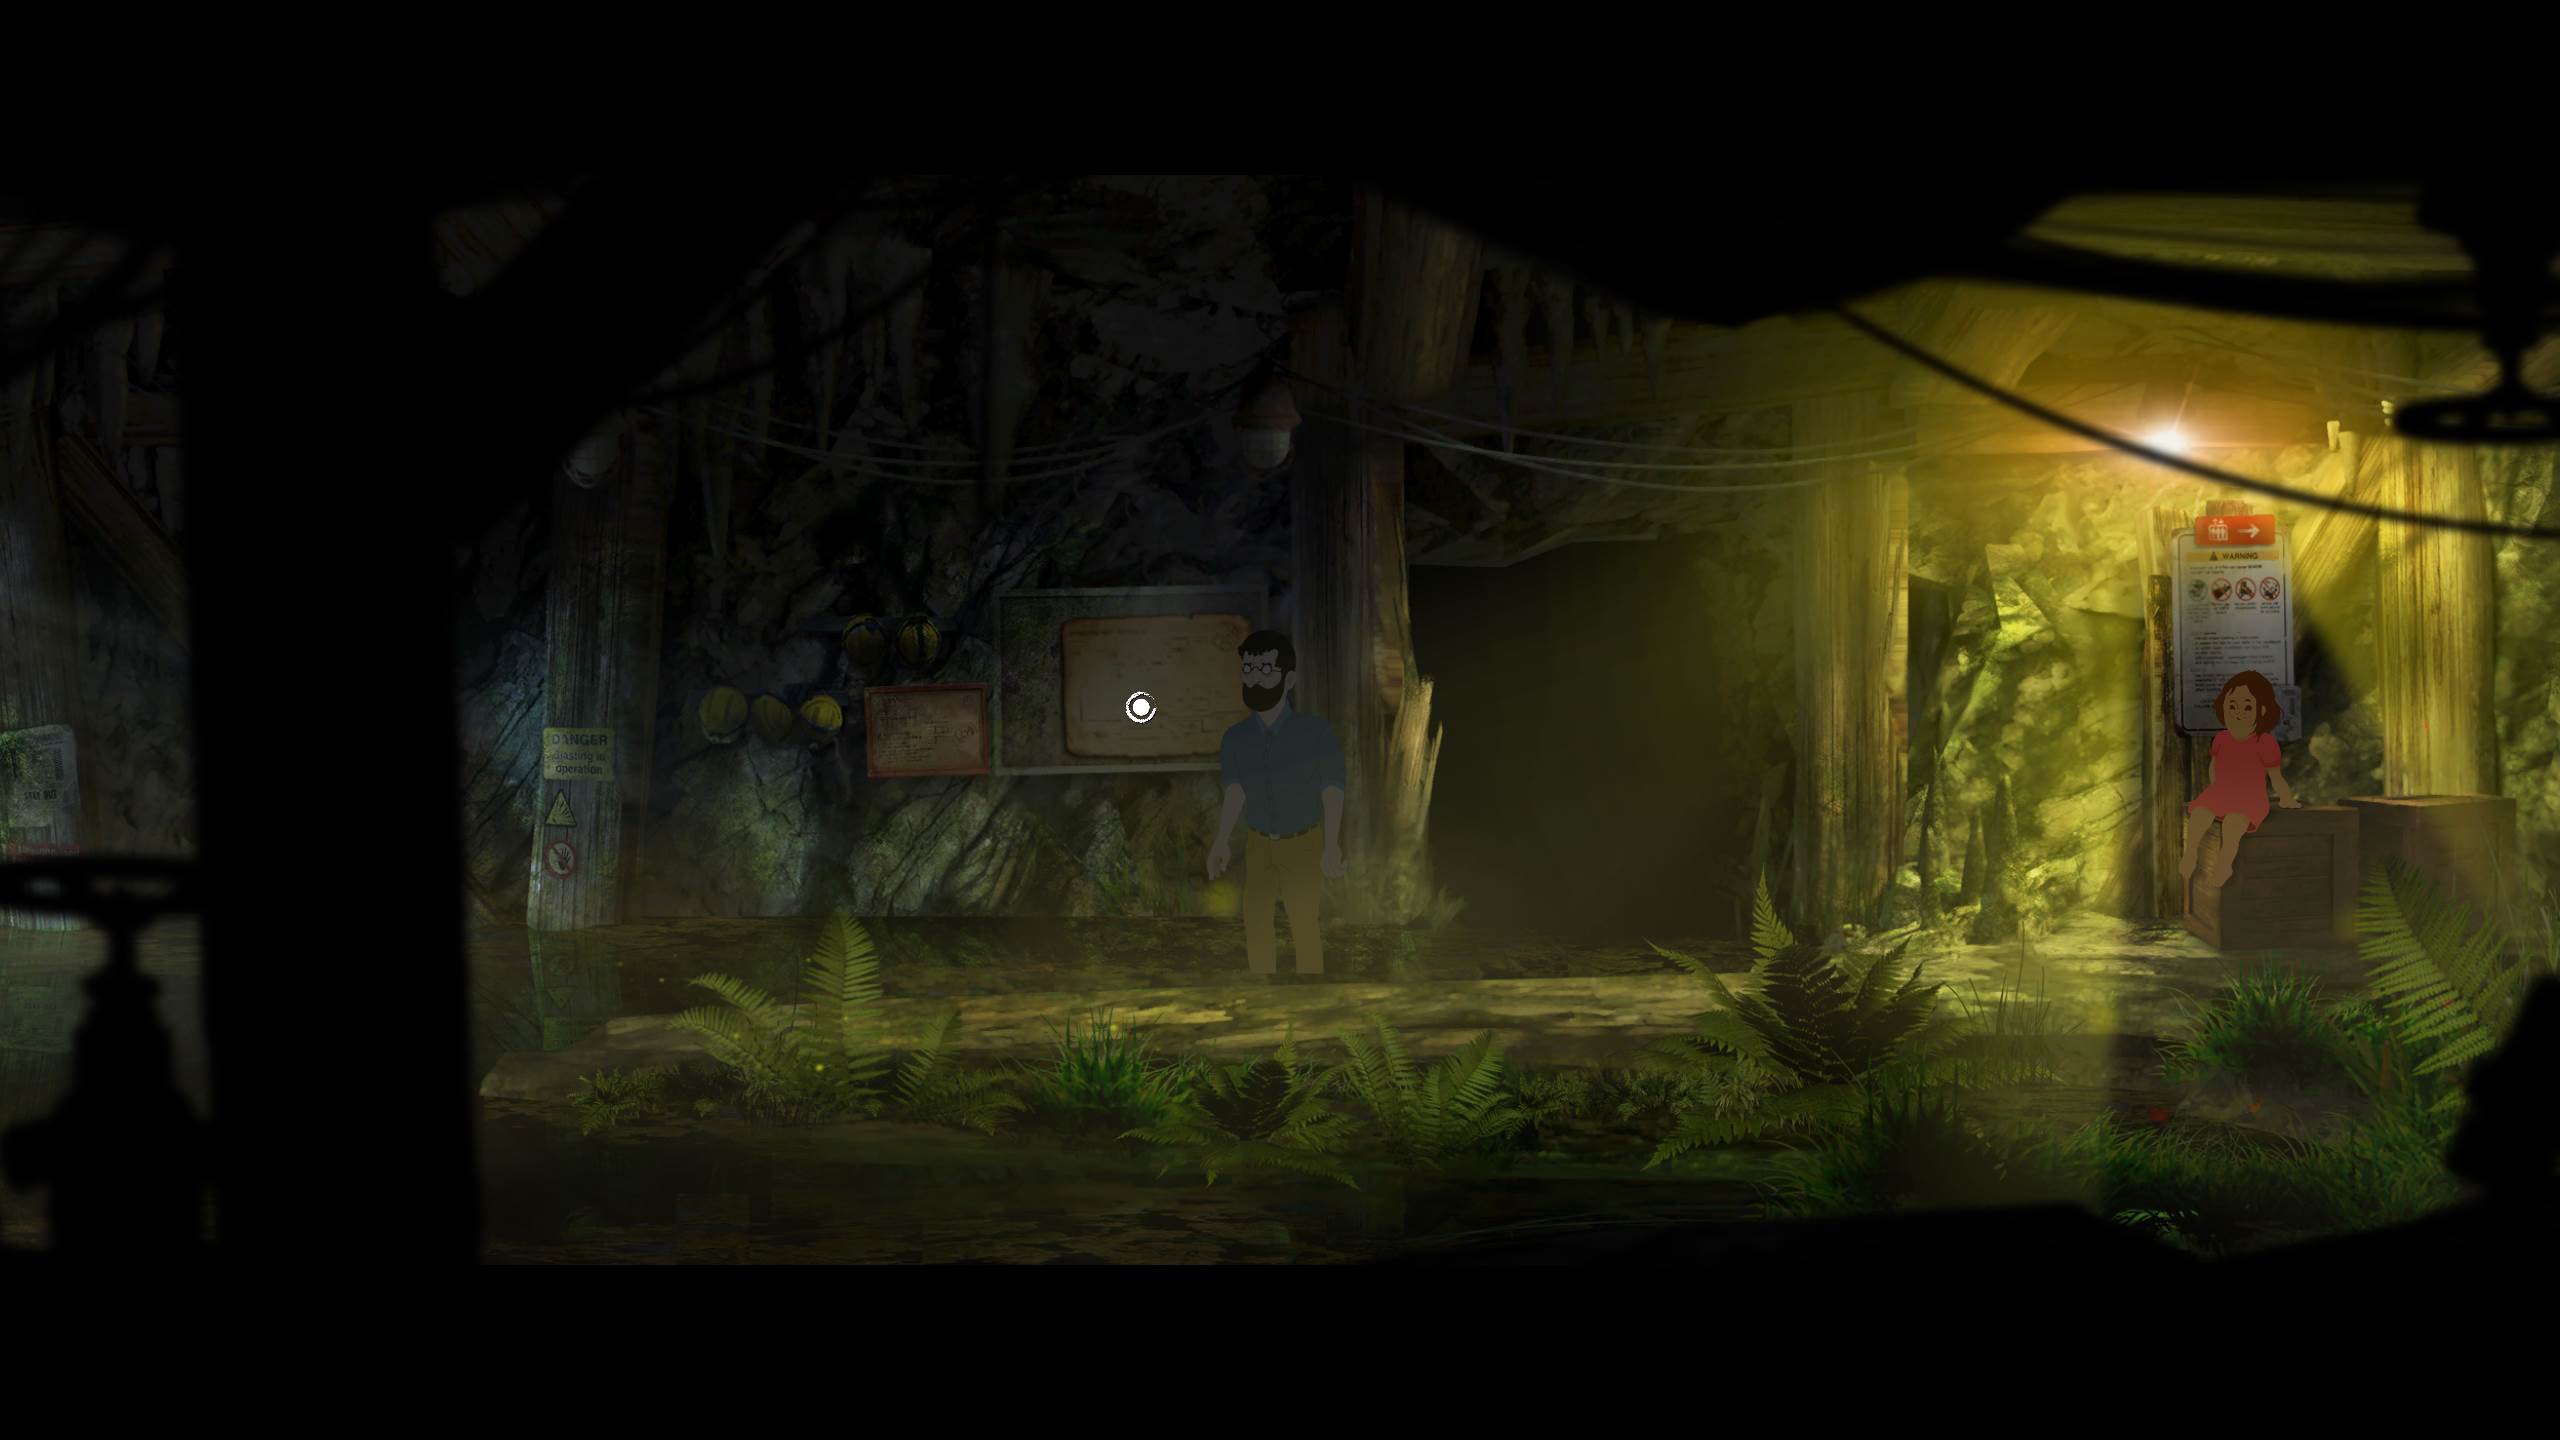
Return to the main chamber, where Hannah is bravely sitting by herself. Talk to Hannah to receive a box of matches (Hannah picks up the box of matches only if you have obtained the lamp from the wooden cabinet).

While here, check out the diagram on the wall next to where you found the map of the tunnels. This diagram shows that there are water pumps in the mines, with instructions on how you will have to configure them.
While useless for now, the diagram informs you that there are four emergency pumps in all. We’ll have to traverse the mines to activate three of these four pumps, and then reach the Water Pump Room to finish correctly pumping the water. (The fourth pump appears to be on already).

Begin by going through the tunnel to the hub area again (i.e. the tunnel with the oil barrel in it).
Head on to the next part of our walkthrough for The Night is Grey here!