Dec
Cookie Cutter Walkthrough – Part 2 – Bloody Den Part 1
Cookie Cutter Walkthrough - Table of Contents
- Part 1 – Denzel Factory
- Part 2 – Bloody Den Part 1
- Part 3 – Bloody Den Part 2
- Part 4 – Bloody Den Part 3
- Part 5 – E.T Foundry Part 1
- Part 6 – E.T Foundry Part 2
- Part 7 – Pneuma Chambers
- Part 8 - The Electro Titanium Gates
Check out Part 2 of our walkthrough for Cookie Cutter on how to explore the Bloody Den.
Welcome to Into Indie Games walkthrough for Cookie Cutter. If you want to find out more about the game, please go here.
From the checkpoint at The Hidden Diner, head to the far right of the map to unlock the door with the Hidden Diner key. After entering The Bloody Den, head to the right till you hit the checkpoint and activate it. Keep going and you will find a locked door above the ramp that needs an Elevator Keycard to be unlocked.

Drop down the ramp and head to the right till you reach Toshibo. Talk to him to get some information and exit through the door on the right. Kill the two enemies in the next area and exit through the door on the right. In the next room, jump up the platforms on the top level, taking out the squidlike enemies as you go up. Cant do anything about the platform on the left, so head to the right.

On the right there is a sphere with a forcefield that you can attack for BITs but nothing else right now, so kick it for a bit and drop down the platforms here. Activate the checkpoint and drop down to the next area. In the next area jump over the platforms and make your way down as you take out the mosquitoes and other enemies.

At the bottom left corner of this room, slide through to find a chest. Go back up to the middle level of the room and exit the room through a door on the left.

Drop down the ramp and the platforms, fighting enemies on your way down. There is a locked door on your left once you reach the bottom. You will need Toshibo’s ID to open this door. Go back up exit the room and back in the central area now, head down the platforms and exit the room via the door on the right. Fight the enemies in the room and make your way up and to the right. Jump on the trampolines to get to the top and then jump on the left to find a chest.

Jump back to the other side and make your way through the corridor with the buzzsaws on the ceiling. In the next area head down the ramp and make your way over the buzzsaws on the floor and down the ramp again. Can’t use the trampoline now, so drop down the platform to the right.

Exit the room through the door on the right. Activate the checkpoint and exit this room through the door on the right. Entering the room will trigger a gauntlet. After clearing the gauntlet exit through the door on the right. In the next room go up the platforms and take the enemies out here before taking the trampoline to get up to the topmost level. Another of those spheres and a locked door on the right. Take the left door here to exit.

In the next room head up the platforms and kill the squid enemy here and kick the wall on the right, down to find another Energy Cell inside.

Exit and jump up to open the chest. Drop down and go to the left and exit the room to find a lever, kick it to open the gate which will act as a shortcut later. Go back into the room we just left and head up and left. Jump across the moving buzzsaw blade and head up to the trampoline. Use it and then double to the left platform to open the chest. Now head to the right. At the far end, jump up the three platforms. In the next area, jump up on the trampolines and over the moving saw blades, to activate the checkpoint on top. You will now meet Jacko.

He will ask you to retrieve his Lyrics Book from the West Wing. Turn away from him back the way we came from and jump from the ledge near the checkpoint towards the top where there is a chest. This takes some timing with the double jump but the jump can be made.

Head to the right and slide in for a chest and a Terminal here. Head out of the secret room and drop down to the checkpoint and exit the room going past Jacko. In the next room, jump over the moving saw blades and take out the enemies. At the far-left end, jump up the three platforms and get up on top. Move to the right and jump over the trampolines, taking care of the moving saw blade above. Exit this room on the right. In the next room, you will find a Blue Tentacle in the locker. After which there will be a Denzel station. Exit the room on the right and activate the checkpoint in the next area. And jump up to the platform and move up.

Go to the left and use the moving platform to exit the area. In the next area jump up using the trampoline. Another sphere, another holder and another locked door here. Move to the left and exit the room. In the next room drop down and keep moving to the left. This will trigger another gauntlet.

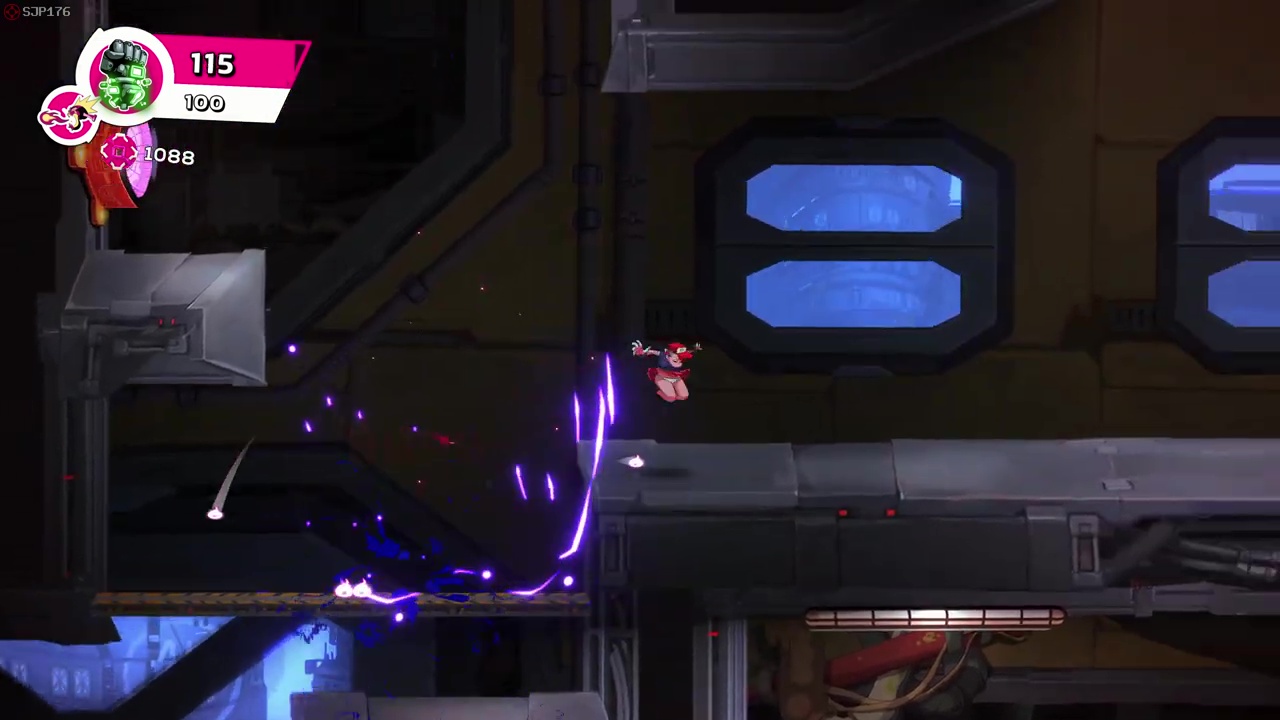
This gauntlet ends with the appearance of a phallic enemy. It has a high stab attack and a low stab attack. The best place to deal with him is shown below. There will be another one later in this gauntlet.

Exit the room on the left after the gauntlet and use the trampoline to get up and exit this room on the left too. In the next area, head down and kill the enemies as you make your way through the corridor. Once you reach the junction ahead, jump up to the upper ramp.

Go left for a chest. Ignore the path going up as we can’t do anything about that path right now. Go back to the left path down the ramp. Another phallic enemy will be here. Take him out but don’t go out the door on the left. Instead track back to the location in the picture below and drop down.

Go to the left after dropping down and activate the checkpoint. Head to the right, activate the next checkpoint and head up to exit this room. Keep going till you reach Poppah. After a bit of back and forth, hand over the LED Visor. He gives you the Elevator Key Card and heads out.
This concludes Part 2 of our walkthrough for Cookie Cutter. You can find Part 3 here!