Oct
Laika: Aged Through Blood – Walkthrough Part 9
Laika: Aged Through Blood Walkthrough
- Part 1 (Rage & Sorrow, Boss: A Hundred Hungry Beaks)
- Part 2 (A Heart for Poochie,Shake off the Dead Leaves, Boss: A Long Lost Woodcrawler)
- Part 3 (Diplomacy)
- Part 4 (Diplomacy, Boss: A Caterpillar made of Sadness)
- Part 5 (Radio Silence)
- Part 6 (Radio Silence, Boss: A Gargantuan Swimcrab)
- Part 7 (Worse than Nightmares, Stargazing, A New Sheriff in Town, A Bonehead's Hook, A Little Tombstone, Where We Used to Live, Bone Flour)
- Part 8 (The Big Tree, Target Practice, The Prophecy, Clean your Beak, Last Meal)
- Part 9 (The Big Tree, A Break for Camille, Last Meal, Boss: Pope Melva VIII)
- Part 10 (The Prophecy, Life of the Party, Worse than Hives, From Mother to Daughter, Childless, Ava, Closure, Worse than Stomach Flu, Floating, For the Cash, First Blood)
- Part 11 (Water Whispers, We'll Never Know, Worse than Stomach Flu, Just a little girl, Fade out, Hell High, Boss: The Two-Beak God)
Welcome to part 9 of Into Indie Games’ Walkthrough for Laika: Aged Through Blood.
To learn more about Laika: Aged Through Blood beyond this walkthrough, check out the official website here and check out our feature on upcoming indie games here.
From the Teleport Checkpoint at the beginning of the Area: The Big Tree, start heading right.

Go across the bridge till you come across Orella. After talking to her the Quest: The Big Tree will be updated. Head up the stairs and keep moving right. Soon you will come across Renato, update your map here. Keep heading right from here till you hit a split.

Take the lower path and keep heading right, ignoring all other paths. A call from Orella will come in. At the checkpoint head down past the steep falls. At the bottom head right for some ore then turn left and head that way. Soon you will come across a chest with a knife-throwing bird inside. Kill it and move on till you find the door in the picture below.

Enter the catacombs and another call from Orella will come in. Head down and left till you reach the Master Pillar.

After you fail to destroy the main pillar, the Quest: The Big Tree will be updated. Turn right and head up the ramp in front of you changing directions to the left at the top and go across the left bridge. On the other side get to the bottom floor and move left. At the farthest end turn right and head up. Enter the door here to get into the Gardens of Solitude. Head left from here till you reach the end and turn around and go across the bridges, till you reach the retina detector.

Hit the checkpoint and go up the ramp on the left. Up top there is a bird, land on the right side and head right till you reach the 1st secondary pillar.

Take it down. Turn left and head upwards now. Keep going till you reach the checkpoint, drop down and go across the small tunnel. Follow this path till you come out in the sewers. Head left from to get a chest. Go right and up the narrow and steep tunnel. Another door will be here. Enter here to enter the Sacristy. Head left here till you see a Bishop.

The bird statues on the wall will come to life the second you kill the bishop. So avoid the shots and drag the bishop’s head with your hook. Leave the room and you are back in the Gardens, head right towards the retina scanner. Use the bishop’s head to open the doorway. Head through it and go right. Keep going right, till you enter a narrow corridor. Shoot the chest here and turn around to go left. Head up the left ramp and grab the chest. Turn right and go over to the second ramp heading up towards the right. Enter the narrow tunnel here.

Take the chests at the end of the path and turn left and head up. Another call from Orella will come in here. Keep going right. Jump across the chasm and drop down to reach the secondary pillar. Take it out. After that head right and towards the checkpoint from the intersection in the picture above. Head right towards where you were a minute ago till you reach a giant X on the path.

Take the left side path of the X and head up. At the far end where you exit, activate the checkpoint, turn right and head up. Keep heading right till you reach the location in the picture below.

Ignore all the paths here and head right. Speed through and a call from Orella will come in. Head across the frankly oversized Bird statue and take the birds out here. Head to the far end of the balcony for a cooking station and a chest. Turn back around towards the left and head up at the next ramp.

Keep heading left and up the next ramp on the right, because the left ramp up is a dead end. Take the chest at the end of the path here and turn left and head up. Shoot the bird and go up the left ramp to activate the checkpoint and head up the right ramp. Jump off the balcony and take the bird down at the bottom. You are now on top of the giant statue, take the chest here. Turn around and go across the wings and take the chest on the balcony on the left.

Drop down and head left up the ramp again. Retrace your path back up to Level X, go past the marker and up the left side ramp. Keep going past the X shaped intersection and up the ramp on Level XI. Another call from Orella will come in. Jump across the gap and ramp downwards and move right. Head left at the intersection in the picture below.

Activate the checkpoint and go up the ramp on the left. Go up and around, take the bird out and chest. There is a door here, enter it for another Sacristy. Once again, there is a Bishop. Take him out, while dodging the bird statues, grap the head and exit the room. Head down the ramps and at the checkpoint, head to the left and drop down. At the bottom there is a bird and a chest. Pop them both open. Turn right and head up, take the bird out here. Head up the ramp here towards the right.

Shoot the birds on top and take the chest. Turn around and jump across the gap to find another retina scanner. Use the bishop head to open the door. Keep going left and drop down and head right. Down past the checkpoint and head right, taking the birds out, even the one jumping out of the box and you should see the secondary pillar on Level VIII. Take it out.

Turn around, head left and get on the ramp and head right till you hit the ramp on the picture below. This will allow you to vault over the secondary pillar you just demolished and get to the other secondary pillar.

Take out the secondary tower and the floor will come down. Take the right ramp off to the side and back at the intersection, head up left. Up on level X, head to the left and go up the left side ramp on the X-shaped intersection. Jump across the gap to a dead end with a chest. Turn around after taking the chest, and head right. Go back into the Sacristy and grab the Bishop’s head again. Turn right and head down towards the checkpoint. Keep going right past the Level X marker, till you hit another X-shaped intersection. Head up to the right.

Another call from Orella will come in. Head to the right across the lower path, taking the birds out. You will be out in the Eastern Terrace, take the chest here and turn back and head left. At the intersection, jump up to the right ramp. Then jump up to the left ramp here.

Shoot the bird and go across the marker for Level XIII, and jump up the ramp. Across the gap and past the teleport checkpoint, Orella will call you again. Jump across the small ramp and go to the left in the library. On the furthest end in the balcony is another chest on the Western Terrace. Turn back around and jump off the ramp and land on the right platform in front of a retina scanner.

Take the chest and use the scanner to go past the marker for Level XIV. You will see the 5th secondary pillar. Take it out. Turn back and drop down to the checkpoint marker. Now head left up the ramp. Kill the bird here and turn right and up the ramp again. Take the bird out and grab the chest and head up the ramp. Go up the ramp, take out the bird on the opposite side, head on to the left and pickup the chest in front of the blocked door. Now up the ramp on the right side, infront of the marker for Level XVI.

Keep heading right, till you reach a door with a lot of clocks on the wall. Enter the room. Another Sacristy, head left up both the loops and exit the door on the other side. Head right from here till you hit the balcony and drop down from there. (Check the map below for the location).

Turn left and head across the three narrow tunnels. The upper tunnel has a chest and the lower one has a chest. The middle tunnel will lead you to a secondary pillar. Take it out. The floor will come down. Go across the marker for Level XIV past the retina scanner, and head down. Turn right at the intersection, and head down past the teleport checkpoint. Head left from the marker for XII. Drop down and head left again, back to the sacristy where we picked up the bishop’s head last time. Grab the head and exit the room. Up the loop and back at the intersection, head right and down – past the marker for Level X and into the X-shaped intersection. Up the ramp here, past the filing cabinets and head right. Take the left ramp and head across the marker for level XIII. Jump across the gap and keep heading left.

Jump on the left platform and take the bird out and on to the right platform next. Up across the steep ramp and the stair ramps, past the marker for Level XVII. Turn around and jump onto the platform as in the picture below.

Go through the retina scanner. There is another secondary pillar, take it out. Head right and down the ramp and into the Sacristy door with a lot of clocks on the wall. Go across the loops and out the door on the other side. Take the birds out when you exit the room. Past the marker for floor XVIII there is another secondary pillar. Take it out. This should take out all the secondary pillars. And a call from Orella comes in. The Quest: The Big Tree will be updated. Head back into the sacristy, up the loops and out the door on the other side. We are heading back to the catacombs. Head to the right and jump down the balcony and repeat till you reach the balcony in the picture below.

Jump off here carefully and ride the side of the pyramid down. At the balcony with the cooking spot, turn left and head across the giant bird statue. Head across marker VIII and keep going left. Move downwards, changing directions when needed. Consult map as needed, it is pretty simple. Past the flooded room and into the tunnel. Past the first retina scanner and across the bridges till you hit the catacombs. Once there head down and right till you reach the right side handle for the main pillar. Pull it down and the Quest: The Big Tree will be updated. Head back up.

After you exit the catacombs, head left and up the bridges – don’t go past the retina scanner. Instead turn left and head up the ramp and across the bridge. Go across the giant bird skull, keep heading right and up. Turn left at the location in the picture below.

Across the gap and up the ramp. Take the bird out on top and head up the left and then the right ramp at the intersection. Keep heading up and right. Keep heading right till you reach the location in the picture below.

Go up the ramps and at the final ramp, head left from the checkpoint. Up the ramp and at the top head right. Past the checkpoint and the filing cabinets. Jump on the ramp at the next intersection. Turn left and head up the ramp and keep left. Jump across the gap and take the two birds out and keep heading left. Past the teleport checkpoint and up the left ramp. At the end turn right and up to the right platform. Head right and up the steep ramp up. Take the birds out and across the stair ramps and across the gap. Keep riding till you reach the point in the location below and head up.

Another call from Orella will come in. Head upwards, jumping off the ramps. At the top, turn left and jump off. A big drop is incoming and a bird at the bottom. Jump across the gap here and another call from Orella will come in. Keep heading left and up the ramp.

Keep heading up these hanging ramps and taking birds out as they appear. Change direction as needed. Head to the top of the pyramid and off the other side. Keep following the ramps, they are pretty linear – till you reach the teleport checkpoint. Enter the location in front for a boss fight.

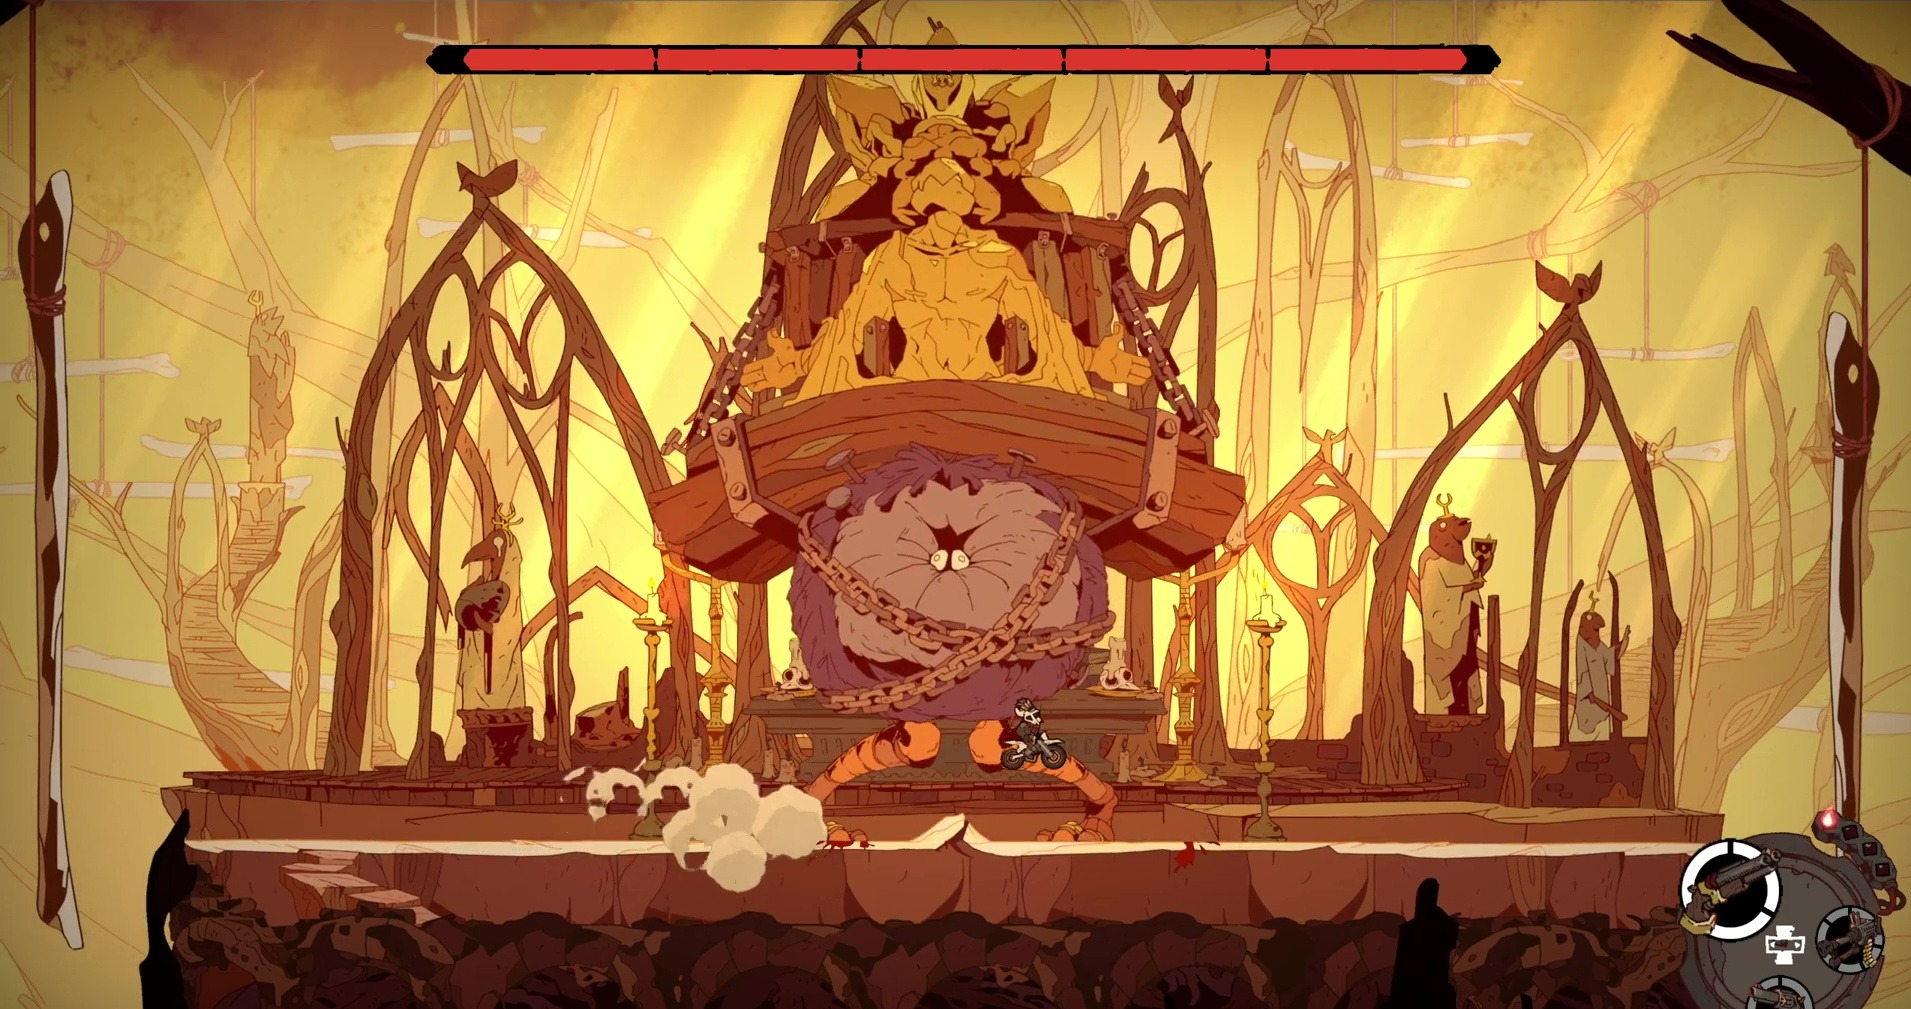
Boss: Pope Melva VIII shoots giant flesh balls at you, once you shoot the big one two things happen – his face pops out and the big flesh ball splits into multiple smaller flesh balls. You can shoot the small flesh balls, so take them. The face you have to hook and drag onto the ground. He will jump around the stage, so adjust accordingly. If you do not drag his face on to the ground, it will pop back in. Repeat till he is dead. Watch the cutscene. You will receive Cassette: The End of the Road.
Enter the bar at Area: Where We Live and talk to Camilla to complete the Quest: A Break for Camilla. Talk to Lewis to complete the Quest: Last Meal. Talk to Tressie for the Quest: First Blood. Enter your hut, go to sleep and wake up next morning.
Enter the Elder’s hut and talk to her. Talk to Primo to complete the Quest: The Big Tree.
This concludes part 9 of our Walkthrough for Laika: Aged through blood. You can find Part 10 here.