Nov
The Last Faith Walkthrough – Part 8
The Last Faith Walkthrough - Table of Contents
- Part 1 (How to beat the Giant Patron and how to get to the City of Mythringal)
- Part 2 (How to beat the Cold One Shielder, find Nighttide's Rout and explore the City of Mythringal)
- Part 3 (Explore the City of Mythringal.)
- Part 4 (Explore the Federal Inquistion area and how to fight the Winged Pale Lament)
- Part 5 (How to fight Dr. Ridley Hermann, explore a bit of the Osseus Fortress and where to find the Moonshade Charm)
- Part 6 (How to fight Edwynn, the Shadowscrouge Horror and explore the Drowned Crypt.)
- Part 7 (How to fight Starborn Nighthunter and explore the City of Erlim)
- Part 8 (How to fight Leena and Yegor, Find the Propulsion boots and explore the Esk Mansion)
- Part 9 (How to fight the Burnt Apostle and explore the Liturgical Pass)
- Part 10 (How to fight the Voracious Terror and explore the Osseus Fortress and the beginning of Tynewill Village)
- Part 11 (How to fight the second Starborn Nighthunter and explore more of Tynewill Village)
- Part 12 (How to fight Manfredd the Accused and explore Ordens Palace)
- Part 13 (How to unlock the Graveyard and how to fight the Cold One Beast)
- Part 14 (How to fight Leena for the second time and location of all twenty Unborn of the Midnight Aristocracy)
- Part 15 (How to fight Lord Patryk Laddak and Annabella & Caterina)
Demo Coverage -
Check out our walkthrough for The Last Faith on how to fight Yegor and Leena, how to get the Stormchaser Macewhip, the Propulsion boots and explore rest of the City of Erlim.
Welcome to the Into Indie Games walkthrough for The Last Faith!
For more information on The Last Faith beyond this walkthrough, check out the official website here. You can also check our coverage of the extended demo here.
After talking to Lady Annika about the rave in Elrim. Head to the fast travel checkpoint in the Frozen Ruins of the Damned Ruins of the Osseus Fortress. (Please check previous part 5 to know how to get here)
Once you get there take the elevator up and head to the outside on the right. Kill the floating Frozen Wraiths here.

After you have killed all four of them, take the ladder in the middle of the location down. Pick up the healing injection and kill another Wraith here. Move to the right and head down at the next ladder, jumping off to the right at the end of the ladder. Walk to the far right end where the two chests are. The wall next to them is smashable so smash it.

Enter the area and kill the enemies that spawn. After you kill all of them the door to the right opens, go inside and interact with the pedestal. This activates another switch offscreen. Get out of the room and make your way back up to the top where the Wraiths are and then move left back towards the elevator. Take the elevator down to the checkpoint and smash the wall to the left.

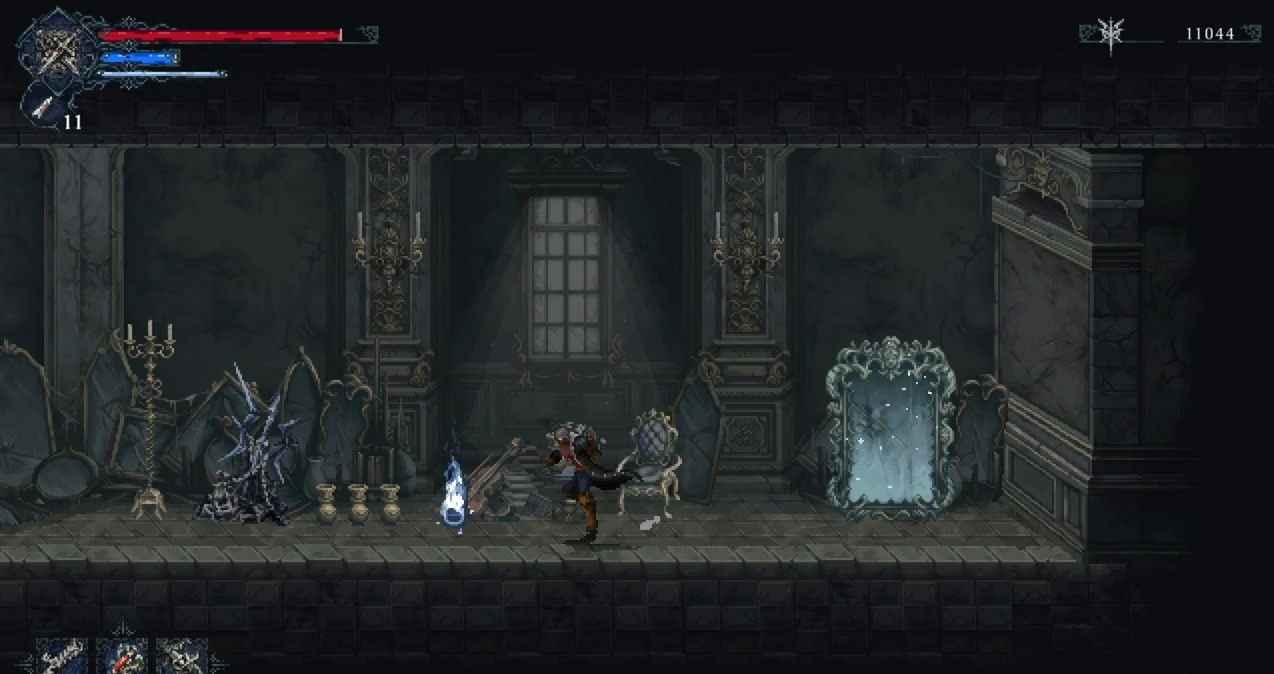
Go through the hole and into the open. Jump across the chasm and kill the enemies here. (I used the Charge attack on my Ethereal Greatsword to make the jump) Clear the gauntlet here. This will close the path in this area for now, halting any more advance. Head back to the city of Erlim – easiest is the Esk Mansion checkpoint and make your way back to The Veiled Maiden. She will let you buy the Second Skin for 10000 Nycrux. If you do not have the money now, come back later and get it. Go back to the room with the three mirrors in Esk Mansion. We fixed the 1st mirror last time we were here. (Check the previous part 7 of the walkthrough). Enter the first mirror.

Kill the worms on the floor and take the ladder up. Go through the left door and kill the enemy there, she will spawn two more worms. Get out and go across the platform to the other side and kill the pest there. Then come out and head up with the grapple point. Head up the ladder to the uppermost level and head to the room on the left. Kill the enemy inside and head out.

Leave this room and head to the room on the right. If you have killed all the previous enemies, this will trigger a gauntlet. Kill everything that moves. The final monster is called The Strange Presence. Once dead, the locked gate in front of you opens. Pick up the mirror shard and pull the lever. This opens up a gate below us.

Head through the door and we are back on the main staircase. Head back to the room with the 3 mirrors and fix the 2nd mirror. Enter through the second mirror and head to the right. Kill the nightmare vines and worms and enter the spectral door for some loot. Head down using the ladder and enter the door on the right at the bottom floor. This will trigger another gauntlet with Dark Tentacles, pests, abominations and a swordsman. Clear the room. The gate on the right opens, enter through there. In the next room take the grapple point up and the ladder, eventually entering the spectral door. Take the Nycrux chests inside and use the grapple point to get higher and kill everything else. Pick up the Combustion powder at the top and enter the room in the left to find the third Mirror Shard. Pull the lever to open the door out of the room and a door below us. Head back to the room with the three mirrors and fix the 3rd mirror and go through.

Go through the door on the left and clear the floor. This area has a giant flame laser mirror contraption set up. Time your movement upwards.

Use the grapple at the top and enter the room on the left. Inside you will find The Blessed Teacup and the Stormchaser Macewhip. Exit the room and jump up to the next platform. Head through the door on the right and kill the enemy here. Use the grapple on the left to get the Nycrux chests and then use the one on the right to vault over to the other side. Drop down the ladder as the wall on the right is too high to jump over. Pick up the Forbidden Bombs and keep heading down. At the very bottom kill all the enemies and move to the left to use the grapple point there.

Use the lever to open the gate. Don’t go out but head to the right to the door we passed up before. In this room kill all the enemies as you make your way up top. Use the lever to open up a door in the bottom level. At the very top, exit via the left. Pick up the Ampoule of Erlim’s Tears on that and jump down. Head back out to the fire laser room, and keep going down. At the very bottom enter the room on the left that you just opened. Another gauntlet. Clear it out to open the door on the left. Inside you will pick up another Mirror Shard and another lever. Exit the area and into the main staircase area and head to the very bottom level to the room with the giant mirror.

Enter the mirror if you are prepared for a boss fight, otherwise level up at the Manor. If you do go back to the Manor, talk to Helenya and give her the Blessed Teacup for The Restricted Key.
Boss : Yegor and Leena

Leena jumps up high in the air and shoots fireballs as she drops. She also shoots fireballs diagonally while jumping away. Yegor meanwhile does an electrified thrust (which can be ducked under), a two hit overhead smash, a charged smash that drops 3 lightning columns. He follows up with an attack that electrifies the entire floor, dropping two platforms. While on these platforms Leena does a horizontal fire attack that covers almost the whole screen but can be ducked under.

Focus fire on Leena as she is faster. Once she is down take out Yegor. After the fight the door on the right opens up and you can go through and enter the mirror at the end. Go left from the mirror and watch the cut scene to get the Heart of Nycrux followed by the Propulsion Boots. Pull the lever at the end to drop an elevator. Ride the elevator to the top and enter the room on the left to find the Thunder Conjuration weapon. Exit the room and go to the right using your airdash to the giant mirror room.
This concludes Part 8 of our walkthrough for The Last Faith. You can find Part 9 here. (Coming soon!)