Nov
The Last Faith Walkthrough – Part 1
The Last Faith Walkthrough - Table of Contents
- Part 1 (How to beat the Giant Patron and how to get to the City of Mythringal)
- Part 2 (How to beat the Cold One Shielder, find Nighttide's Rout and explore the City of Mythringal)
- Part 3 (Explore the City of Mythringal.)
- Part 4 (Explore the Federal Inquistion area and how to fight the Winged Pale Lament)
- Part 5 (How to fight Dr. Ridley Hermann, explore a bit of the Osseus Fortress and where to find the Moonshade Charm)
- Part 6 (How to fight Edwynn, the Shadowscrouge Horror and explore the Drowned Crypt.)
- Part 7 (How to fight Starborn Nighthunter and explore the City of Erlim)
- Part 8 (How to fight Leena and Yegor, Find the Propulsion boots and explore the Esk Mansion)
- Part 9 (How to fight the Burnt Apostle and explore the Liturgical Pass)
- Part 10 (How to fight the Voracious Terror and explore the Osseus Fortress and the beginning of Tynewill Village)
- Part 11 (How to fight the second Starborn Nighthunter and explore more of Tynewill Village)
- Part 12 (How to fight Manfredd the Accused and explore Ordens Palace)
- Part 13 (How to unlock the Graveyard and how to fight the Cold One Beast)
- Part 14 (How to fight Leena for the second time and location of all twenty Unborn of the Midnight Aristocracy)
- Part 15 (How to fight Lord Patryk Laddak and Annabella & Caterina)
Demo Coverage -
Check out our walkthrough for The Last Faith to find out how to beat the Giant Patron and how to get to the City of Mythringal.
Welcome to the Into Indie Games walkthrough for The Last Faith! You can find out more about the game here. You can also check our coverage of the extended demo here.
At the beginning of the game pick your class. We are playing as the Brawler class.
Go left from the starting area. Pick up the Prisoner’s Diary and move right now through the door.

You will meet the first enemy of the game, a Mutated Comrade. He has a basic lunge attack, dodge roll and take him out.

Go right and down the ladder. Another Mutated Comrade will attack at the bottom, take him out. Keep heading right and take out the next Mutated Comrade. Head down the stairs, and take the mutuated comrade here out and pick up the consumable. The wall here is a secret wall, take it out.

Pick up the consumables inside. Head back the way you came and then head up the broken stairs. As you jump up the platforms, all the gates are locked. Jump onto the hanging cages and across. Take the Mutated Comrade out and then jump across and head up the ladder.

Watch the cutscene and head to the right and take the Mutated Comrade out, and then move back to the left. Break the vases and go into the room on the left. Interact with the Checkpoint Altar to top up health if needed.

Keep heading left now, through the door. The game will give you instructions on how to use weapons skill. Take out the next Mutated Comrade and head up the hanging cages, jumping from platform to platform.

Go left from the Blue Haemolymph Statue and then climb up the ladder. At the top you will find two more Mutated Comrades and a locked gate. Go right from the ladder. Take out the Mutated Comrade and head through the door here. Head down the stairs now and pick up the Healing Injections and head out through the door on the right.

Jump up the ledge here and break the vases as you head rightwards. A small cutscene will play, go to the left and use the lever to open the gate down below and prepare yourself for a boss fight.
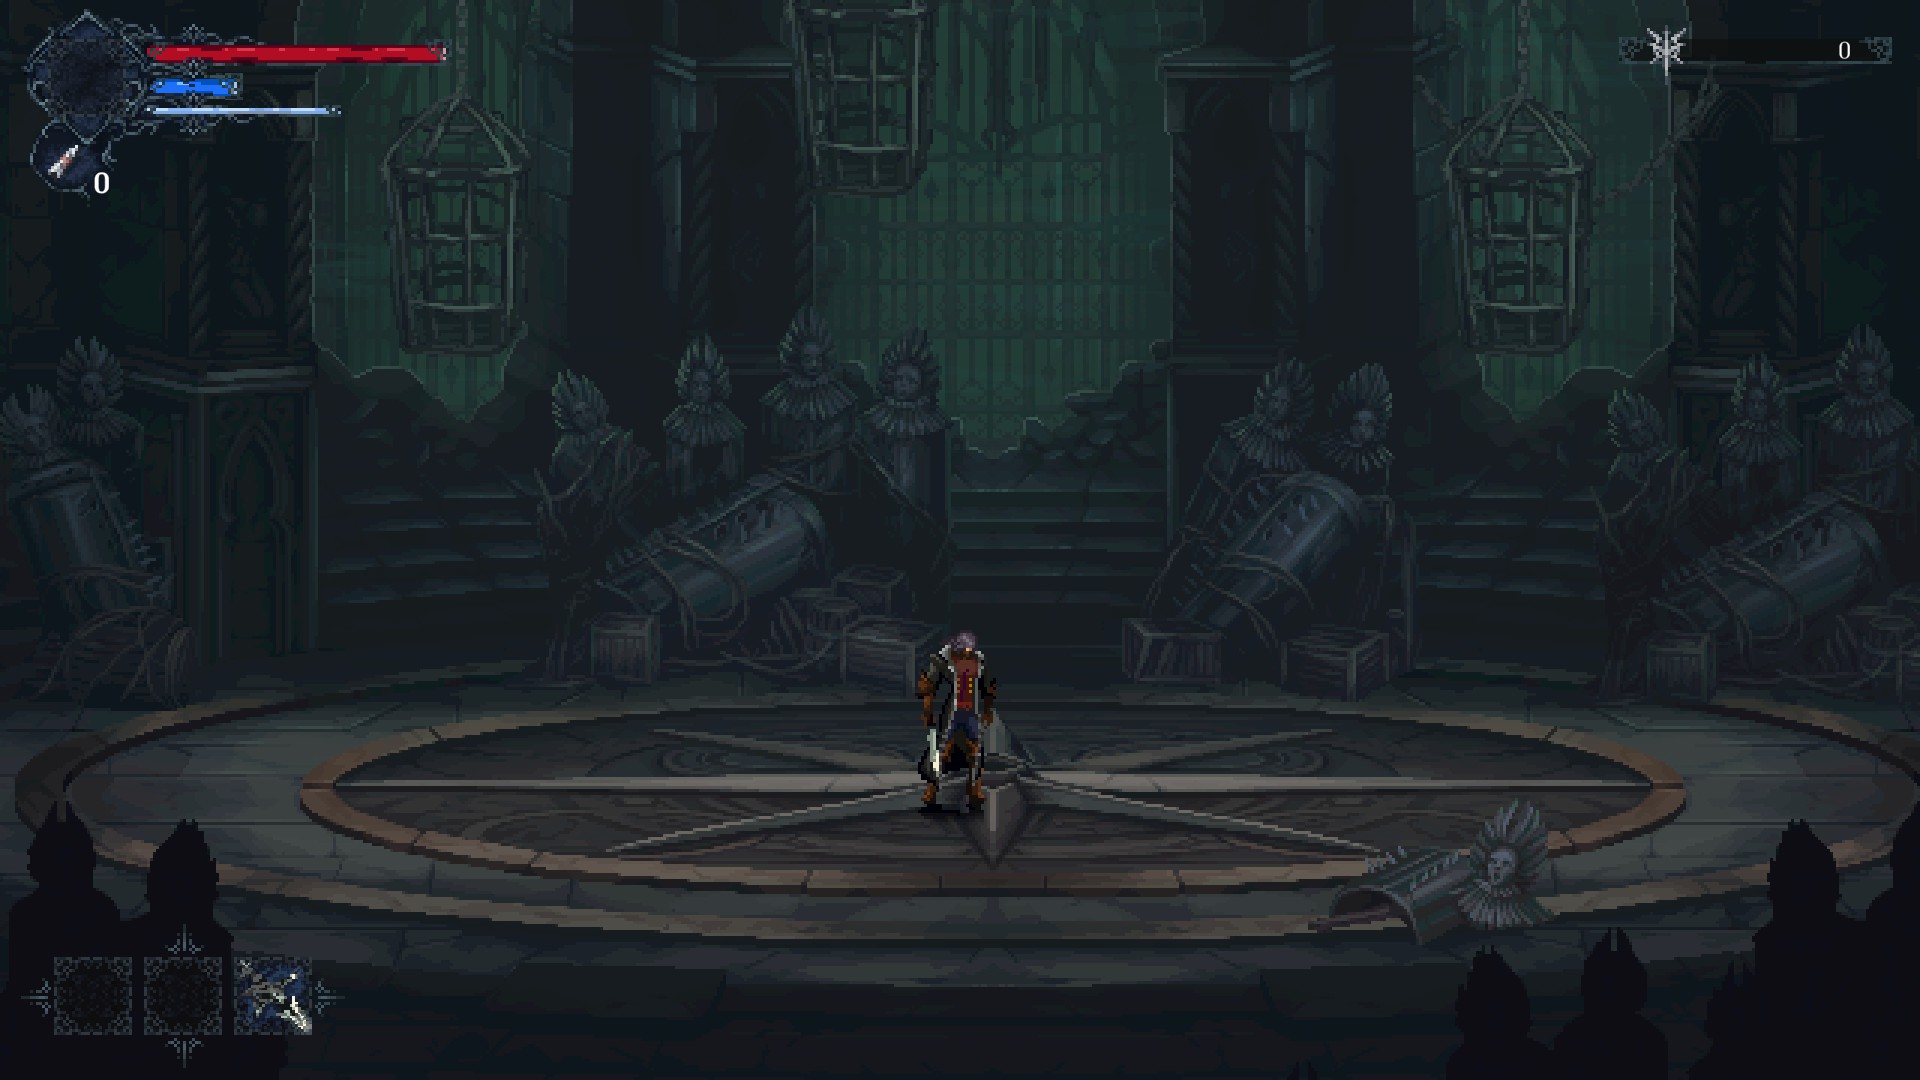
Boss: Giant Patron

Pretty simple boss. He has three attack patterns, he will jump and slam down hard with the statue head in his hands. He will do it either to the right or to the left and create a shockwave effect that you need to dodge roll out of. Sometimes these attacks will generate shards that will hit you. His third attack is a giant slam that he hits in the middle of the screen, and shockwaves extend out to both sides and shards fall from the sky. Dodge roll and time your attacks. The fight will rewards you with the Stigma of Reprieve.

Head right and down past the carriage into Broken Pass. You will fight an Infected Pilgrim here, just dodge and take him out. Jump over the spikes and head right. You will soon come upon a signpost and a fork in the road. Jump up and take the higher road to head towards Oxnevylle’s Manor as the path to the City of Mythringal is closed. Keep going till you reach Lady Helenya. She will let you level up here, level up according to your class.

Enter the Manor and watch the unfolding cutscene. Talk to Mark to receive the Nightbane Pistol and his Key. Interact with the checkpoint next to Mark. Head to the room on the far left for 5 Demioxide Bullets. Head back out and towards the far-right room now. Pick up the consumables and open the chest for Barsov’s Electrocution.

Head back out to the courtyard and open the door on the right of Lady Helnya to talk to The Woman in Ink for a quest. Also, remember to pick up the Hungry Essence in front of her.

Head back to the fork in the road and head towards the City of Mythringal now through the bottom path.

Keep heading right for now as you will come upon an Infected Pilgrim, jump down the wooden platforms here. Take out the Infected Pilgrim and the Old Vigilante here. Head to the left and open the chest to find Skullcleaver.

Go up the ladder next to the chest and then take out the enemies there and smash the chests. Drop down, head towards the right, and then go up the ladder here. Fight the hound as you travel rightwards, remembering to smash chests on your way. Drop down the ladder here.

Head right at the bottom and then take the next ladder down and head left to find a Checkpoint to interact with. Go down the ladder and then head right. In the next area, jump over the spikes and shoot the Deadmind. Repeat the process for the next two.

In the next area, jump over the spikes and kill all the enemies in your way. Head to the far right and you will come across a locked door. Go up the ladder here. Head towards the left, take out the Old Vigilante and head up the ladder here. Head to the right side of the area and move up. Taking out enemies along the way. At the very top head left and take out the Dead Minds and the Old Vigilante and hit the switch to open the gate at the bottom. Head through the open doorway to enter the City of Mythringal.
This concludes Part 1 of our walkthrough for The Last Faith. You can find Part 2 here.
Thank you for reading this waklthrough of The Last Faith! For more interesting articles on indie games and the indie games industry, be sure to check out the links below!
- Into Indie Games Homepage
- Laika: Aged Through Blood – Walkthrough Part 1
- New Indie Games coming out in 2024
- Hades II: Release date, pre-order and everything we know
- Review: The MAONO DGM20 GamerWave Gaming Microphone
- Best Indie Action Games of 2023