Mar
Snufkin: Melody of Moominvalley Walkthrough – Part 10 (A Doll for Little My, Saving Cedric)
Snufkin: Melody of Moominvalley - Walkthrough Table of Contents
Check out our walkthrough of Snufkin: Melody of Moominvalley to find out how to complete side-quests from Little My and Sniff.
Welcome to the Into Indie Games walkthrough for Snufkin: Melody of Moominvalley.
For more information on Snufkin: Melody of Moominvalley beyond this walkthrough, be sure to check the official site here.
A Doll for Little My
You can get this quest a little to the south of the platform on the tree where you found Snorkmaiden. Here’s the location on the map below.

Note that near this location, you’ll find a slope going up to a cliff where you’ll find a page of Moominpappa’s masterpiece.

Go down this cliff to the south to find a tree trunk you can use as a shortcut to get back to the ‘mainland’.
Interact with the well here for a surprise, and a new quest, “A Doll for Little My”.

This quest can only be completed by completing another quest, “Saving Cedric”, so finish that quest and return to Little My to give her the doll and complete this quest. You’ll get a page of Moominpappa’s masterpiece for your trouble.
Saving Cedric
Go to Moomintroll’s residence and then go north past the hammock. Continue north until you get to a gap (you may have created a shortcut with a tree trunk, as shown below).

Run west from here and keep going until you can climb down the cliff you’re on.
Go south then west, and keep going west to find a page of Moominpappa’s masterpiece.

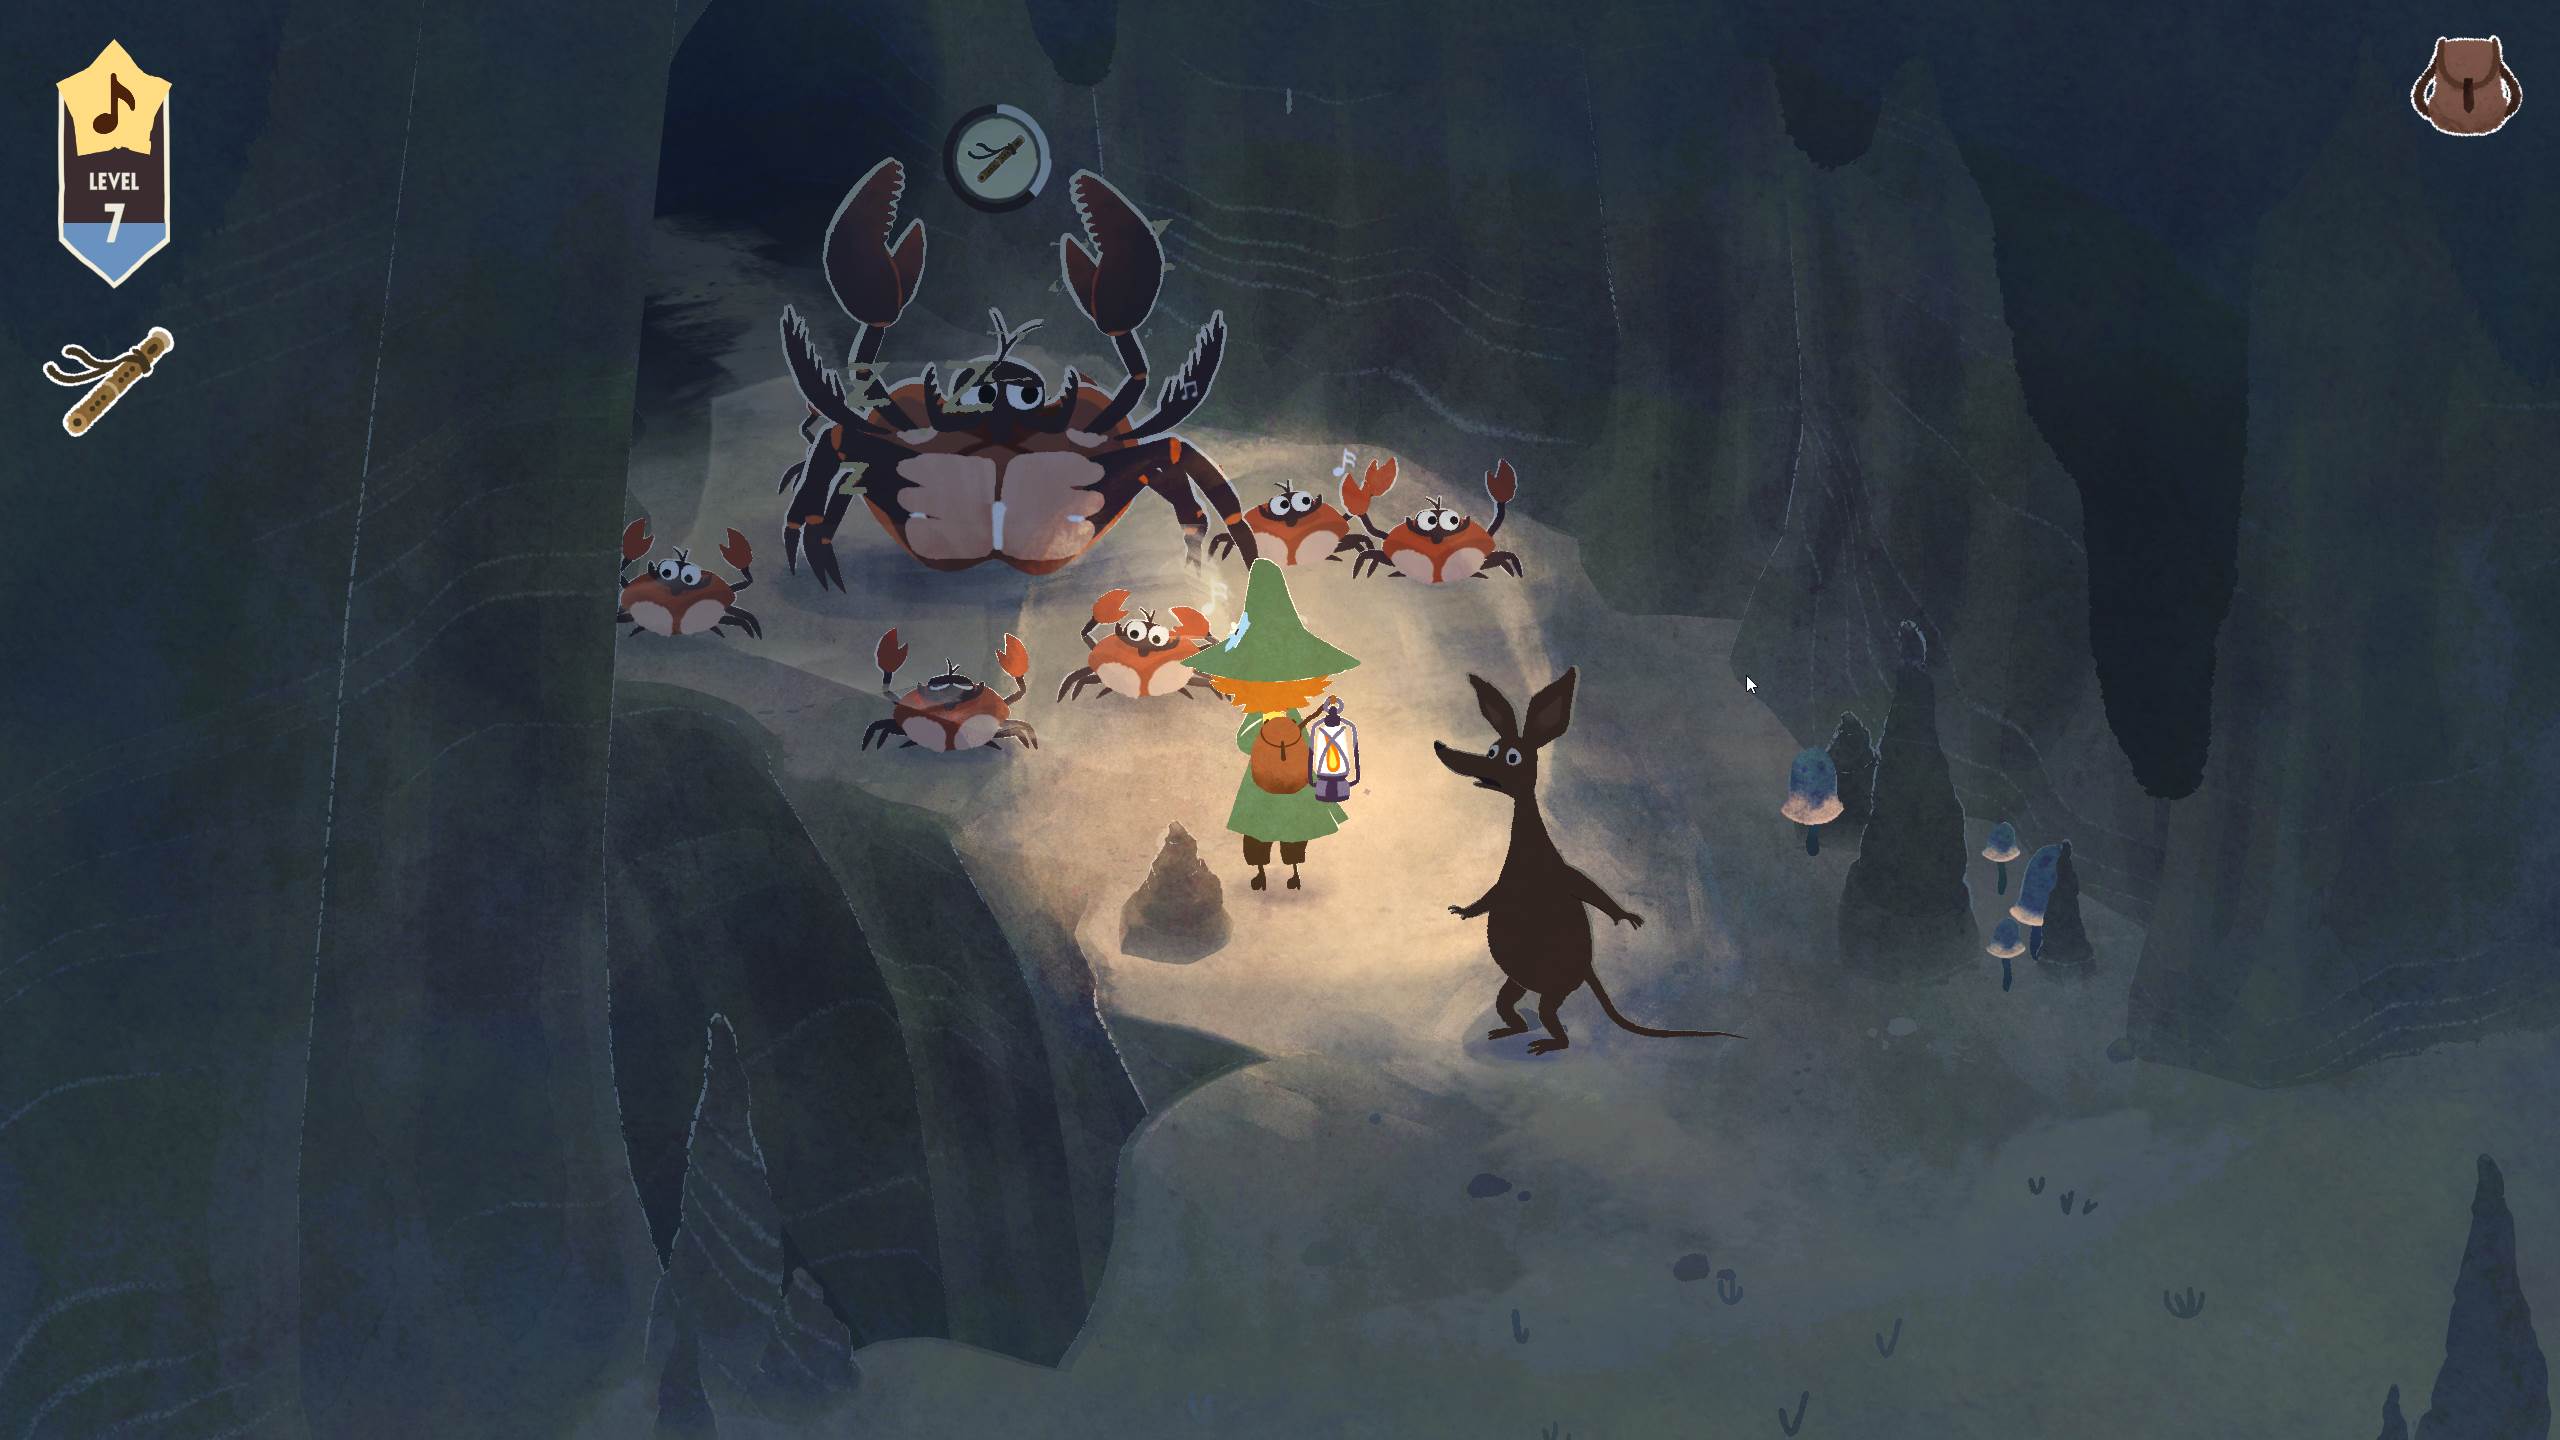
Then go north from the page to find Sniff and a giant crab. After the dialog, use your flute to calm the crab and clear the way.
Once the way is clear, enter the cave.

Go west to find the crab again (and some Inspiration further to the west). As usual, use your flute on the crab to calm it and proceed further.
On the next screen, cross the bridge and you’ll find an optional cave where you can charm a spider and gain some Inspiration from the mushrooms on the other side.

Back on the main path, continue east for another optional cave, where you can charm two spiders at once and unroll a ladder.
Back (again) on the main path, go far east across two bridges and use your harmonica to charm a worm out of its hole. To the east is – you guessed it – more Inspiration.

Finally, return to the crab on the main path by going west from the worm, and use your flute to calm the crab.

Proceed north and on the next screen, you’ll find an optional cave to the northwest.
On the main path, go east and across a tree trunk to finally find Cedric.

Continue to the northeast and get rid of the crab once more with your flute. Proceed east.
Continue northeast on the next screen for a dialog sequence. After the dialog, use your flute on the crab again (although it’ll be trickier this time).

After calming the crab, your quest will be complete. However, there is still the matter of getting out.
Go north from the crab to return to main world and obtain a reward from Sniff, which you can use to complete the quest “A Doll for Little My”.
Unroll the ladder, go down, and push the tree trunks in place to return to the mainland.

Note that between the two tree trunks, on a stony island, you can find a page of Moominpappa’s masterpiece.

A little to the east after landing on the beach, clear out the sand hills to get another page of Moominpappa’s masterpiece (if you haven’t already).

Then, go north and you’ll be reunited with Too-Ticky.
Head on to the next part of our walkthrough of Snufkin: Melody of Moominvalley here!