Mar
Snufkin: Melody of Moominvalley Walkthrough – Part 6 (Park on Hattifatteners’ Island, Drum)
Snufkin: Melody of Moominvalley - Walkthrough Table of Contents
Check out our walkthrough of Snufkin: Melody of Moominvalley to find out how to get rid of the park on Hattifatteners’ Island.
Welcome to the Into Indie Games walkthrough for Snufkin: Melody of Moominvalley.
For more information on Snufkin: Melody of Moominvalley beyond this walkthrough, be sure to check the official site here.
Park 4
Enter Park 4 and go east to find a stationary police officer. You can put him to sleep with your flute, so do this and then slip past his field of view.

To the south, you’ll find a cop guarding a gate. To the northeast of the cop is a bee dozing off at a lamp.
Use your harmonica to wake the bee, which sets off the bats and distracts the cop. Slip past the gate to the south now.

Here you’ll reach a rectangular area with exits to the northeast, east, south, and west. The exits to the south and east are blocked, while the exit to the northeast requires a key.
So needless to say, we go west.

Here, you’ll find your first sign to take out, which is guarded by a cop. Make your way to the leftmost hedge by hiding in the bush along the way.
Wait for the cop to start looking to the right, and when the coast is clear, take out the sign.

Go south now through the flower patch and hide on the right side of the hedge. There’s a couple of cops here – north and south.
When the northern cop starts to look up, play your harmonica to rattle the bee. Quickly slip behind the distracted southern cop before the northern cop can turn to you.

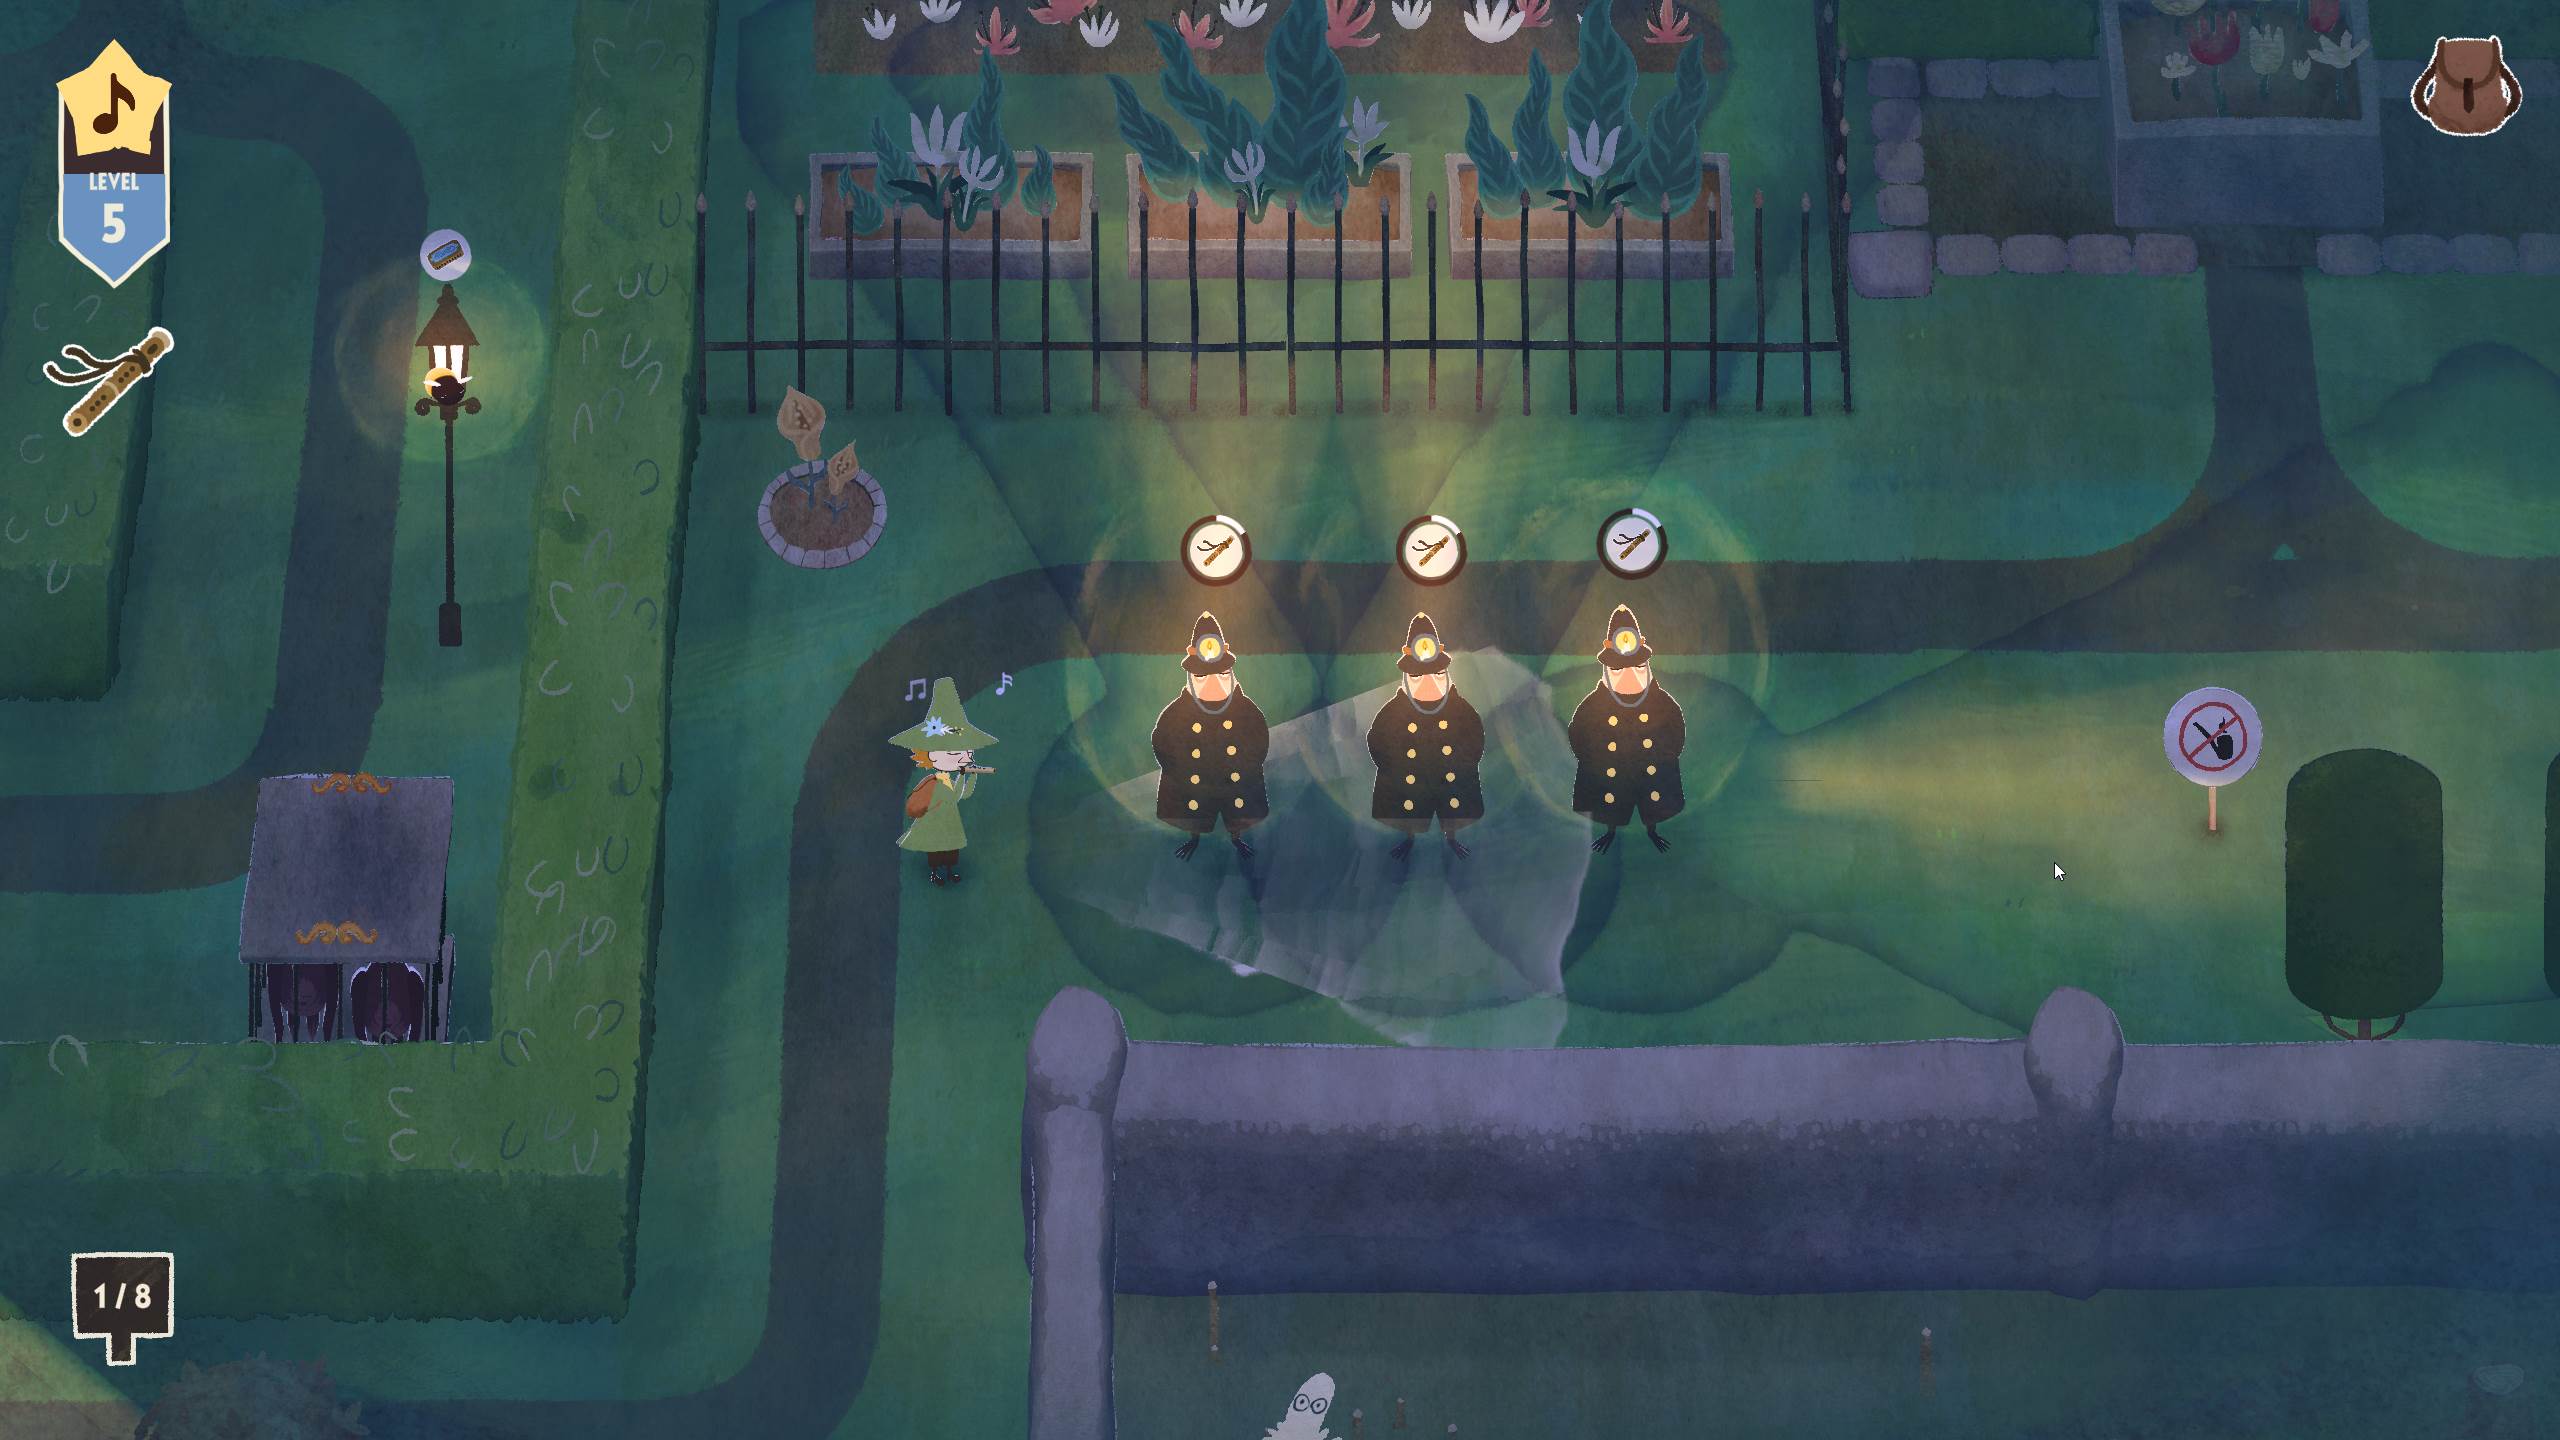
Up ahead to the east, there’s three sleepy cops in a line. Aim your flute so that all three cops are covered at once, and put them all to sleep at the same time.

Pull out the sign to the east and quickly run north to the movable flower bed. Push the flower bed either left or right to open up a path to the central rectangular area.
Carefully continue east now and ‘ambush’ the sleepy cop by using your flute when he is looking away from you.

Once the cop is asleep, slip away to the southeast.
In this area, move the cage of bats to the far right and then hide in the bush. While in the bush, play your harmonica to rattle the bee.

Quickly take out the sign by slipping behind the cop, and run north to move the empty flower bed either left or right.

Go north now to find a turtle paddling left and right. Jump on the turtle when it’s near and then jump onto the northern bank.
Take out the two signs up north and meet the Sea Creature further ahead.
Then, go west and topple the statue when the cop is not looking.

Run south to find six statues. Topple them all.
One of the statues holds a key, so grab it and take it south to the flower bed. Push the flower bed either up or down, and then take the key into the central rectangular area.

Take the key to the locked gate and proceed north to take out the remaining three signs.
Once you’re done dismantling the park, go south to meet Hemulen Plant Collector again. You will be granted your third instrument, the Drum.
Follow the path leading south and then east, until you encounter a frog on a rock. Use your drum to clear the way.

Continue to the northeast and talk to the Sea Creature if you wish. Continue along the path as it winds west, until you reach a boulder blocking your way. Use your drum to dislodge it and then pass over it.

Go southwest and push the tree trunk to bridge the river.
Follow Moomintroll’s footsteps to the top of the cliff, where you’ll find out what to do next.
Head on to the next part of our walkthrough of Snufkin: Melody of Moominvalley here!