Mar
Snufkin: Melody of Moominvalley Walkthrough – Part 8 (Pirate Cave, Moominpappa’s Boat)
Snufkin: Melody of Moominvalley - Walkthrough Table of Contents
Check out our walkthrough of Snufkin: Melody of Moominvalley to find out how to get through the pirate cave and return to Moominpappa’s boat.
Welcome to the Into Indie Games walkthrough for Snufkin: Melody of Moominvalley.
For more information on Snufkin: Melody of Moominvalley beyond this walkthrough, be sure to check the official site here.
Pirate Cave
On entering the Pirate Cave, go east and play your Drum for the bat to scare it off. This grants you some Inspiration.

Continue east and climb up the cliff. There’s some mushrooms to the northwest where you can collect more Inspiration before proceeding to the east.
On the next screen, go down the cliff to collect more Inspiration and then go back up to continue heading east.

On the next screen, go east to find a stalactite you can break off by using your Drum. Jump across the stalactite to the east and do this again for another pair of stalactites.

To the east, you’ll find a mushroom patch to gain some Inspiration. Then, continue through the cave to the east.
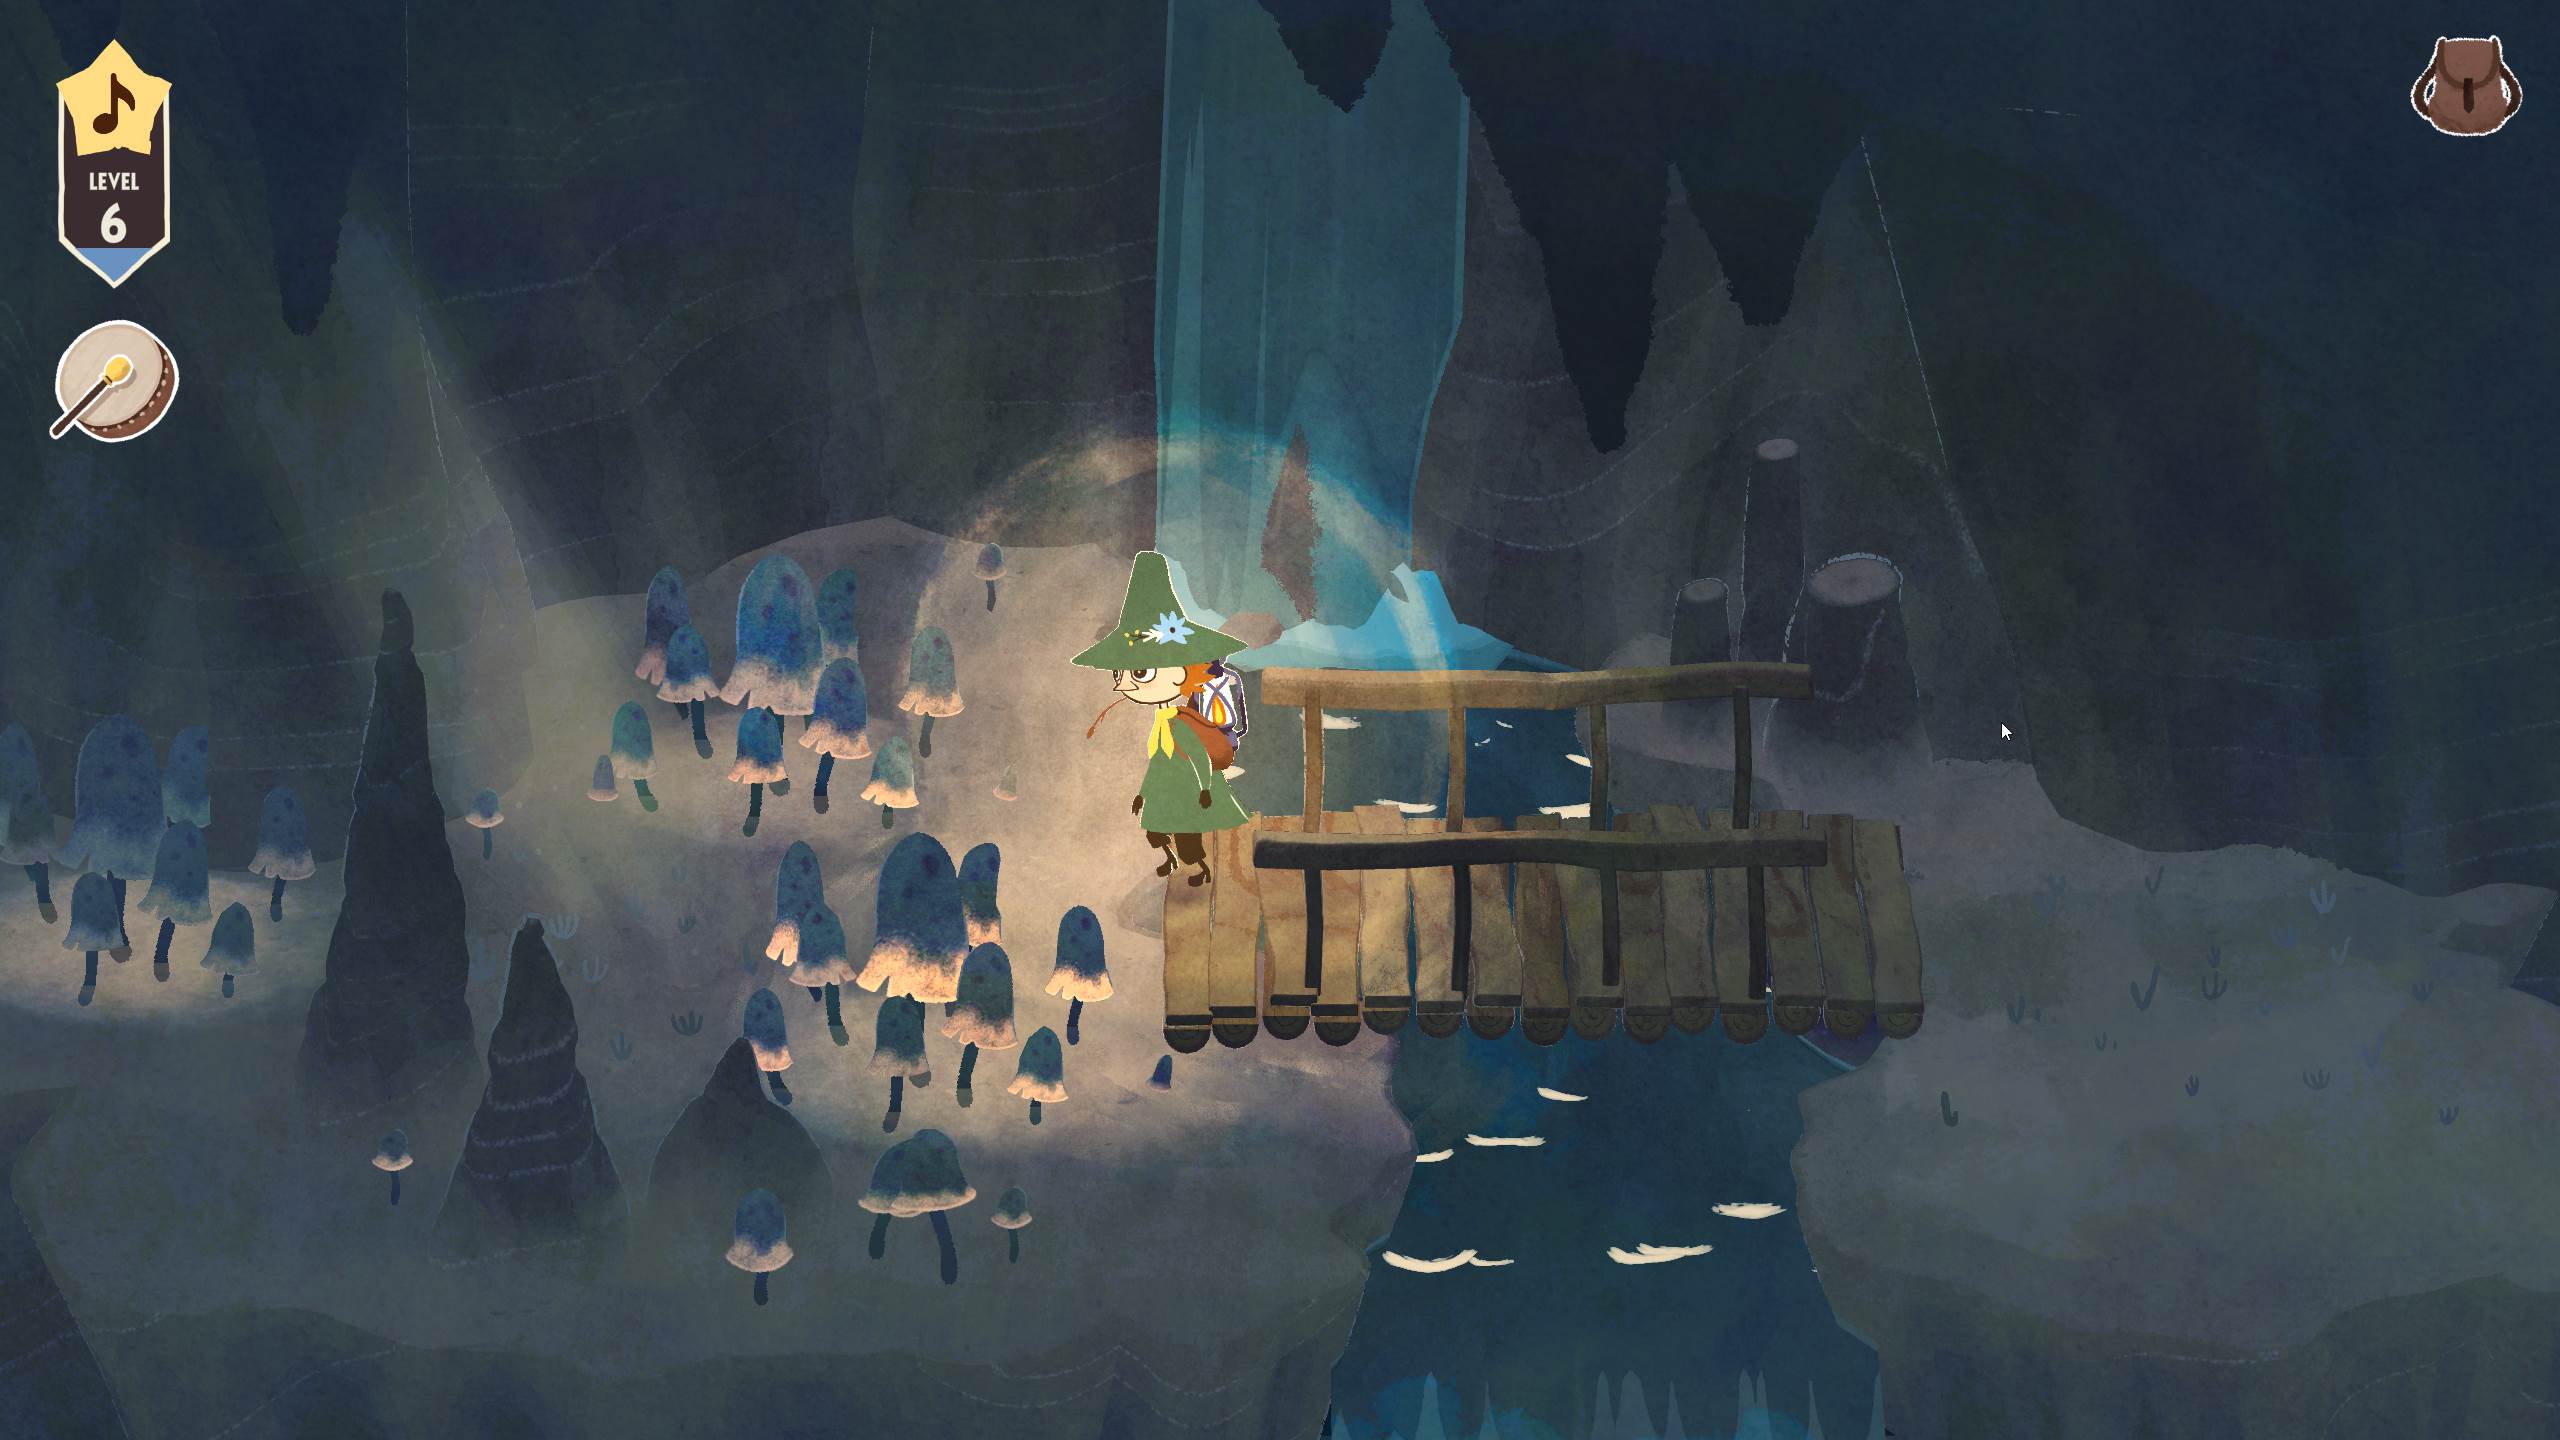
Cross the bridges on the next screen and rouse the bats blocking the cave mouth to the northeast. Proceed through the cave mouth.

You’ll be out of the Pirate Cave now – briefly. Go east, then south down the cliff and follow the path into the next cave mouth.
Head west to find a turtle paddling around an island – hop onto the turtle to then hop onto the island. Repeat this process to hop onto the rocks to the west.

Collect Inspiration to the west here, and then return to the island. This time, make your way to the north by jumping on the turtle’s back.

Collect some more Inspiration to the northwest, and then go up the three stepping stones to the east.
On the next screen, go east and then up the stepping stones to the north. Cross the bridge going east and down the slope. Ignore the page lying across the water for now, and continue east.

On the next screen, use your Drum to bring down the stalactites as before. Make your way east and then north up the stepping stones.
Head on to the next screen to the northeast. On this next screen, go west across the bridge to collect some Inspiration.

Then go east and unroll the ladder so that you can get down.
You can now collect the page you spotted earlier. Do so and head north.
On the next screen, go all the way west and then up the stepping stones to the north.

After collecting Inspiration here, go back down the steps and east a bit to find a couple of turtles paddling back and forth.
Hop on the turtle closest to you when possible, and then onto the next turtle when the latter is a little to the north.

Then, wait for the first turtle to resume paddling, and jump onto it when it is a little to the east of the turtle you’re standing on.
Keep repeating this process to get to either the west (where there’s some Inspiration), or to the north, where there’s the exit.

On the next screen, go west for some more stalactites to drop.
Continue west now and climb up the ladder.

Proceed west, going down the zigzag slope and then south until you get to the treasure chest.
Proceed west from the treasure chest and you’ll find the exit from the Pirate Cave.

Path to Moominpappa’s Boat
You’ll now find yourself at the wrecked Pirate Ship. Get the sail from the ship, unroll the ladder, and go down the ladder.

Then, go east to find a sand hill – use your drum to shake it off and find a pile of rocks.
Pick up one of the rocks and go west. Use the rock to make your way west across the water.

You can now use your drum to open clams and get Inspiration. Go south from here to find a blue horse. Talk to them.
You will get the new quest “Something Pretty”, which is simpler than it sounds. Go west up the stairs and then immediately north to a sand hill.

After getting rid of the sand hill with your drum, continue north and you’ll find another sand hill to the east.
Get rid of this sand hill too, and you’ll get a mirror. Pick up the mirror and take it back to the horse.

Now go west up the two flights of stairs to find a ladder you can unroll. Go down this ladder to get to Moominpappa’s boat.
Before leaving, break down the sand hills to the north and then to the east, which will take you to a page of Moominpappa’s masterpiece lying on the beach.

There’s also a clam you can open to the west of the boat.
When you’re ready to depart, interact with the boat to return to Moominvalley.
Head on to the next part of our walkthrough of Snufkin: Melody of Moominvalley here!