Mar
Snufkin: Melody of Moominvalley Walkthrough – Part 7 (Path to Pirate Cave)
Snufkin: Melody of Moominvalley - Walkthrough Table of Contents
Check out our walkthrough of Snufkin: Melody of Moominvalley to find out how to get to the Pirate Cave on Hattifatteners’ Island.
Welcome to the Into Indie Games walkthrough for Snufkin: Melody of Moominvalley.
For more information on Snufkin: Melody of Moominvalley beyond this walkthrough, be sure to check the official site here.
Path to the Pirate Cave
With your new quest “Set Sail – Again!”, go east and proceed along the path until you find a gigantic boulder. You can’t move this one all by yourself, so it’s time to find some Creeps.
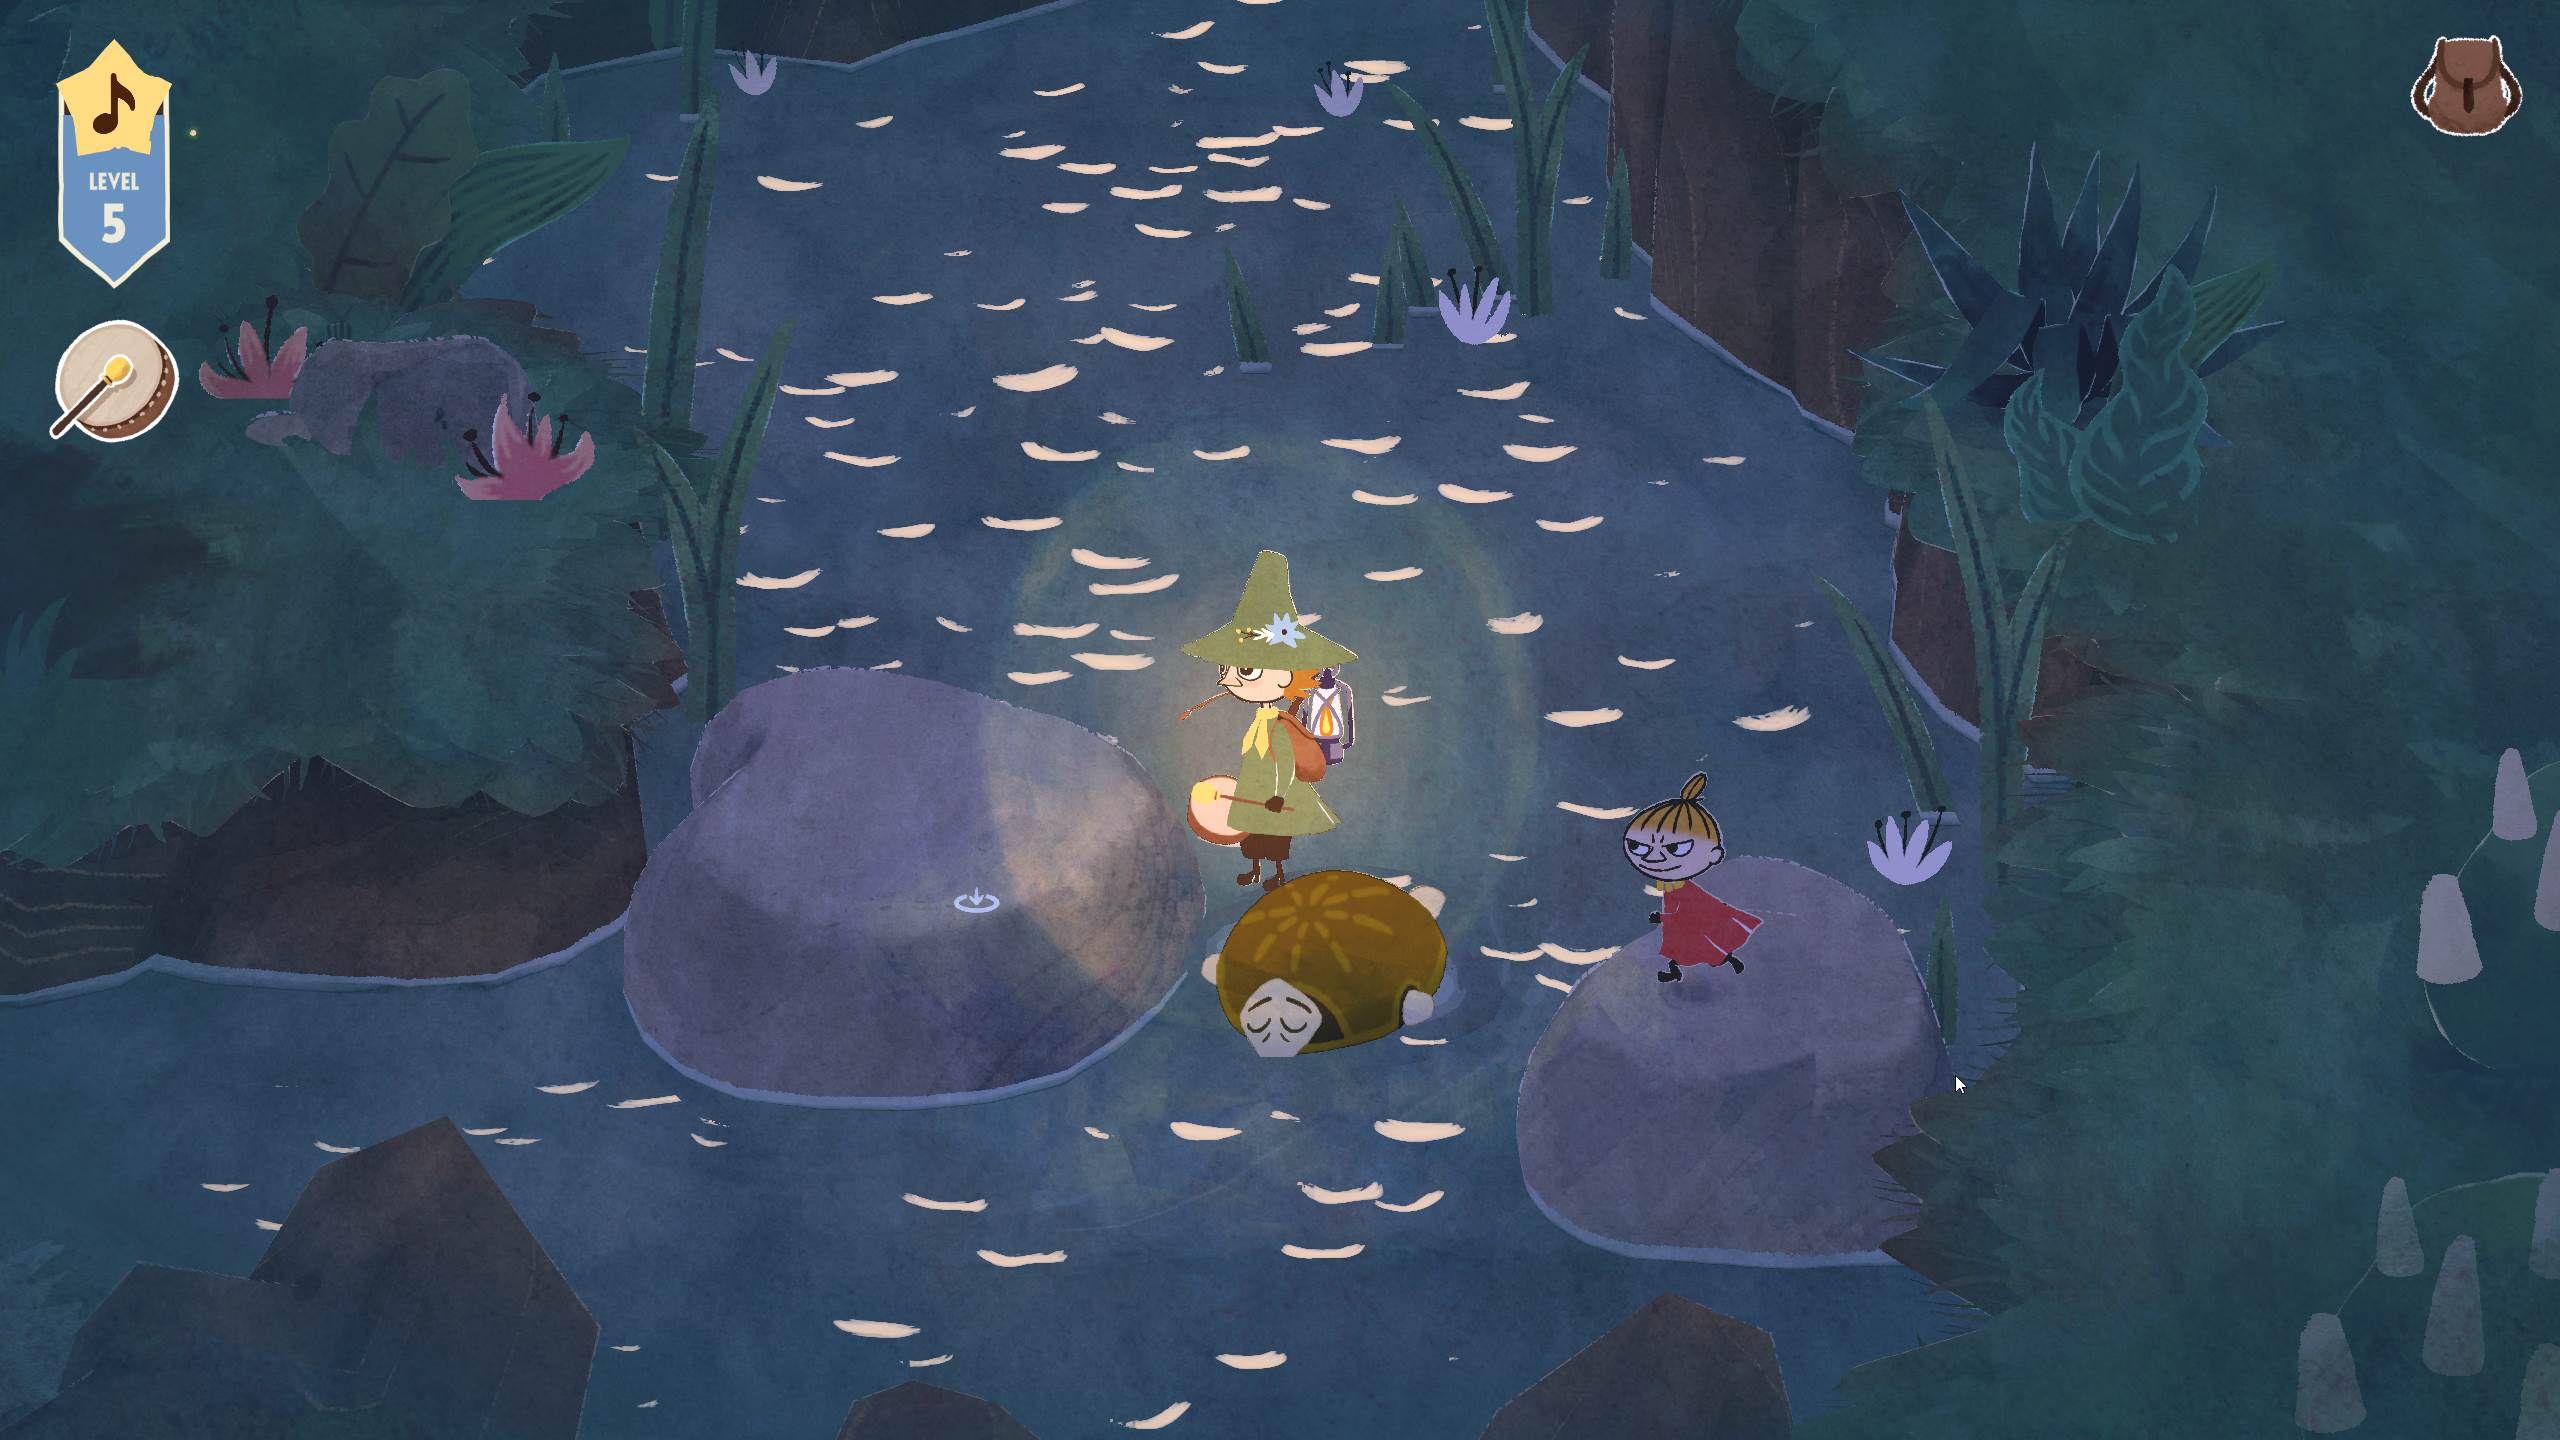
Go east from the boulder to find a hole with eyes visible inside. Little My can bring the Creep out from its hole when you get close enough to the hole. Do so, and then charm the creep with your Harmonica.

Go back to the boulder to set the Creep in position.
Go down the cliff from where you found this Creep, and then go north through the Inspiration bushes.

Climb down the next cliff.
Here, you’ll find some rocks piled up – grab one and set it in the water so that you can access the page of Moominpappa’s masterpiece on the other side.

Now return to the boulder and this time, go west. Keep going west until you find a cliff to climb. Go up the cliff and then northeast to find a pile of rocks.
Pick up a rock and set it down the cliff to the southeast of the pile of rocks.

Go back down the cliff now and pick up the rock that you set down. Then, go to the south of this area and put your rock in the water so that you can access the Creep’s hole in the ‘island’.

As usual, charm the Creep and bring them to the boulder. Push the boulder to the right and go north.
Climb up the cliff and you’ll find yourself at a fork leading east and west. Pick up a rock and go west, jumping over the ledge to put the rock down at the foot of the higher ledge.

Collect inspiration on this high ledge area, and then unroll the ladder to the east to get back down.
Now pick up a rock from the pile of rocks and take it to the east.
Climb onto the rock and then the higher ledge. Finally, climb up the cliff ahead.
Go east across the bridge and follow the path to the far east, where you’ll find a boulder too far up to reach.

Go up the ledges to the north and you’ll find a drawing on the cliff indicating that you need the Creeps’ help.
Go west and use your drum to get the frog out of the way, then go north to draw a Creep out of its hole. Charm the creep as usual and bring it to the cliff you need to climb.

Now go northeast from the cliff to find a sleeping snake. Use your drum to rouse the snake and be lifted up.
Little My can’t follow you up this way, but you can clear the way for her by going southwest and pushing the tree trunk into place.

Take Littly My up to where the snake is, so that she draws the Creep out and you can charm it with your Harmonica.
Now cross the tree trunk and return to the cliff where the previous Creep is waiting. Climb up the Creeps and go east across the planks.

Use your drum to dislodge the boulder, and then go all the way back down the ledges to where the boulder drops.
Cross the gap, unroll the ladder, and go down the ladder now.

Proceed east, push the tree trunk across the river, and continue east to find another boulder that will require two Creeps.
This time, our fork has paths to the south and the east. We’ll start with the southern path.

Go to the far south, collecting Inspiration as you go, and jump on the rock to the west. Jump across the turtle’s back to go further west.

After Little My draws out the Creep, collect Inspiration to the north and then make your way back to the boulder.
Now go east from the boulder to find an alligator – calm it down with your flute and jump across it to the east.

You can now grab rocks from the pile of rocks to the north to create a two-rock ford leading east. Do so and hop to the cliff further to the east. Climb down the cliff here to collect some extra Inspiration.

Then, return to the pile of rocks to the north of the alligator. Pick up a rock and place it in the middle of the river, leading to the bank where there’s a Creep hole.
Charm the Creep and return to the boulder across the alligator.

Push the boulder to the right and proceed north, then east.
Up ahead is a gap you can bridge with a tree trunk – do so and proceed east, then south down the cliff.

The frog to the east won’t budge, so instead, pull the tree trunk as far as you can. Then, go to the other side and push the tree trunk upwards, so that you form a bridge going north.

Go north across the tree trunk and then up the cliff. Go east and dislodge the boulder with your drum.
Go back down the cliff and go east over the boulder. Now pull the tree trunk ahead to allow the barrel to pass, and restore the tree trunk after it passes.

Now return to where the frog is and use your drum to move the frog onto the barrel. Proceed east over the rock the frog was occupying.

Continue east into the Pirate Cave.
Head on to the next part of our walkthrough of Snufkin: Melody of Moominvalley here!