Mar
Snufkin: Melody of Moominvalley Walkthrough – Part 5 (Hattifatteners’ Island, Floating Barrels)
Snufkin: Melody of Moominvalley - Walkthrough Table of Contents
Check out our walkthrough of Snufkin: Melody of Moominvalley to find out how to solve the barrel puzzle on Hattifatteners’ Island.
Welcome to the Into Indie Games walkthrough for Snufkin: Melody of Moominvalley.
For more information on Snufkin: Melody of Moominvalley beyond this walkthrough, be sure to check the official site here.
Hattifatteners’ Island
Once you get to Hattifatteners’ Island, go east and hop across the barrels.

Continue north up the cliff and then across the bridge. Follow the path north, then west and north.
Keep going until you find Moominpappa’s boat, along with a trail of footsteps leading away from the boat. This completes your quest “The Missing Boat”.

Now follow the trail west, and you’ll come across a pirate. You can talk to him if you wish, but otherwise go up the rock steps and then up the cliff.
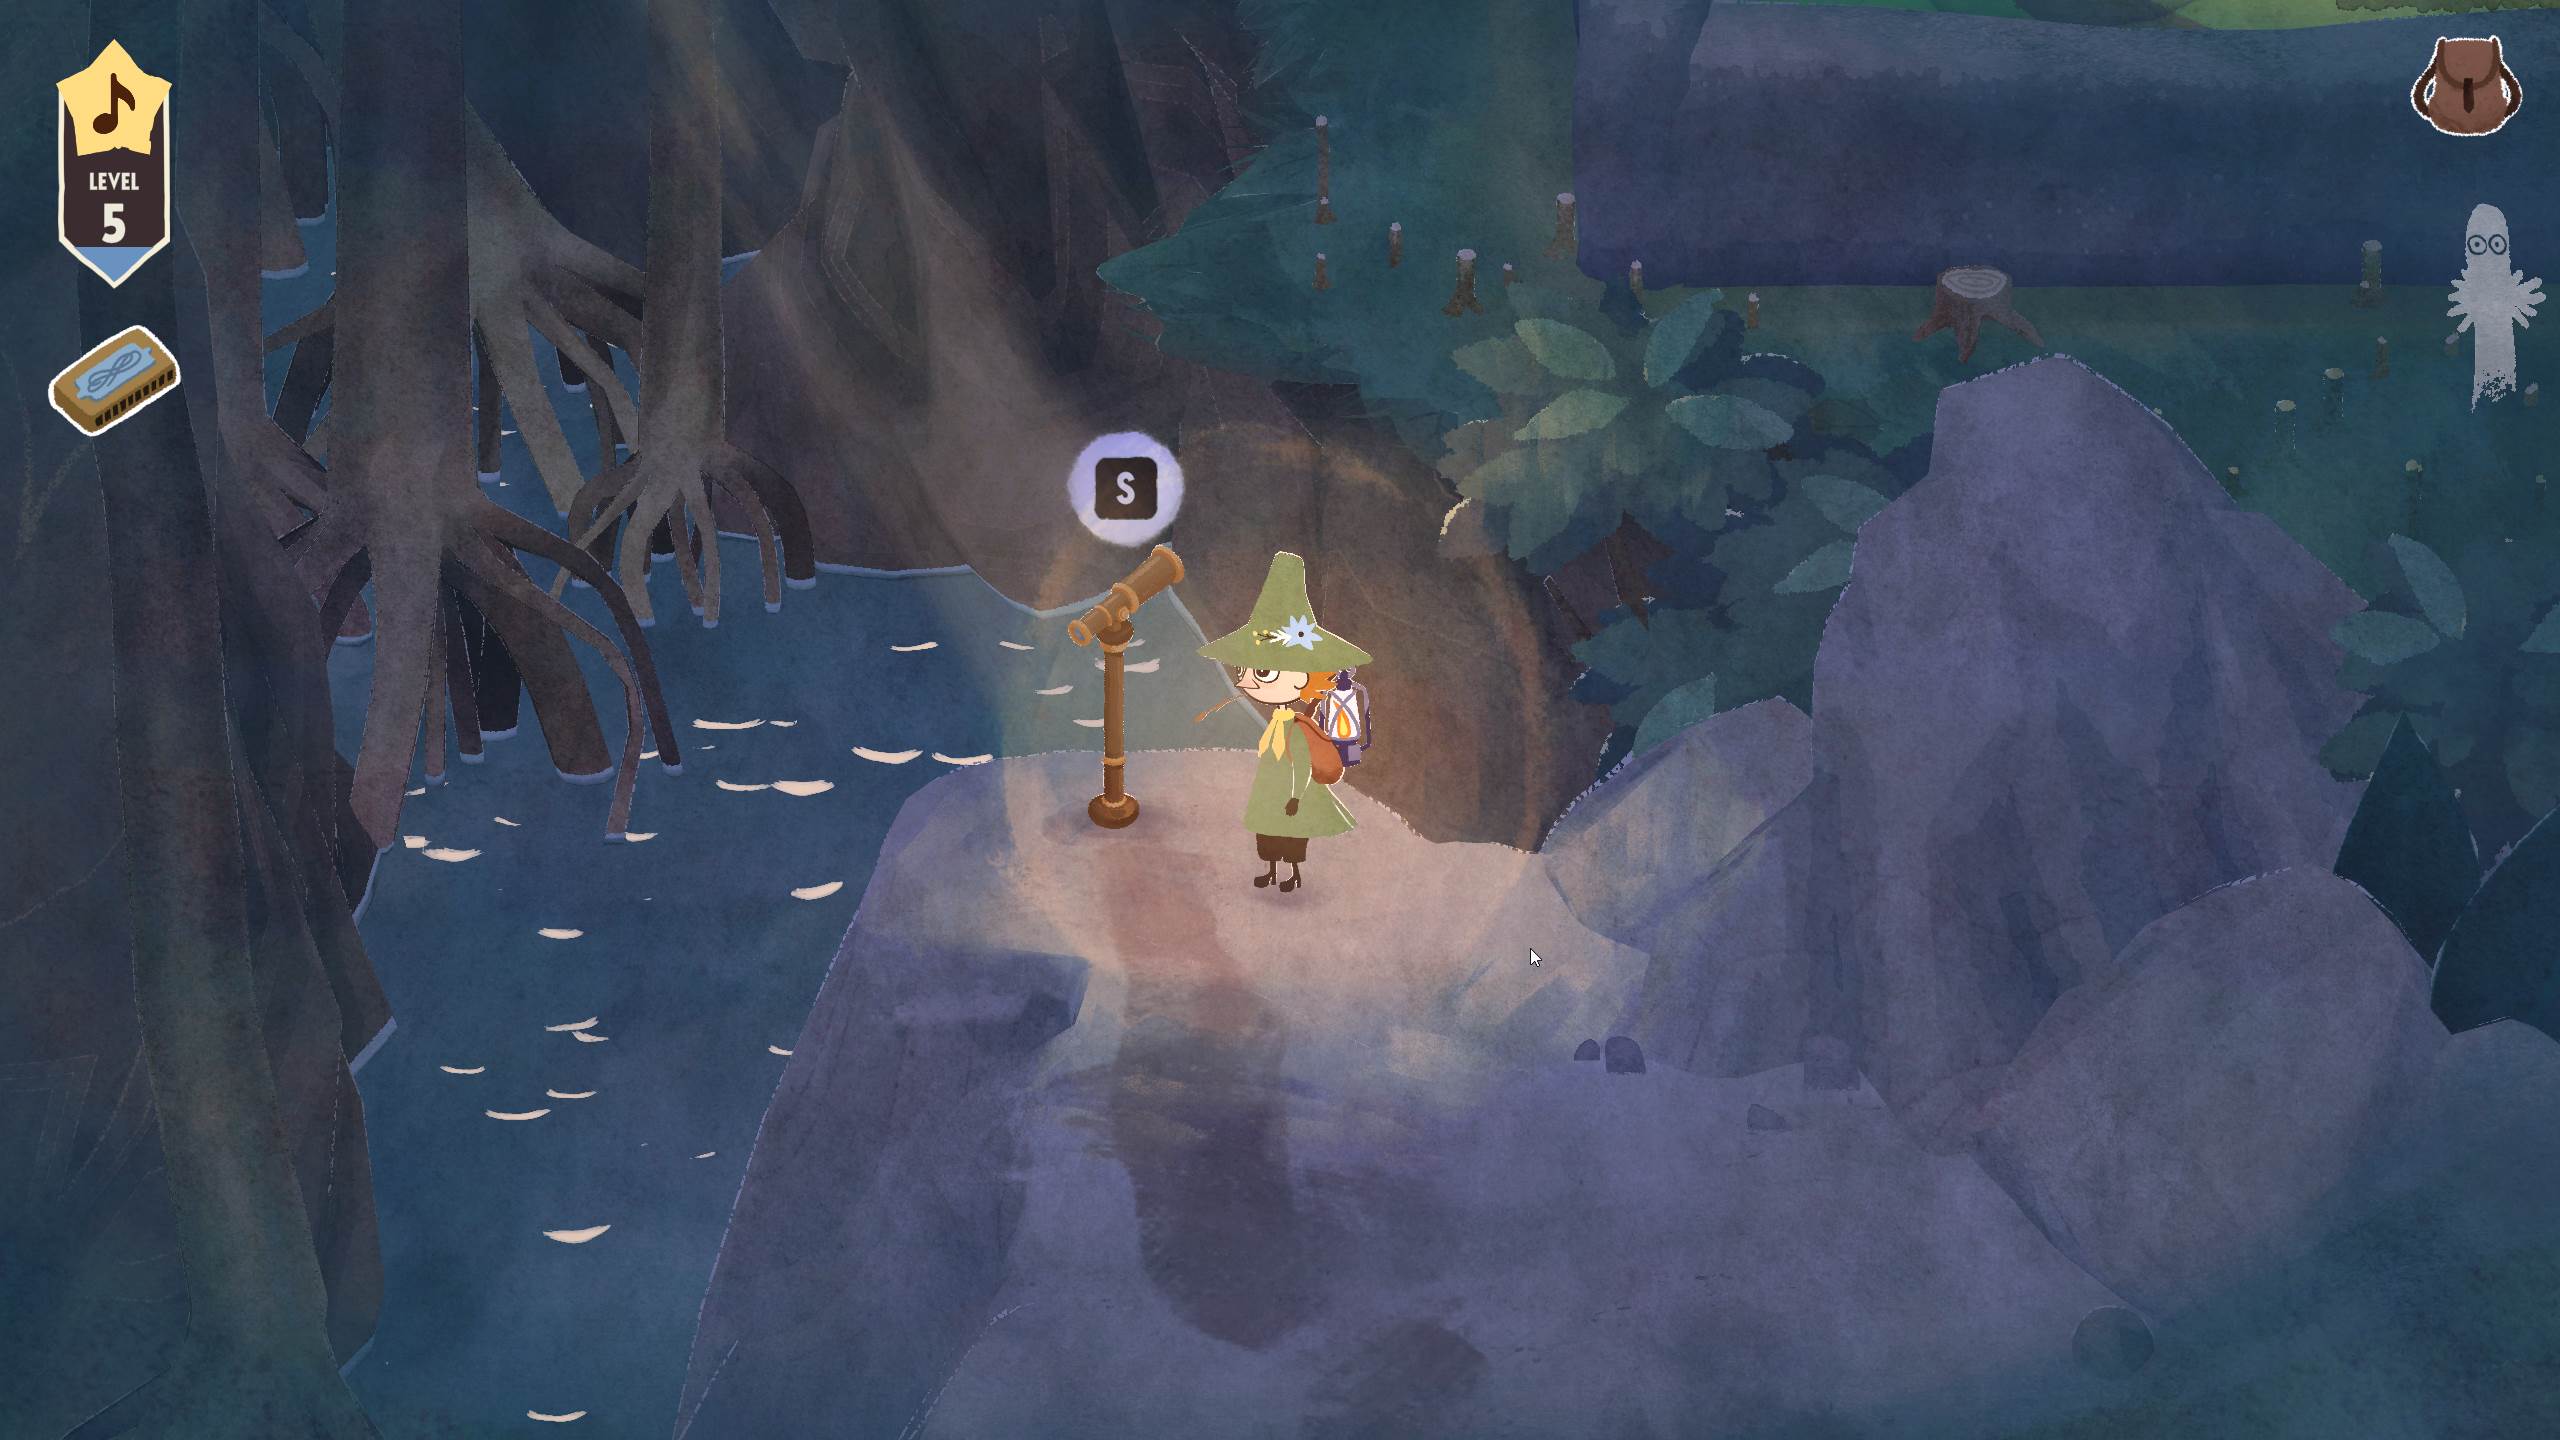
Here, you’ll find a monocular telescope you can look through. When ready to proceed, go south down the cliff.

Go west now until you find two climbable paths, one going up and one going down. You can take the path down and go east to find a couple of Inspiration bushes.
When ready, take the climbable path up the cliff.
Proceed west across the trunk, then down the cliff, and west to find a boulder.

Push the boulder to the far left and go up the slope so that you can jump on the boulder and reach the ledge beyond. Collect inspiration from the bushes here, and the bush on the cliff above.
Go back across the boulder and down the slope, and go down the cliff. Go west and up the next cliff.
Proceed north to find a barrel blocked by a tree trunk. Pull the tree trunk to allow the barrel to proceed down the river.

Follow the barrel down the waterfall and jump on it when it settles between the two cliffs. You can collect a page of Moominpappa’s masterpiece this way.

Go back up to the tree trunk that you pulled and this time, push it back into place and run across it.
Follow the footprints to find an alligator – play your flute for it to get it to sleep. Hop onto the alligator and proceed east.

Continue east to meet Little My again. From where she is, go west to find a rock you can use to cross the river.
Continue further west to find a giant snake. Use your flute to put it to sleep, which will also lower you down. Collect some more inspiration here and then push the tree trunk to create a shortcut.

Now return to Little My using this shortcut you’ve made. Proceed east from her location to find a friendly advice-giving pirate.
Floating Barrels
As the pirate says, you will need to bring barrels into position to proceed.

To do this, hop onto the tree trunk to the north of the pirate, cross over to the other side, and pull the trunk so as to let the barrel pass.
Continue northeast to find another page of Moominpappa’s masterpiece. Then, return to where the pirate is by restoring the position of the tree trunk.

Follow the path northwest to find another tree trunk that’s blocking a barrel. Pull the tree trunk to the left and let the barrel pass.

Put the trunk back in place once the barrel has passed. Then, go across the trunk to the east.
Continue northeast and north to find a climbable cliff. You can climb another cliff here to find a cairn to rest at.

Otherwise, go east to find Little My, and more importantly, another barrel blocked by a tree trunk. Pull the tree trunk to let the barrel pass.

Then, as before, restore the tree trunk’s position as a bridge and cross the bridge.
Go south to find a ladder you can unroll, giving you a shortcut back to the pirate’s location.

Go down the ladder and proceed southwest to find that your last two barrels are blocked. Simply pull the tree trunk here to let the barrels pass, and once again, cross the trunk to return to the pirate.

Now go east from the pirate to cross the three barrels and get back to Moomintroll’s trail. Follow the trail north, then up a slope to the east.
Hemulen Plant Collector
You will across Hemulen Plant Collector, who will inform you about goings-on on the island. Proceed southeast and go down the cliff, where you’ll find signs to pull.

Proceed west to a pirate and then follow Moomintroll’s trail east to a park.
Head on to the next part of our walkthrough of Snufkin: Melody of Moominvalley here!