Mar
Snufkin: Melody of Moominvalley Walkthrough – Part 2 (The Lost Baby Birds, Park 2)
Snufkin: Melody of Moominvalley - Walkthrough Table of Contents
Check out our walkthrough of Snufkin: Melody of Moominvalley to find out how to help the lost baby birds and get rid of Park 2.
Welcome to the Into Indie Games walkthrough for Snufkin: Melody of Moominvalley.
For more information on Snufkin: Melody of Moominvalley beyond this walkthrough, be sure to check the official site here.
The Lost Baby Birds
Talk to the red bird to get the new quest “The Lost Baby Birds”. To solve this quest, you will need to retrieve three baby birds.

Go east and use the pile of rocks to place a rock in the water and cross over to the island with the baby bird on it.
Play for the yellow baby bird and then return to the red bird.

Now go east again, ignoring the island, and you’ll find a tree trunk lying over a pond. Grab the right side of the trunk and pull it as far to the right as you can.

Then, once the baby bird is uncovered, return to the pond and play the Harmonica to charm the baby bird. Return to the red bird as before.
Now go east again, ignoring the tree trunk, to find another pile of rocks. Grab a rock and place it right below the ledge with the third baby bird on it. Snufkin should automatically stand on the placed rock, but otherwise, climb onto the rock and then onto the ledge.

Drop down to the rock and then the ground, and return to the red bird.
Doing this will complete two of your quests and also reveal a key in the red bird’s nest. Grab the key now and take it to the locked park gate.

Once the gate is open, enter the park.
Park 2
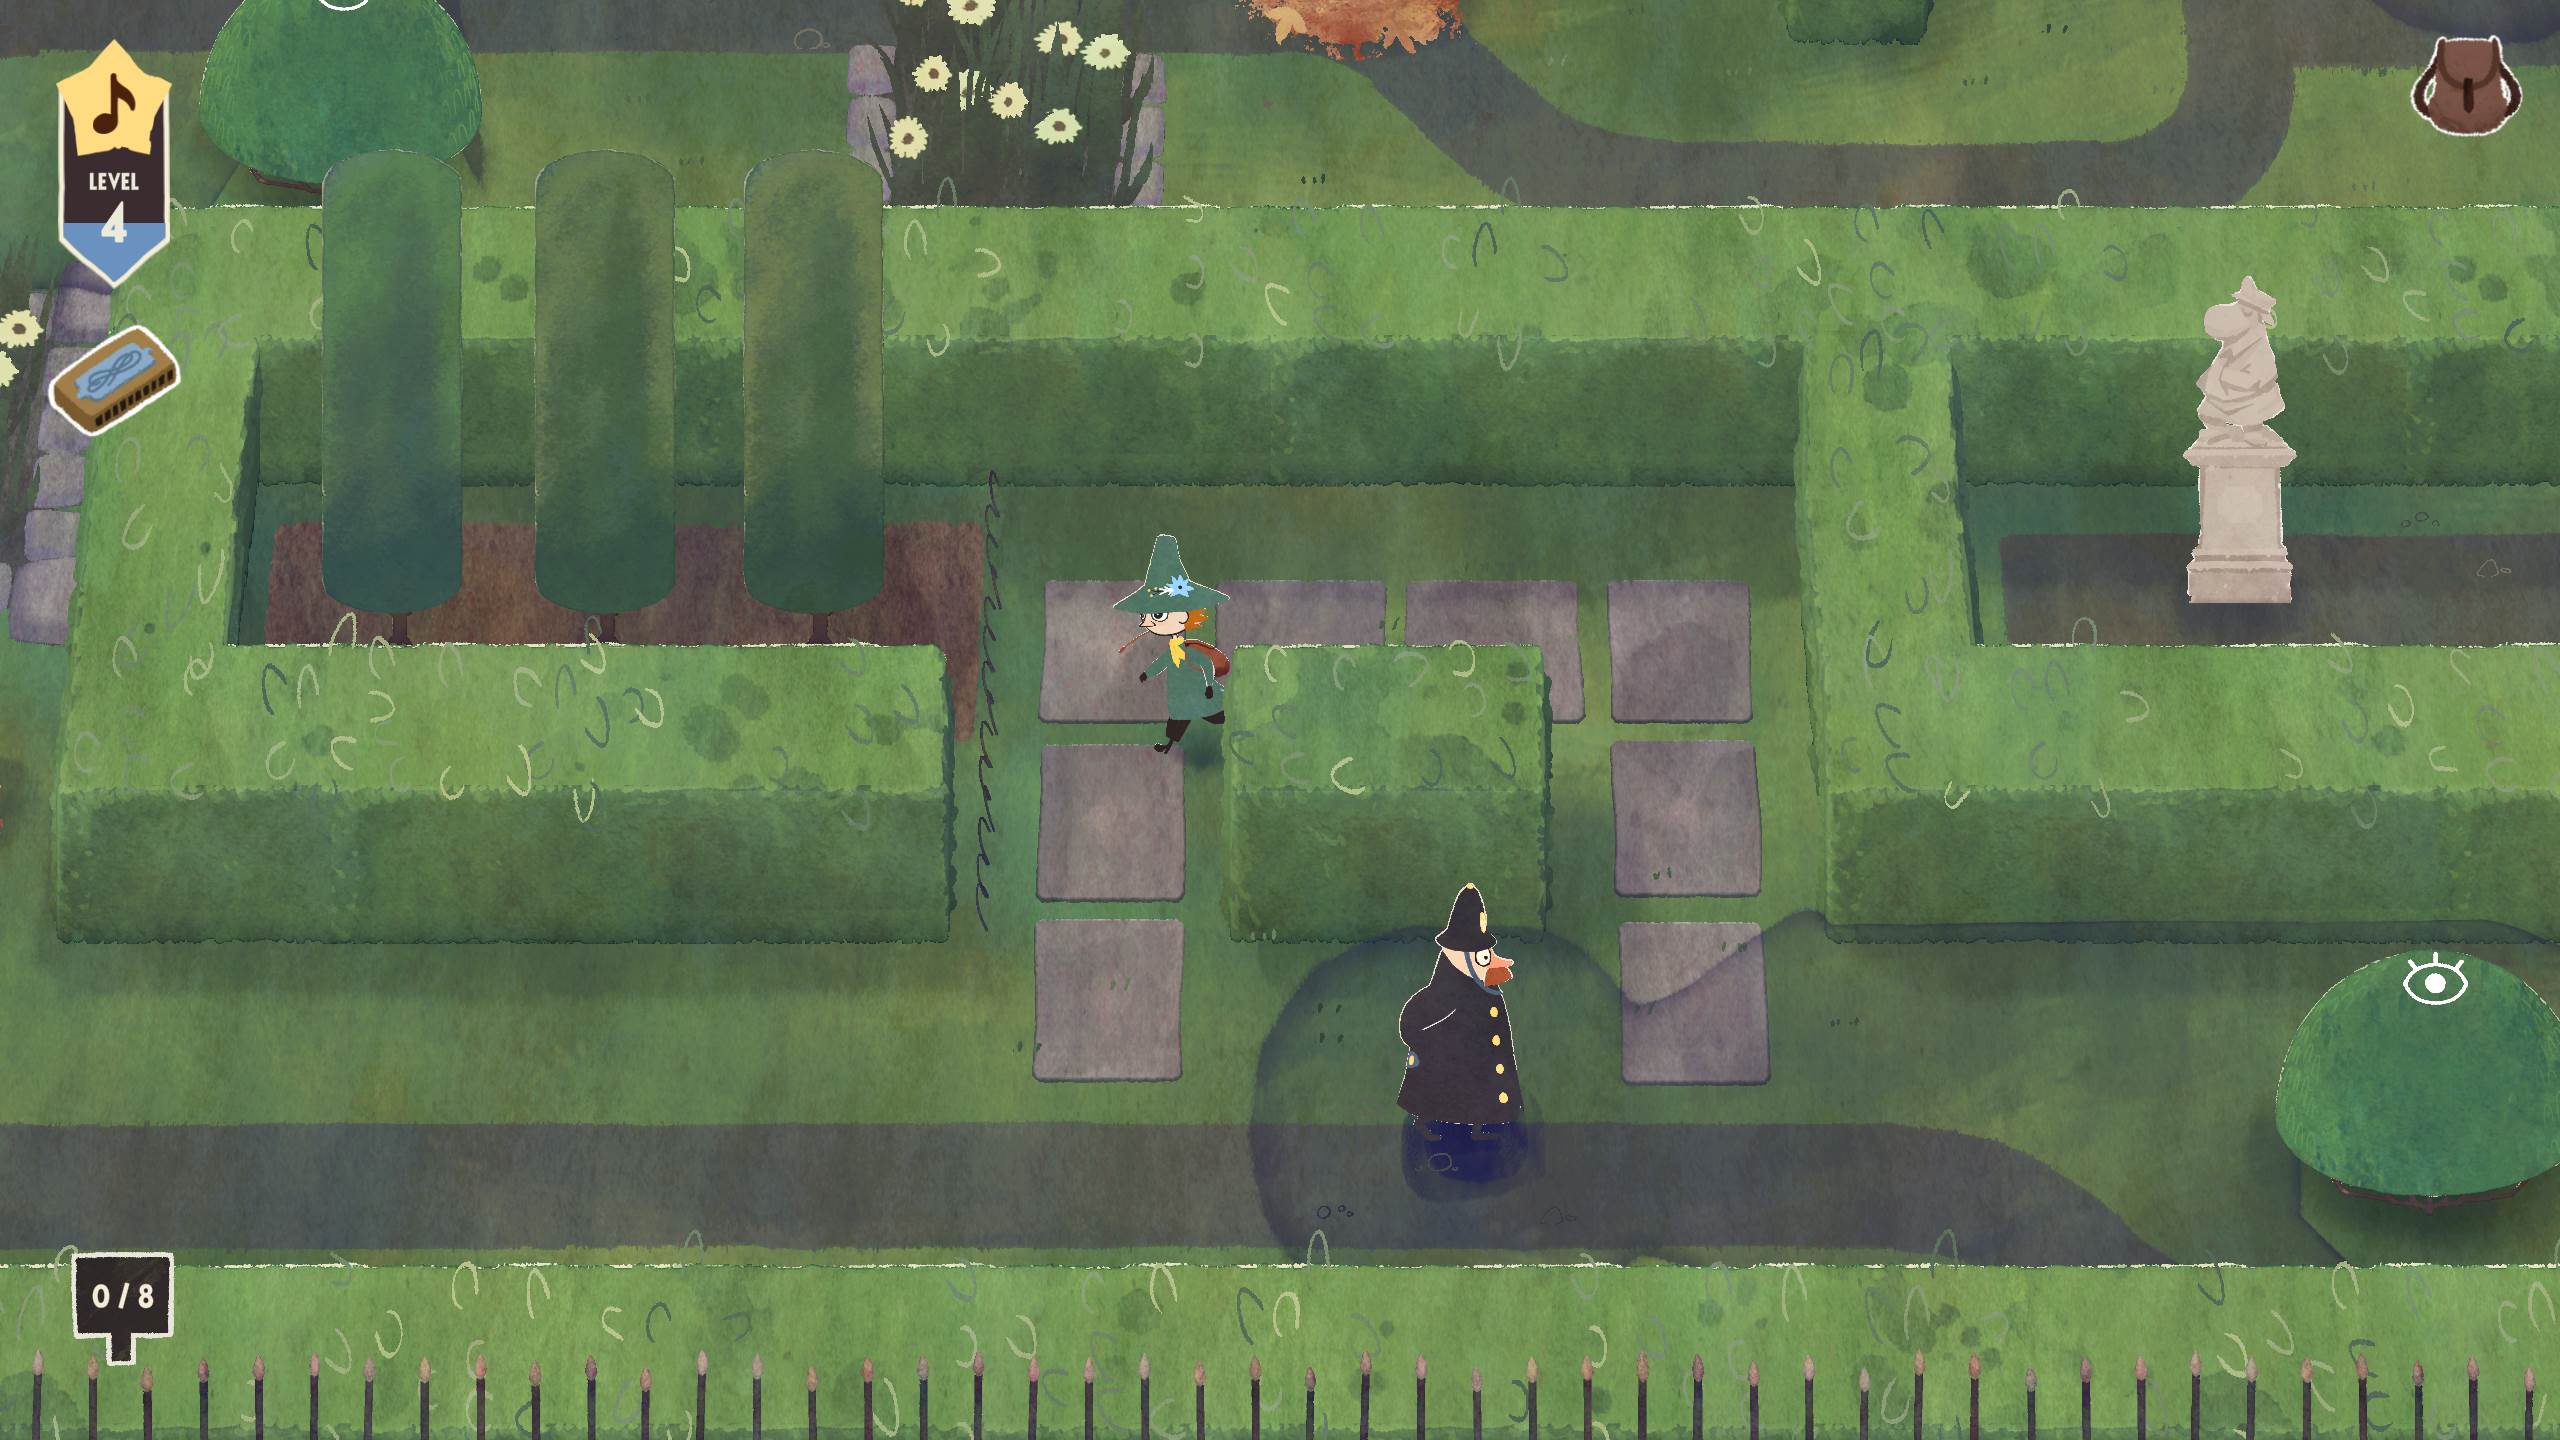
In the park, you can hide in semi-circular bushes with the ‘eye’ sign on them. While in these bushes, you can’t be seen by the police officers, even if you are in their visual range.

Wait for the first cop to look to the west and then run onto the flagstones to his north. When the cop goes east, run west.

Proceed west and then north to find a cop looking left and right. Hug the fence and go north to find a statue. Topple the statue.

Return to the hedge to the west of the left-and-right-looking cop. When this cop looks right, quickly go and hide in the bush to his south.

Proceed past the flower path to the east and keep going to the far east. There’s a statue in an alley to the south, so topple it.

To the north of this statue, you’ll find a cop who look to the north and then to the west. When the cop starts turning to the west, quickly go to the sign and remove it, then run east, out of the cop’s range.
Be careful not to approach too close to the cop!

Go north now, past the stationary cop. Go west to find a yellow bird and charm it with your harmonica.
When the cop approaches the bird, quickly run east, then south, and past the route that the cop was blocking.

Run south to find a large stone flowerbed. Drag it to either the left or right, so that you can return to the previous area if needed.
Now return to the path and go west.
There’s a cop here who patrols the curving hedge. Wait for him to start going north, and then quickly sneak into the bush in the middle of the circular hedge.

Then, whenever the cop looks away from the bush, quickly get out and take out the signs one at a time, hiding back into the bush when the cop is making his return.
Run northeast now to find another locked gate and a cop to the west who is himself covered by another cop.
Ignore them for now and go east, where you’ll find a black bird. Play the harmonica for the bird and aim for the cop to the northeast.

Once the bird is launched, take out the sign and then grab the key before running to the gate, out of the cop’s range.
Use the key on the gate and take out the sign next to the gate.

The next sign, to the west, is covered by two cops. You will need to distract the northern cop and wait for the southern cop to look away.
Use your harmonica on the black bird and aim for the northern cop, then, take out the sign while it is not covered by either cop.

Hide in the bush immediately after to avoid being spotted by the northern cop.
Once the coast is clear, go north to the fence and then east, where you’ll find another flower bed. Push it to the south to block the cop’s view.

With the cop’s view blocked, return to the previous fork and go southeast, past the flower bed.
Topple the statue on the way here and then remove the sign to the north to get rid of this park.

Head on to the next part of our walkthrough of Snufkin: Melody of Moominvalley here!