Sep
Cocoon Walkthrough – Part 2 (Up to 17%, Boss 1)
Cocoon Walkthrough - Table of Contents
Stuck in Cocoon? Check out our walkthrough of Cocoon to find out how to acquire a drone and beat the first boss of the game.
Welcome to the Into Indie Games walkthrough for Cocoon!
For more information on Cocoon beyond this walkthrough, check out the official website!
Part 2
Once you’re on the platform to the northwest of the activator, put the sphere on the dock here to be taken up. Leave the sphere here and go northwest.

You’re trapped by the fence again, but that’s alright. Here, you’ll find five symbols, which I’m going to describe as butterfly, triangle, diamond, pentagon, hexagon.
You need to pass through these symbols in the right order in order to release a drone. However, the order is not immediately obvious.
To figure it out, grab the drag-ball to the southwest and drag it all the way to the right. Now, note the symbols from lowest to highest, and you’ll have your order spelled out.

The order is: triangle, hexagon, pentagon, butterfly, diamond.
Once you get the order right, you’ll unleash a drone. Take the drone to fence to disable it. Then, lift the orange sphere to be taken back to the activator.

Put the sphere in the activator and then use action to hop into the last-used hopper in that sphere.

Go northwest to disable the fence here and then go east to find a giant, closed set of doors. Just southeast of the door, you’ll find a blue contraption. Proceed to it and it will consume the drone in exchange for opening up the door.
Go north through the opened door and then northwest, where you’ll encounter an uncrossable gap.

Go down the ramp here and grab the drag-ball on the giant contraption with the rectangular top. Drag the drag-ball south so that the top of the contraption is aligned with the gap.
Then, let go of the drag-ball and simply cross the previously-uncrossable gap.

Use the jump pad and the next drag-ball (more like a lift-ball) and go as far north as possible until you encounter a hopper and a dock.
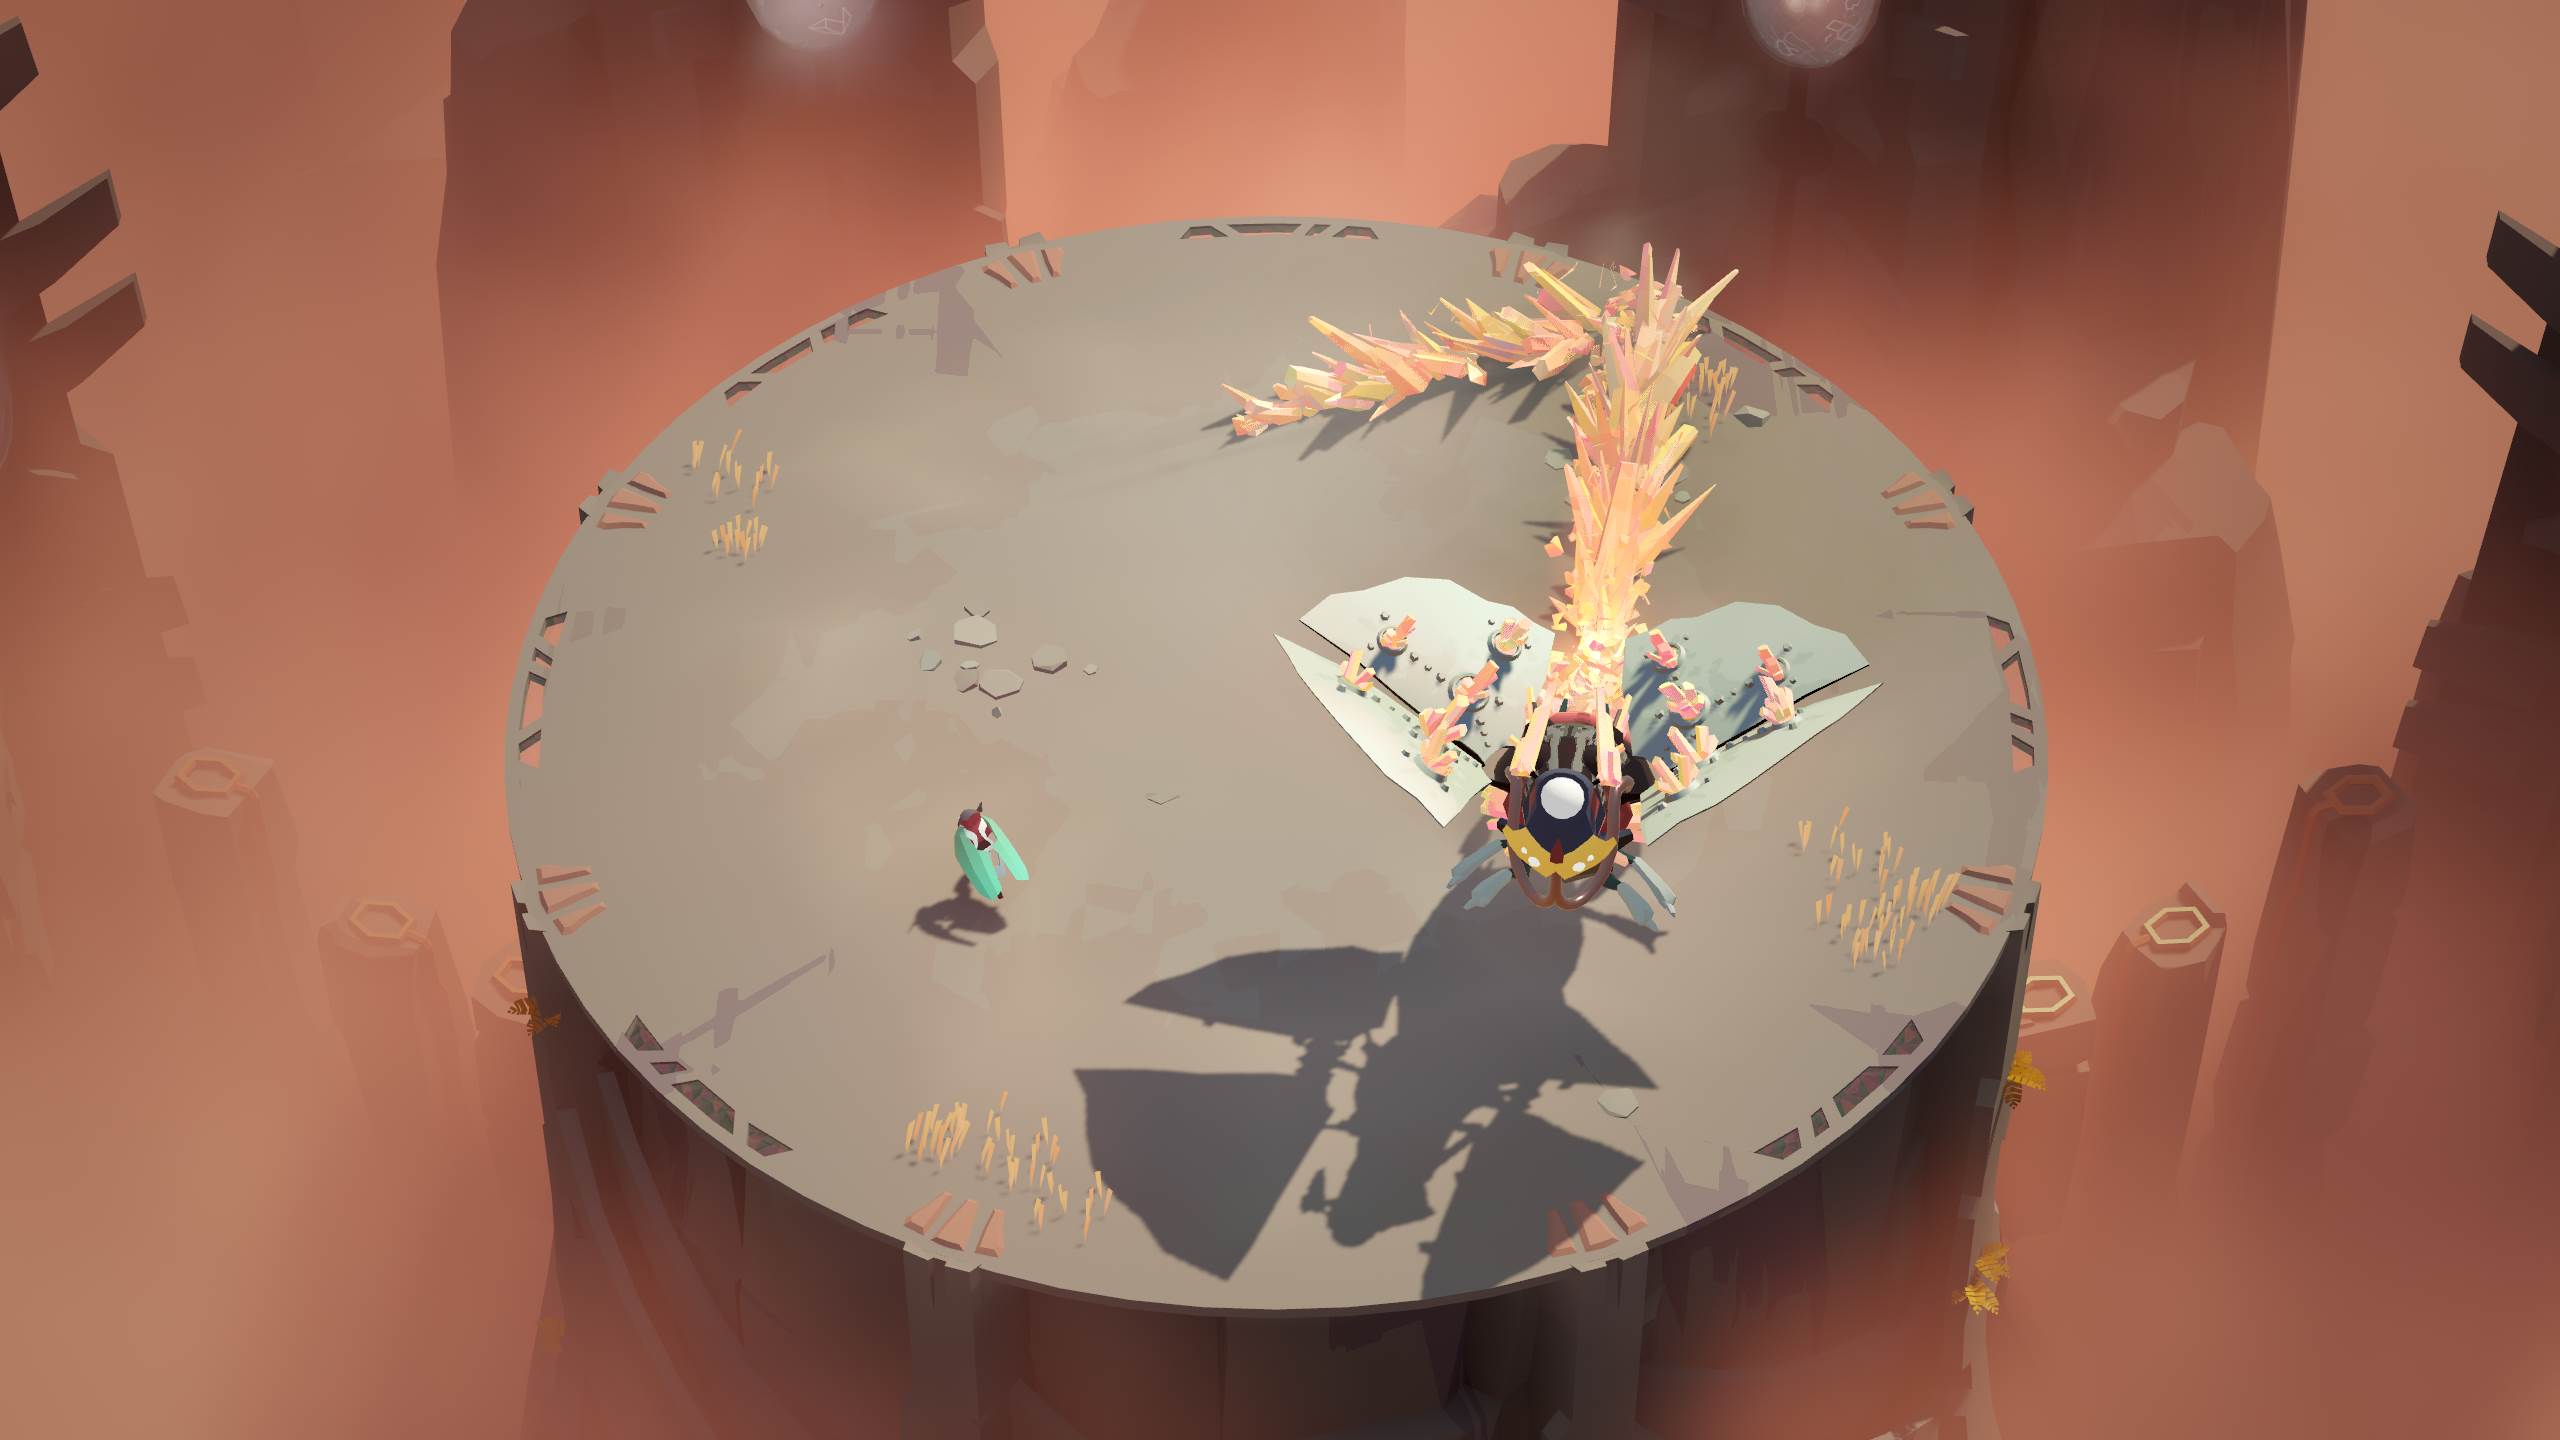
Go north from the hopper to enter your first boss fight.

At the beginning, you won’t be attacked. Wait until you find something digging through the ground and then pull it out. This is a bomb that you’ll use to attack the boss. Use the bomb near the boss in the center.
When the boss fight starts, keep your distance from the wasp. and also the crystals it leaves behind. When the mini-wasps swarm you, shake them off immediately.

Keep avoiding the boss’ attacks until you can dig up a bomb from the ground (keep an eye out for the bomb-creature digging through the ground). Use the bomb near the boss to attack it.
Note that if the boss gets you at any time, even with the bomb, you will be tossed back out of the sphere and will have to resume from the last hopper (which is just outside the boss arena).

After hitting the boss with your bombs twice, the boss will take an environmental form. Here, you have to avoid the crystals as they revolve around the boss.
At some point, a bomb will pop up. Make your way to the bomb by exploiting the gaps in the crystals, and bring the bomb to the boss in the center before detonating it.

This will destroy the boss and activate a hopper. Use the hopper to jump back out and power the sphere. You can now use this sphere in the overworld to pass through previously invisible pathways.
Head on to the next part of our Cocoon walkthrough here!