Oct
Cocoon Walkthrough – Part 12 (Up to 81%)
Cocoon Walkthrough - Table of Contents
Stuck in Cocoon? Check out our walkthrough of Cocoon to find out how to use the powered-up white sphere to shoot at black diamonds.
Welcome to the Into Indie Games walkthrough for Cocoon!
For more information on Cocoon beyond this walkthrough, check out the official website!
Part 12
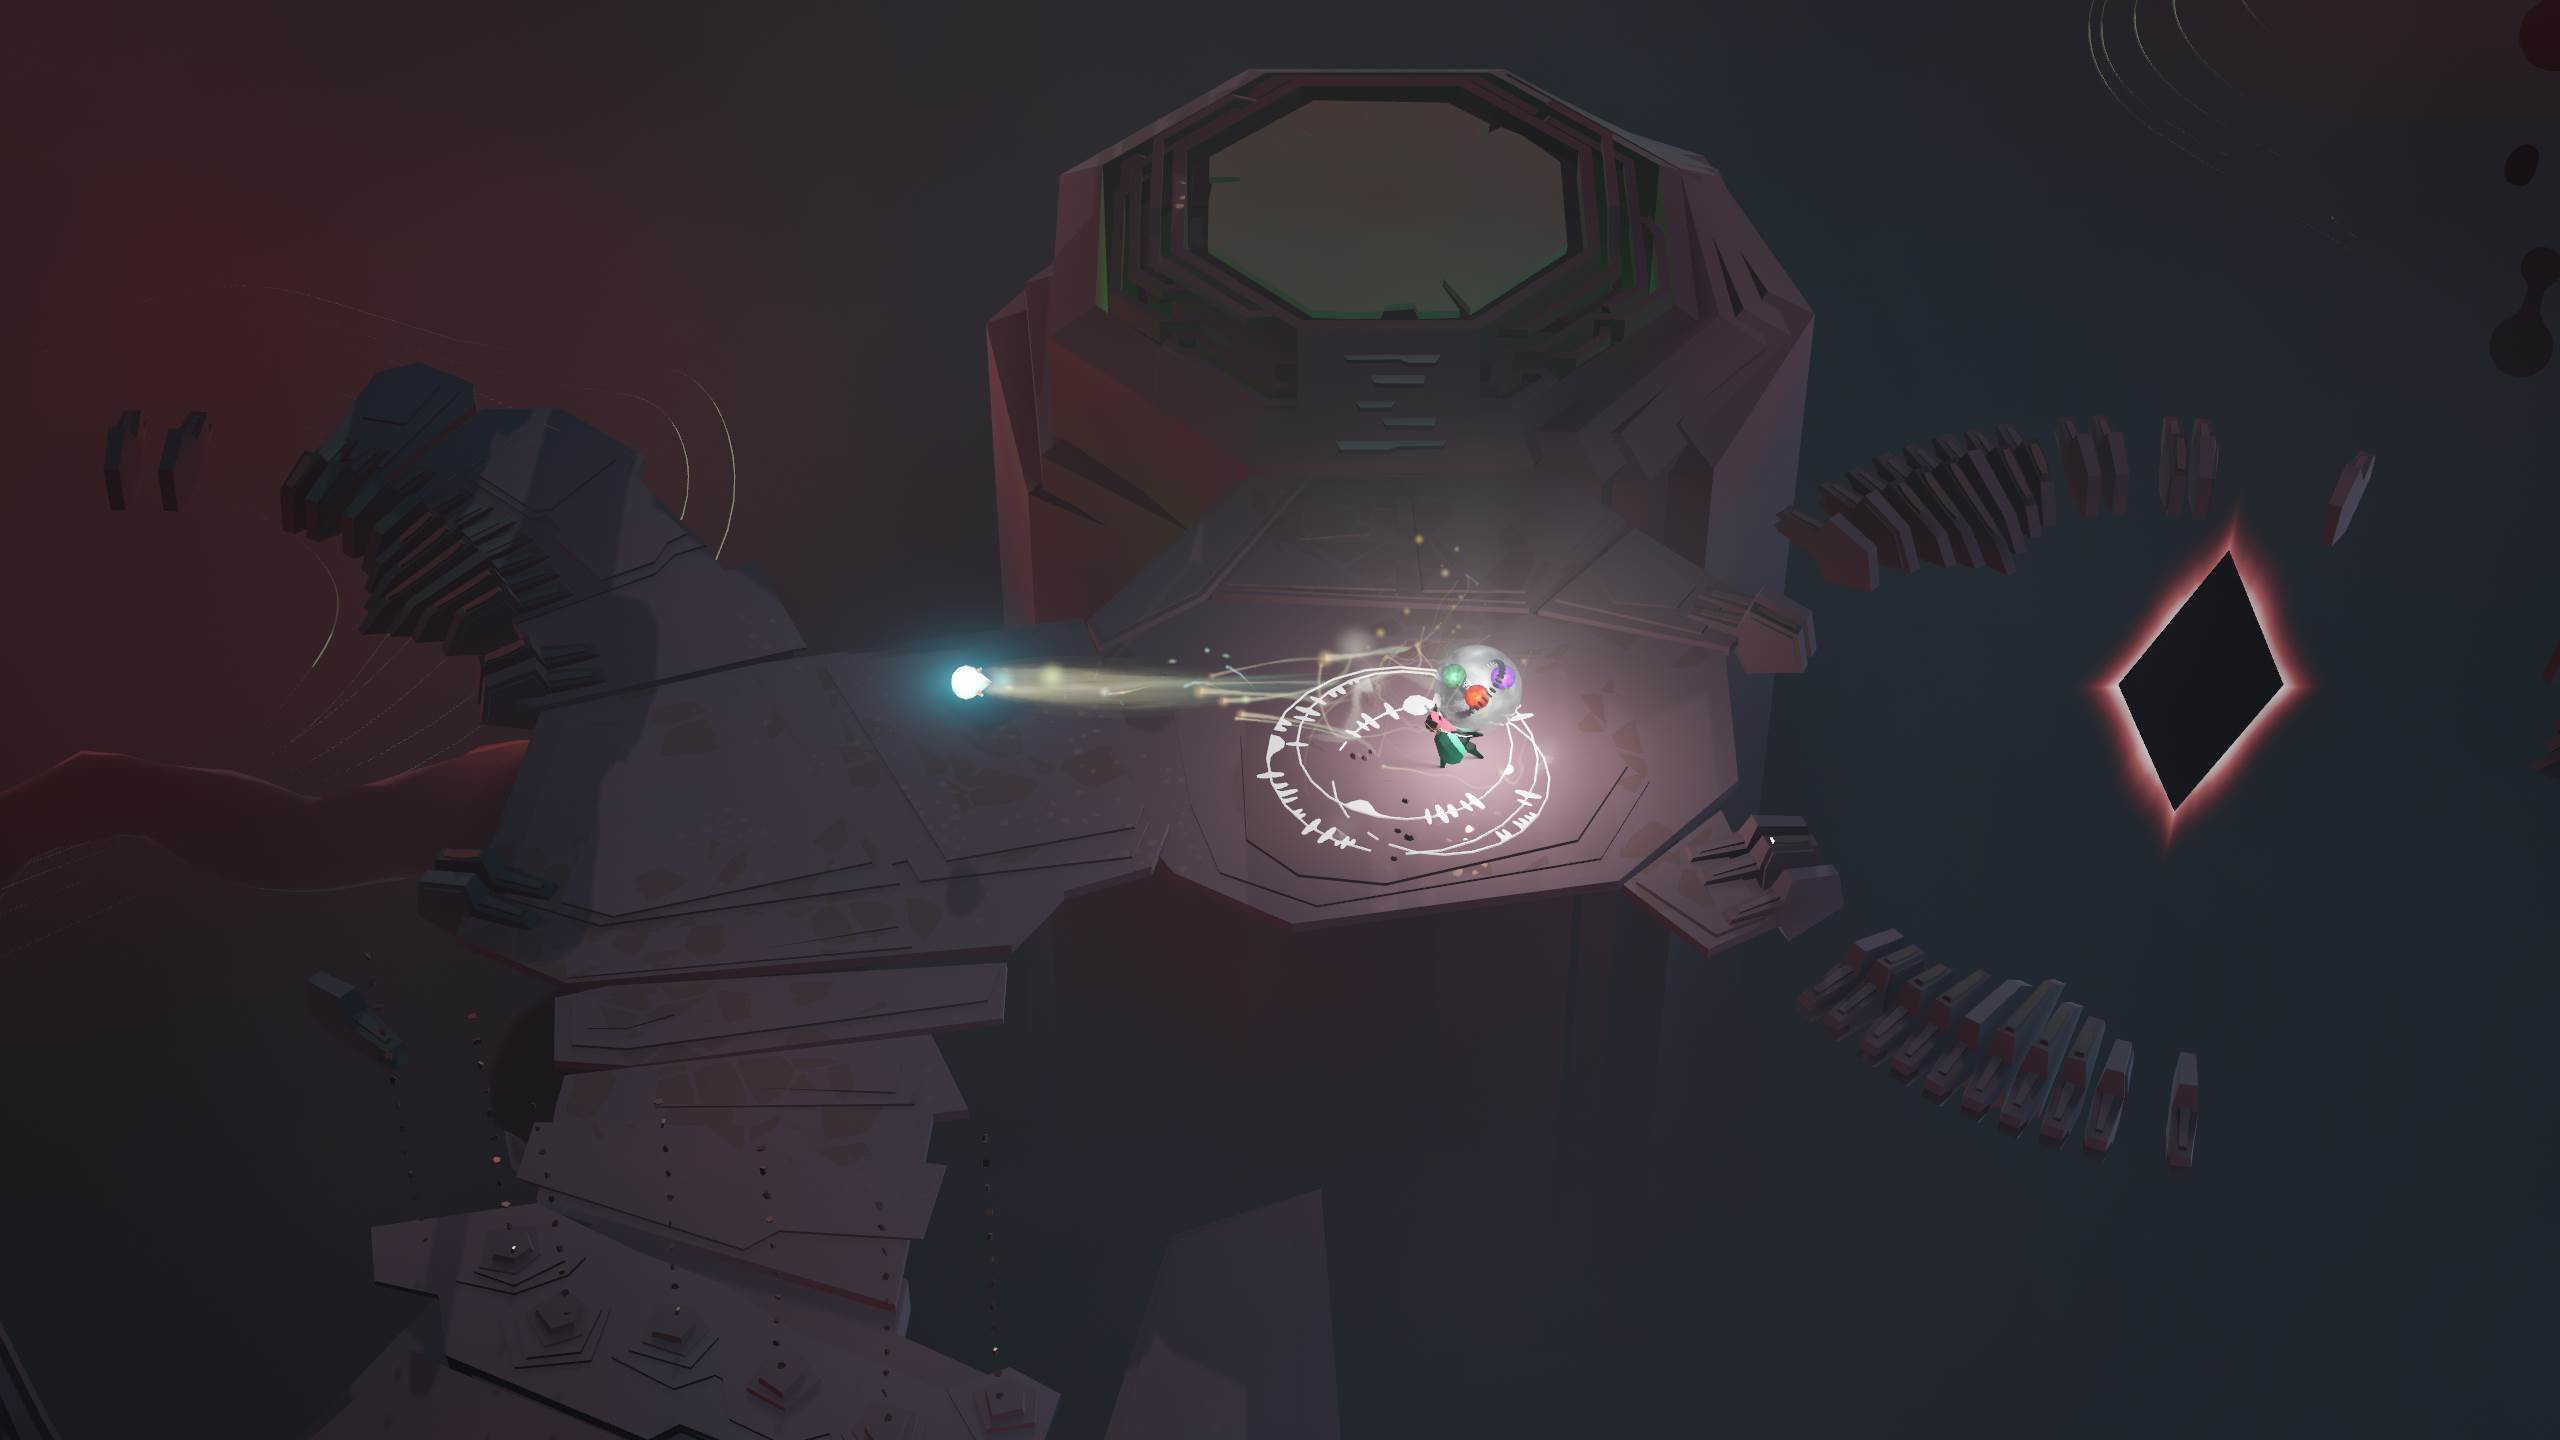
Now that the white sphere is powered up, pick it up and stand on any one of the white circles. While they won’t send you flying anymore, you can instead shoot from your sphere while standing on these circles.

Specifically, you can shoot the black diamonds near the circles. Shoot down two diamonds for each circle to proceed.
Once the platform goes up, go east and stand on the white circle there. Shoot the black diamond to eliminate the fence blocking your way.

At the next white circle, which is to the north, you’ll find that you cannot shoot the black diamond directly. So instead, shoot at the glowing wall – this will cause your shot to bounce to the black diamond.
Proceed north again, but don’t bother with the white circle just yet. Go west to press the button there.

Return to the white circle after pressing the button and shoot at the glowing wall. This will open up the fence ahead by striking the black diamond.
Before proceeding, however, go west again and press the button there a second time to restore the glowing wall’s position. Then, proceed east past the lowered fence to find another white circle.
You can shoot the black diamond from here, but that doesn’t give you enough time to get on the elevator to the north. So instead, shoot at the wall to the west (which you restored the position of with the button).

Upon shooting, quickly run to the elevator to the north and wait for the shot to hit the black diamond and raise the elevator.
Proceed north and place the white sphere on the pedestal there. After the short cutscene, pick up the white sphere again to be taken to the next area.

Go northeast up the stairs. In this puzzle area, there’s no white circle to shoot from, but you will find a turret to the west. If you put your sphere in the turret, it will automatically keep shooting until you take the sphere out.
Our goal is to hit the black diamond using the turret’s shot, and simultaneously be on the elevator to the east of the diamond, when the diamond is hit. It’s easier than it sounds, but this will require a bit of quick timing.

Begin by putting your sphere in the turret to the west. Then, go to the button in the center of the area. There are four retracted walls surrounding the button. Starting from the top-left, we’ll label these 1, 2, 3, and 4.
By pressing the button once, you’ll raise 1 and 2. By pressing it again, you’ll raise 3 and 4. By pressing the button a third time, you’ll retract 1 and 2, and a fourth press will retract 3 and 4.
This is how you’ll time your button presses: wait for the shot to pass 1, then press the button twice. This will raise all four walls and ‘trap’ one shot between the four walls.

At the same time, the turret will continue to fire at Wall 1, bouncing off it to the diamond and raising/lowering the elevator.
Wait for the elevator to be lowered, and then pick up the white sphere to disable the turret.

Then, go back to the button and wait for the shot to bounce off of Wall 2. Immediately press the button once the shot is clear of Wall 2, and run for the elevator.

If timed right, you will be on the elevator moments before the shot hits the black diamond. This raises the elevator and you can now go north onto the white circle.
Shoot the black diamond and then stand on the concentric rings beyond the lowered fence. Hold down action on these to unlock the first shooting gallery challenge in the game.

Go south, west, and north to stand on the shooting gallery circle and shoot at the black diamond to start the challenge.
In the shooting gallery challenge, you must hit all the black diamonds within an specific time limit. Should you hit a diamond, the time limit will be extended. You can see how much time you have based on the number of rings around your character.

If you go too long without hitting a diamond, you’ll fail and have to start the challenge all over again.
This is required to continue with the game, so do your best out there!
Once you complete this challenge, use action to fire a ball of energy at the boss to disable it temporarily. When the boss offers you the green sphere, pick it up.

Then, use the action button to fly through the waypoints and when you land, go northeast to find a sphere activator.
Head on to the next part of our Cocoon walkthrough here!