Sep
Cocoon Walkthrough – Part 4 (Up to 32%, Boss 2)
Cocoon Walkthrough - Table of Contents
Stuck in Cocoon? Check out our walkthrough of Cocoon to find out how to get past the sticky strand contraptions and beat the second boss.
Welcome to the Into Indie Games walkthrough for Cocoon!
For more information on Cocoon beyond this walkthrough, check out the official website!
Part 4
Pick up the green sphere and use the hopper to go back to the activator – with your drone in tow.

Now once again, swap the green and orange spheres, and hop into the green sphere. Go north to disable the fence and then further north onto the crystalized walkway.
At the fork, go north and then east, until your drone is caught in the yellow strand. That’s alright for now. Just past the strand contraption, you’ll find a dock to the north. Go there.

Put your sphere in the dock and wait for the contraption to go all the way east. Now go to where the drone re-spawned (to the west) and break it out of its shell.
Go back to where your sphere is (with the drone), and pick up the sphere to have the sticky strand contraption return to its original position.

Run east once the contraption has passed you by, and disable the fence with your drone. Then, go south and east to find a hopper.
Go east from the hopper to find a dock, and a sticky strand contraption perilously close to it. Put the sphere in the dock and quickly run to the hopper. Use the hopper to get out to the activator.

If you look at the green pool, you’ll notice the sticky strand contraption moving to the west. Once it’s gone, hop back into the green sphere and run right to pick up the orange sphere.
Now go north to find another door-opening contraption. Sacrifice your drone to it to open the giant black door.

Go north from here to find a purple button – press it twice. Go west from the button to go up the crystalized walkway and find the next dock. Put your sphere in the dock to open the outer gate.
Now pick up the sphere again quickly run north before the gate closes. The inner gate will be open for you already, so go through.

Up ahead, you’ll find some bars that will prevent you from taking your sphere through. No worries – look to the east of the walkway to find a purple pipe (it’s partially obscured). Deposit your sphere to it.

Now pass through the bars and pick up the sphere from the other end of the pipe. Go north again to find a hopper and a dock.
Ignore the dock and use the hopper with your sphere held, so that you’re back to the activator. Put your sphere in one of the docks by the activator and hop back into the green sphere.

Now pass through the bars to the north and use the next hopper to get back out of the activator. Pick up your orange sphere and hop into the green sphere once more.
At this hopper, you’ll find yourself at a fork. If you go east, you’ll be blocked by a couple of fences. So instead, go west and south to find a drag-ball.

Put your sphere in the slot to activate the drag-ball and the drag it all the way to the other end of the circular path. Once you’re done, pick up the sphere and go west again.
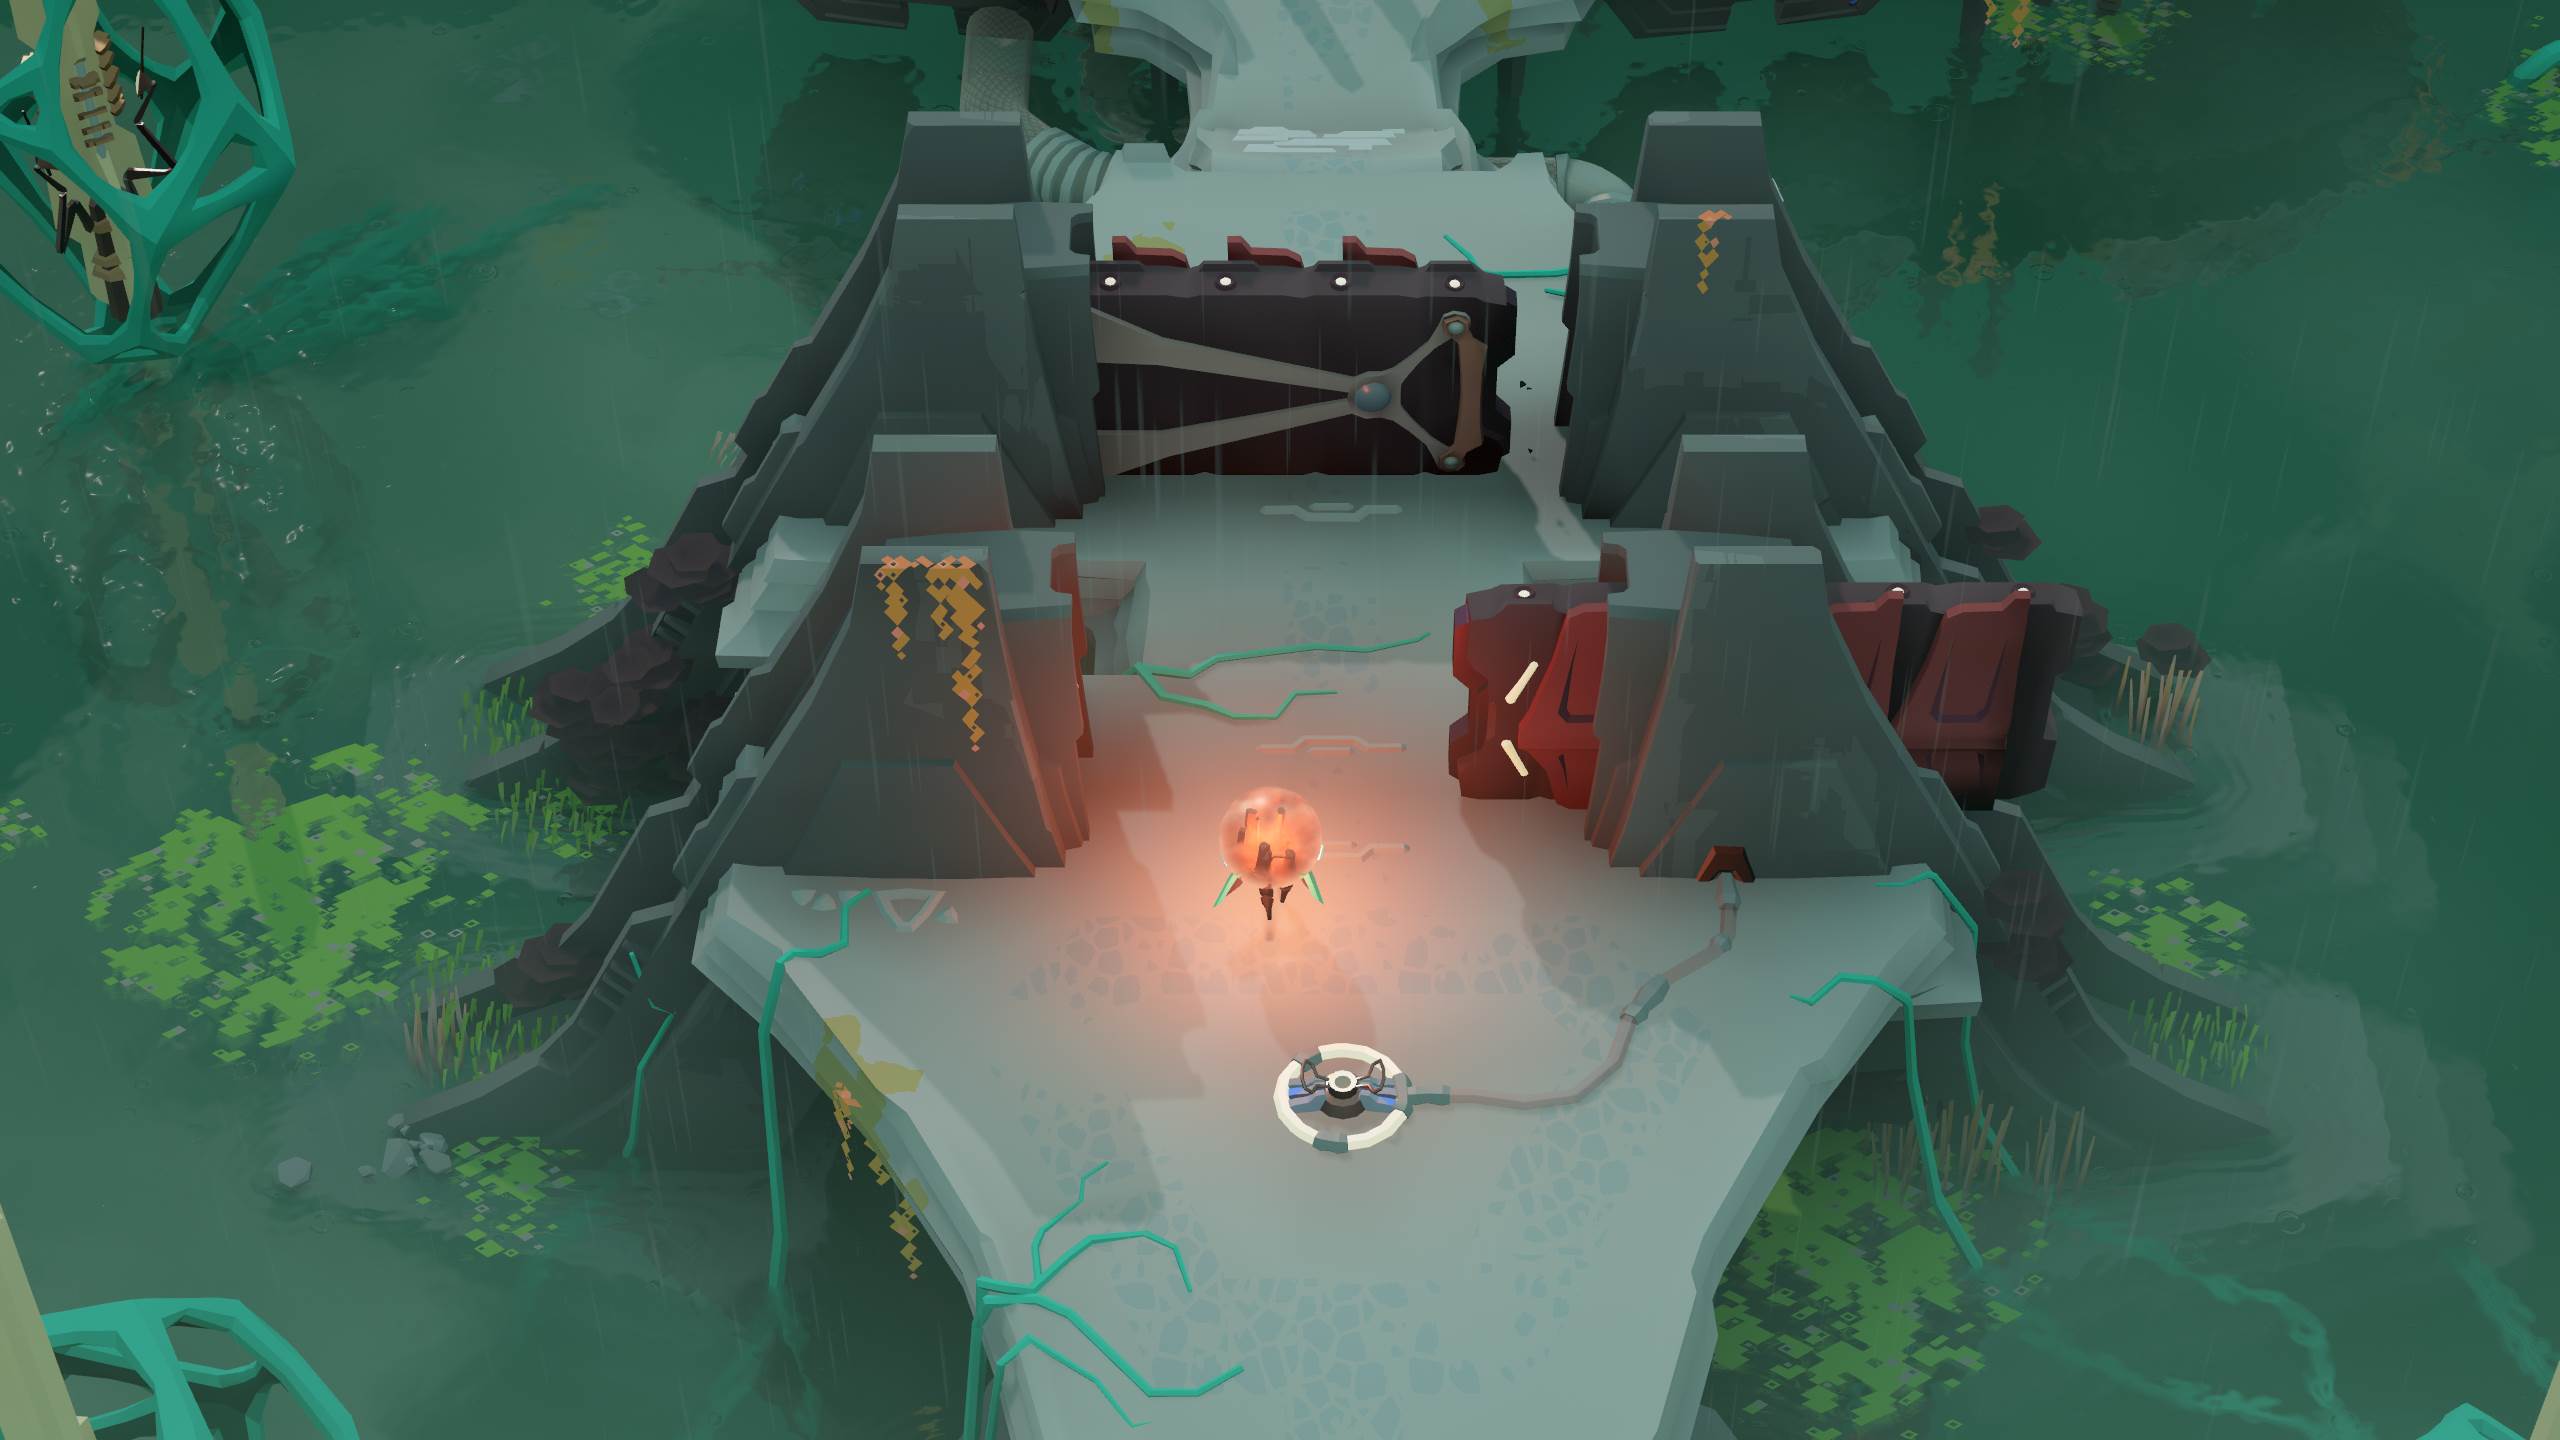
Go north up the stairs and use the jump pad to be taken to a hopper. Put your sphere in the nearby dock to enable the bridge to the second boss fight. Go north when ready.

In the boss arena, pull the red ball away, then when you are hovering, take it on top of the boss in the middle of the arena. Drop the ball-bomb onto the boss to start the boss fight.
Your goal now is to get the boss to attack the slightly-red balls, which makes them fully red. Once this happens, drag the ball away to start hovering.
When hovering, avoid the boss’ projectile attack and wait for the boss to sprawl itself on the ground. When the boss does this (and only when the boss does this), go on top of the boss and bomb it.

In the second phase of the fight, there will be more potential bomb pillars, which will be moving, and the boss will release projectiles twice instead of once. The boss may also use a vacuum attack to bring you closer to it. Avoid this by running in the opposite direction from the boss.
Repeat the previous strategy to proceed to the third phase.
This third phase is once again environmental. The boss will use a spin attack to ‘phase’ through the four diagonal walls in the boss arena. The spin attack will pull you closer to the boss, but you can avoid it without much trouble.

Run past the ‘open’ phased walls to run to the next compartment. Eventually, a bomb pillar will show up somewhere in the arena (likely at the opposite end of the arena).
Keep avoiding the boss and running through the phased walls to get to the bomb pillar. Pull the bomb away to start hovering and avoid the boss’ bullet hell attacks by staying in the open area as much as possible.

Finally, once the boss is sprawled out, bomb it to finish this boss fight and activate the hopper here. Use this hopper to power the green sphere. (Notice that the orange sphere is inside the green sphere – which is very convenient for us).
Head on to the next part of our Cocoon walkthrough here!