Sep
Cocoon Walkthrough – Part 1 (Up to 10%)
Cocoon Walkthrough - Table of Contents
Stuck in Cocoon? Check out our walkthrough of Cocoon to find out how to clear the tutorial of the game and get to the first activator.
Welcome to the Into Indie Games walkthrough for Cocoon!
For more information on Cocoon beyond this walkthrough, check out the official website!
Part 1
Begin by running south and to the west, so that you go down a flight of stairs. Proceed to the purple button and use your action button to enable it.

Now go down the ramp and proceed east to the next purple button. Press this and go north past the opened gate.
You’ll find a purple ball that you can drag. Drag it all the way to the right and step onto the next purple button.

Go north and press the next purple button to activate a platform going right. Once the platform docks to the far right, press the button again, but quickly pass through the platform to the south.

Now go north to the second moving platform and press the button on it to go to the left.
Go north again to the elevator and hold down action to be lifted up.
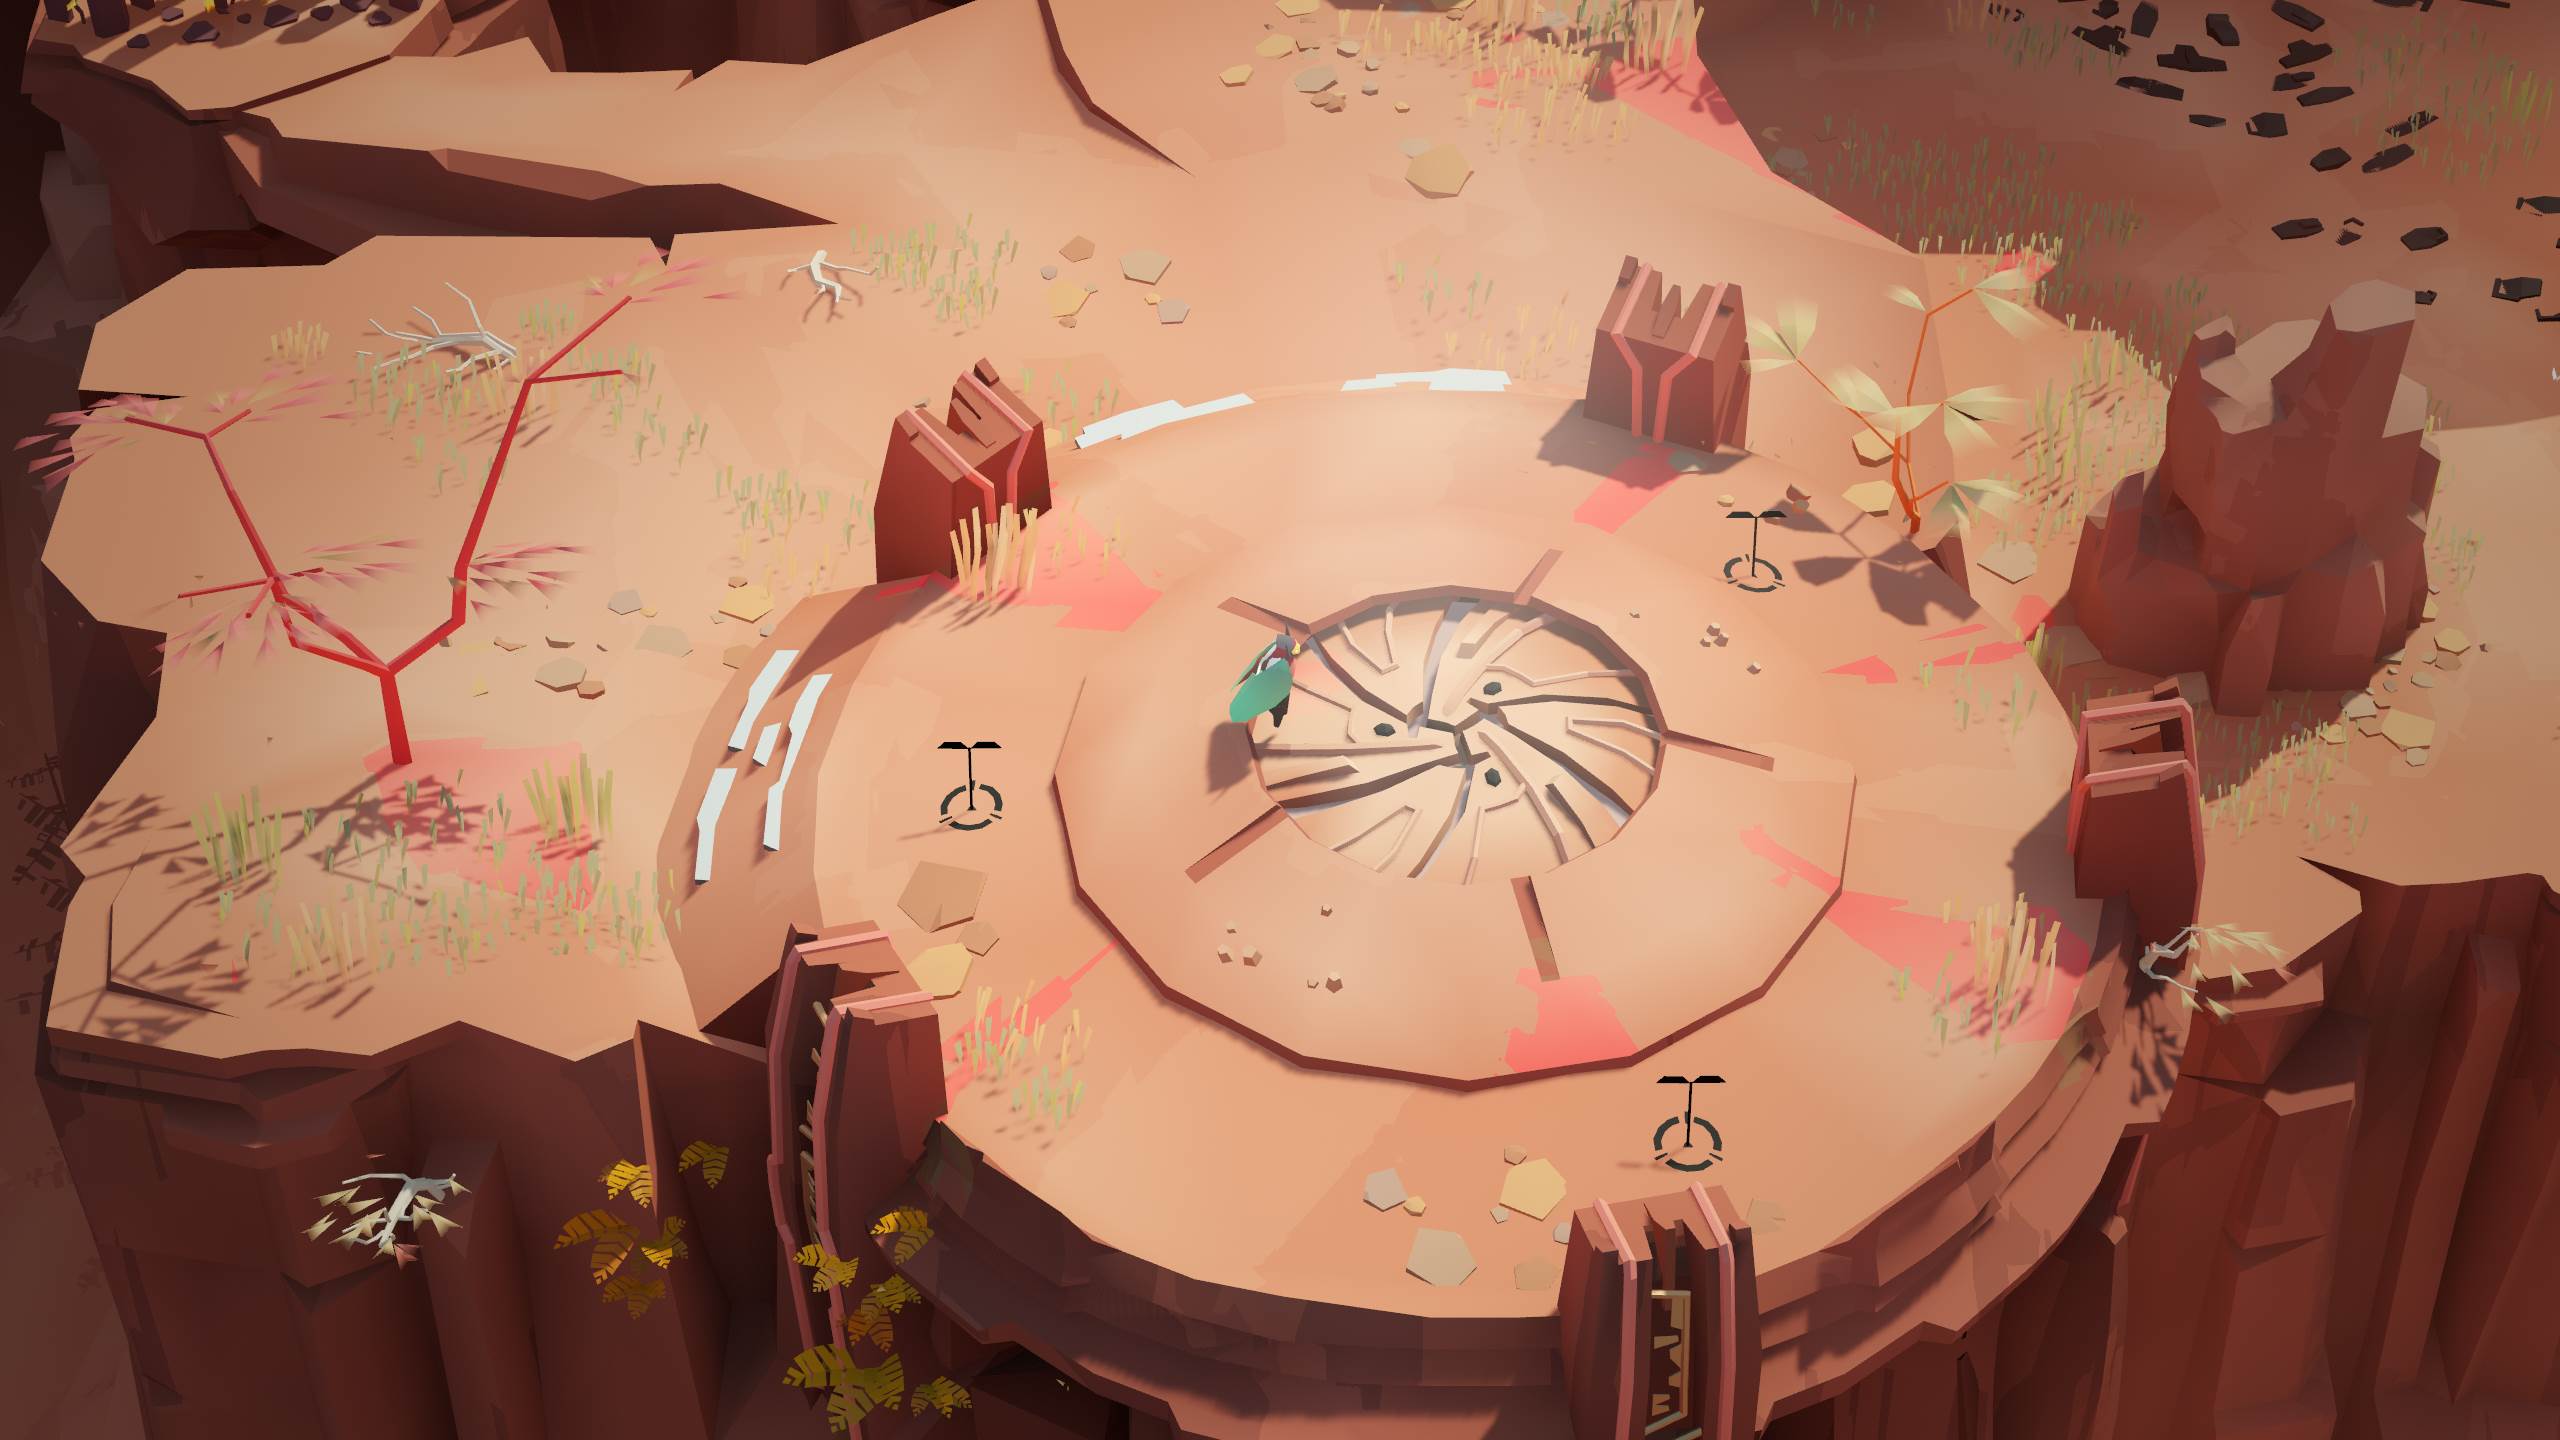
Go west and then south until you reach the area shown below. Run through the three ‘T’ shaped things sticking out of the ground to activate the central circle.

This is what we’re going to call a hopper, because it lets you hop in and out of spherical worlds. Use it to hop out.
Pick up the orange sphere and go south, then east, and then northeast.

Here, up the stairs, you’ll encounter a dock. Put the sphere on the dock to enable two bridges. Go past the two bridges and then, when you encounter to flights of stairs, take the ones on the left.
Step onto the moving platform and press the button to return to where the sphere is. Grab the sphere, return to the moving platform, and press the button again to be taken past the (now-deactivated) bridges.

Now go up the flight of stairs to the right and deposit your sphere in the purple pipe.
When the door opens, pass through and grab your sphere.
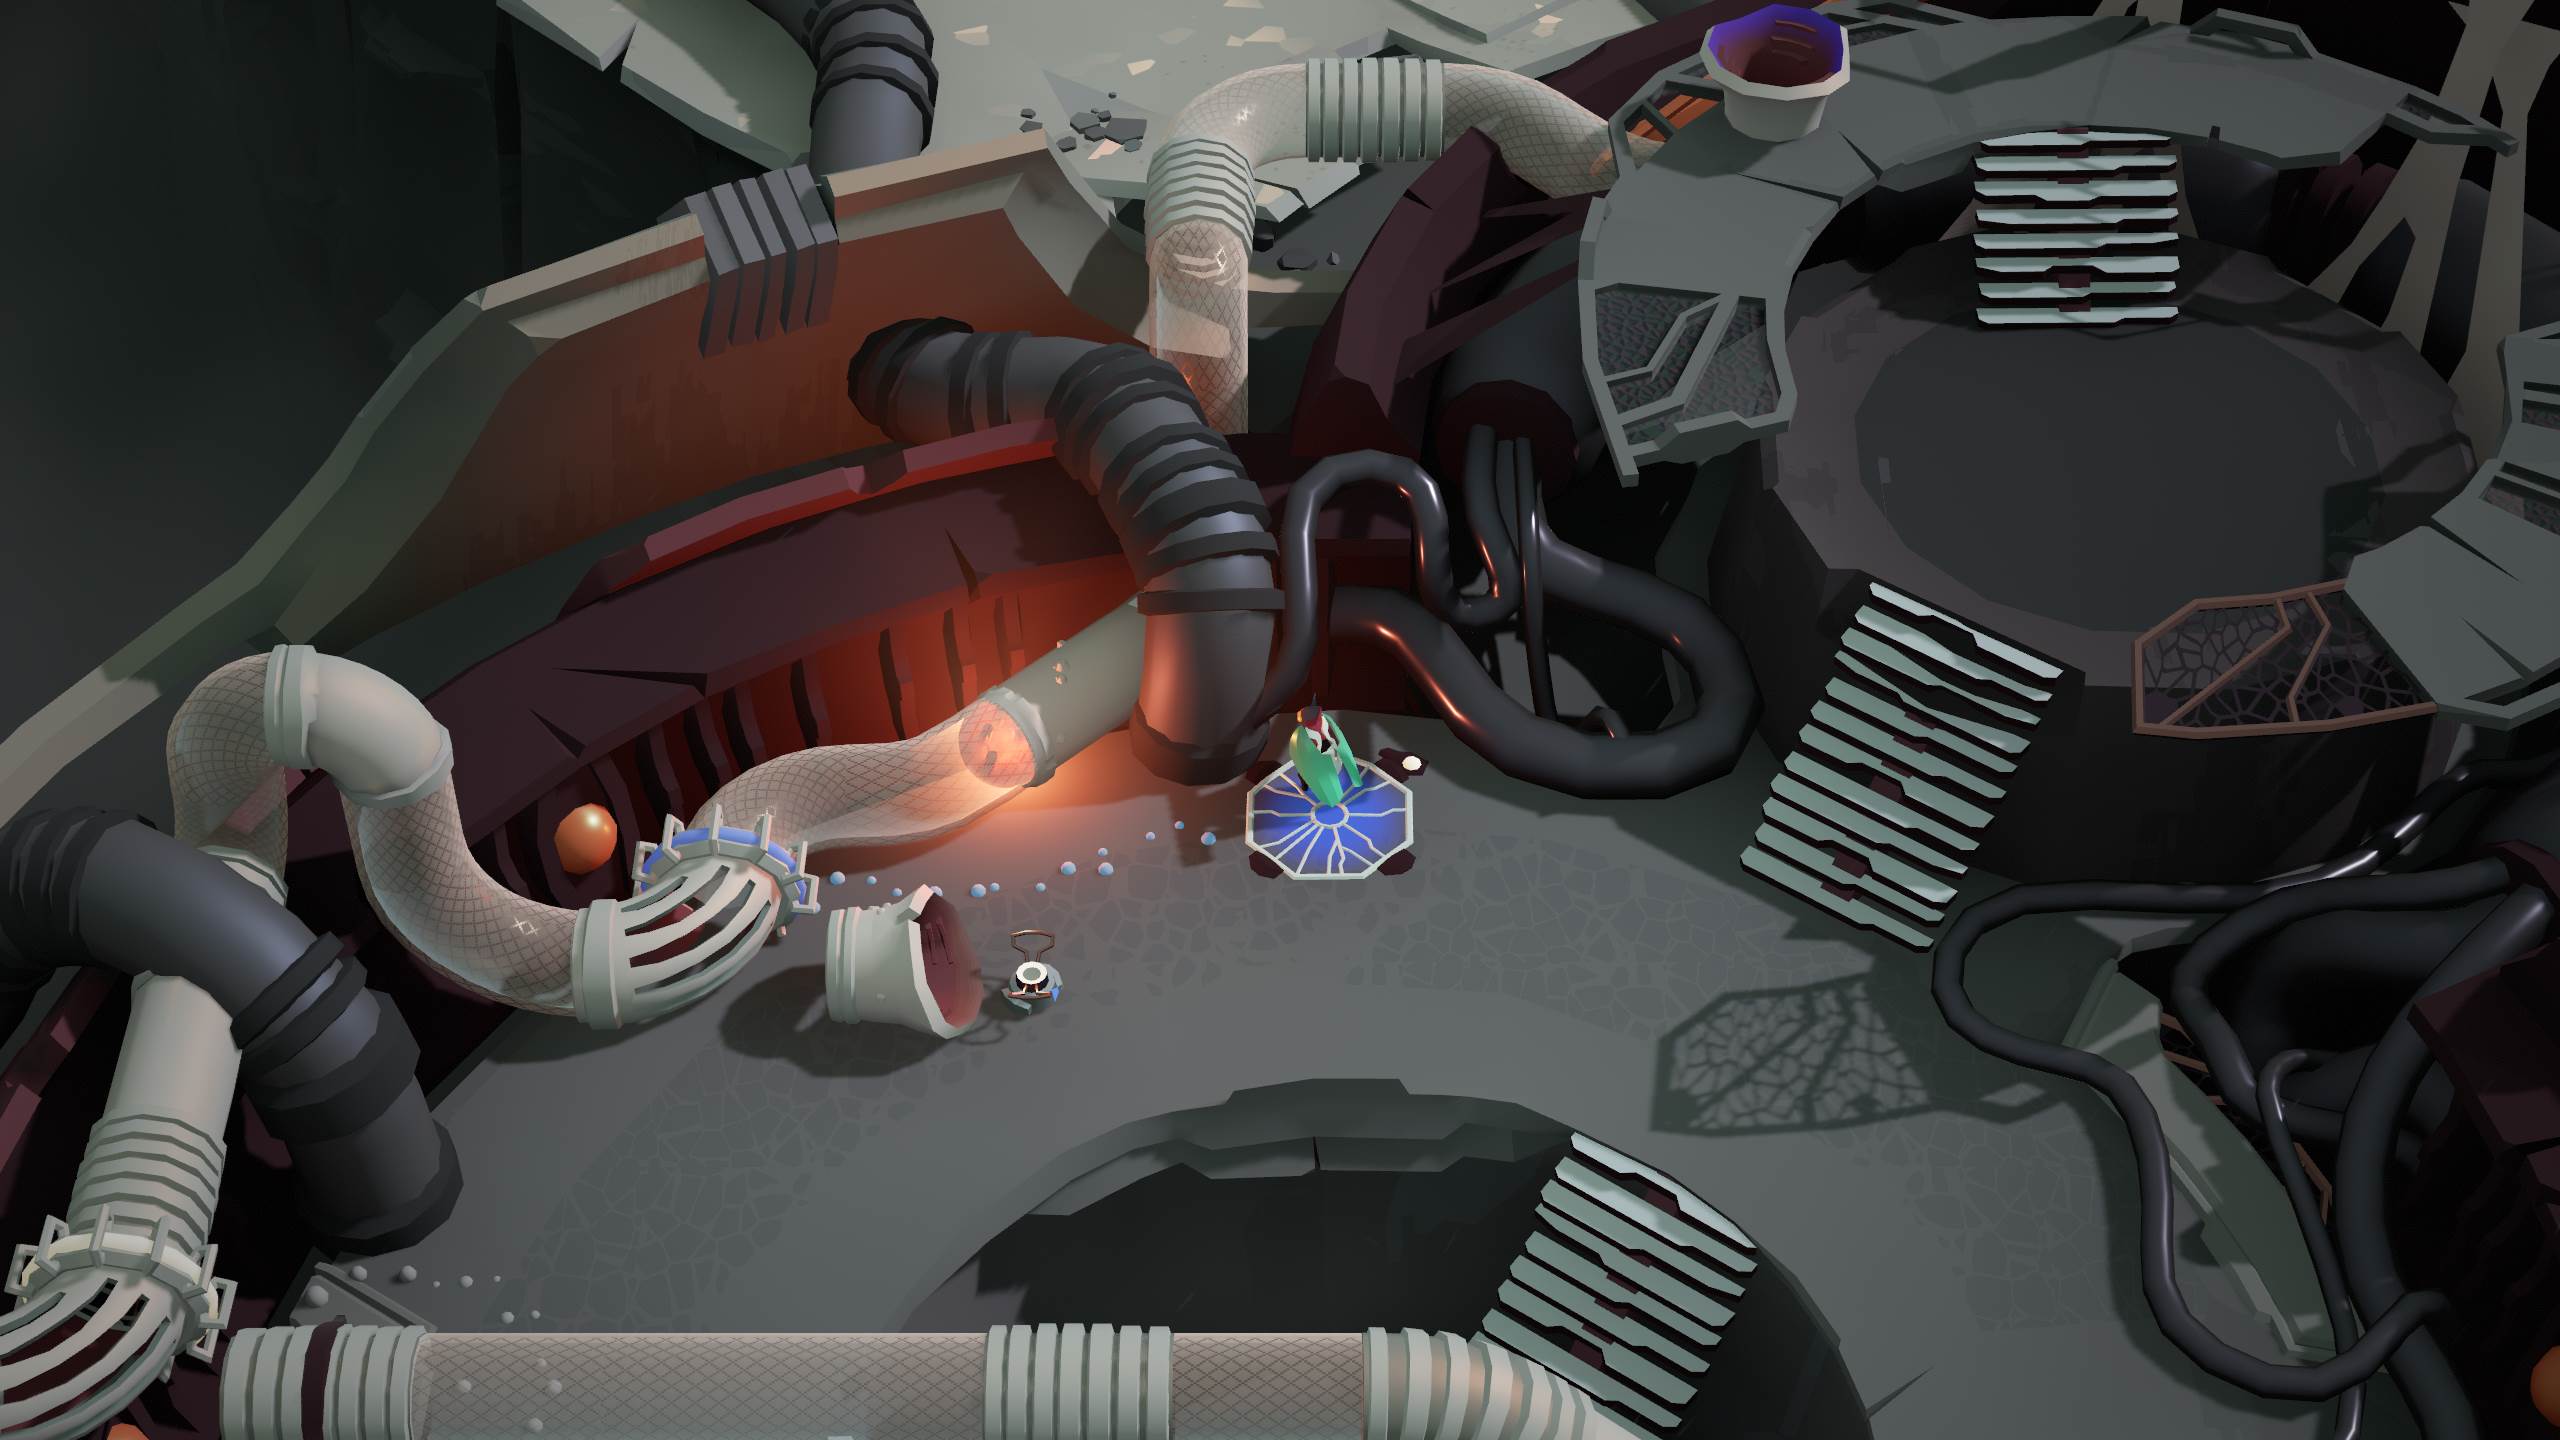
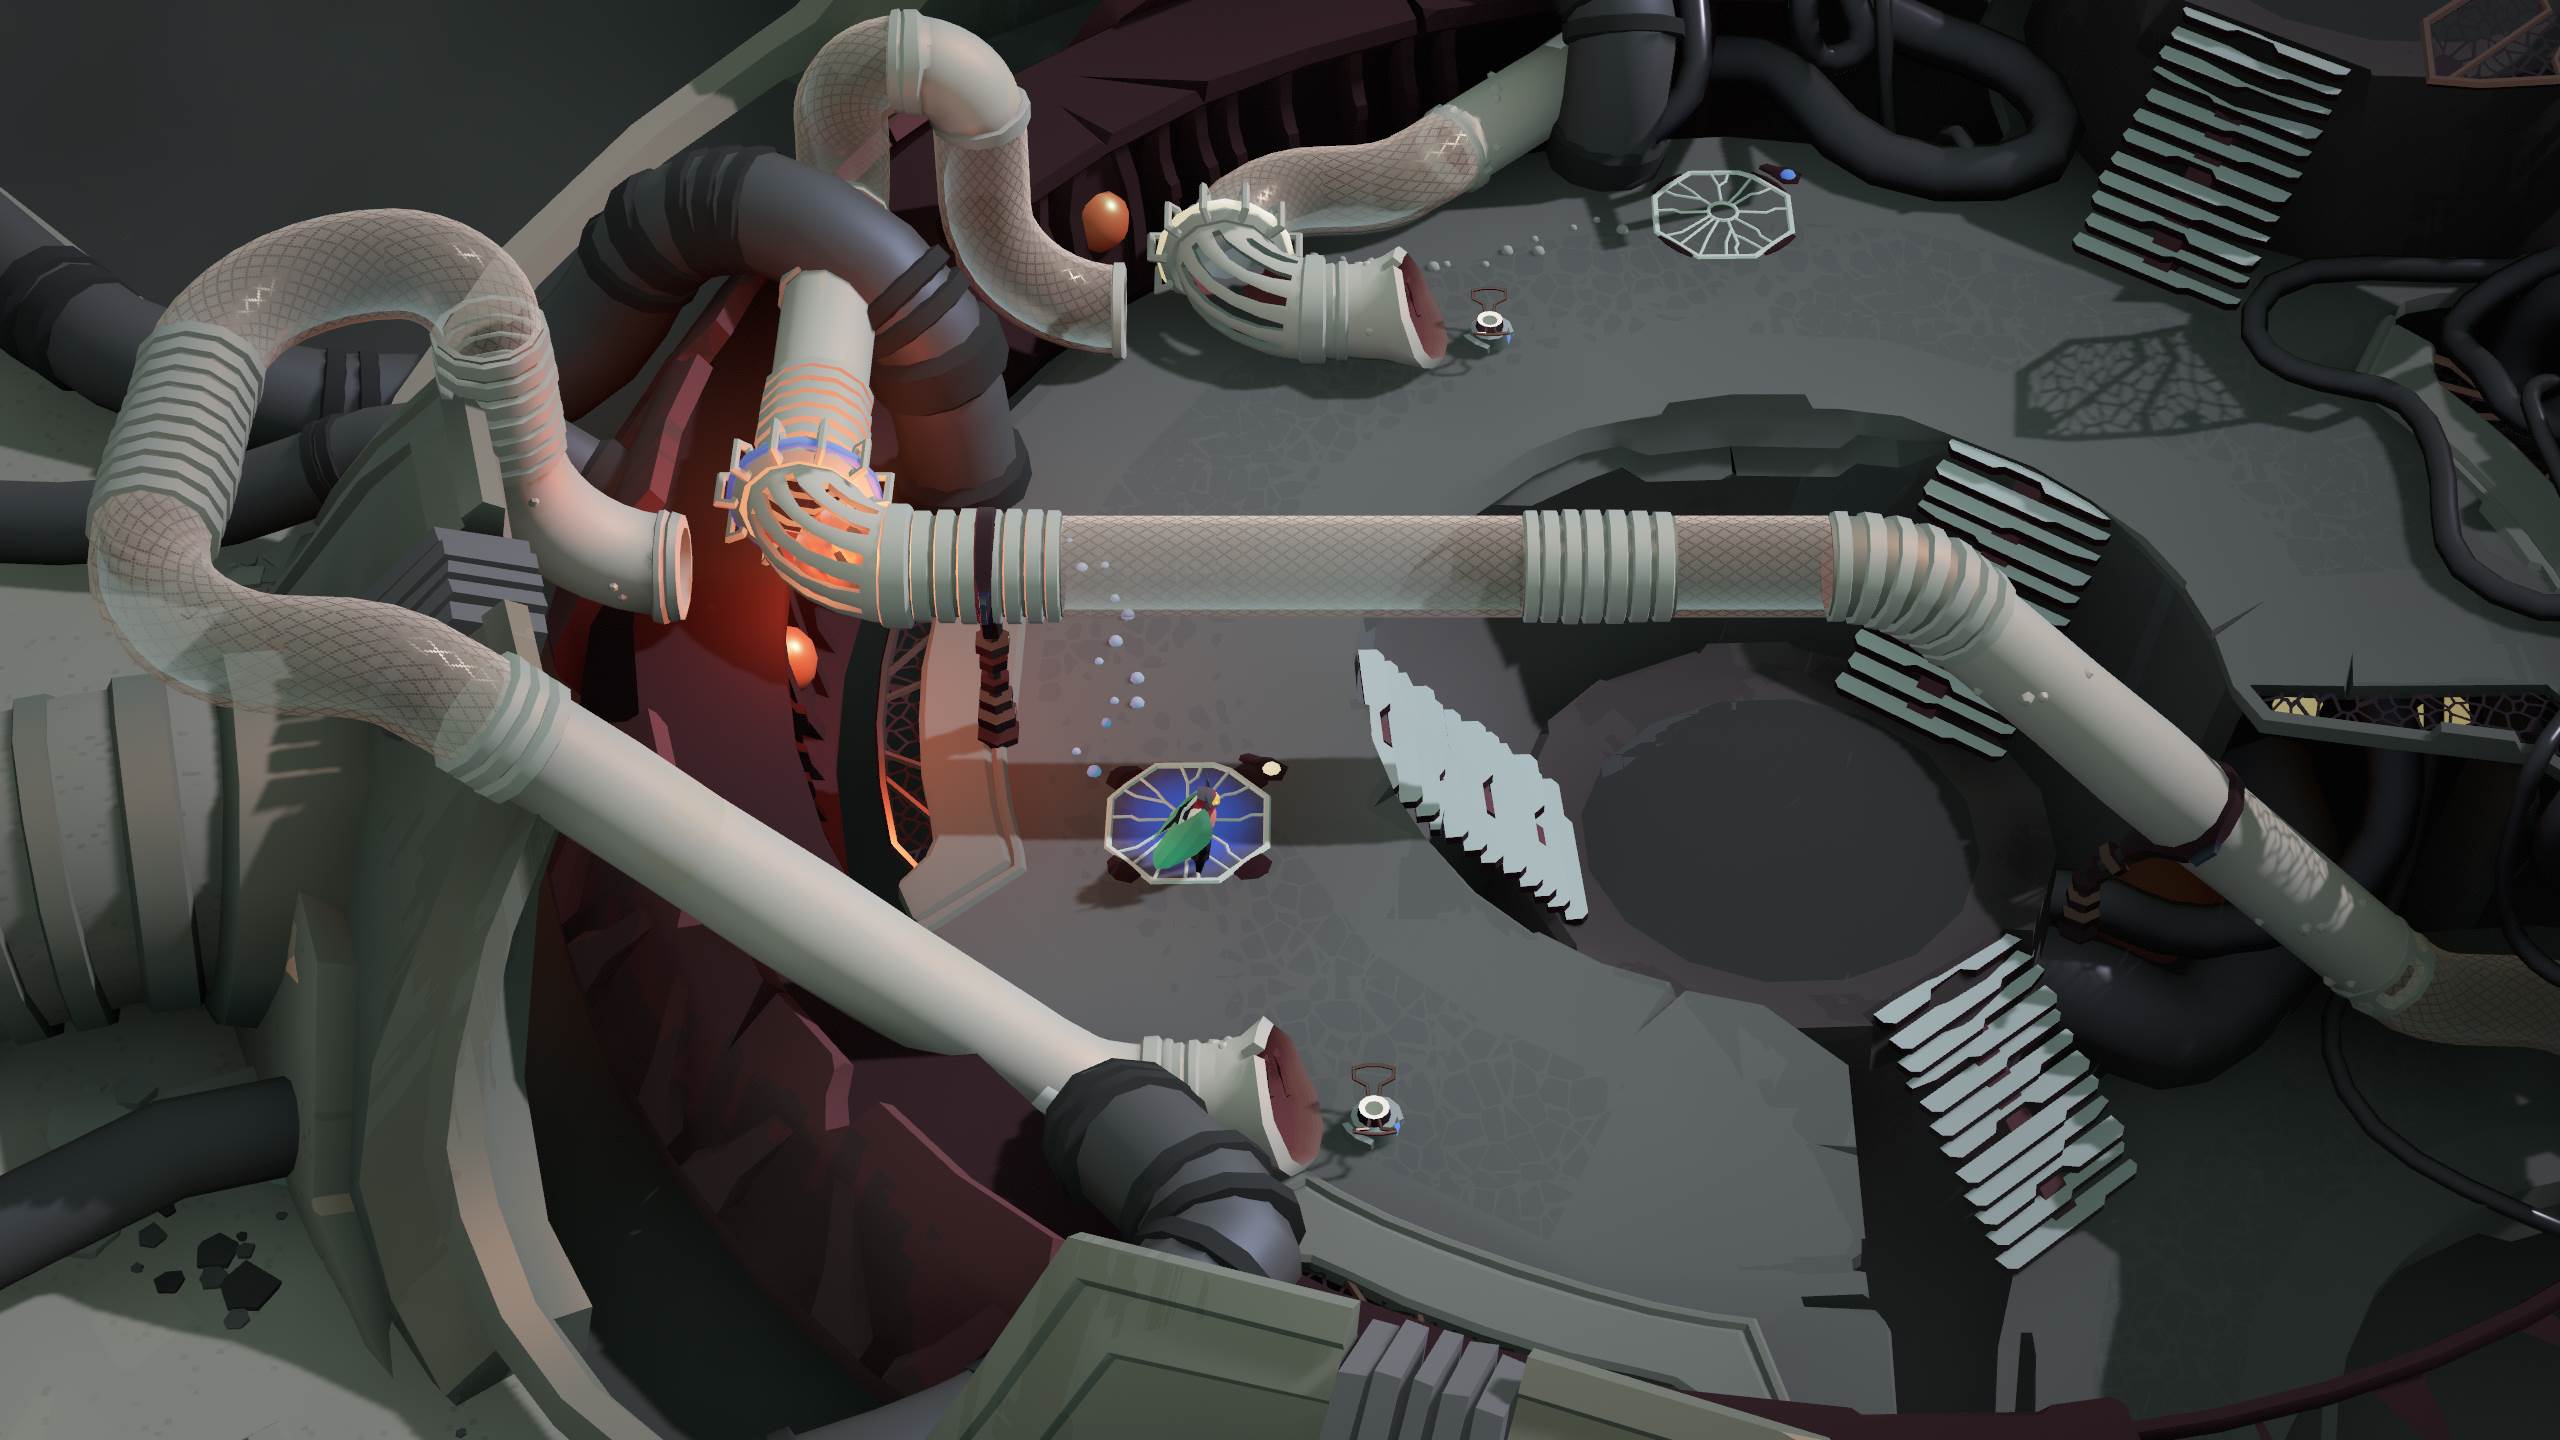
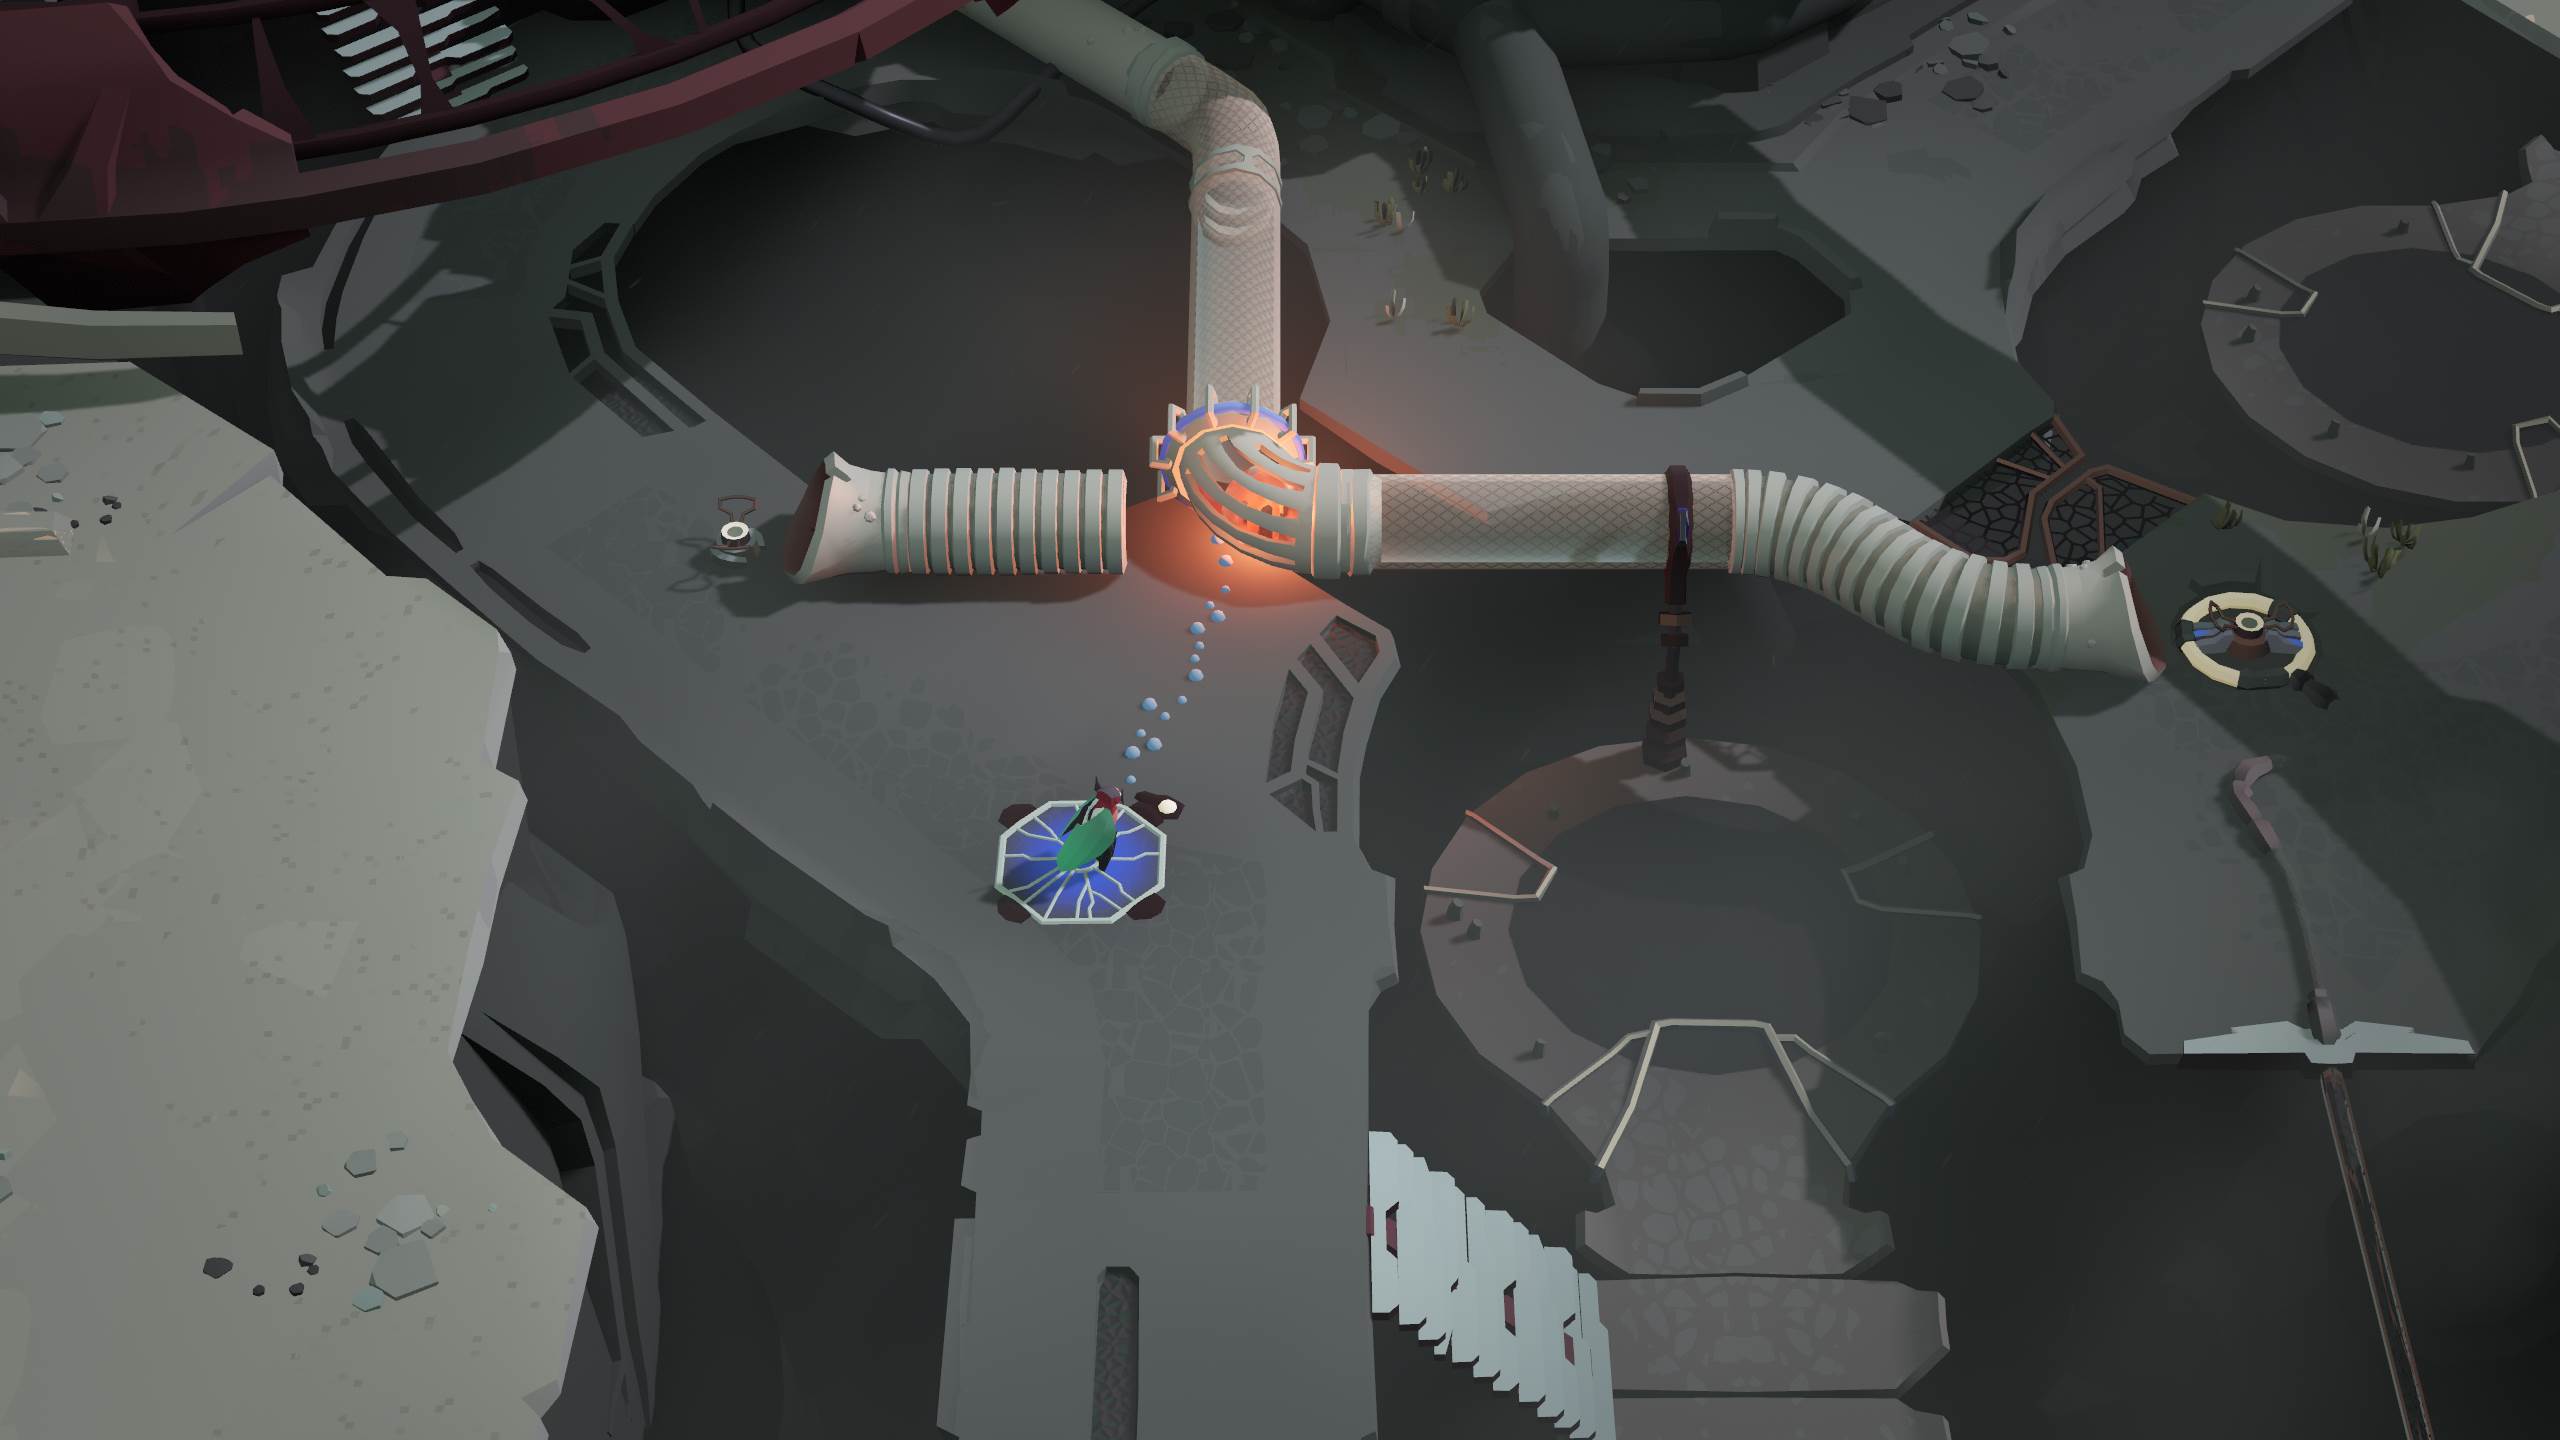
In this area, you have to deposit the sphere into a pipe to the far north. However, you must then quickly step on the right pressure pads to switch the pipes. If you do this right, you’ll get the sphere onto a previously unreachable dock.

Refer to the images below to get an idea of where to stand.
Once the sphere is in the dock, go to it by crossing the newly-activated bridge. Grab the sphere and go northeast.
Here, you have two docks – one controls the inner red wall, the other controls the outer red wall.
Put your sphere on the right-hand-side dock and wait for the gap in the wall to reach the middle, then pick up the sphere. Do the same thing with the left-hand-side dock, so that the two gaps in the walls are aligned, allowing you pass through.

Go north now to find a jump pad – hold down action on it to be tossed up.
Up here, you’ll encounter a Sphere Activator. You can use this to enter the sphere(s) you have – but first, you need to enable the activator. Put the sphere in the dock just to the north of the giant dome.

You can now access the orange sphere once more by putting it in the central dock and holding down the action button near it. However, you’ll find yourself trapped there by a fence of posts.
So instead, heading outside the sphere (if you’re in it), go to the platform to the northwest of the activator.
Head on to the next part of our Cocoon walkthrough here!
For more on everything that’s hot in indie games, be sure to check out the links below!
- Into Indie Games Homepage
- Chants of Sennaar Walkthrough – Part 1 (Entering the Abbey)
- Hades II: Release date, pre-order and everything we know
- The Nordic Folklore and History Behind Bramble: The Mountain King
- Venba Review