Sep
Cocoon Walkthrough – Part 6 (Up to 44%)
Cocoon Walkthrough - Table of Contents
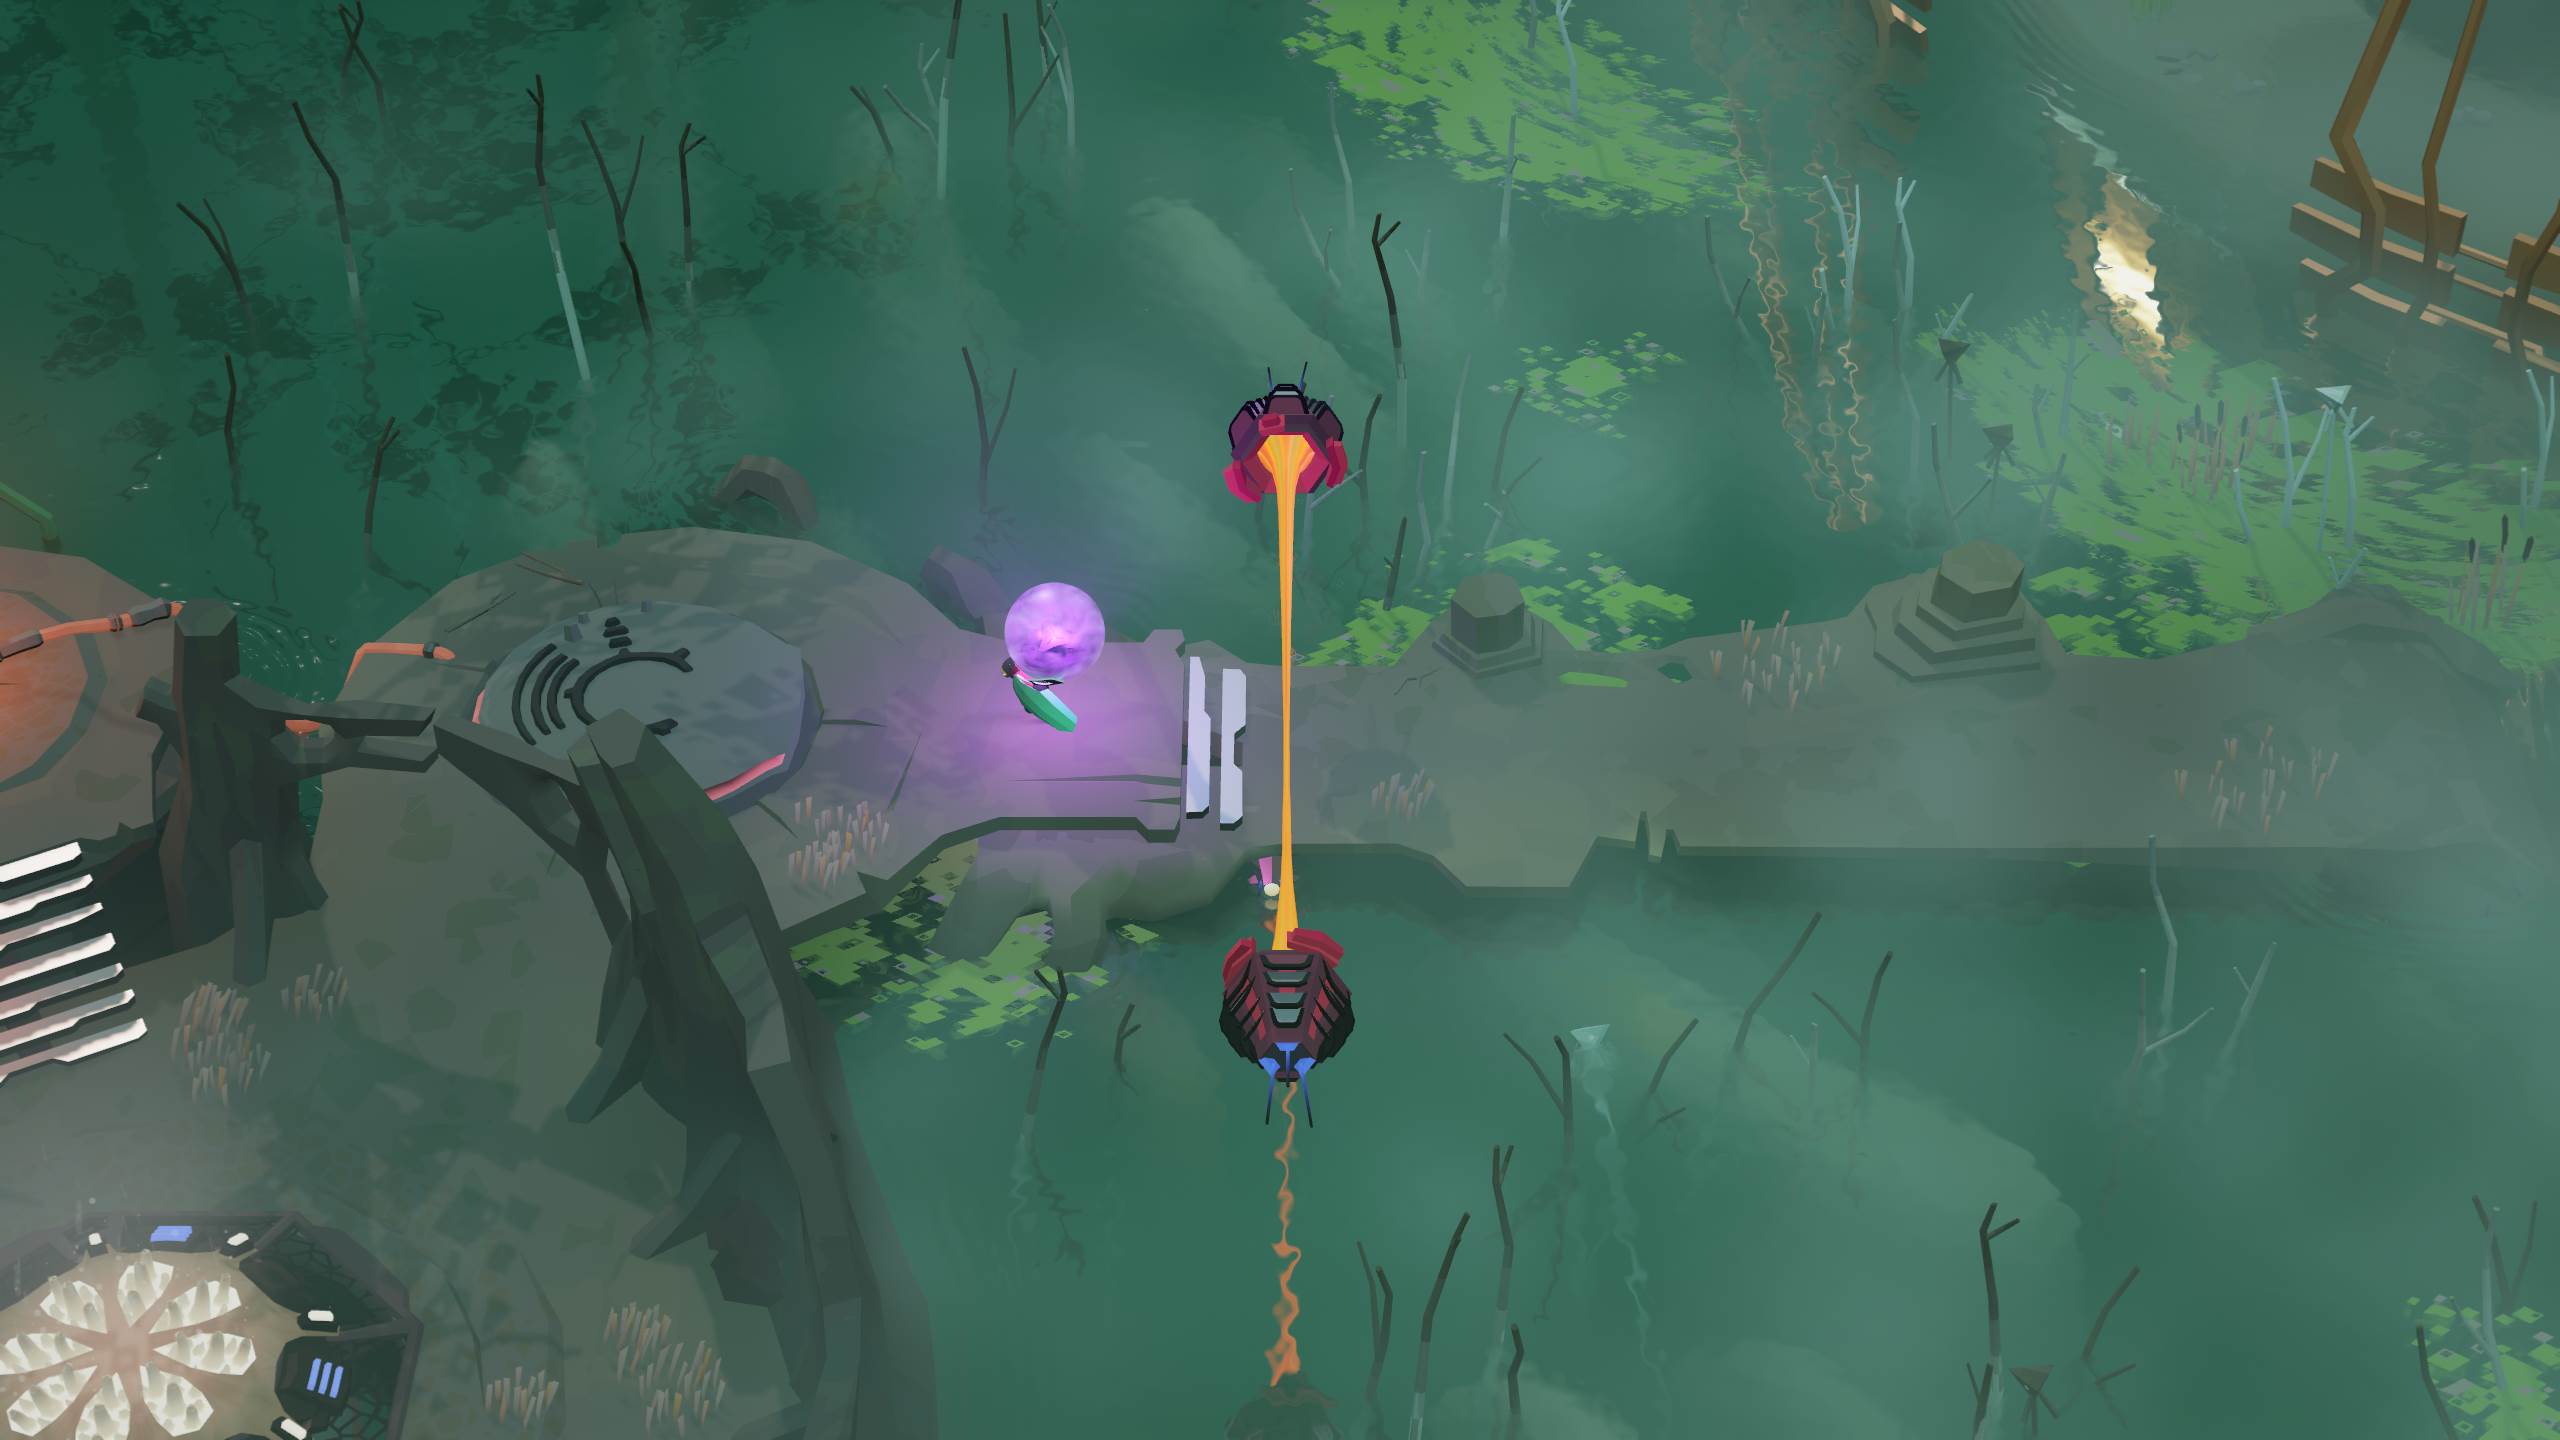
Stuck in Cocoon? Check out our walkthrough of Cocoon to find out how to explore the green sphere further and find the purple sphere.
Welcome to the Into Indie Games walkthrough for Cocoon!
For more information on Cocoon beyond this walkthrough, check out the official website!
Part 6
Once you’re out of the orange sphere and are carrying the green sphere, go to the pillar to the right and phase shift up. Press the purple button here and then phase shift down again.

Put the green sphere on the moving platform’s dock and grab the orange sphere before pressing the purple button on the moving platform.
Once the platform stops at the other end, swap the green and orange spheres. Put the green sphere in the dock to the north and carry the orange sphere past the now-opened bridge.

Follow the crystalized bridge to the northwest and you’ll find yet another drone dispenser. The correct code for this drone dispenser can be found on the crystalized bridge itself, and is meant to be read from north to south.
The code is: diamond, triangle, butterfly, hexagon, pentagon.

Once the drone’s dispensed, break it out of its shell and take it all the way back to where you left the green sphere. Go east to disable the fence.
Put the orange sphere on the moving platform’s dock and bring your green sphere with you. Press the purple button to get moving.

Up ahead, we find a sphere activator. Plug your spheres into each of the docks near the activator to enable it.
Put your green sphere in the activator once it’s enabled, pick up the orange sphere, and hop into the green sphere.

Go east across the crystalized path and then south to find a fence you can disable. Continue east, south, then east. Here, you’ll encounter a hopper.
Ignore it and continue east to find two fences you can disable at once. Then, use the jump pad to be taken north.

Here, we have two sticky contraptions. Run east, allowing the contraption to capture your drone. Then, go north and use the jump pad.
While in the middle of your jump, drop your sphere in the pipe and quickly run west.

Break the drone free and assume your position between the two sticky contraptions.

Once the sphere makes its way to the other dock, the contraptions will move. Move in step with them and go north when you are able, to the fence past the jump pad.
Now go west and use the button on the moving platform to be ferried to where you left the orange sphere.

Take the orange sphere back to the moving platform and press the button to return to where you disabled the fence.
Follow the pathway to the next fence and then use the jump pad ahead. In the next area, go northeast to a hopper.

Plant your sphere in the dock to the northwest of the hopper to enable a jump pad. Go east from the jump pad to find a sticky contraption – go near it and then run back to the jump pad.
Now watch the sticky contraption’s movement pattern and use the jump pad as it approaches you, so that you and your drone land to the right-hand-side of the contraption. Quickly run east to be free of the stickiness.

Now keep going east to put your drone in a door-unlock contraption and open the way ahead.
Go north past the opened way and grab the new, purple sphere. Go south and return to where you left the orange sphere at the hopper.

Hop out of the green sphere and put the purple sphere in a dock for now. Return to the green sphere and take the orange sphere out as well, putting it in the other dock by the activator.
Swap the green and purple spheres, and prepare to hop into the purple sphere.
Head on to the next part of our Cocoon walkthrough here!