Dec
Tin Hearts Walkthrough – Act 3 (Levels 30 & 31)
Tin Hearts Walkthrough - Table of Contents
- Levels 30 & 31
- Level 32
- Level 33
- Levels 34 & 35
- Level 36
- Levels 37, 38 & 39
- Level 40
- Level 41
- (More parts coming soon!)
- (Coming soon!)
Check out our walkthrough of Tin Hearts to find out how to solve levels 30 and 31 of the game, with which we begin Act 3.
Welcome to the Into Indie Games walkthrough for Tin Hearts!
For more information on Tin Hearts beyond this walkthrough, check out the official website here.
Act 3
Level 30
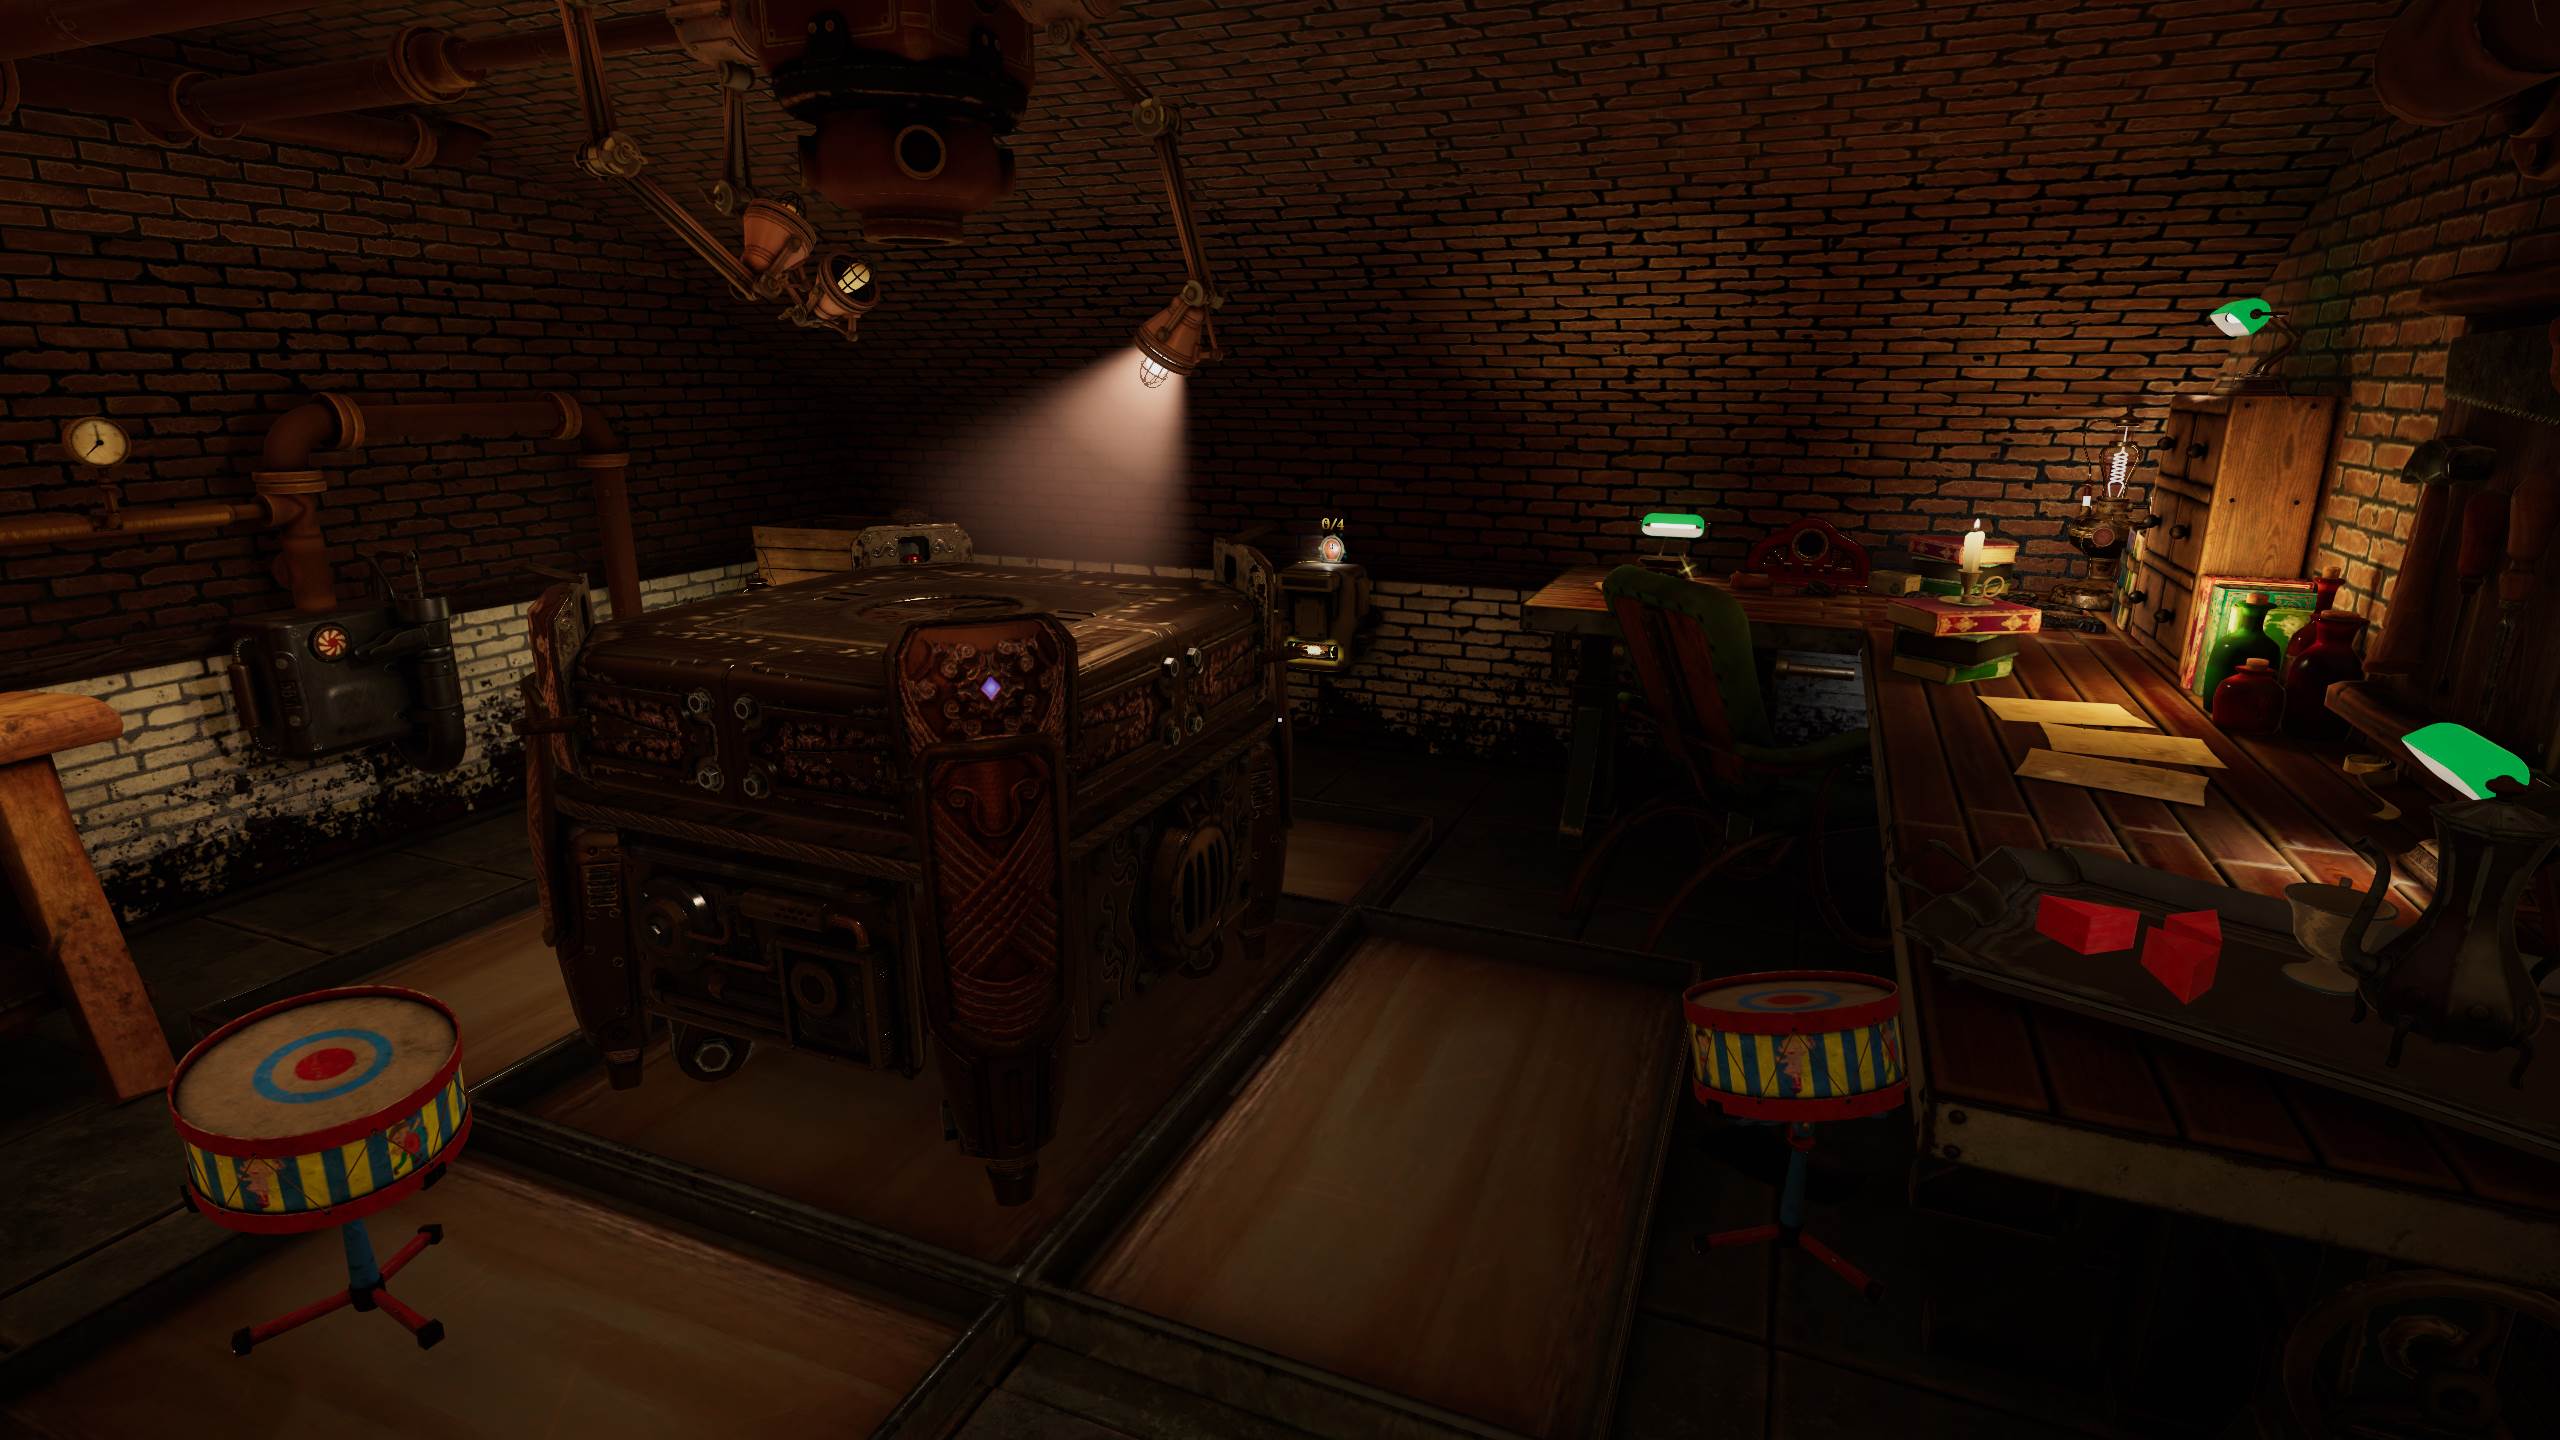
On entering the basement, you’ll be greeted with the title of this Act.

You’ll also find a very big, very complicated machine that we’re going to explore.
First, let’s arrange a path for our soldiers to get to the big machine. Pick up the prism blocks from the tray and place them as shown here.

Also make sure that the drum is aiming towards one of the corner buttons on the machine, as shown below.

Your four soldiers will automatically jump onto the big machine. Each button will temporarily consume one soldier, and the others will move on from that corner.
Once all four buttons are pressed, the machine will activate into Stage 2.
Now, we have an inner set of buttons on a higher level. Your soldiers are released, so place prism blocks and adjust the drum so that your soldiers reach the higher level.

As before, the machine will consume your four soldiers before progressing to Stage 3 and releasing your soldiers once more.
For Stage 3, place your prism blocks as shown below.

This will allow your soldiers to press two of four buttons in Stage 3. Once both buttons are pressed, place a prism block upright, so that your soldiers cross over to the other side of the machine.

Once on the other side, your soldiers will press both buttons on that side as well and this will activate the final stage of the machine – Stage 4.
Now we’re going to use the drum again to send your soldiers onto the workbench with the balloon machine on it. Put a prism block in place and adjust the drum as shown below.

The balloon machine will direct your soldiers to a pinwheel: adjust the pinwheel so that it sends your soldiers to the steam exhaust on top of the machine.

With this, your soldiers will make their way to the exit door without any further adjustments needed.
Level 31
Begin this level by opening the toy soldier box and allowing the soldiers to cross the bridge.
Place a prism block at the end of the bridge (on the second platform), so that the soldiers are directed to the right, toward the corner of the platform.

The soldiers will pass through a treadmill, wihch provides power to the platform. This will turn off the first bridge and enable the second bridge.
Place another prism block along the path, so that the soldiers are directed onto the second bridge.

Next, go to the third platform and use a prism block to direct the soldiers toward the cannon on the third platform.

Adjust the cannon on the third platform so that it points toward the white arrow on the power hub.

Now wait for the soldiers to hit the cannon, which will redirect power from Platform 2 to Platform 3. This will also disable Bridge 2 and enable Bridge 3.
Place a prism block to direct your soldiers onto Bridge 3, which will take the soldiers to Platform 4.

Also place a prism block on Platform 4 to direct your soldiers onto the treadmill there. This will power the final bridge, which leads to the exit door.

Finally, place a prism block just before the bridge, redirecting your soldiers to the exit door and concluding the level.
Check out the next part of our walkthrough for Tin Hearts here!